

15 Thanksgiving Dessert Table Ideas for Hosting Twelve Guests In a Small Space
Twelve guests, one small room, and a dessert table that has to hold pies, cakes, and cookies without blocking the door. That is the honest problem with Thanksgiving in a tight space, and it is also the reason this plan works.
You do not need a bigger table. You need a smarter one.
Thanksgiving dessert table ideas for hosting twelve guests in a small space start with one rule: every item earns its spot by serving a guest or saving space. A tall stand earns its spot. A wide empty tray does not.
A small cup of mousse earns its spot. A second whole pie that no one can reach does not.
This list gives you fifteen ways to fit a full dessert spread into a small room. Each idea uses pieces you likely own already, keeps walkways clear, and lets guests serve themselves without a traffic jam.
Pick the ones that fit your room, and your table will feel generous, not crowded.
This post contains affiliate links. If you buy through them, we may earn a small commission at no extra cost to you. See our Affiliate Disclosure.
1. Run One Narrow Console Table Along the Wall
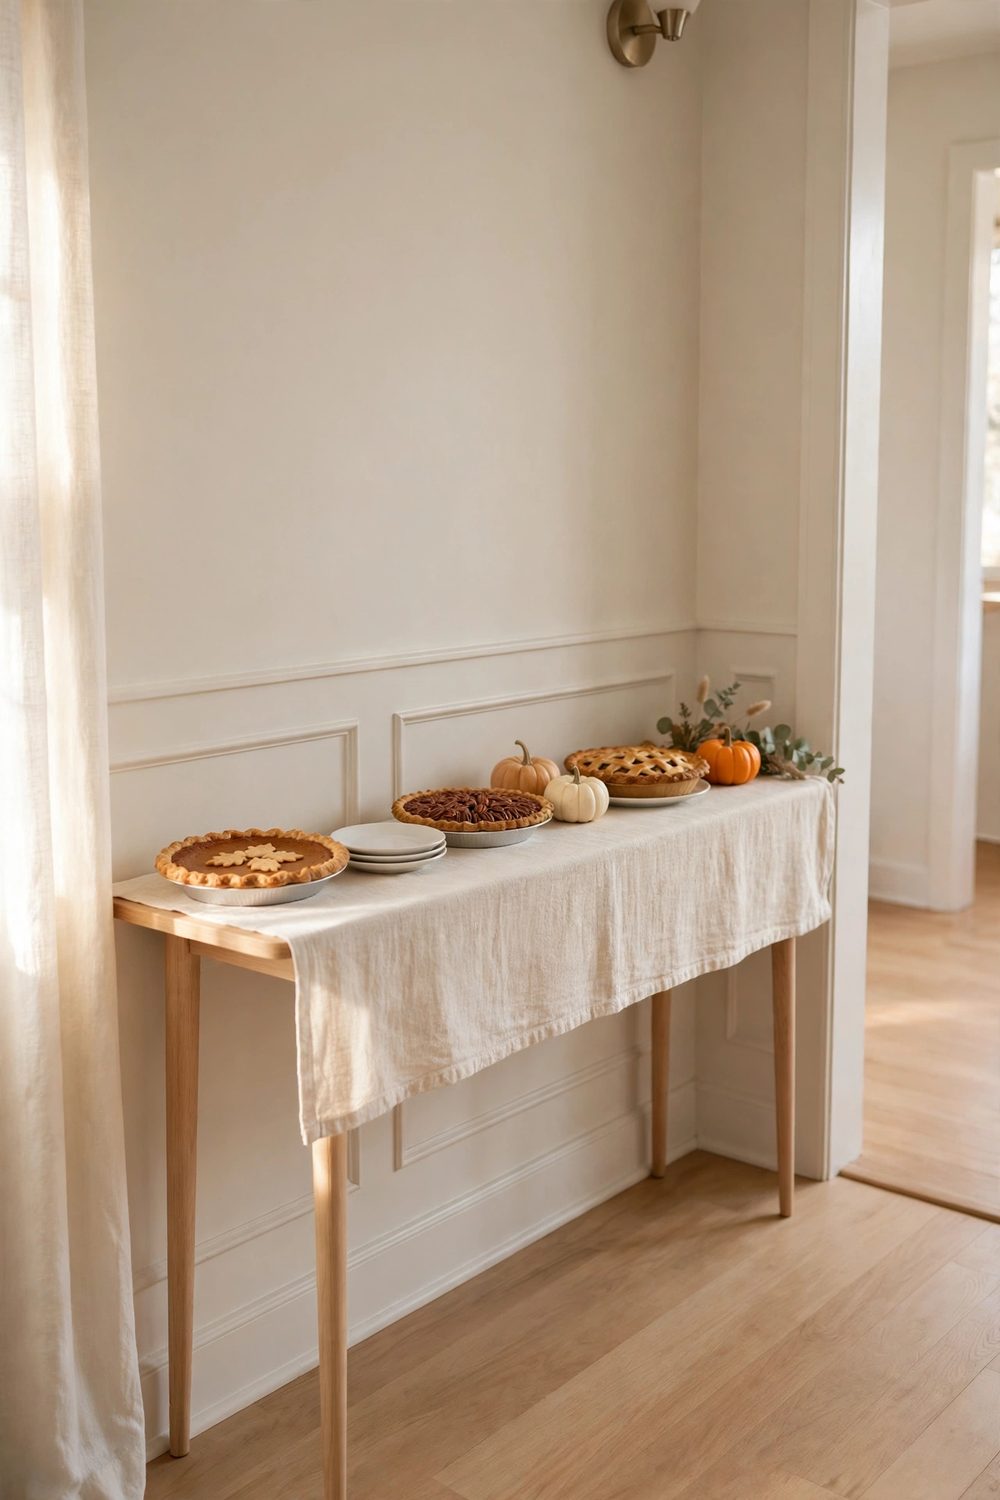
A narrow console table against the wall is the best friend of a small Thanksgiving room. It holds a full dessert line in a strip about a foot deep, and guests walk past it in one direction. No one has to squeeze around both sides.
Place the table where the wall is longest and the path to the kitchen stays open. Put the tallest items at the back, near the wall, and the plates at one end.
Add a runner that matches the wall color so the table blends in rather than jutting out. If you borrow the same wall-line idea for the main meal, our small-home buffet ideas show how one wall can carry a whole feast.
Keep the top low and level, and the room still feels open.
2. Stack Up With Tiered Stands Instead of Spreading Out
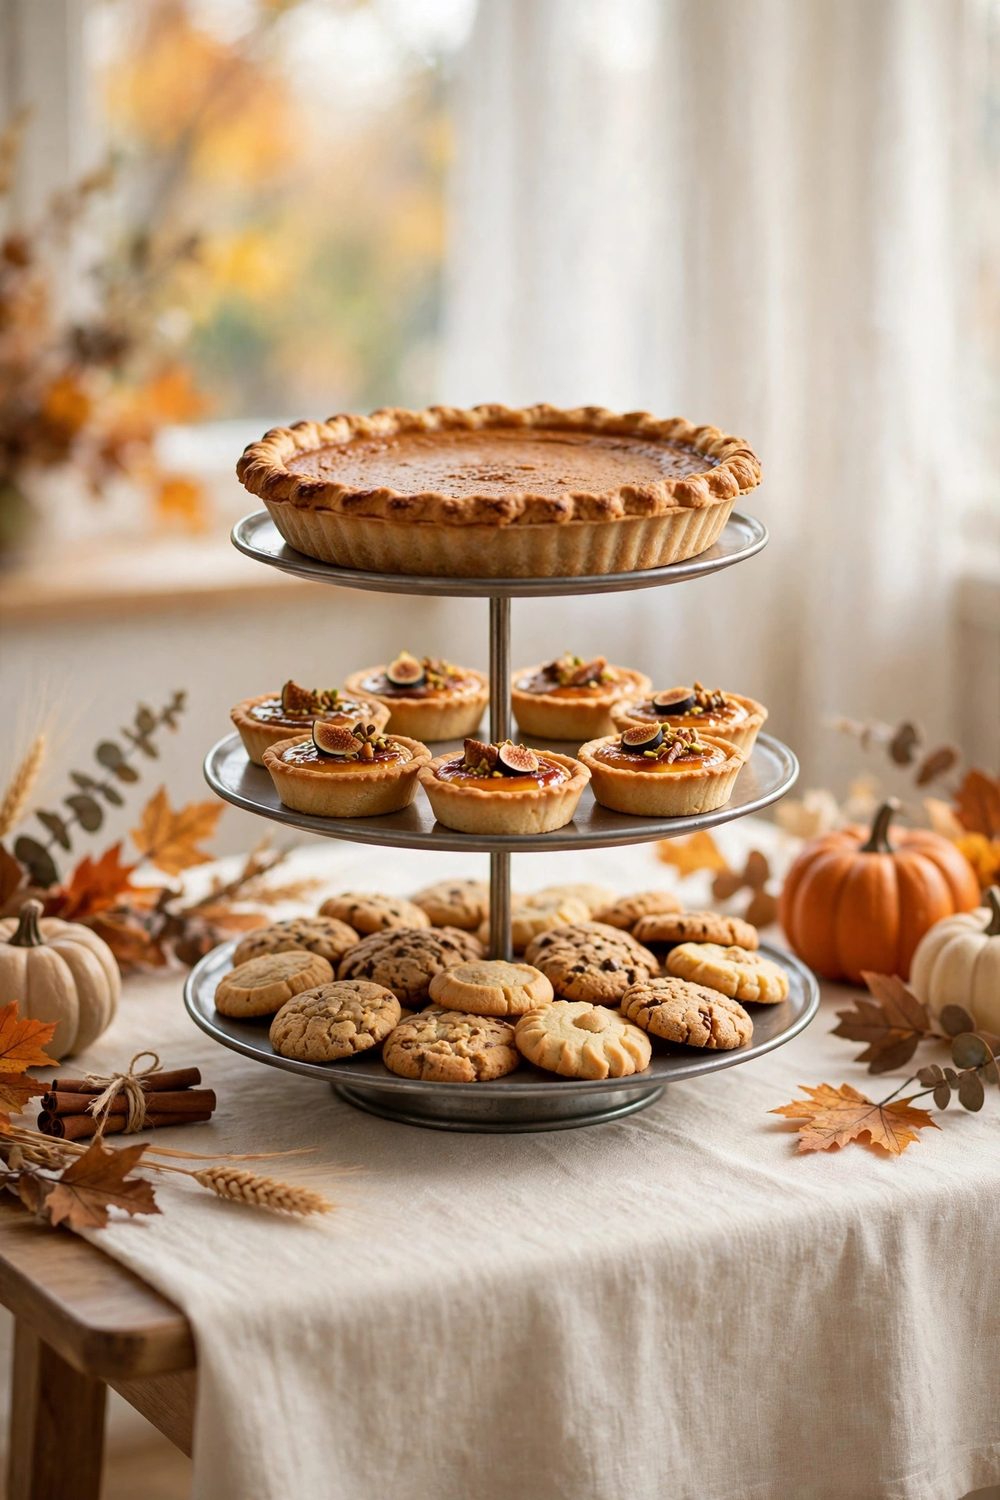
When the table is short, the only free space is above it. Tiered stands turn one square foot of table into three levels of desserts.
A two or three tier stand holds a whole pie on top, tarts in the middle, and cookies at the base.
Guests can see every choice at a glance, which means less reaching across the table and fewer knocked cups. Put the stand near the center so hands approach it from the front only.
Keep the top tier light, with one pie or a small cake, so nothing wobbles.
Use stands you already own, and mix heights with a sturdy box wrapped in linen under a plain plate. The mix looks planned when the colors stay warm and plain.
3. Serve Mini Desserts in Individual Cups
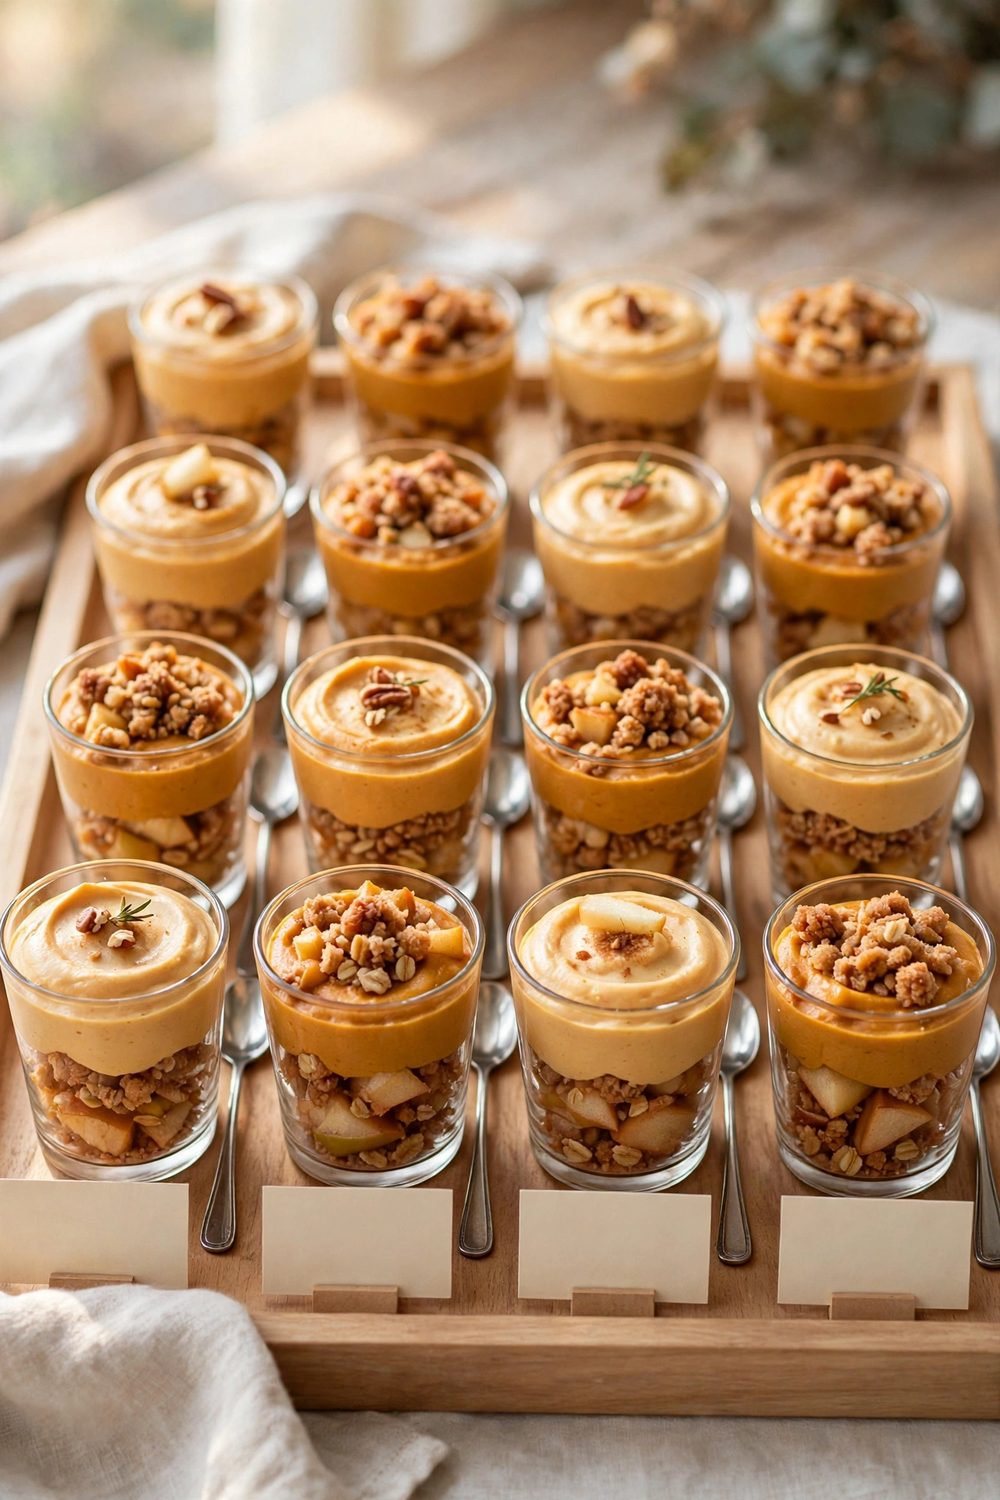
Mini desserts solve the two biggest small-space problems at once: cutting and crowding. Small cups of mousse, trifle, or apple crisp need no knife, no serving spoon, and no extra elbow room. A guest picks one up and moves on.
Set the cups in tight rows on a tray, four across, so twelve cups take up less room than one sliced pie with a server. Add a small spoon beside each cup or tucked into it.
Make the cups a day ahead and chill them, then set them out just before dessert time. Label each flavor with a tiny card so guests choose fast. The line moves quickly, and no one stands at the table deciding while others wait behind them.
4. Roll In a Bar Cart as a Second Dessert Shelf
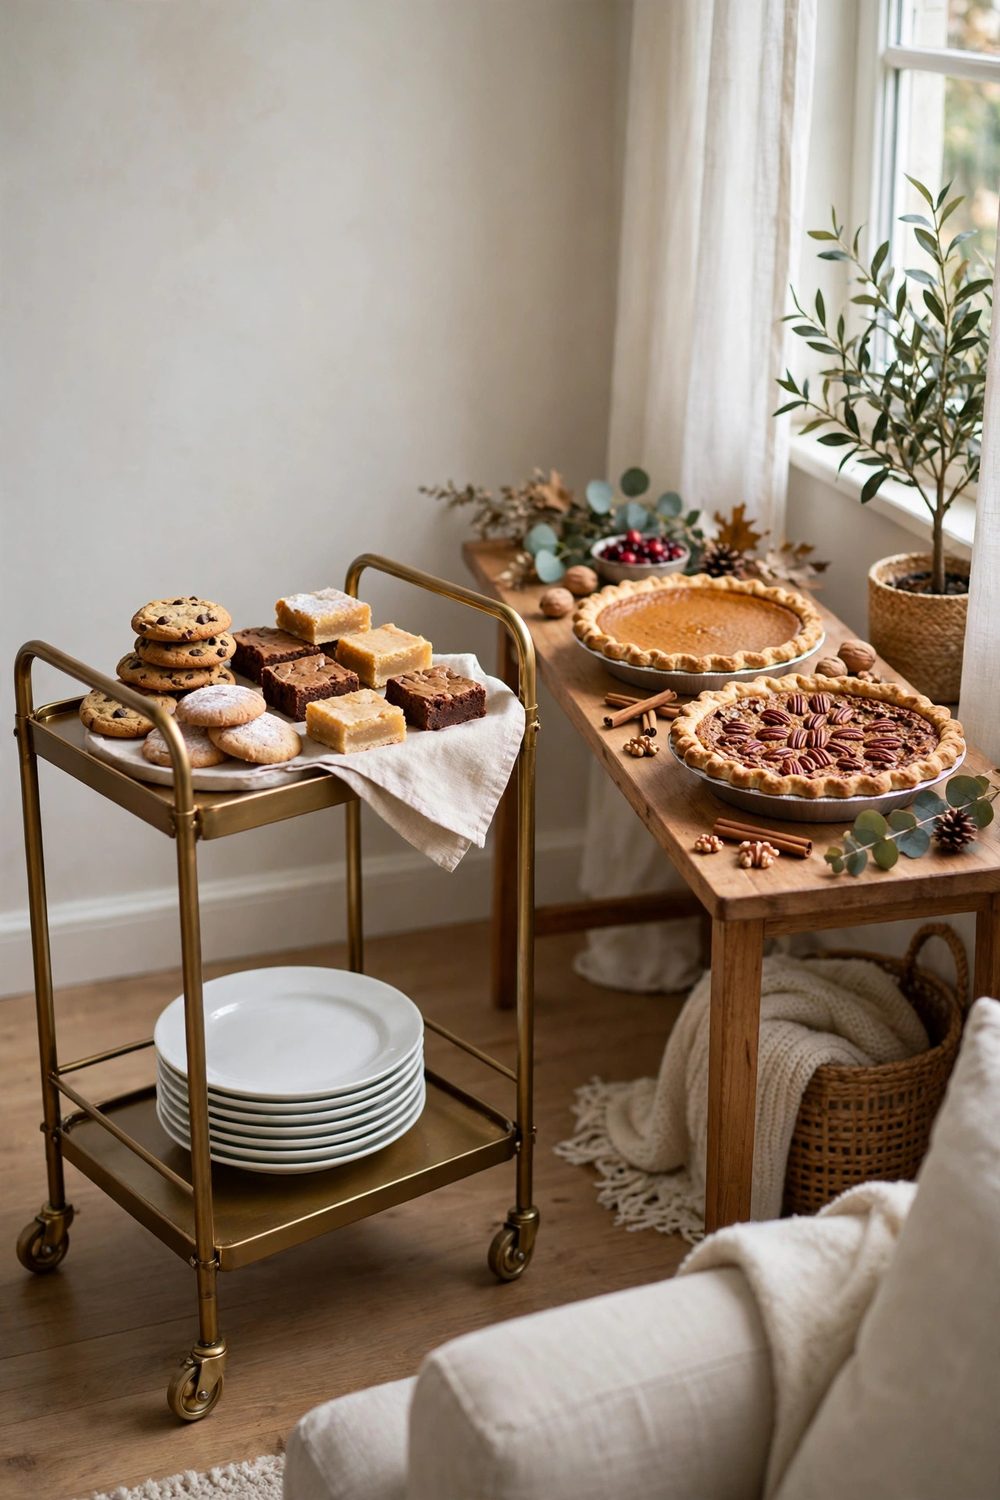
A rolling cart gives you a second shelf without a second table. Park it at the end of the dessert table or against the next wall, and load its top shelf with cookies and bars. The lower shelf holds extra plates, cups, and napkins.
The cart works because it moves. Roll it near the table while guests serve themselves, then roll it back against the wall when people sit down with their plates. Nothing stays in the walkway longer than it needs to.
Keep the cart tidy with one kind of dessert per shelf, and skip tall decor on top. A low sprig of leaves or a small candle in glass is enough.
Lock the wheels while guests serve so nothing rolls away.
5. Put Whole Pies at the Back and Slices at the Front
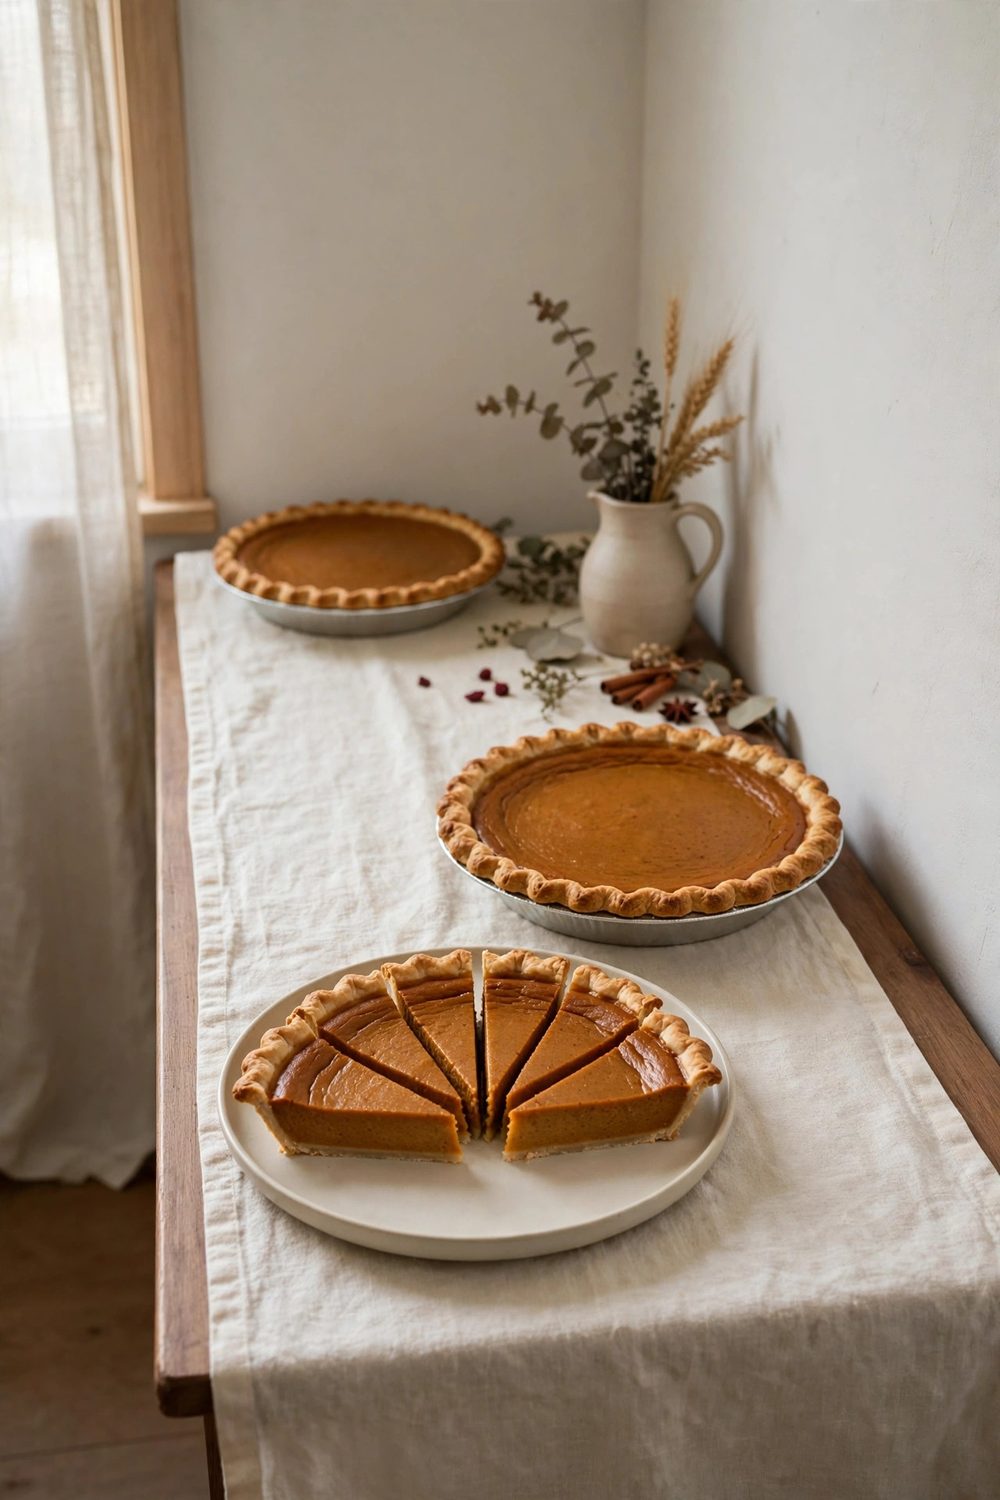
Order matters more than space on a small dessert table. Whole pies belong at the back, where they look full and rich, and pre-cut slices belong at the front, where hands can reach them. Guests take a slice without leaning over the whole pie.
Cut one pie ahead of time and fan the slices on a low plate. Leave the second pie whole as the showpiece. This way the table looks generous even though only one pie is being served at the start.
Place the serving spatula flat beside the slices, handle toward the guest, so no one has to hunt for it. When the slices run low, cut the showpiece pie. The table stays neat, and the refill takes seconds rather than a full re-set.
6. Hang a Wall Shelf Above the Table for Display Only
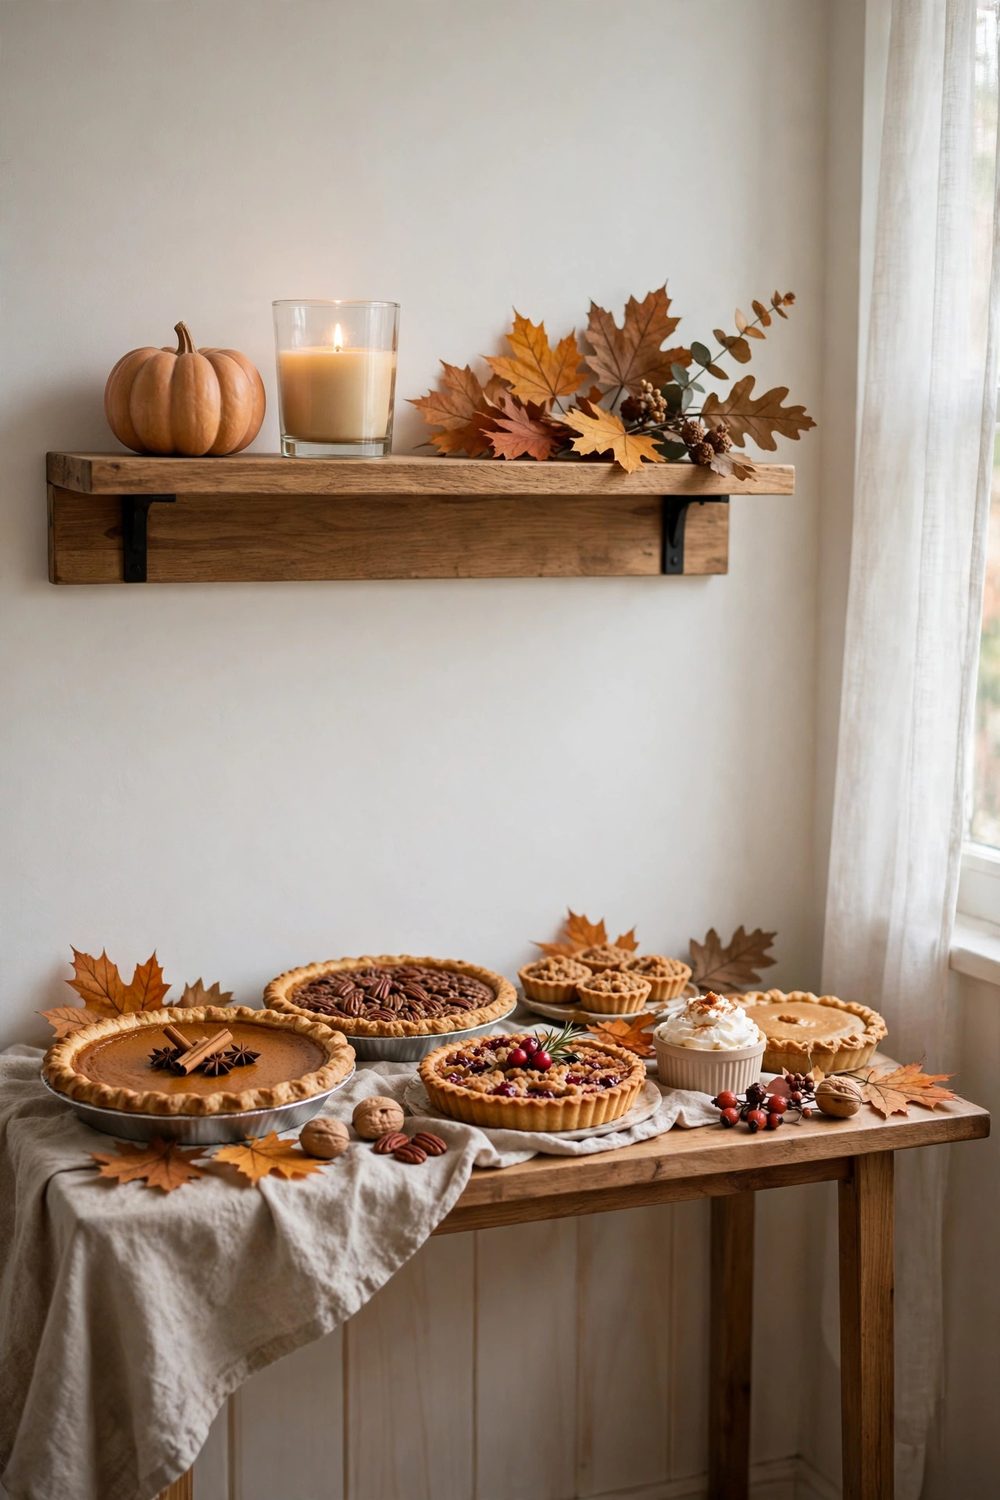
The wall above the dessert table is free real estate. A single shelf mounted at eye level holds a small pumpkin, a candle in glass, and a few leaves, which lifts the decor off the table and leaves the whole surface for food.
Keep food off the shelf. It is for display only, and that rule keeps the shelf safe and clean. Guests look up, see the autumn styling, and the table below feels calm because nothing competes with the desserts.
Mount the shelf a day or two early and test it with the items you plan to use. If it feels crowded, remove one thing.
The same lift-the-decor-up trick shapes our autumn sweets display ideas, where height comes from the wall, not the table.
7. Keep Plates and Forks at the Far End Only
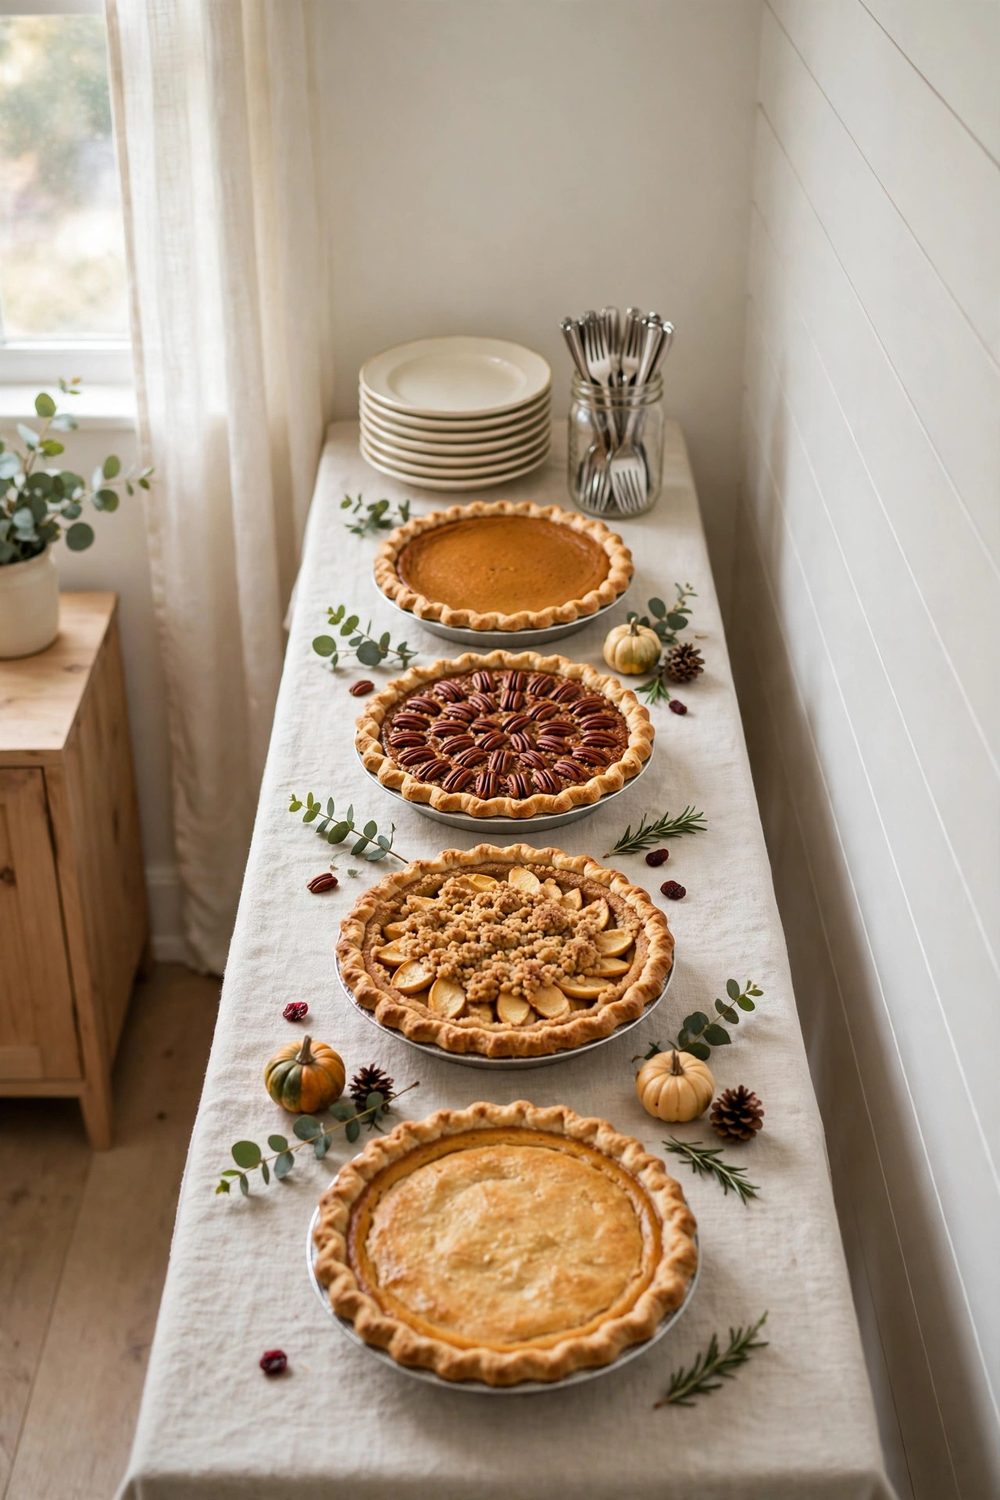
Twelve guests each need a plate and a fork, but those do not need to sit at the start of the line. Put the plates at the far end of the table, after the desserts, so guests pick food first and the plate last.
Stack twelve small dessert plates in one neat pile. Small plates matter here, since a big plate plus a full cup leaves no room for a fork.
Set the forks in a jar or a small cup beside the plates, handles up, so each guest takes one in a single motion.
Keep a second small stack of plates on the rolling cart or a nearby chair as backup. When the first stack runs out, the refill is within reach.
8. Lay a Low, Narrow Runner Down the Middle
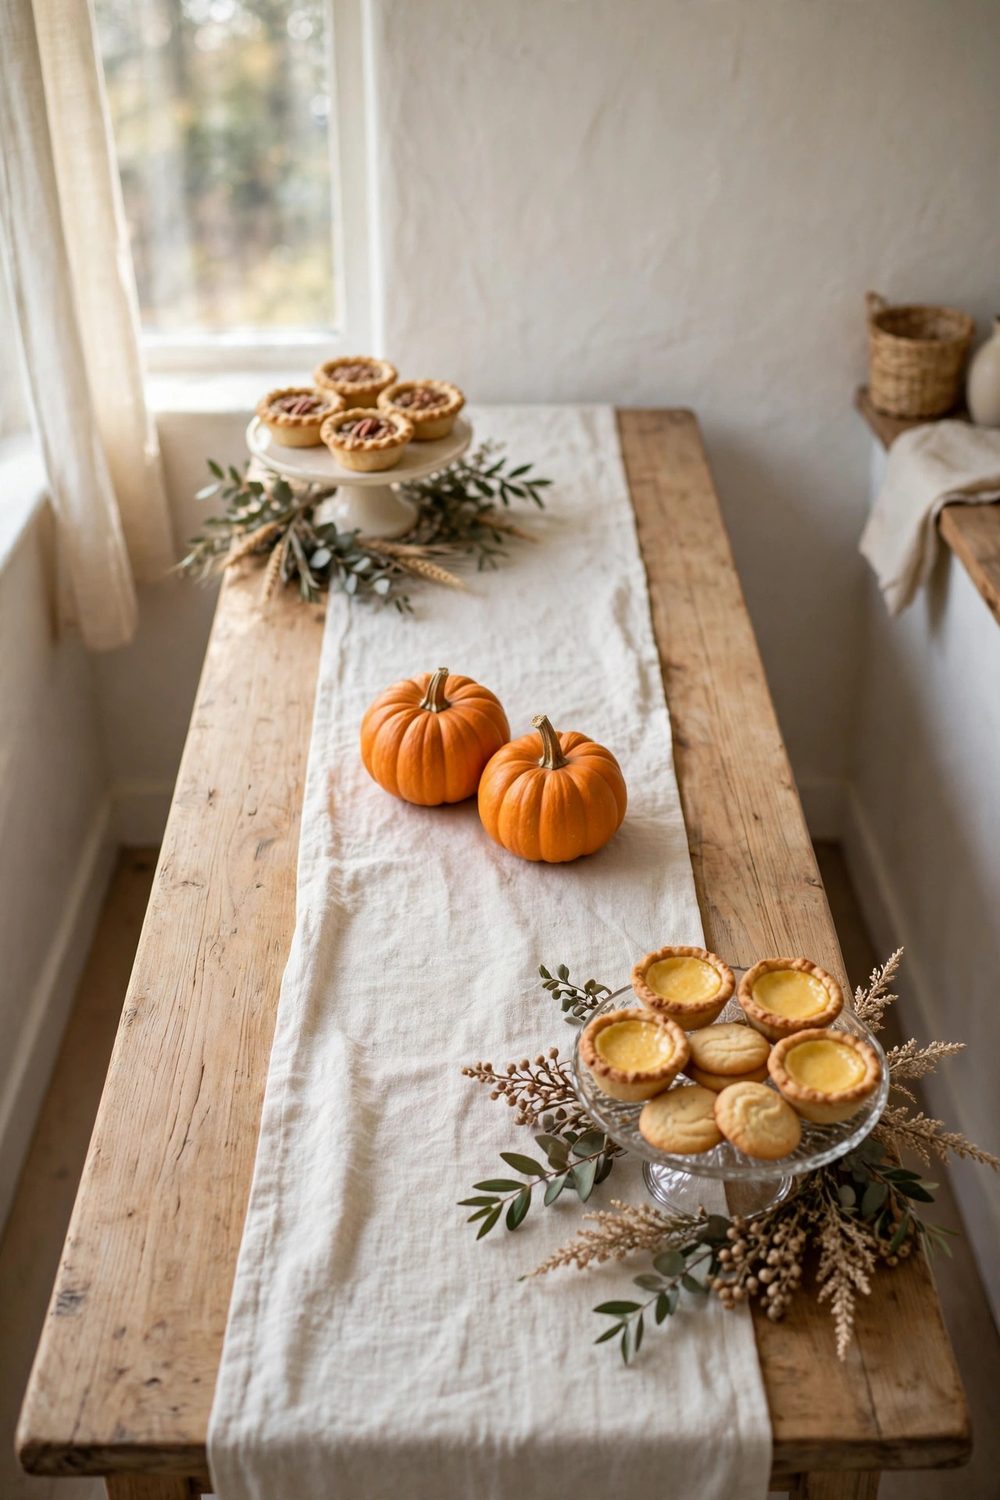
A runner gives a small dessert table a finished look without eating serving space, but only if it stays low and narrow.
Choose a runner about a third as wide as the table, in a plain warm linen, and let the desserts sit on top of it at the edges.
Skip thick garlands and tall candlesticks down the middle. They steal the very space the desserts need and block hands from reaching across. Two small pumpkins between the stands give the same autumn feel.
If the table is very narrow, skip the runner and use a folded cloth under the centerpiece only. The bare wood at the edges reads as serving space, and guests understand at a glance where to set a plate down for a moment.
9. Label Every Dessert With a Small Card
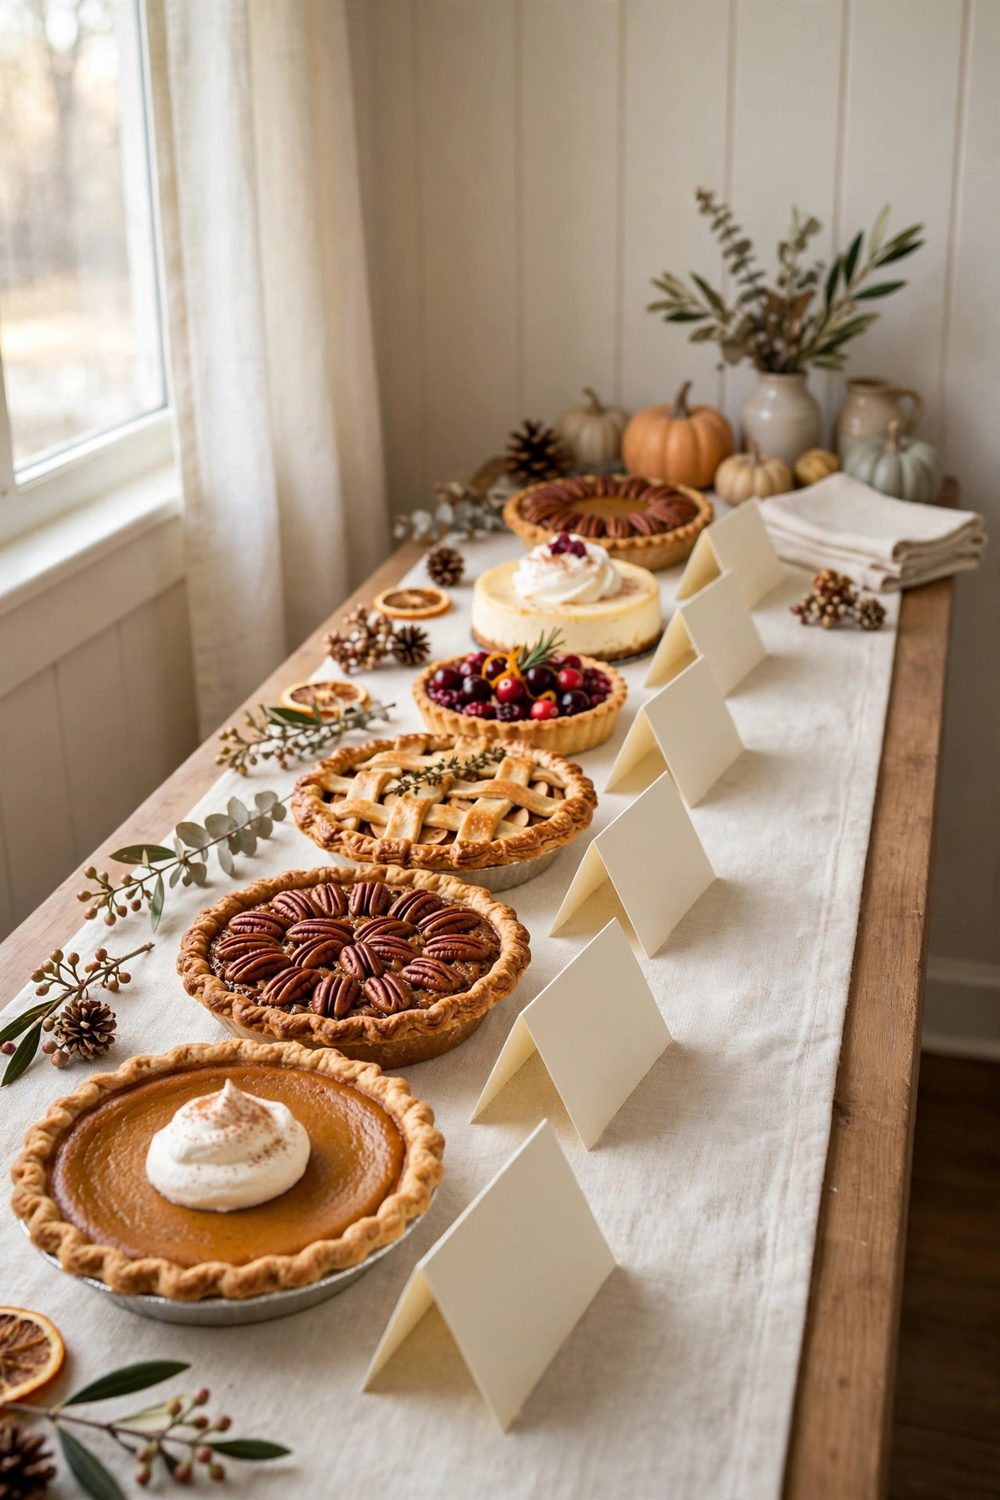
Labels are a small-space tool, not just a pretty detail. When each dessert has a small card with its name, guests choose in seconds instead of asking the host what everything is. The line keeps moving, and the host stays free to enjoy the evening.
Write the name in large, plain letters on a folded card that stands on its own. Add one short note where it helps, such as nut free or no dairy, so guests with food needs serve themselves with confidence and no awkward questions.
Place each card in front of its dish, flat against the table edge, where eyes land first. Keep the cards the same size and color so they read as one calm set.
10. Move Coffee and Cider to a Separate Tray Table
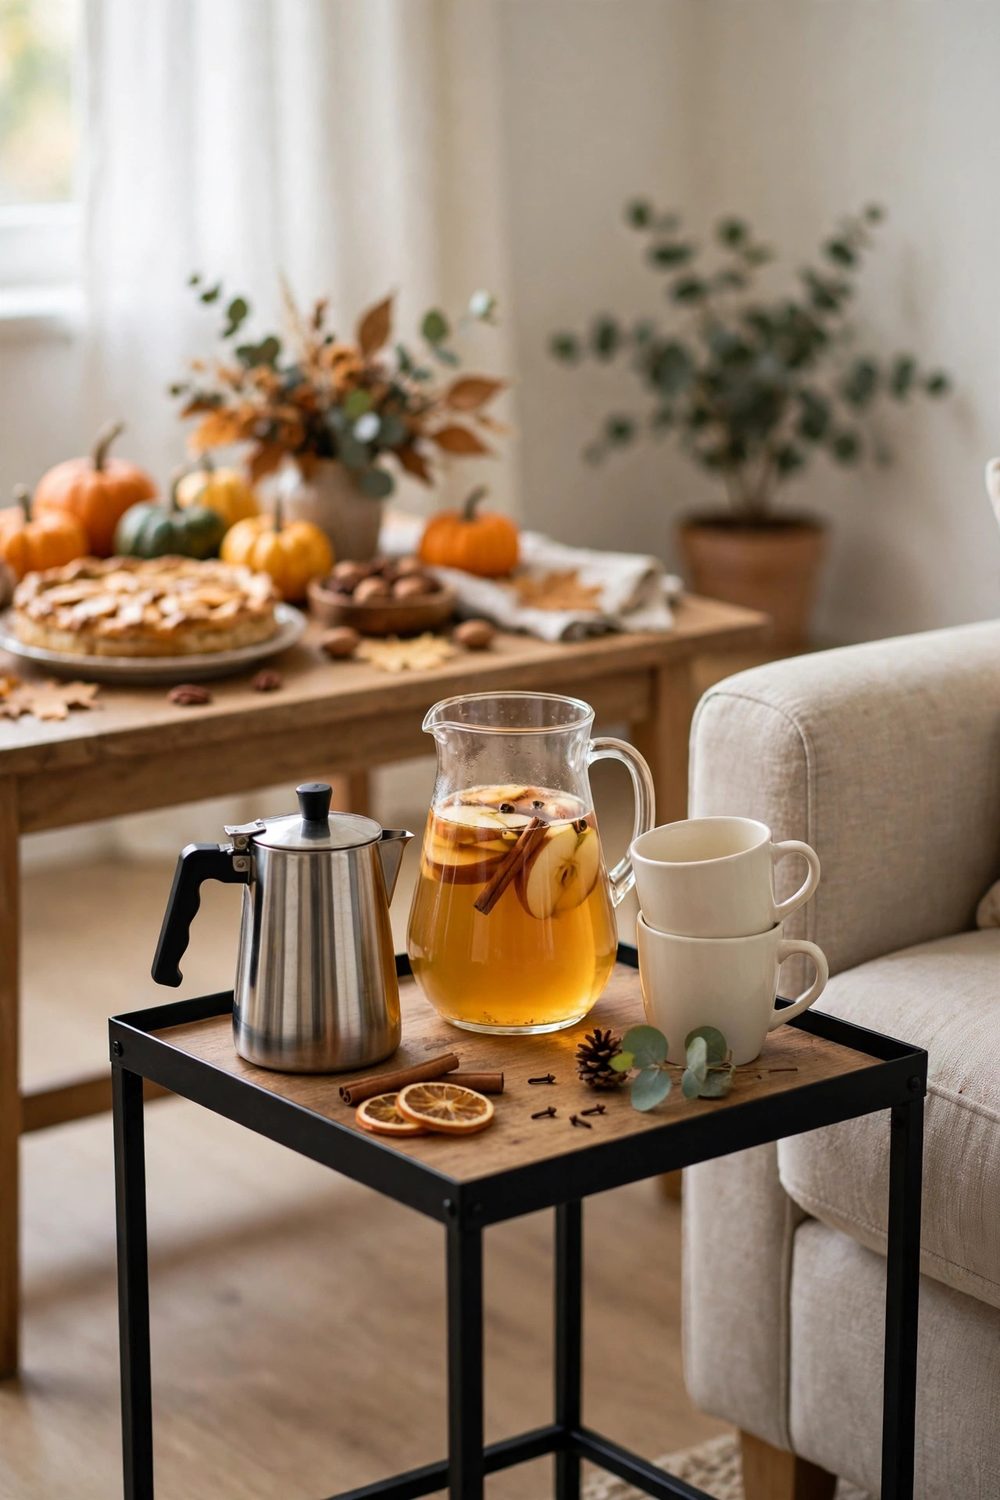
Hot drinks and a dessert line do not mix in a small room. A coffee pot, a cider pitcher, mugs, and a sugar bowl take up a third of the table and create a second queue in the same spot.
Move them to their own small tray table nearby.
Set the tray table a few steps away, near the seating, so guests fetch dessert first and then pour a drink on their way back to their chair. The two lines never cross, and no one holds a hot mug while reaching for pie.
Keep the drink station simple: one pot, one pitcher, a stack of mugs, and small spoons. Put the sugar and cream on the tray, not the dessert table.
11. Open a Folding Side Table Only for Dessert Hour
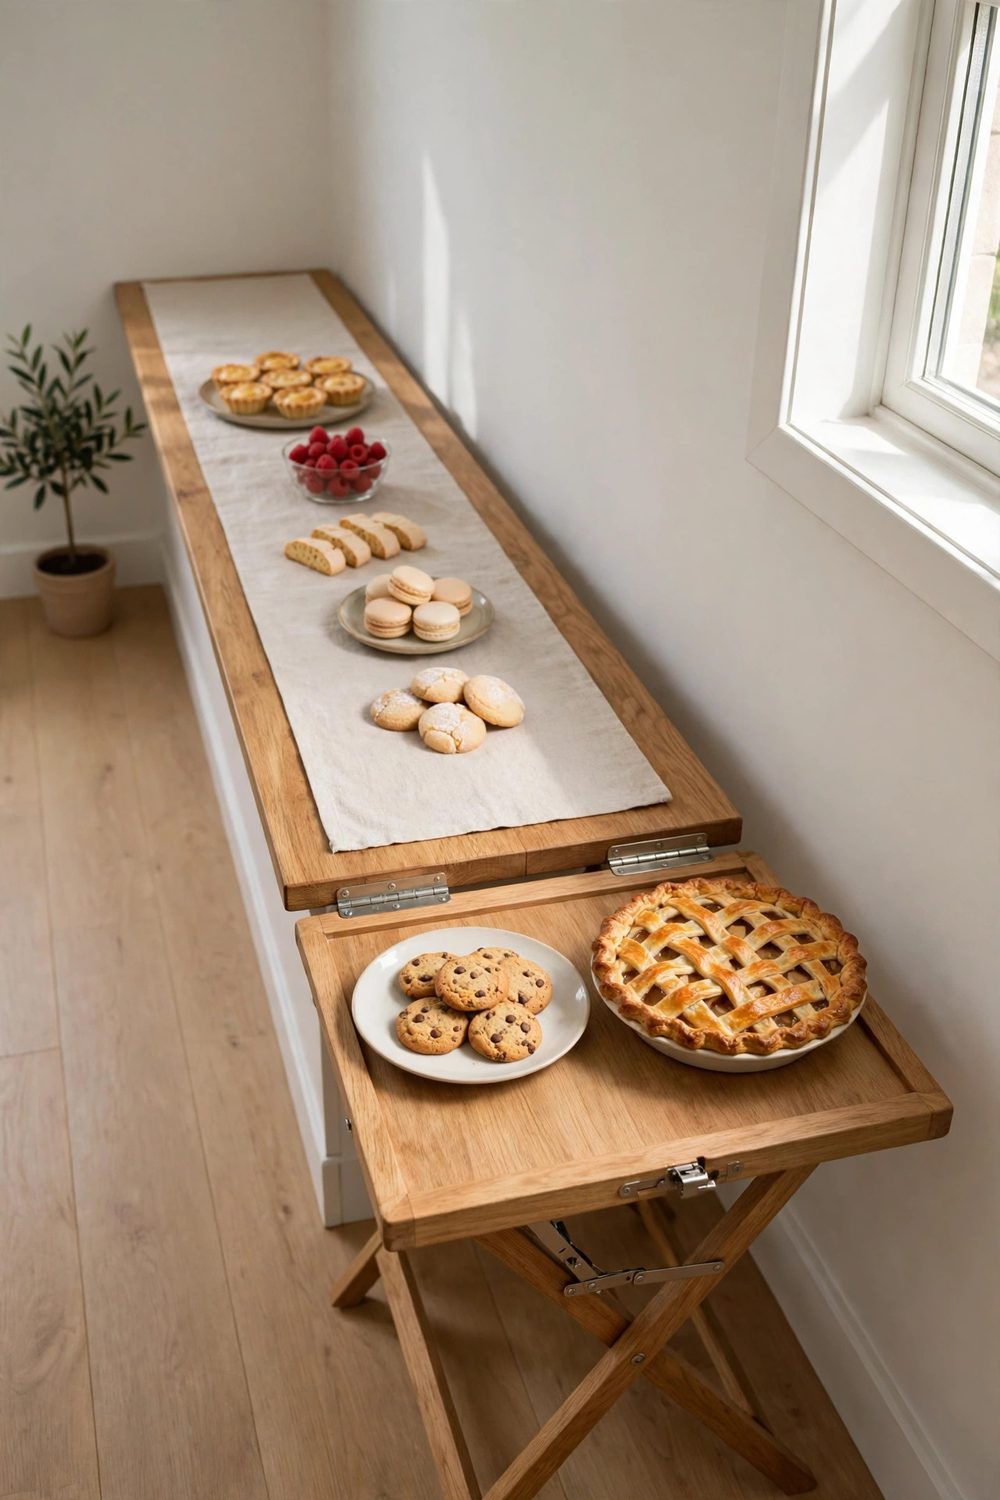
A folding side table that appears only for dessert is the closest thing to extra square footage in a small home.
Keep it folded against the wall during dinner, then open it when the plates clear and set it at the end of the dessert line.
Use it for the overflow: extra cookies, the second pie, or the take-home boxes. Because it arrives late, it never blocks dinner, and because it leaves early, the room opens up again once dessert ends.
Match its height to the main table so the two read as one long line. A cloth in the same color ties them together.
The same fold-away thinking shapes our apartment dining nook dessert ideas, where a small nook still holds a full sweet spread for a crowd.
12. Use Clear Glass and Pale Colors to Keep the Table Airy
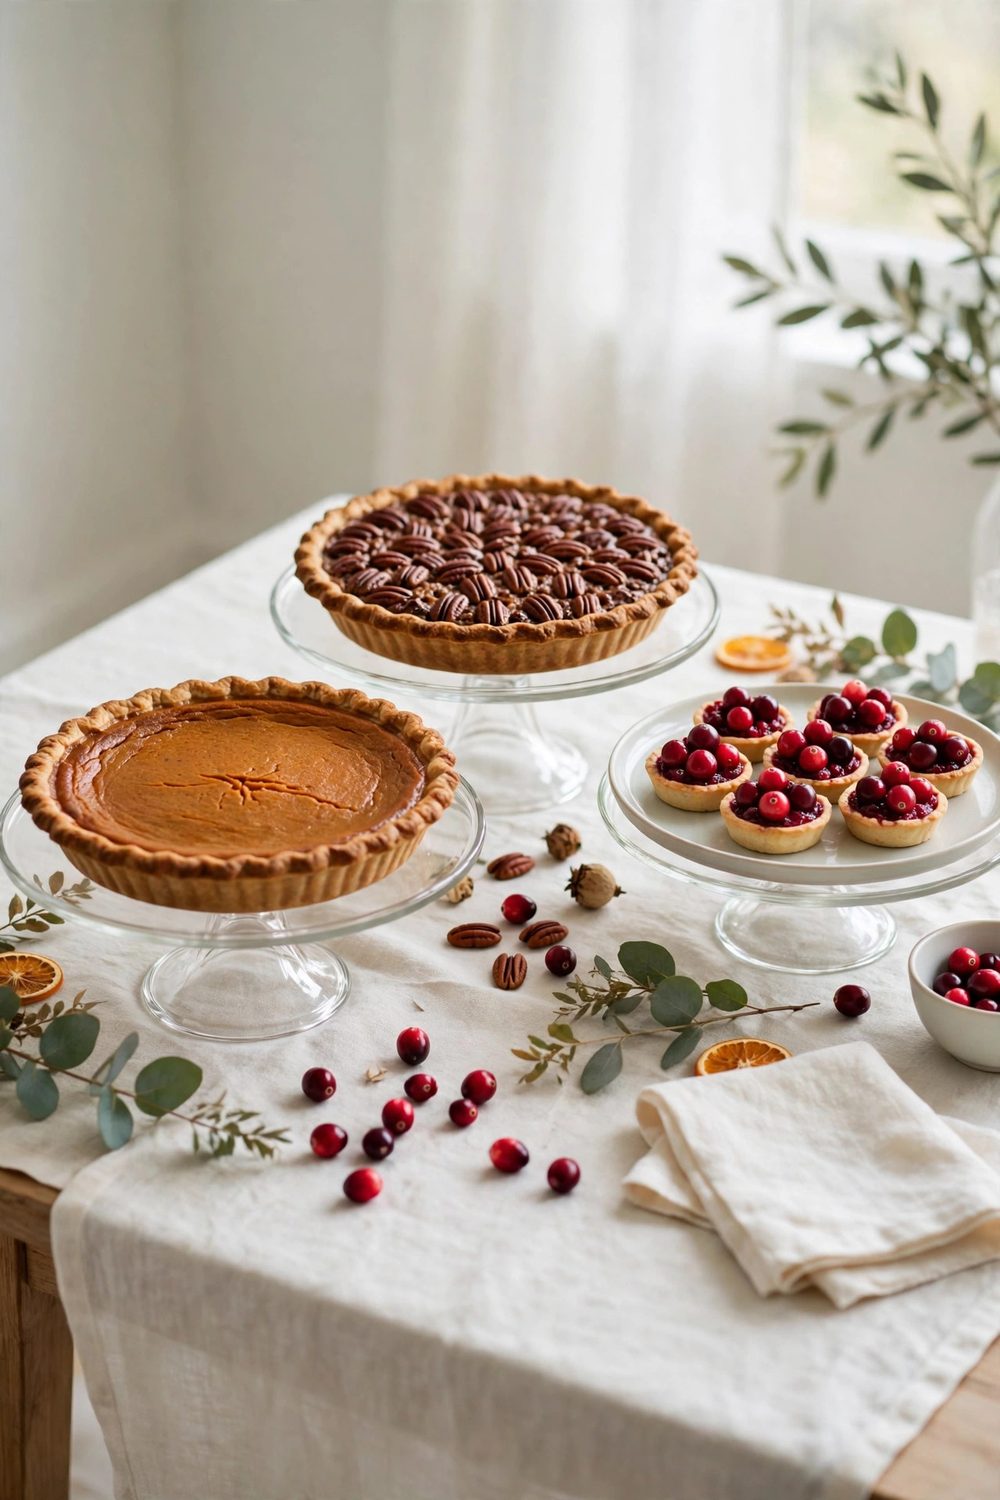
Dark, heavy serving pieces make a small table look smaller. Clear glass stands, pale ceramic plates, and light linen let the eye pass through the display instead of stopping at each piece. The table holds the same food but feels lighter.
Pick one pale base color, such as cream or soft sage, and repeat it in the plates, the napkins, and the runner. The desserts supply the rich color: deep pumpkin, golden crust, red cranberries. The contrast makes the food the star without adding bulk.
Skip the dark wood cake stands and the black trays for this table. Save them for a bigger room where their weight has space to breathe.
In a tight room, light pieces and a little empty space between dishes do more work than any extra decoration.
13. Add a Take-Home Box Station at the End of the Line
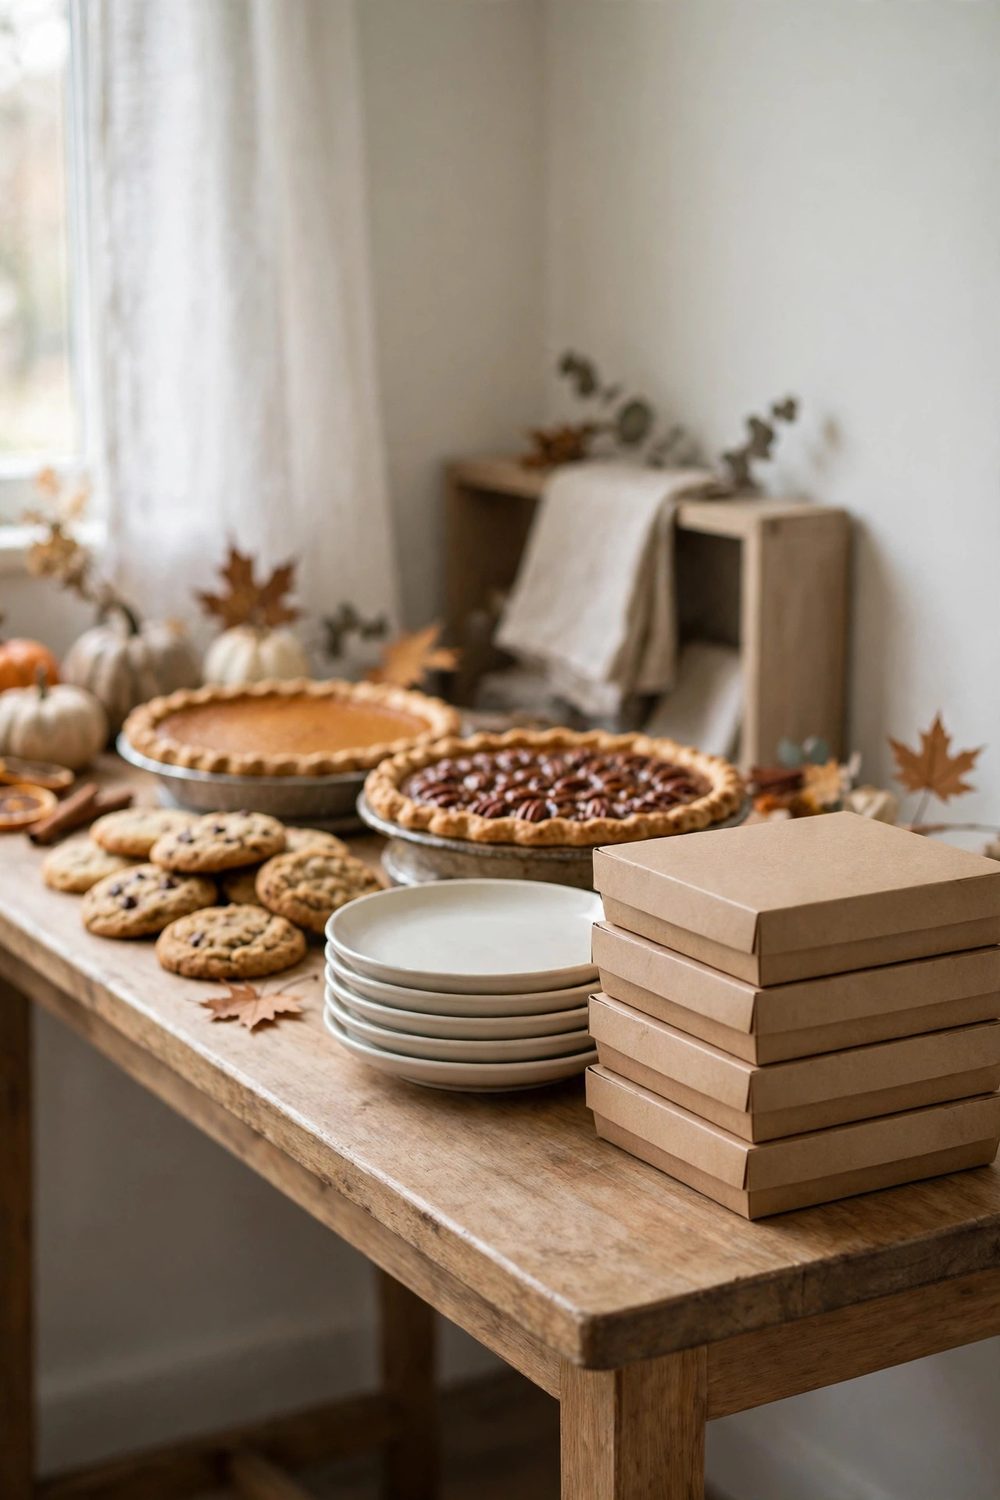
Twelve guests mean twelve plates of leftovers, and a take-home station turns that into a feature. Set a small stack of boxes or bags at the very end of the dessert line, past the plates, so guests pack a slice as they finish serving themselves.
Keep the boxes flat and stacked, with a small sign that says one box per guest. Guests pack their own, which saves the host a whole round of wrapping after everyone leaves.
Place the boxes where they do not block the plates. A chair beside the table works well, or the lower shelf of the rolling cart.
The trick is the same one that keeps a small apartment livable at Thanksgiving, as our small apartment hosting ideas show: everything has one spot, and nothing drifts.
14. Crown the Table With One Showpiece Pie
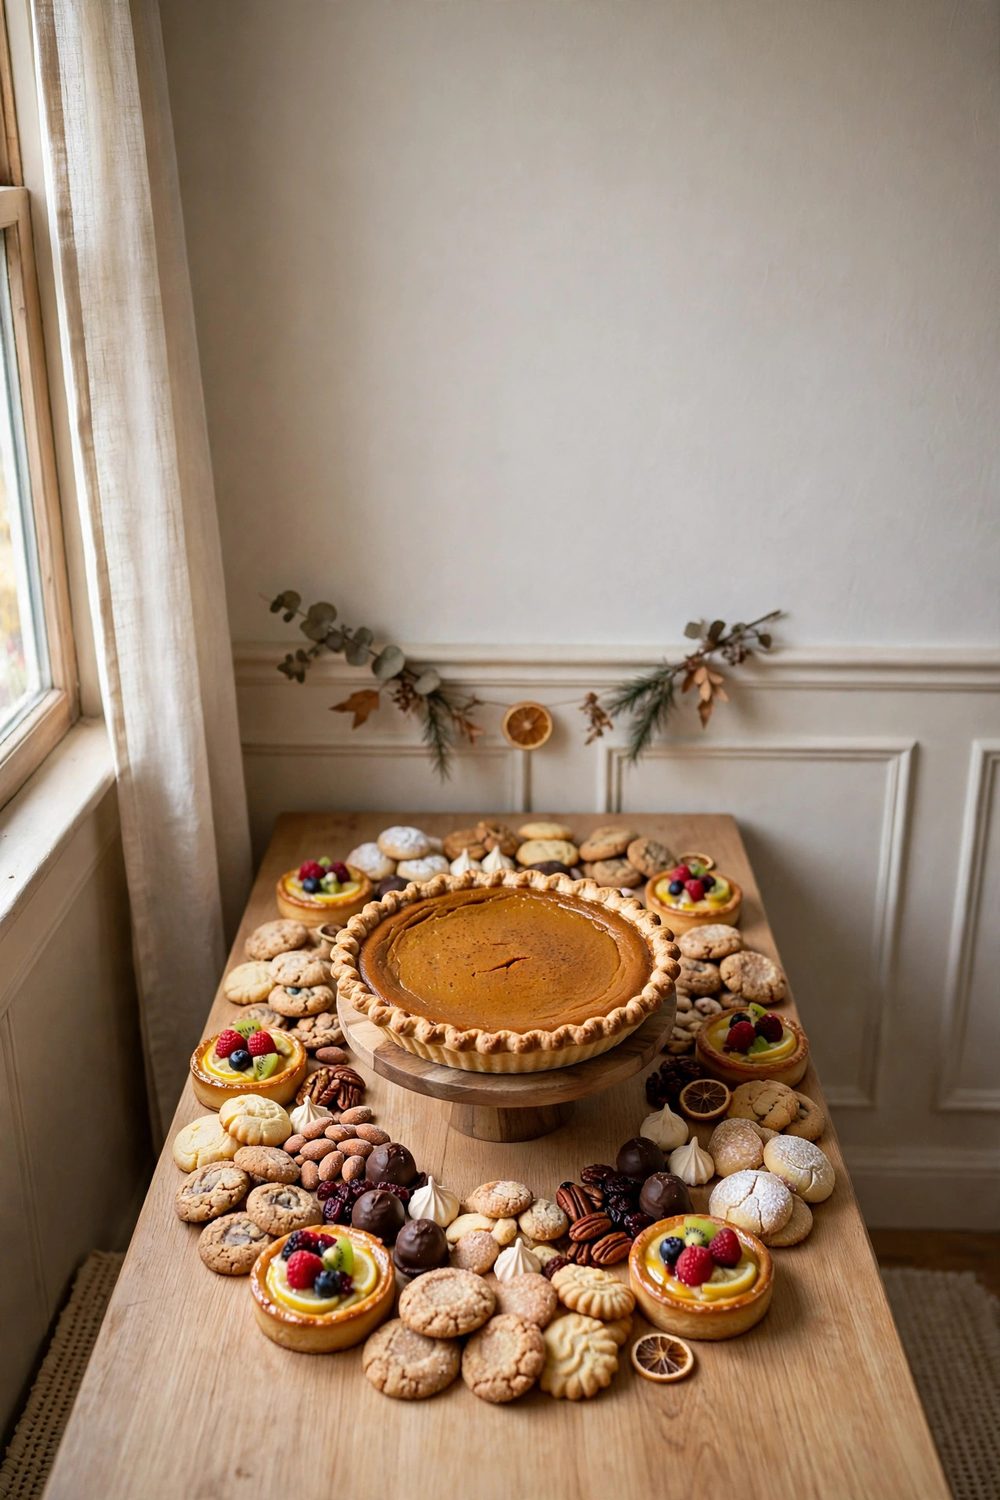
One tall, beautiful pie in the center does the work of a whole centerpiece. Set a pumpkin or apple pie on a low stand at the middle of the table, and arrange the smaller sweets around it in a loose ring.
Eyes go straight to the center, and the table reads as styled.
The showpiece trick also saves space. You skip the vase, the candle cluster, and the leafy arrangement, and the pie itself becomes the decoration. A few cranberries or small leaves scattered at its base finish the look without adding height.
Choose the pie that looks best whole, not the one that slices best. Keep the pre-cut slices of the other pie at the front, and cut the showpiece only when the first pie runs out.
15. Reveal Dessert Only After the Dinner Plates Clear
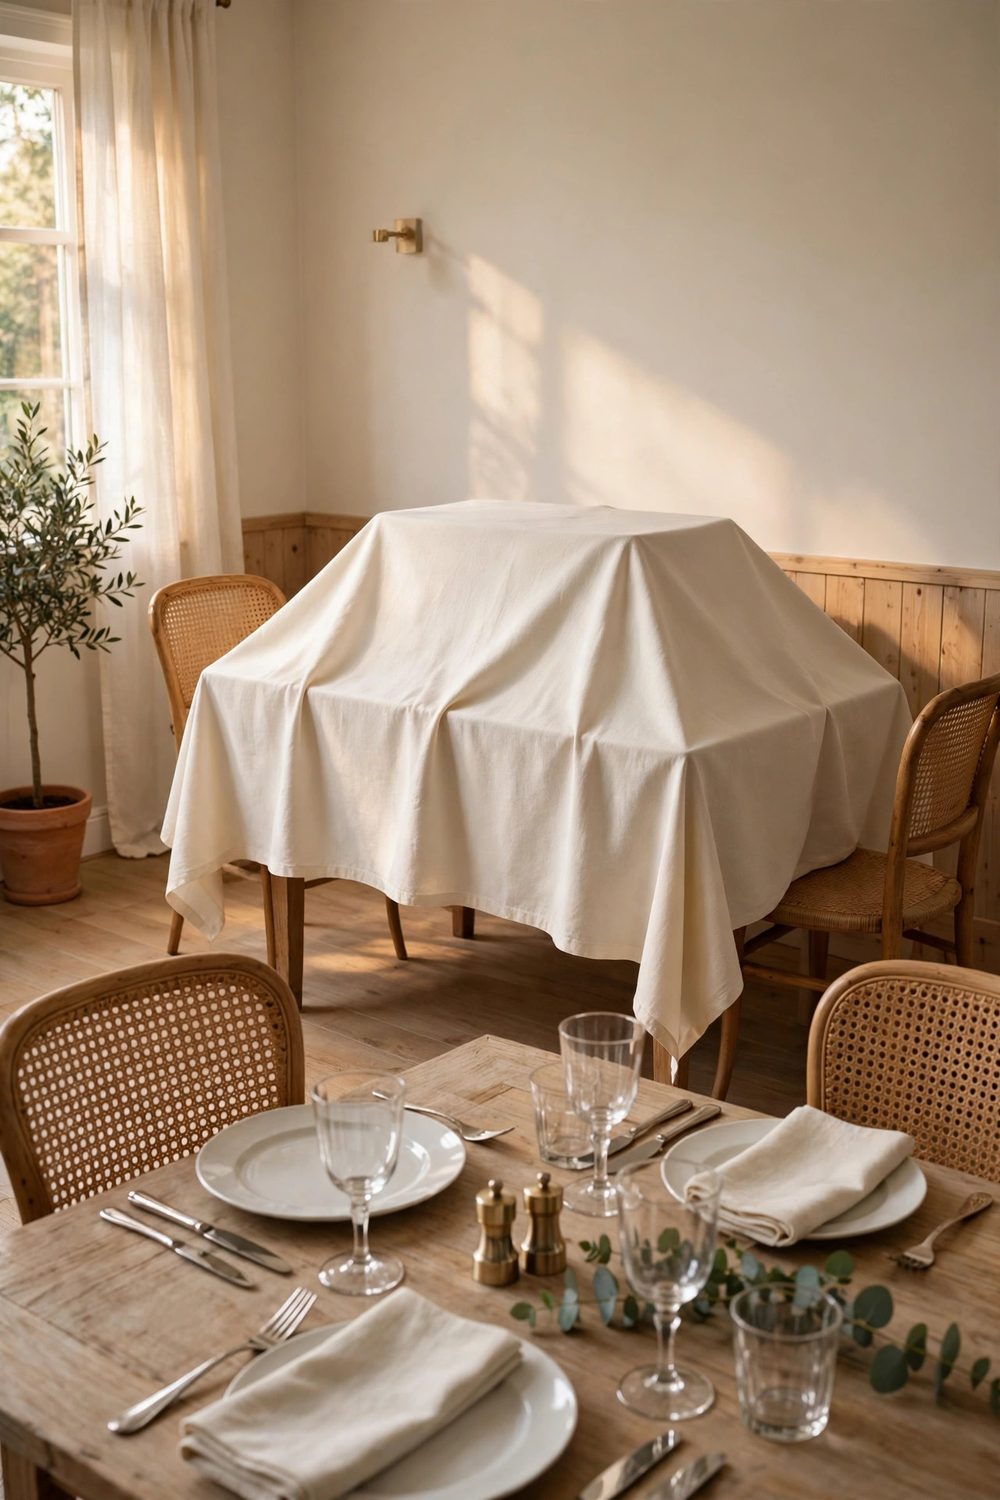
The simplest space saver costs nothing: keep the dessert table covered until dinner ends. A plain cloth over the table during the meal hides the sweets, protects them from dust and hands, and keeps guests focused on dinner instead of drifting toward dessert early.
When the plates clear, pull the cloth away and the table appears like a fresh course. Guests stand, stretch, and wander over in a natural flow instead of crowding the table while others are still eating. The reveal gives the evening a second act.
Set the table fully before guests arrive, cloth and all, so the reveal takes ten seconds. If your dessert table sits on a porch or in another spot, our outdoor porch dessert ideas use the same covered-until-dessert timing to keep sweets fresh outside.
Twelve guests in a small room is not a problem to solve with a bigger table. It is a chance to host with more care: one wall line, a few tall stands, small cups, and a drink station of its own.
These thanksgiving dessert table ideas for hosting twelve guests in a small space work best when you pick three and set the table up the night before.
Pick the three that fit your room best, and leave the walkways clear.
Then save this post to your Thanksgiving Decor Ideas board on Pinterest so the plan is waiting for you when the pies come out of the oven.


