

15 Thanksgiving Drink Station Ideas for a Kitchen Island Buffet
The kitchen island is the busiest spot in the house on Thanksgiving. Guests gather there with empty glasses while you try to finish the gravy and keep the oven on schedule.
A drink station on the island can end that crowd, but only when the layout is planned first. Without a plan, bottles, glasses, and ice pile up in one corner and no one can reach a cup.
Thanksgiving drink station ideas for a kitchen island buffet work best when drinks get their own clear zone, away from the food and the cooking. The ideas below show how to set that zone up, keep it tidy, and let guests serve themselves.
You do not need new furniture or a big budget. A tray, a few risers, and a clear order of glasses, drinks, and napkins will do the job. If you also serve coffee at breakfast, our Thanksgiving coffee station ideas keep that corner calm too.
This post contains affiliate links. If you buy through them, we may earn a small commission at no extra cost to you. See our Affiliate Disclosure.
1. Give Drinks One End and Keep the Other End Free
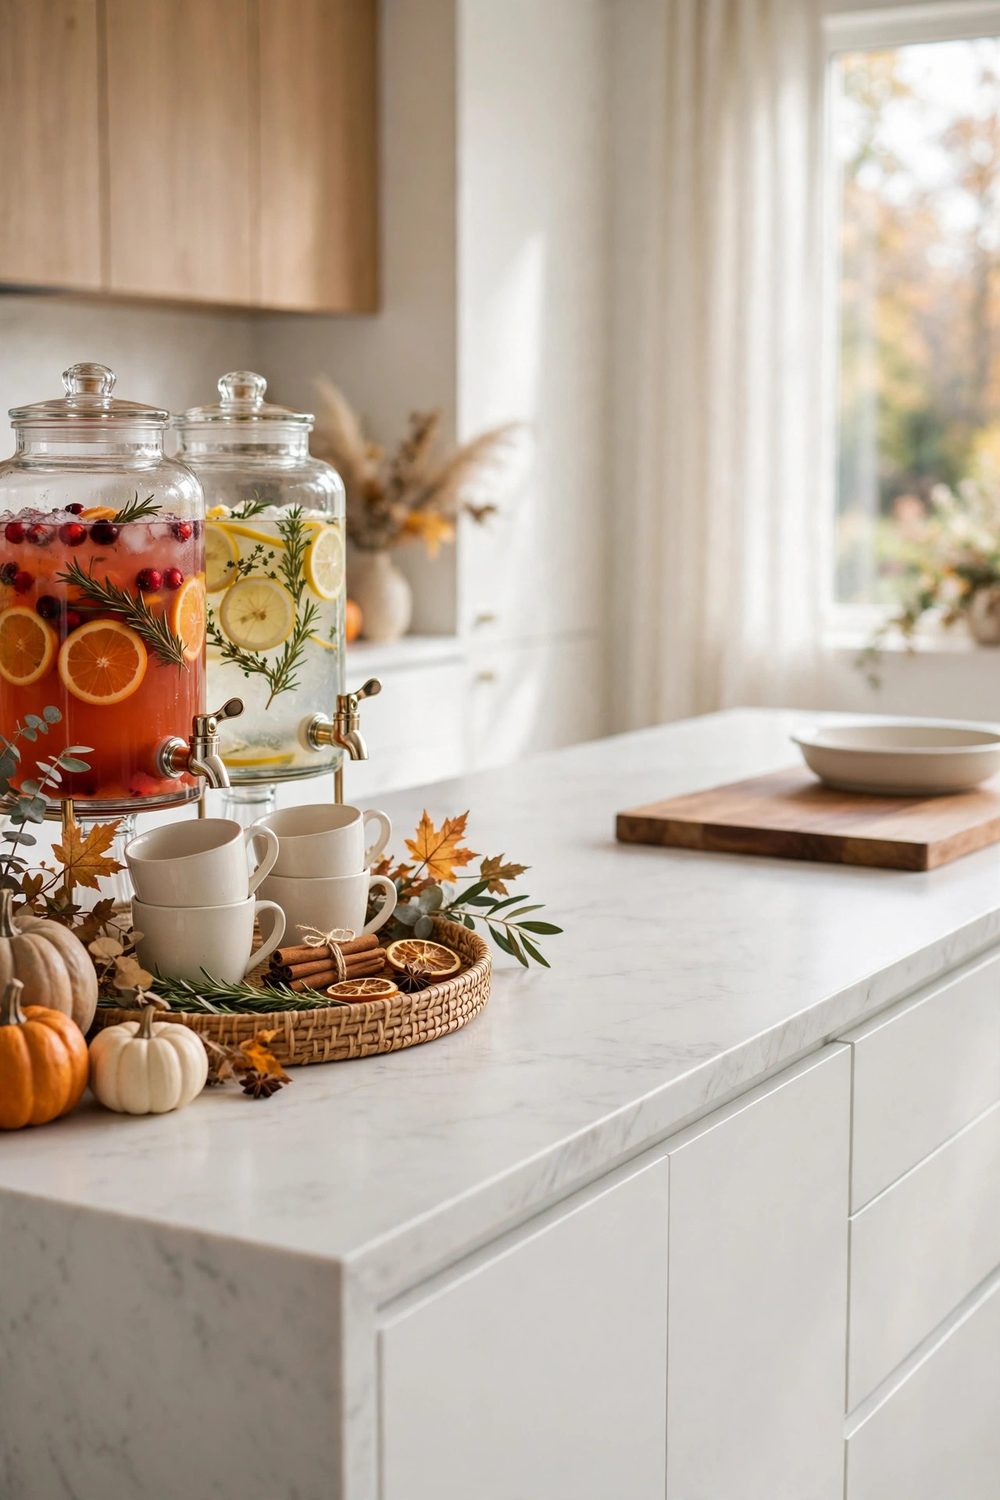
The most common mistake is spreading drinks across the whole island. Guests then stop anywhere, block the cook, and reach over hot pans. Pick one end for drinks and leave the other end open for prep and serving.
Stand at the island and mark the drink end with a tray or a folded runner. Everything for pouring stays inside that mark. The free end holds the carving board, the serving dishes, and space to set down a hot tray.
This split also helps guests know where to go. They walk to the drink end, pour, and step away. The cook keeps a clear work zone, and no one has to ask where the glasses are.
2. Anchor the Station on a Low Wood Tray
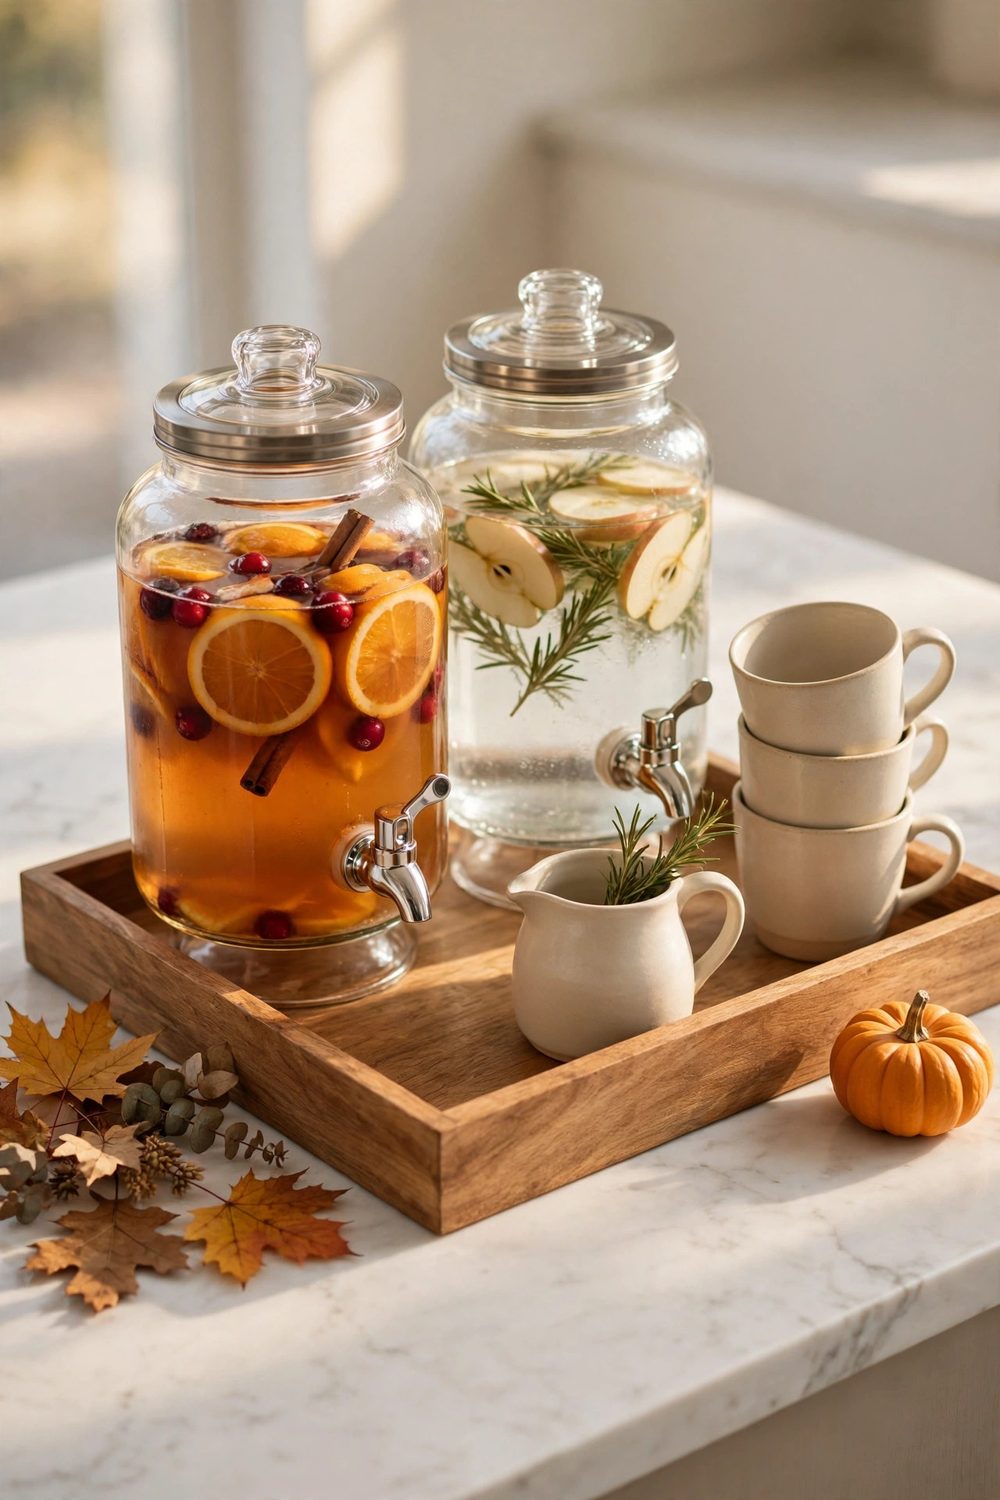
A low wood tray gives the drink station a clear edge. Without one, bottles drift apart as people pour and reach, and the station slowly takes over the island. The tray says where the station starts and stops.
Choose a tray that fits the island end with room to spare on all sides. A rim about an inch high catches small drips and keeps glasses from sliding off. Wood warms the look and suits the fall table.
Set the tray down first, before any bottle or glass. Place the tallest items at the back of the tray and the shortest at the front. The tray then reads as one neat group instead of a scattered row.
3. Set Two Dispensers at Different Heights
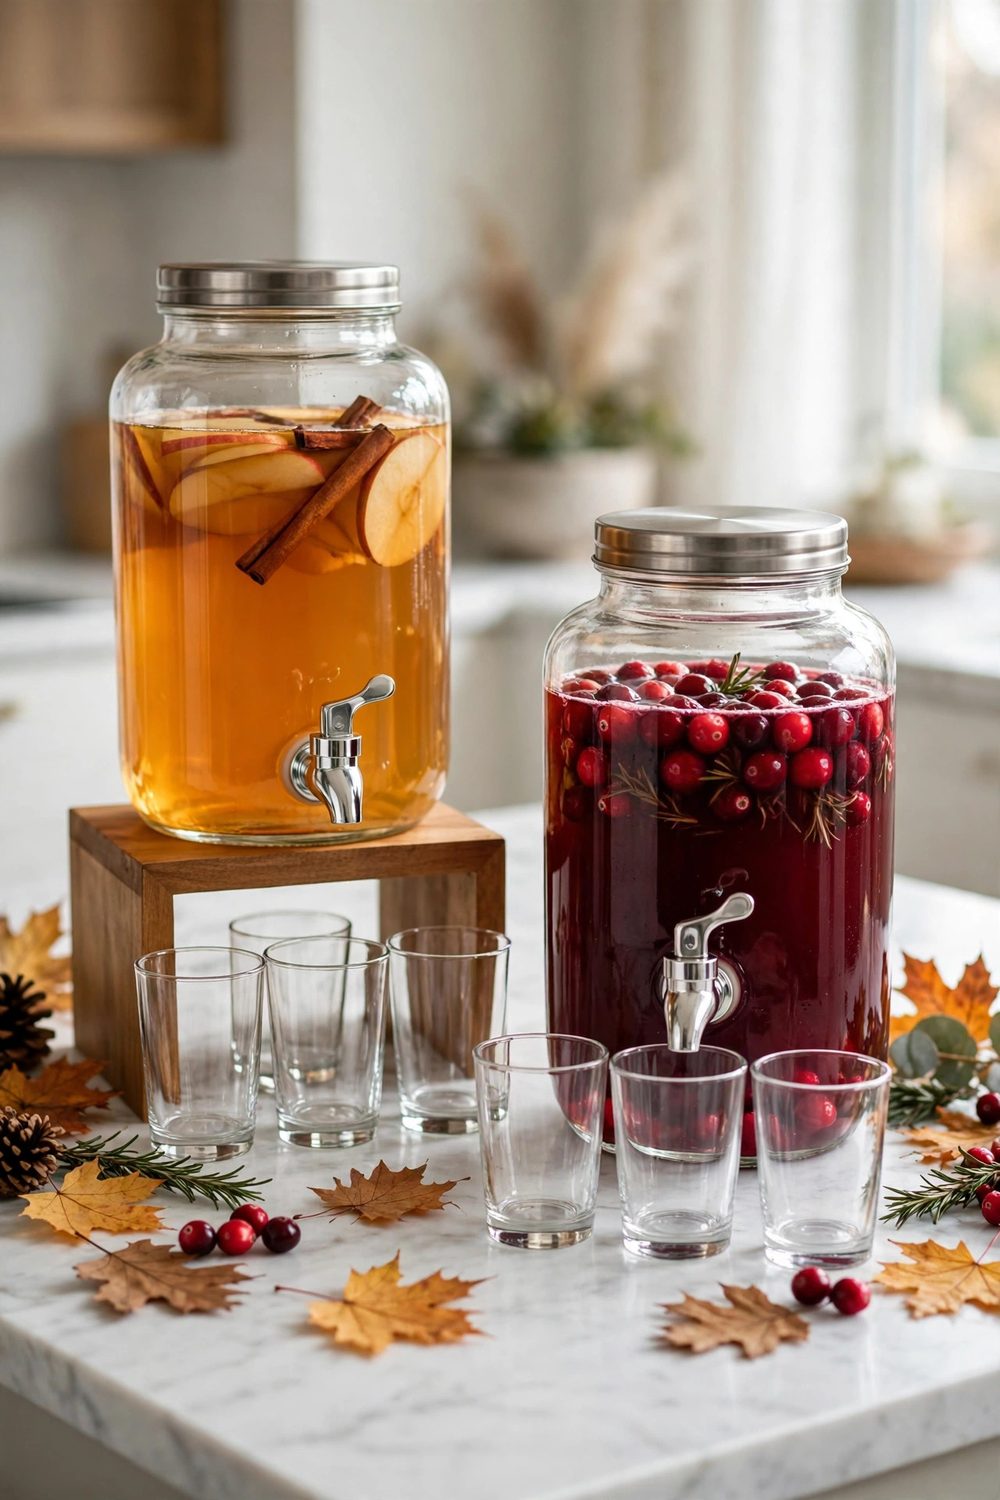
Two dispensers at the same height look flat and make it hard to tell them apart. Raise one on a sturdy box, a stack of books, or a small wooden riser. The height change marks each drink and makes both spigots easy to reach.
Put the most popular drink at the lower height so kids and shorter guests can pour it without stretching. Keep the second dispenser higher at the back, where an adult can reach it over the first.
Leave a hand-width of space between the dispensers so a glass fits under each spigot without bumping the other. Our small-home buffet ideas use the same riser trick to fit more on a tight surface.
4. Put Hot Drinks on One Side and Cold Drinks on the Other
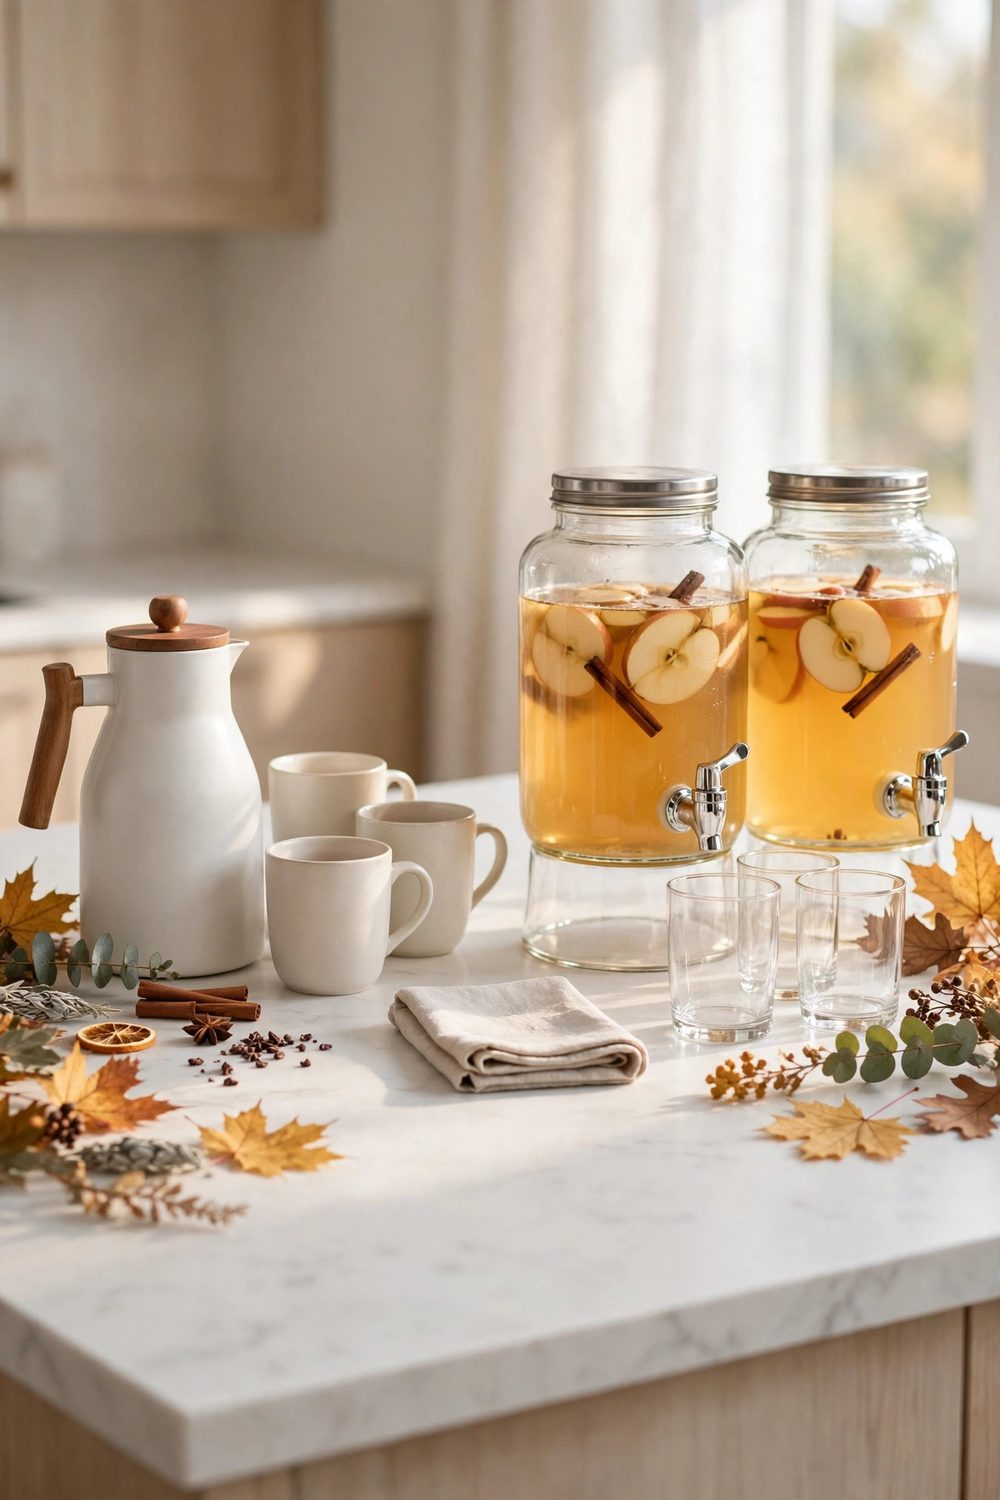
Mixing hot and cold drinks in one row causes spills and confusion. Someone reaches for cider and knocks a mug of cocoa. Split the tray into a hot side and a cold side, with a small gap between them.
The hot side holds the carafe, the mugs, and the sugar bowl. The cold side holds the dispensers, the glasses, and the ice bowl. Guests pick a side and stay on it, so hands stop crossing over each other.
A folded cloth or a small wood board can mark the split. The line does not need a sign. People read the gap and the matching cups, and they pour on the right side without thinking.
5. Line Mugs and Glasses Along the Back Edge
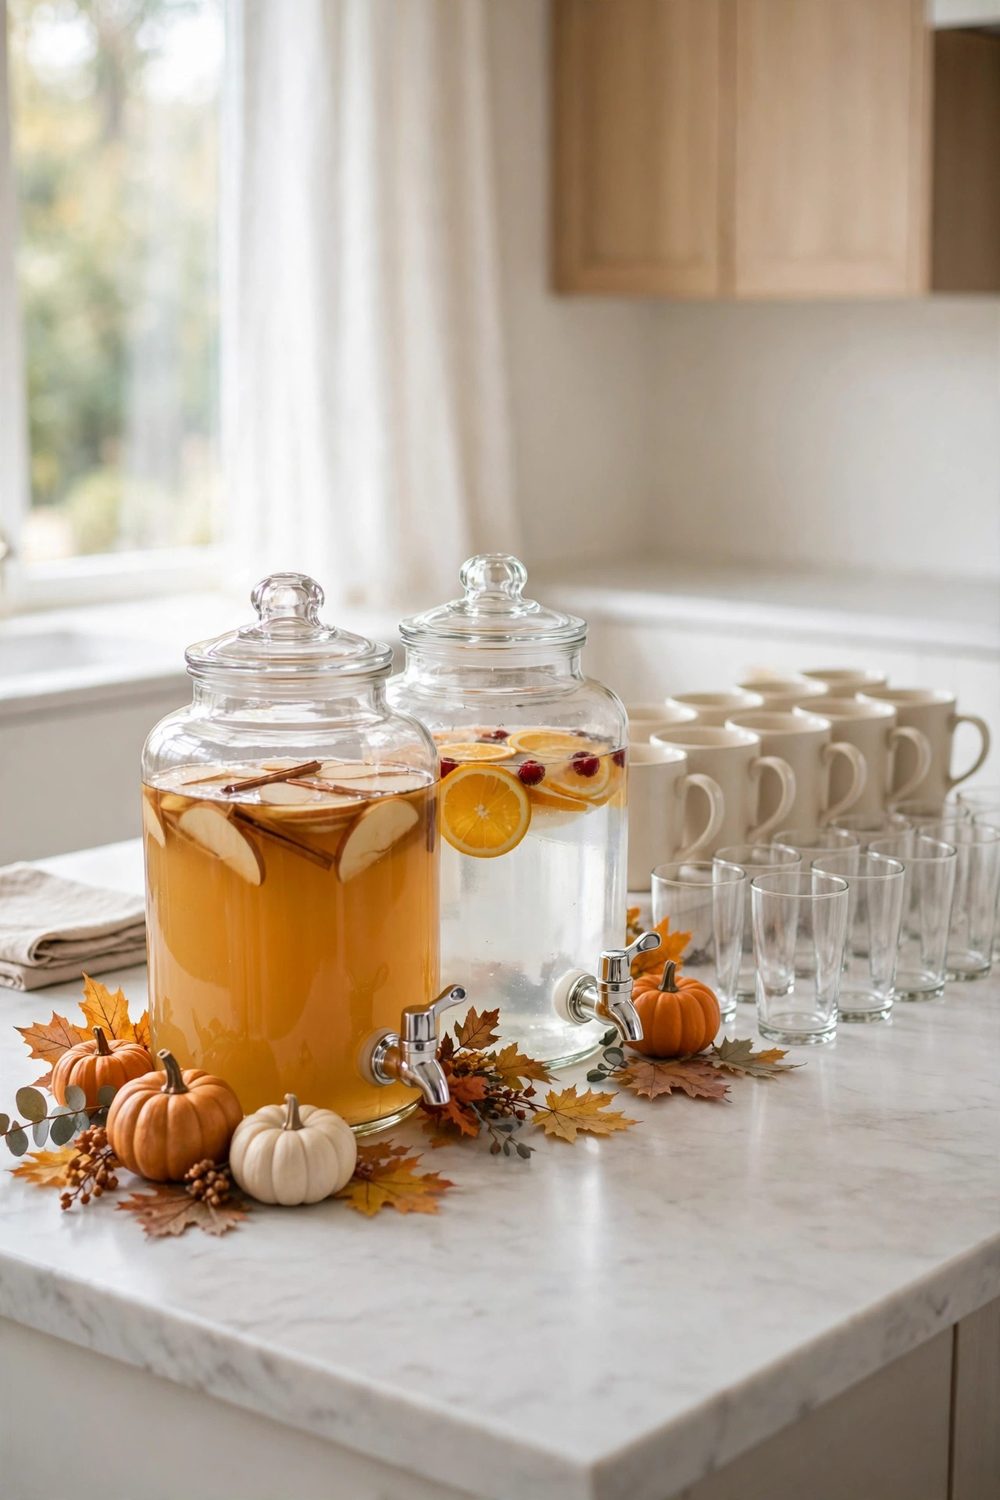
Glasses belong at the back edge of the island, where they are easy to see and hard to knock over. When glasses sit in the middle, elbows hit them and the station turns into a cleanup job.
Line the mugs in one neat row and the glasses in another, handles and rims facing the same way. Keep four to six of each out at a time and store the rest nearby. A short row looks calm and refills fast.
Place the glasses at the start of the pouring flow, before the dispensers. Guests pick up a glass first, then move along to pour. The line moves in one direction and never doubles back.
6. Serve Ice From a Deep Bowl With a Scoop
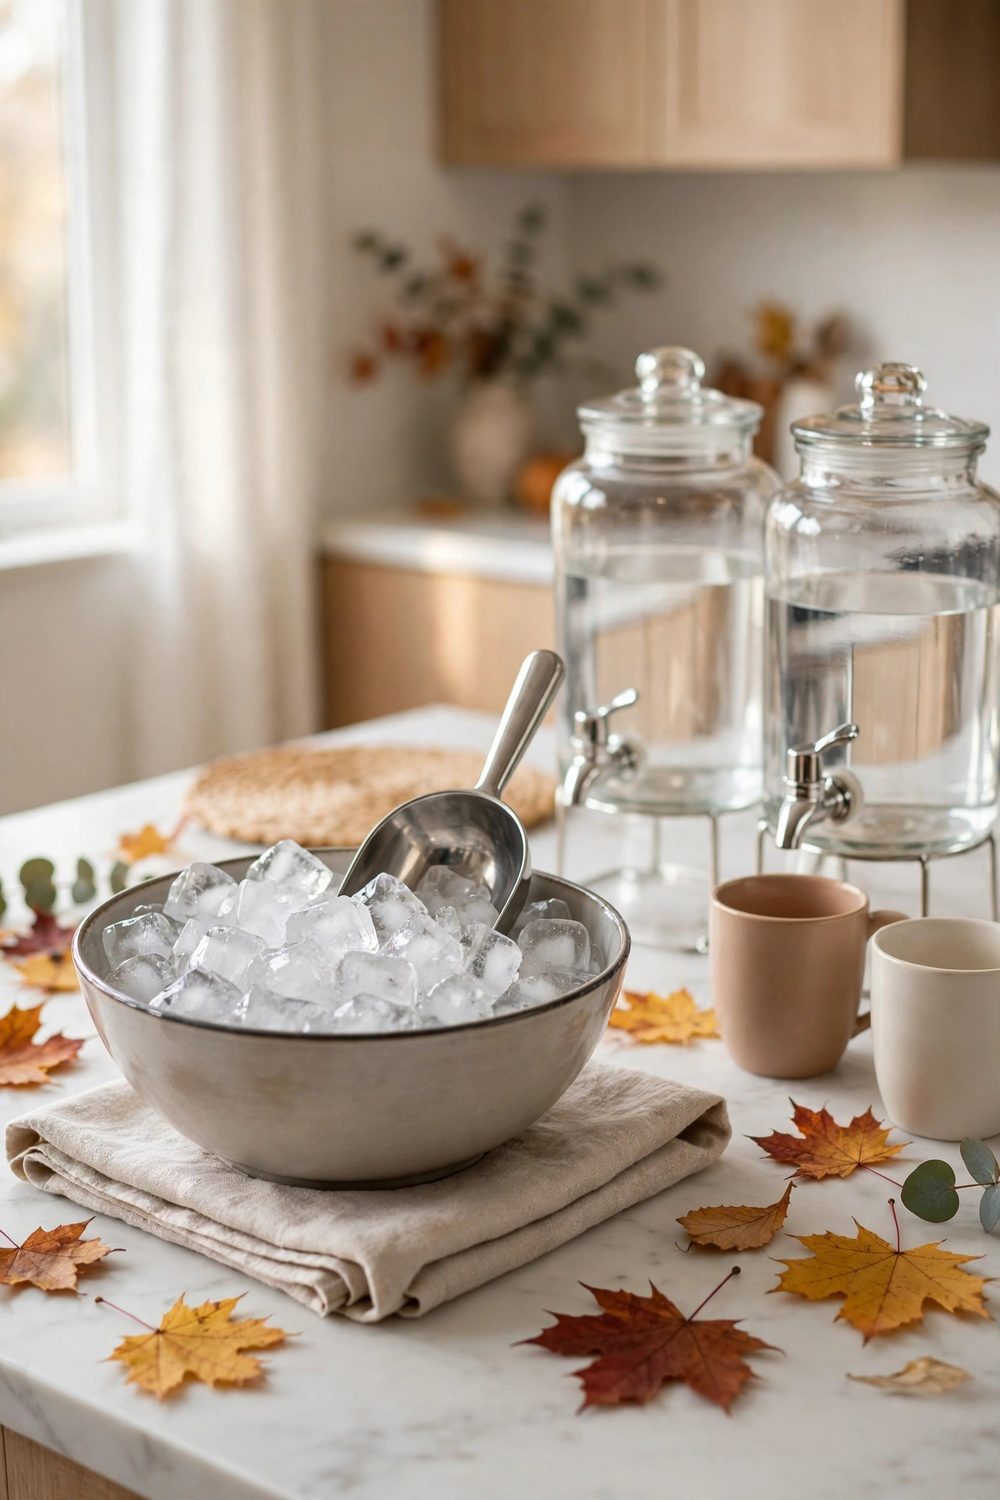
Ice in a shallow dish melts fast and slides off the tray. A deep bowl keeps the cubes cold longer and gives the scoop room to work. Guests scoop once and move on instead of fishing for cubes with their hands.
Pick a bowl wide enough for the scoop to turn inside it. Set it on a folded towel so condensation stays off the island. Keep the scoop handle up and out of the ice so hands never touch the cubes.
Refill the bowl from a bag kept in the freezer, not from a tray of half-melted cubes. Fresh ice stays clear and cold, and the bowl looks tidy all afternoon. One bag usually covers a small gathering.
7. Build a Small Garnish Board With Tiny Bowls
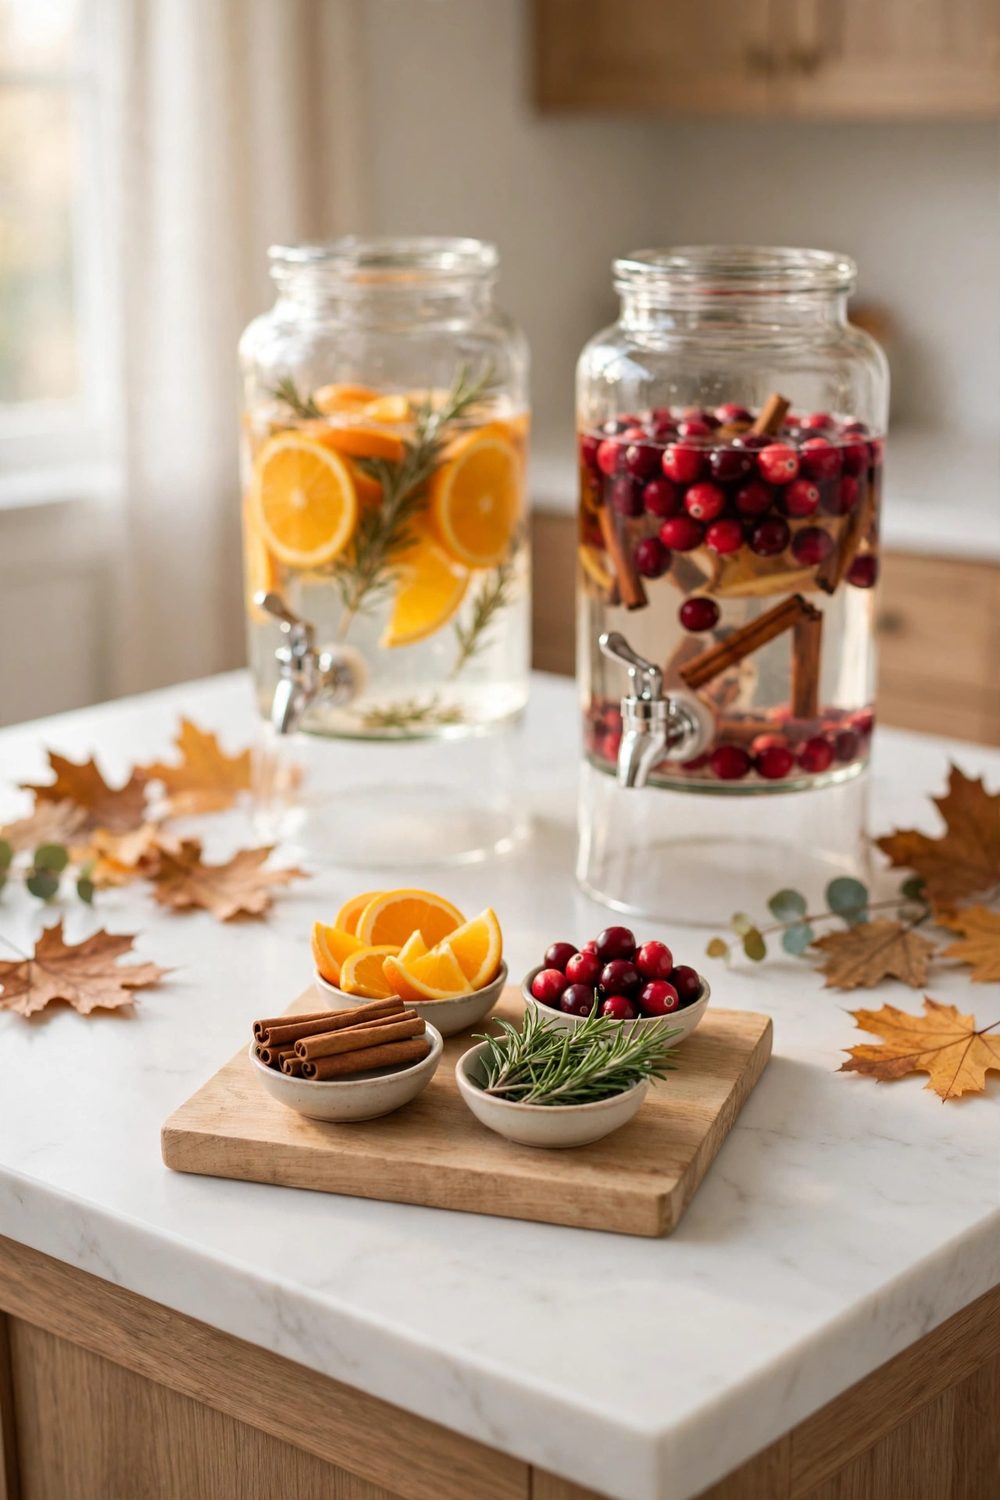
A garnish board turns plain drinks into something guests remember. Set out three or four tiny bowls with orange slices, cranberries, cinnamon sticks, and rosemary sprigs. Each bowl holds one garnish, so the board stays neat.
Place the board after the dispensers, at the end of the pouring flow. Guests pour first, then add a garnish on their way out. This order keeps the board dry and stops garnishes from falling into the dispensers.
Keep the bowls small and the amounts modest. A few slices and sprigs look generous on a small board. Refill from the fridge as needed, and pull the board away once the meal starts so it never crowds the food.
8. Label Every Drink With a Small Card
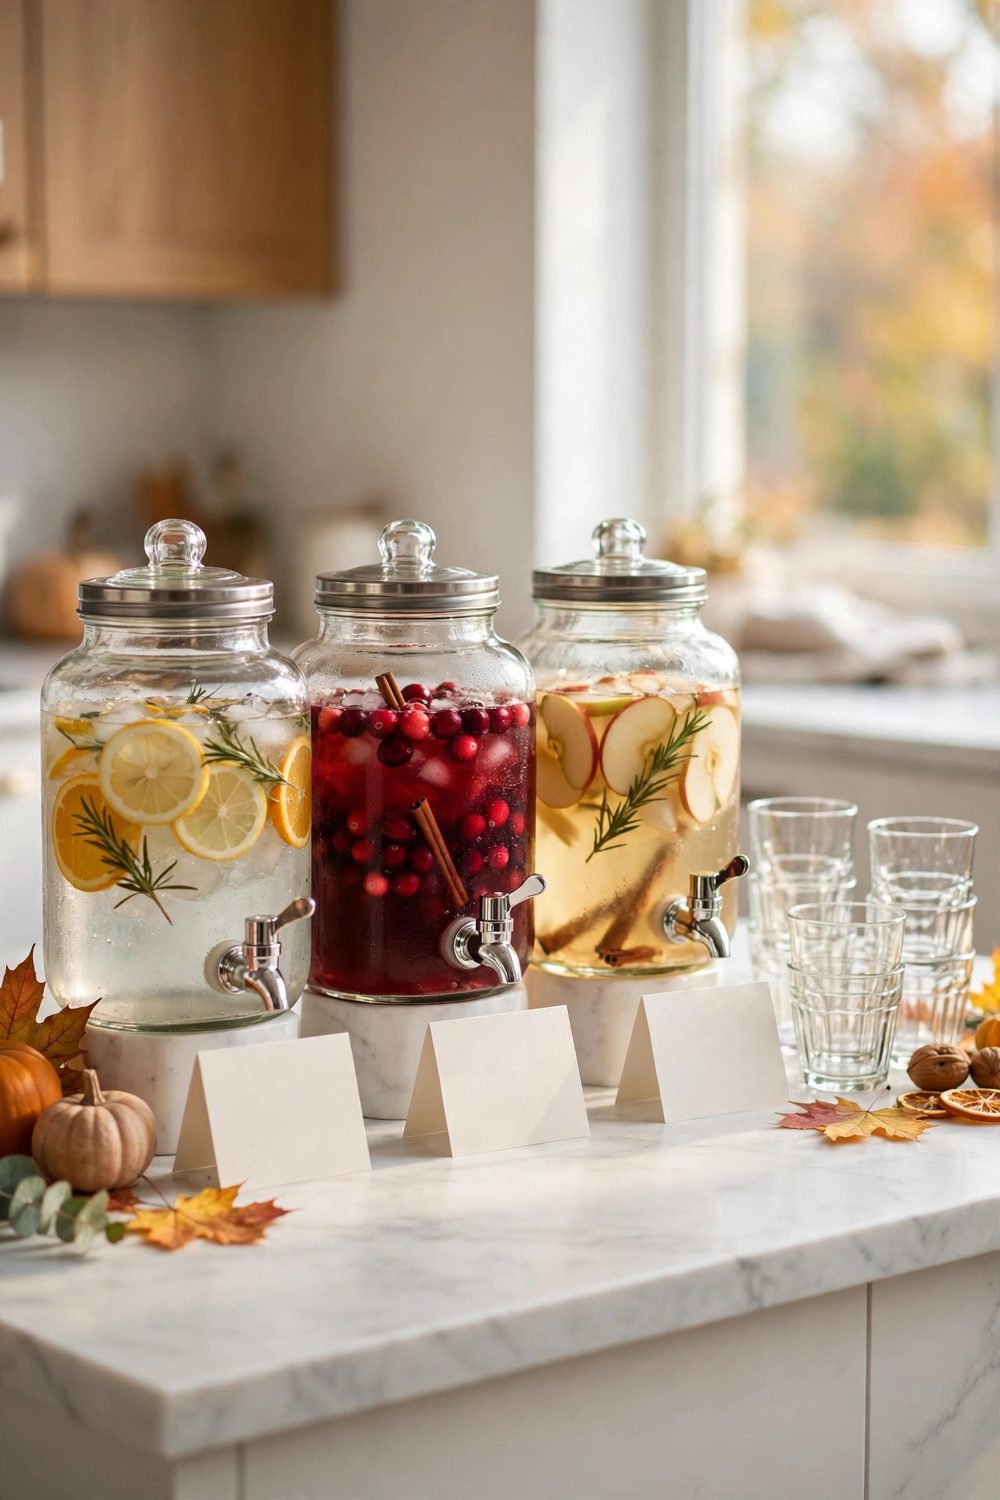
Unlabeled drinks cause the same question all day long. Guests lift lids, sniff, and ask what each one is. A small card in front of each dispenser ends the guessing and keeps lids closed.
Write the drink name in large, plain letters on a folded card. Add one short line underneath, such as spiced cider or cranberry sparkler, so guests know what to expect. Keep the card upright and facing the pouring side.
Cards also help guests with food limits. Note when a drink has no alcohol or no added sugar. That one line lets everyone pour with confidence and saves you from repeating the same answer all afternoon.
9. Add a Low Shelf So Kids Can Reach Their Own Cups
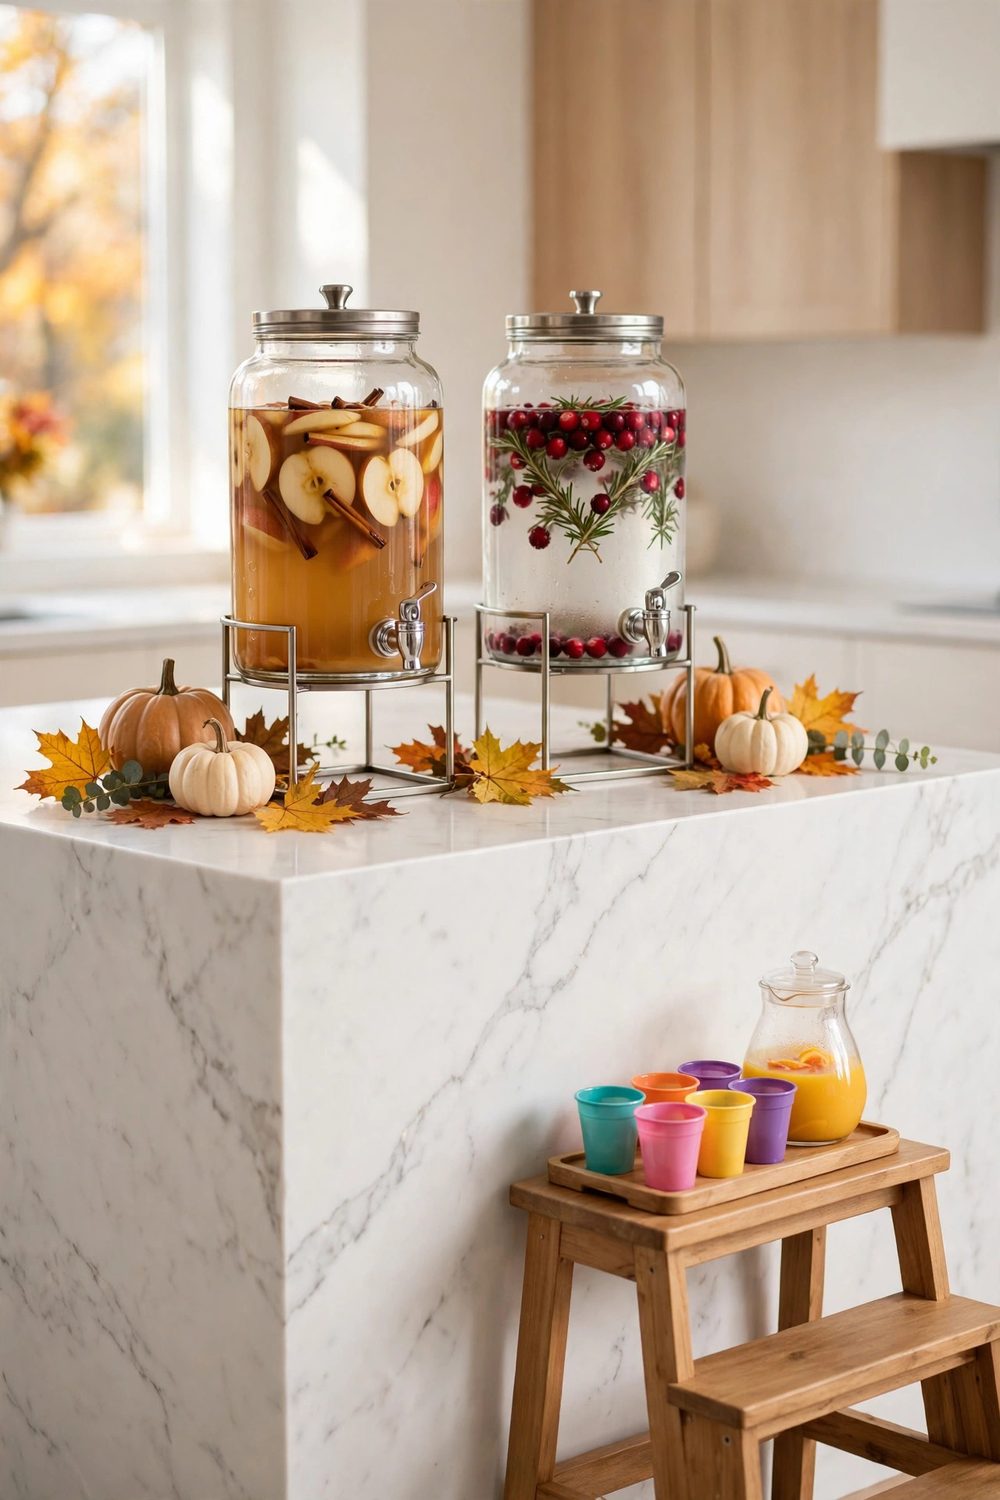
Kids love pouring their own drinks, but a tall island puts the spigots out of reach. A low stool or a small step shelf at the island end lets them serve themselves without climbing or asking an adult to lift them.
Set a small tray of plastic cups and a low pitcher of juice on the step shelf, away from the glass dispensers. Kids pour from their own spot while adults use the main station. The two flows never cross.
Keep the kids shelf at the end farthest from the stove and the hot drinks. Our kids table drink station ideas show how to match the small setup to the adult table so the whole room feels planned.
10. Keep Napkins, Stirrers, and Straws in One Caddy
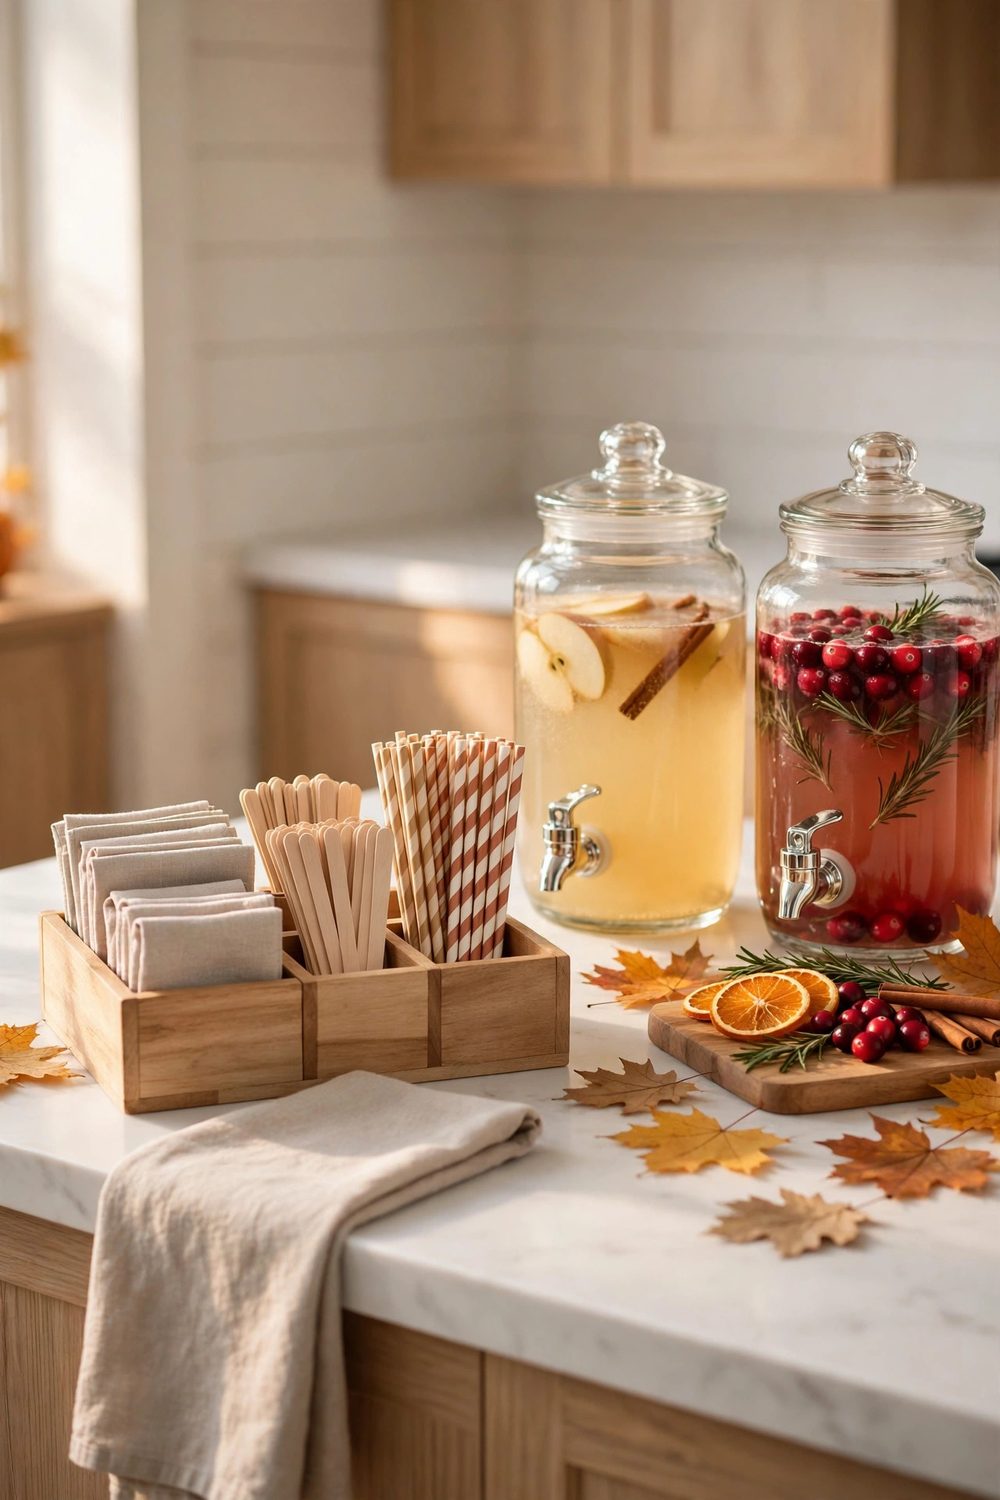
Loose napkins and stirrers scatter across the island within an hour. One small caddy holds them all in one place. Guests grab what they need and the station stays tidy without you tidying it.
Pick a caddy with three or four sections, one for napkins, one for stirrers, and one for straws. Set it at the end of the pouring flow, after the garnish board, so guests finish their drink and pick up the extras last.
Refill the caddy once before dinner and once after. A full caddy looks cared for, and an empty one sends guests hunting through drawers. Keep a spare stack of napkins under the island for fast refills.
11. Run a Low Garland Behind the Dispensers
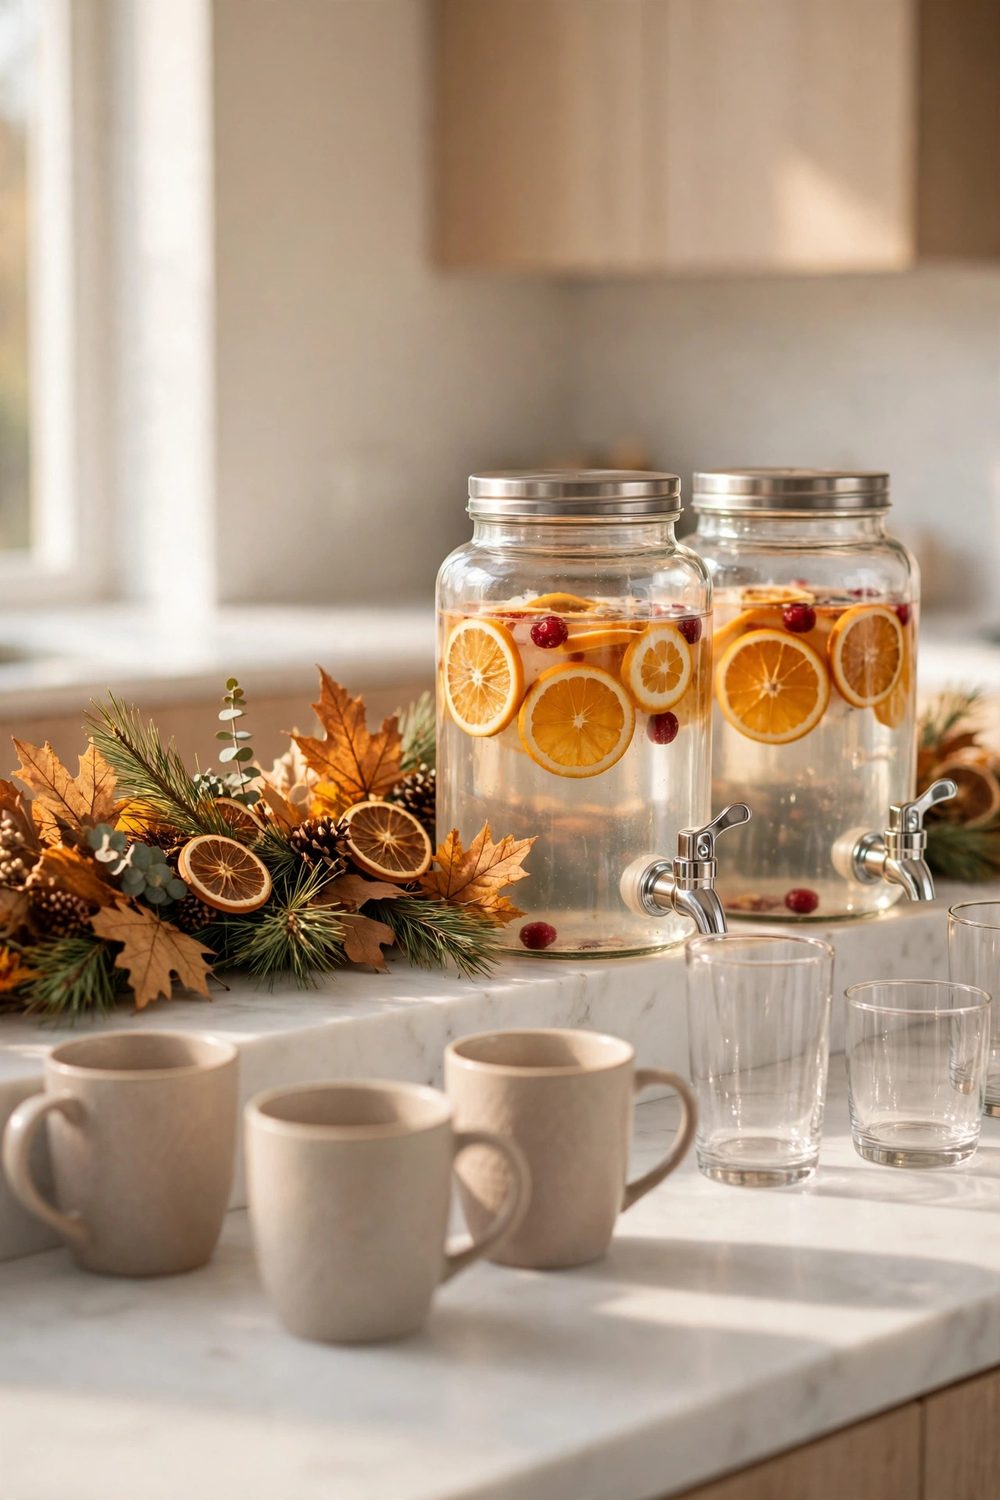
A low garland of fall leaves or pine behind the dispensers frames the station without blocking it. The key word is low. A tall arrangement hides the labels and forces guests to reach around it.
Lay the garland flat along the back edge, no higher than the dispenser lids. Tuck in a few small pinecones or dried orange slices for color. The garland reads as a backdrop, not as part of the serving line.
Keep the garland clear of the spigots and the mug handles. Leaves near a spigot end up in the drink, and pine needles near hot mugs make a mess. A short garland, kept to the back edge, stays clean all day.
12. Hide a Spill Kit Under the Island Overhang
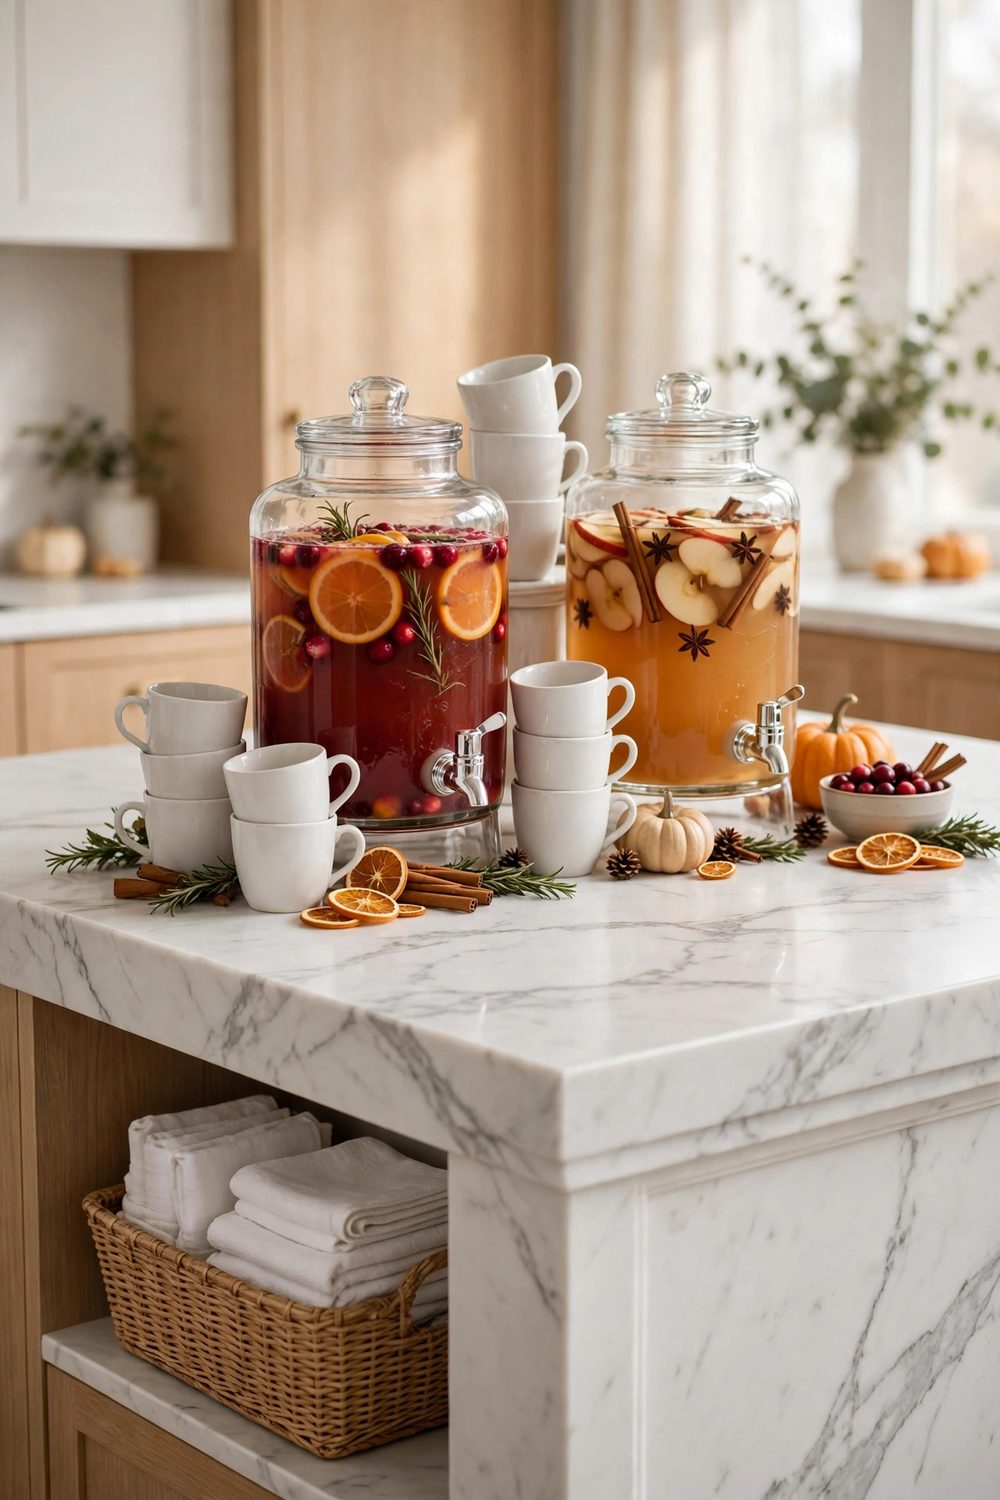
Spills happen at every drink station, and the fix should be close at hand. Tuck a small basket under the island overhang with two cloths, a small towel, and a spare tray liner. No one sees it, but you can reach it in seconds.
When a spill happens, lift the tray, wipe the island, and swap the liner. The station is back in shape in under a minute. Without a kit nearby, the spill sits while you hunt for a cloth in another room.
Check the basket before guests arrive and again before dinner. Fold the cloths so they stack flat, and keep the basket at the drink end of the island. A hidden kit keeps the station looking calm even after a mishap.
13. Set a Coffee Corner With a Carafe and a Mug Row
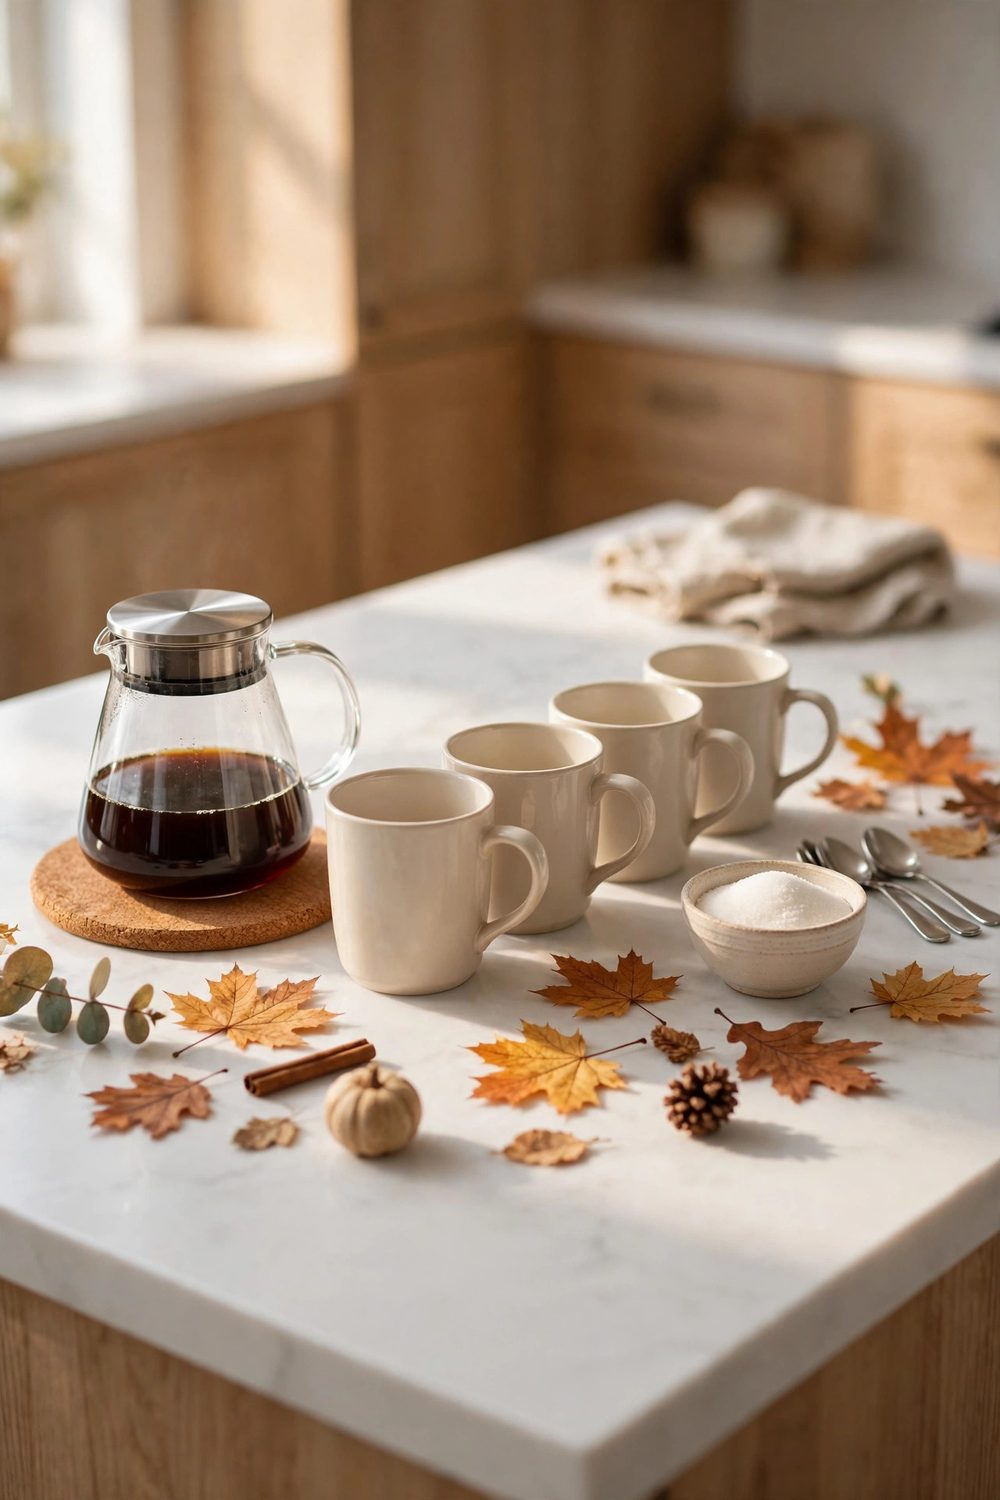
Coffee deserves its own small corner on the island, apart from the cold drinks. A carafe, a row of mugs, and a tiny bowl of sugar fit on one end of the tray and give coffee drinkers a clear place to gather.
Place the carafe on a folded towel or a cork mat to protect the island from heat. Set the mugs beside it, handles facing out, and the sugar and spoons just past them. The order is pour, sweeten, stir, step away.
Brew a fresh pot before dessert, not before dinner. Coffee made too early tastes flat by the time anyone wants it. A fresh pot at dessert time draws people back to the island for a calm finish.
14. Pair Sparkling Water With Cider in One Row
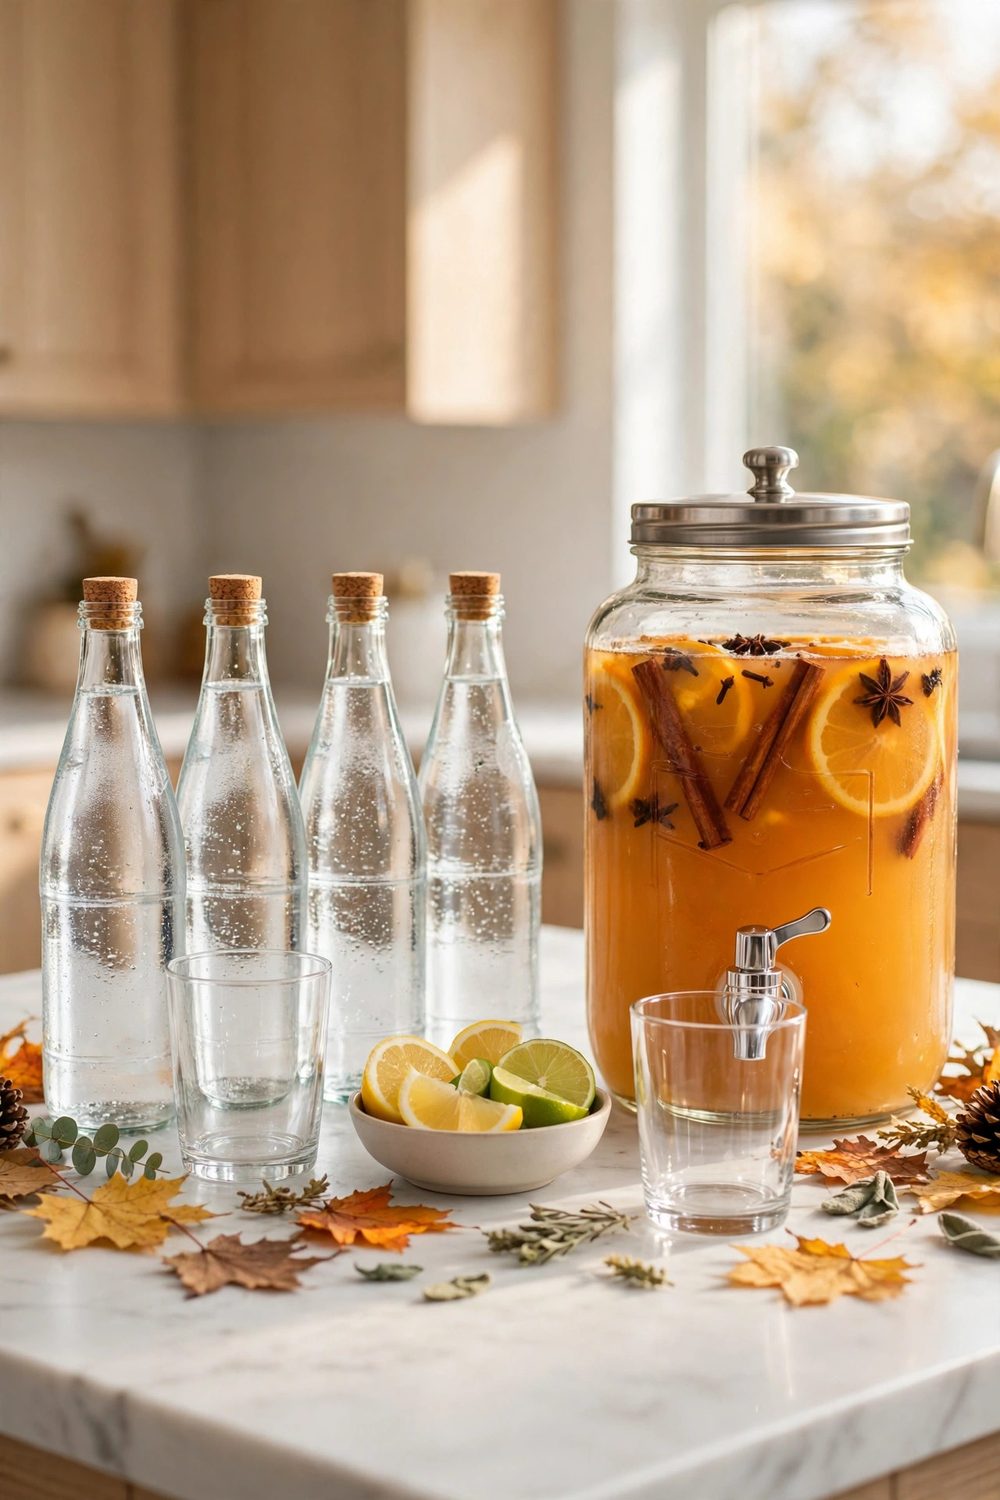
Not every guest wants a sweet drink, and plain water feels like an afterthought when it sits alone. Pair sparkling water with spiced cider in one row so both choices look planned and equal.
Place the sparkling water first, then the cider beside it, with matching glasses in front of both. Add a small bowl of lemon or lime wedges between them. Guests who skip the cider still get a drink that feels festive.
This pairing also helps the host. Our cozy kitchen hosting prep keeps one cold row ready before guests arrive, so the island is set while you finish the food.
15. Set It Up the Night Before and Refill on a Schedule
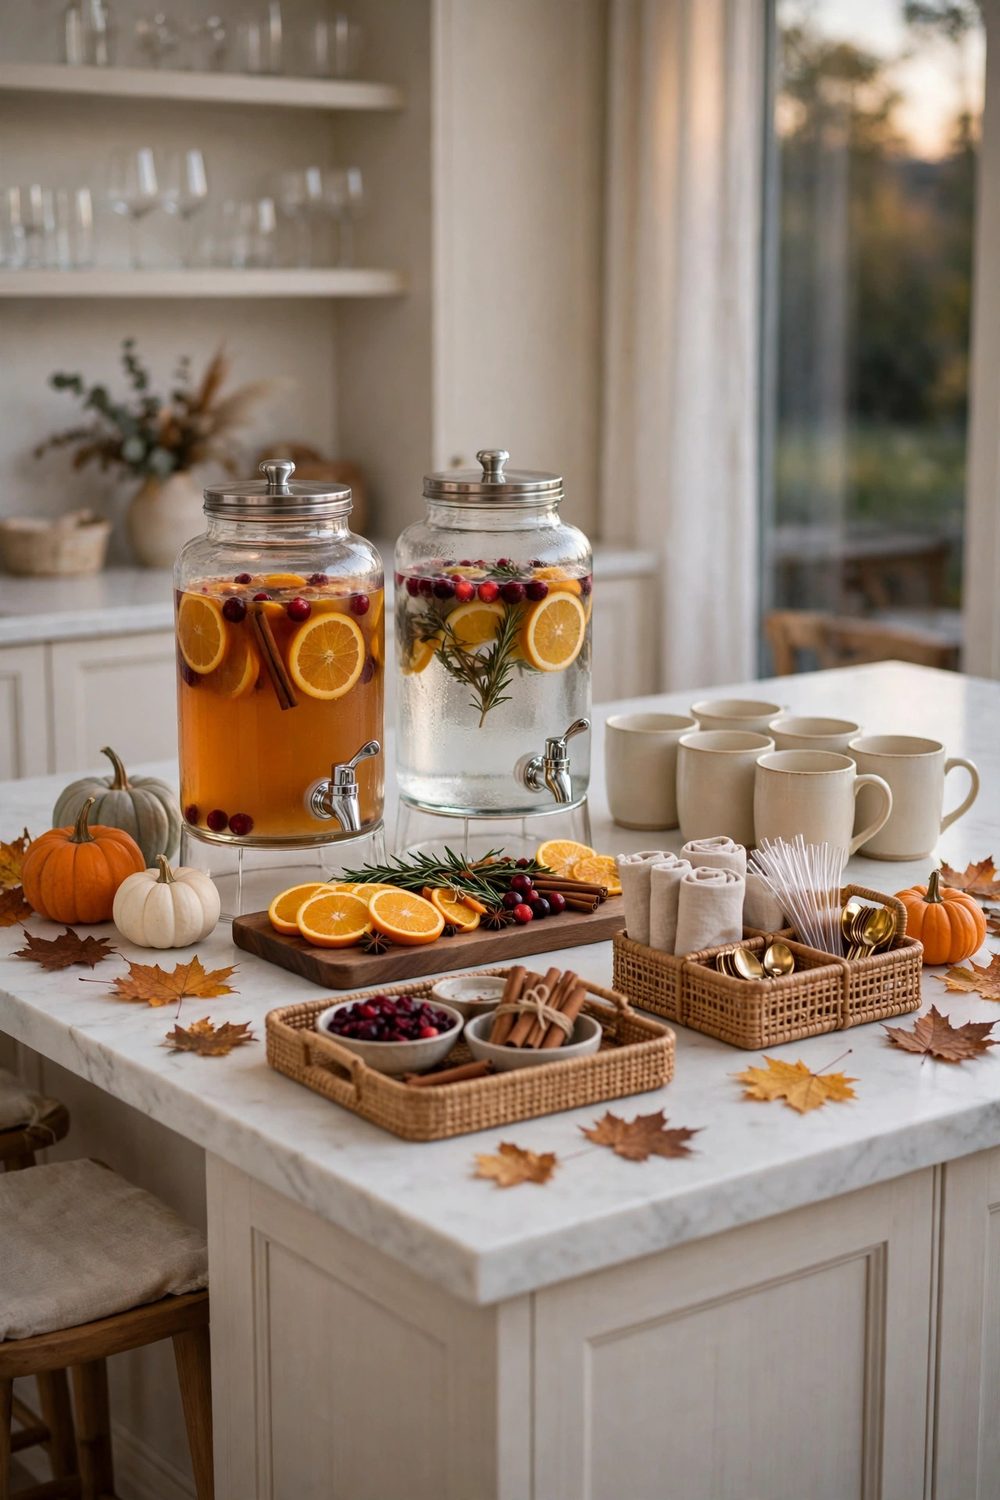
The night before is the best time to build the station. Set out the tray, the risers, the glasses, the caddy, and the garland. Fill the dispensers in the morning so the drinks stay fresh and cold.
Write down three refill times, one before guests arrive, one before dinner, and one before dessert. At each time, top up the dispensers, swap the ice, and refresh the garnish board. The station never runs dry at the wrong moment.
A schedule also saves you from watching the station all day. You check it three times, fix what needs fixing, and go back to your guests. The island stays calm, and the drinks take care of themselves.
A kitchen island drink station works when the layout is clear and the flow runs one way. Glasses first, drinks next, garnishes last, and a spill kit close by.
Thanksgiving drink station ideas for a kitchen island buffet all come back to the same rule: give drinks their own end of the island and keep the other end free. Try one or two of these ideas this year and build on them next year.
The same one-way flow works for a long farmhouse table drink station too.
Save this post to your Thanksgiving Decor Ideas board on Pinterest so you can find the layout again when you set up the island.


