

How to Cuff and Hem Jeans to the Perfect Length: 15 Steps and Checks
Let us be plain about jeans length: a great pair at the wrong length still looks wrong. The hem is where the eye lands, and it takes ten minutes to set it right.
You do not need sewing skill to start. Pins, chalk, a mirror, and your real shoes will carry you through most of the work.
This list shows how to cuff and hem jeans to the perfect length, in real doing order, from the first shoe choice to the final wear test.
Follow the steps with one pair at a time. By the last check, you will know if a cuff will hold or if that pair needs a tailor hem.
You will need a soft tape, tailor chalk or a washable marker, straight pins, and a warm iron. A friend with a good eye helps for the first fold, but it is not a must.
Set aside twenty calm minutes for one pair. Rushing a hem is how legs end up uneven, so pick a time when the house is quiet and the light is good.
This post contains affiliate links. If you buy through them, we may earn a small commission at no extra cost to you. See our Affiliate Disclosure.
1. Put On the Shoes You Wear Most With That Pair
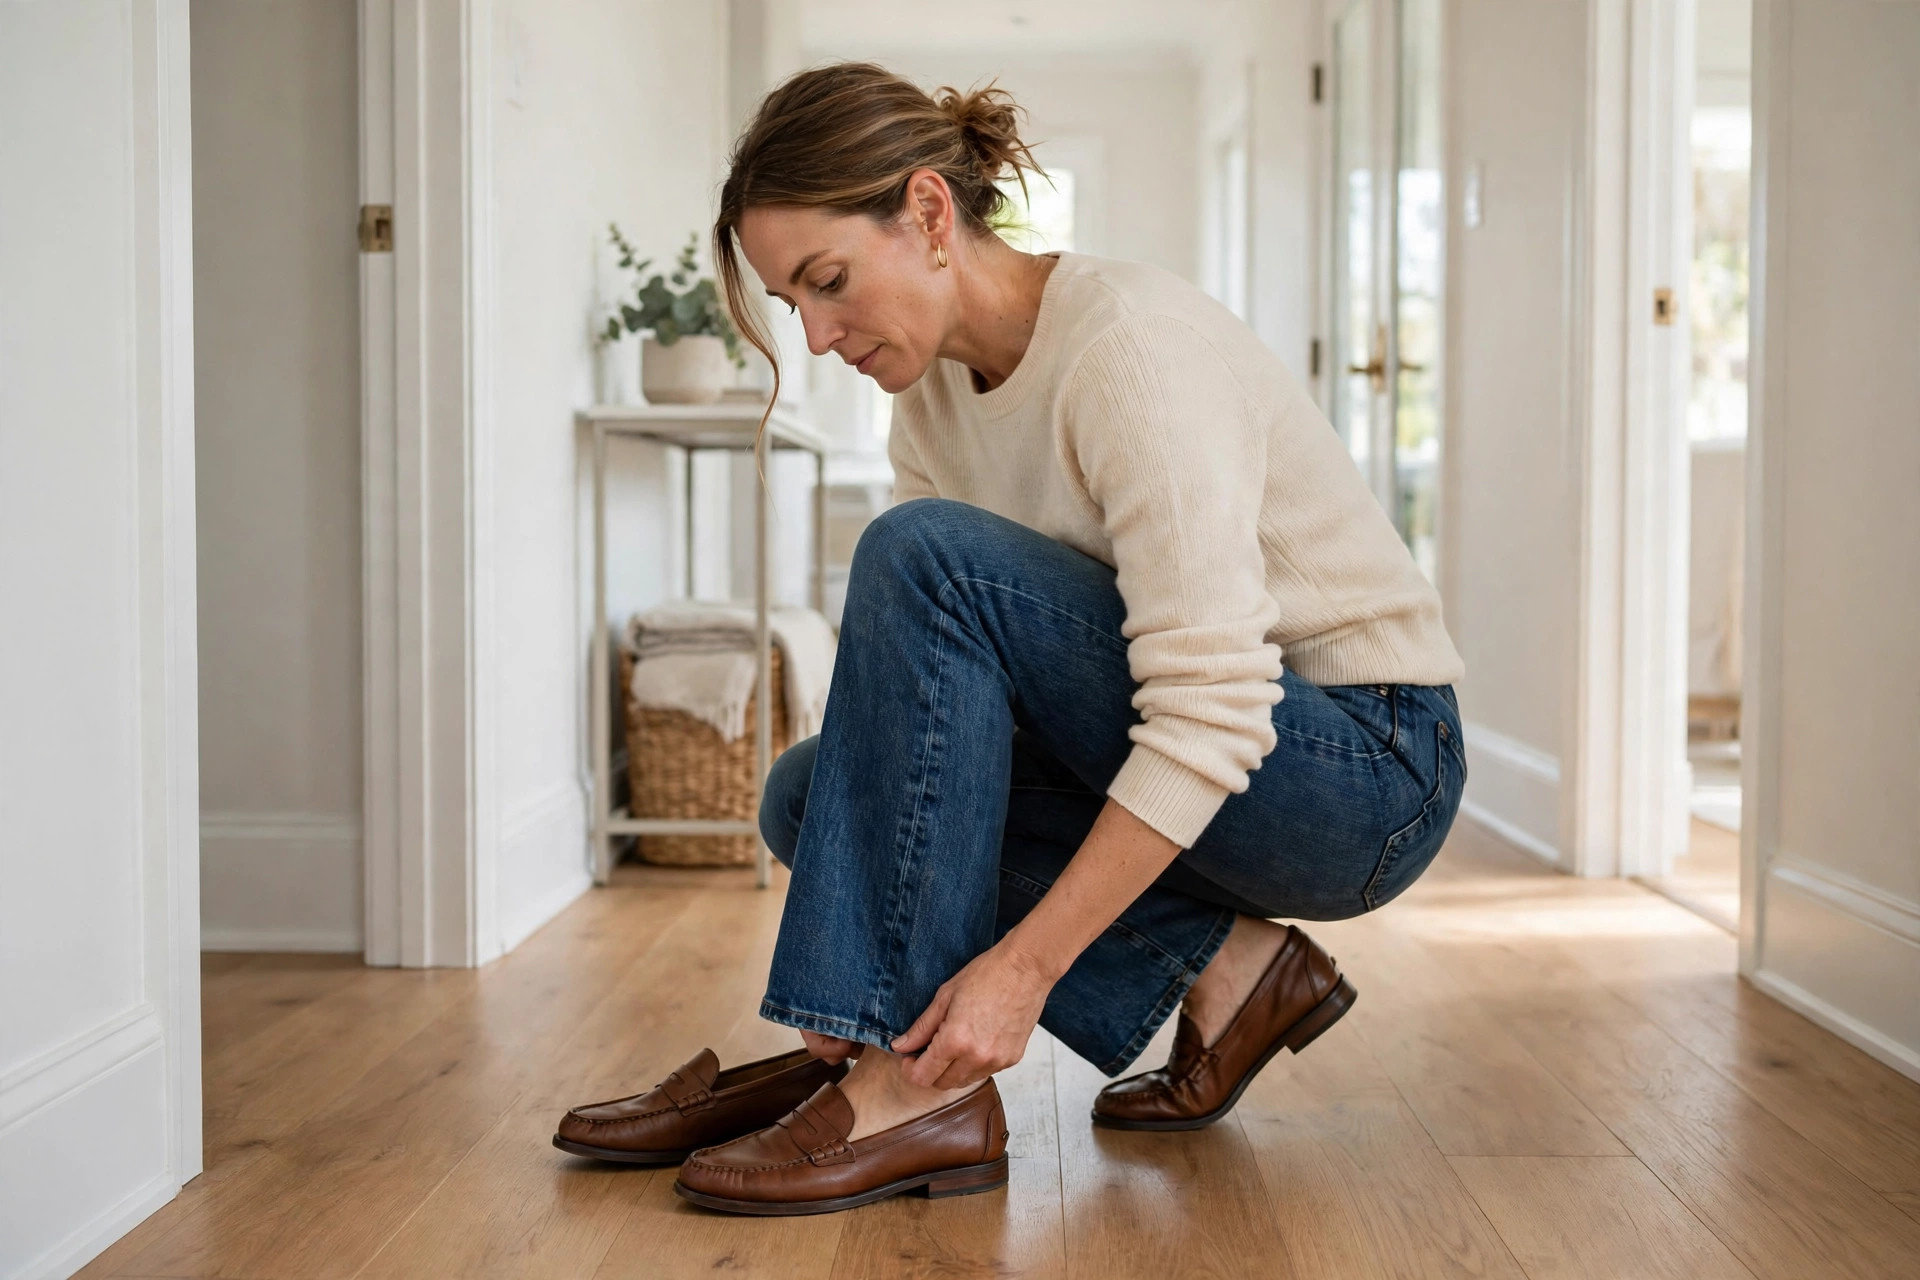
Length has no meaning without shoes. A hem set in bare feet will drag over boots and look short with heels, so start with the shoes you reach for most.
Put on the jeans and those shoes, and stand on a hard floor, not carpet. Carpet hides the true hem line and adds height you will not have on a hard floor.
Boot days need their own check later in the list. For outfit ideas that pair lengths with boots, see these fall jeans outfits for women with boots and cozy layers.
If two shoe heights share the pair, set the length for the higher shoe first. A hem that clears a heel will sit a touch long on a flat, but will rarely drag.
2. Stand Tall in Front of a Full Length Mirror

Stand straight, with your weight even on both feet, and let the jeans fall as they will. Do not pull the waistband up or smooth the legs down with your hands.
Look at where the denim ends right now. Note if it stacks in folds, breaks hard over the shoe, or drags at the back heel. That honest start point guides every fold.
Good light matters here. Face a window if you can. Dim hall light hides drag and pooling, and you end up setting a length that fails in daylight.
Face the mirror and drop your arms to your sides. Hands smoothing the legs can hide a full inch of extra length, so judge the fall with your arms still.
3. Fold One Leg First and Test the Length
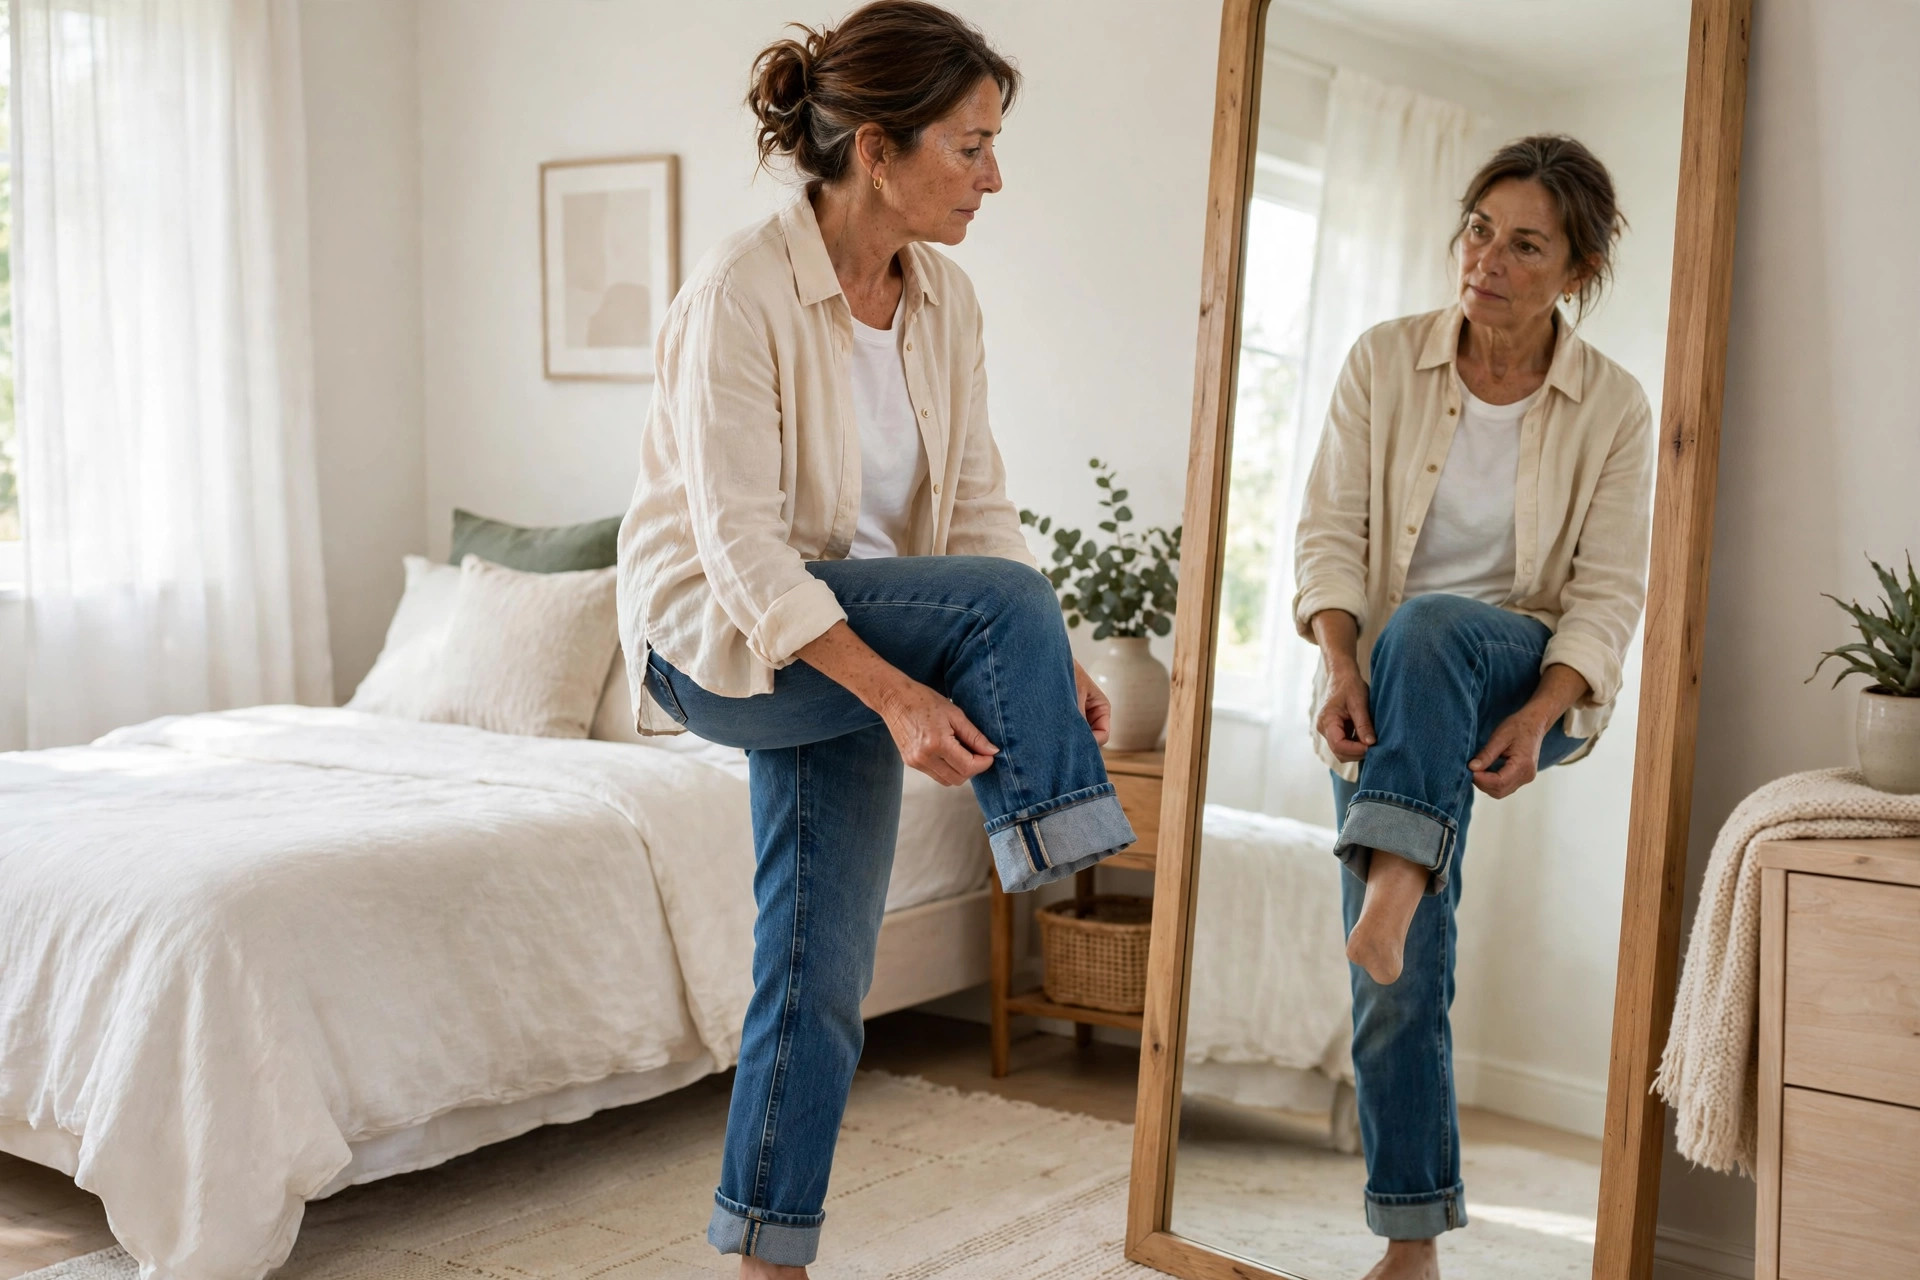
Fold the hem of one leg up, on the outside, until the bottom edge sits where you think it should. Leave the other leg long for now, so you can compare.
Step back from the mirror and look at both legs side by side. The folded leg should look cleaner at once. If it does not, adjust the fold up or down a little.
Work with one leg until it looks right. Matching a good fold to the second leg later is far easier than fixing two rough folds at once.
Fold along the hem seam as your guide. The stitched edge gives you a straight line to follow, which keeps the fold even from front to back.
4. Check the Target Length for Your Leg Shape
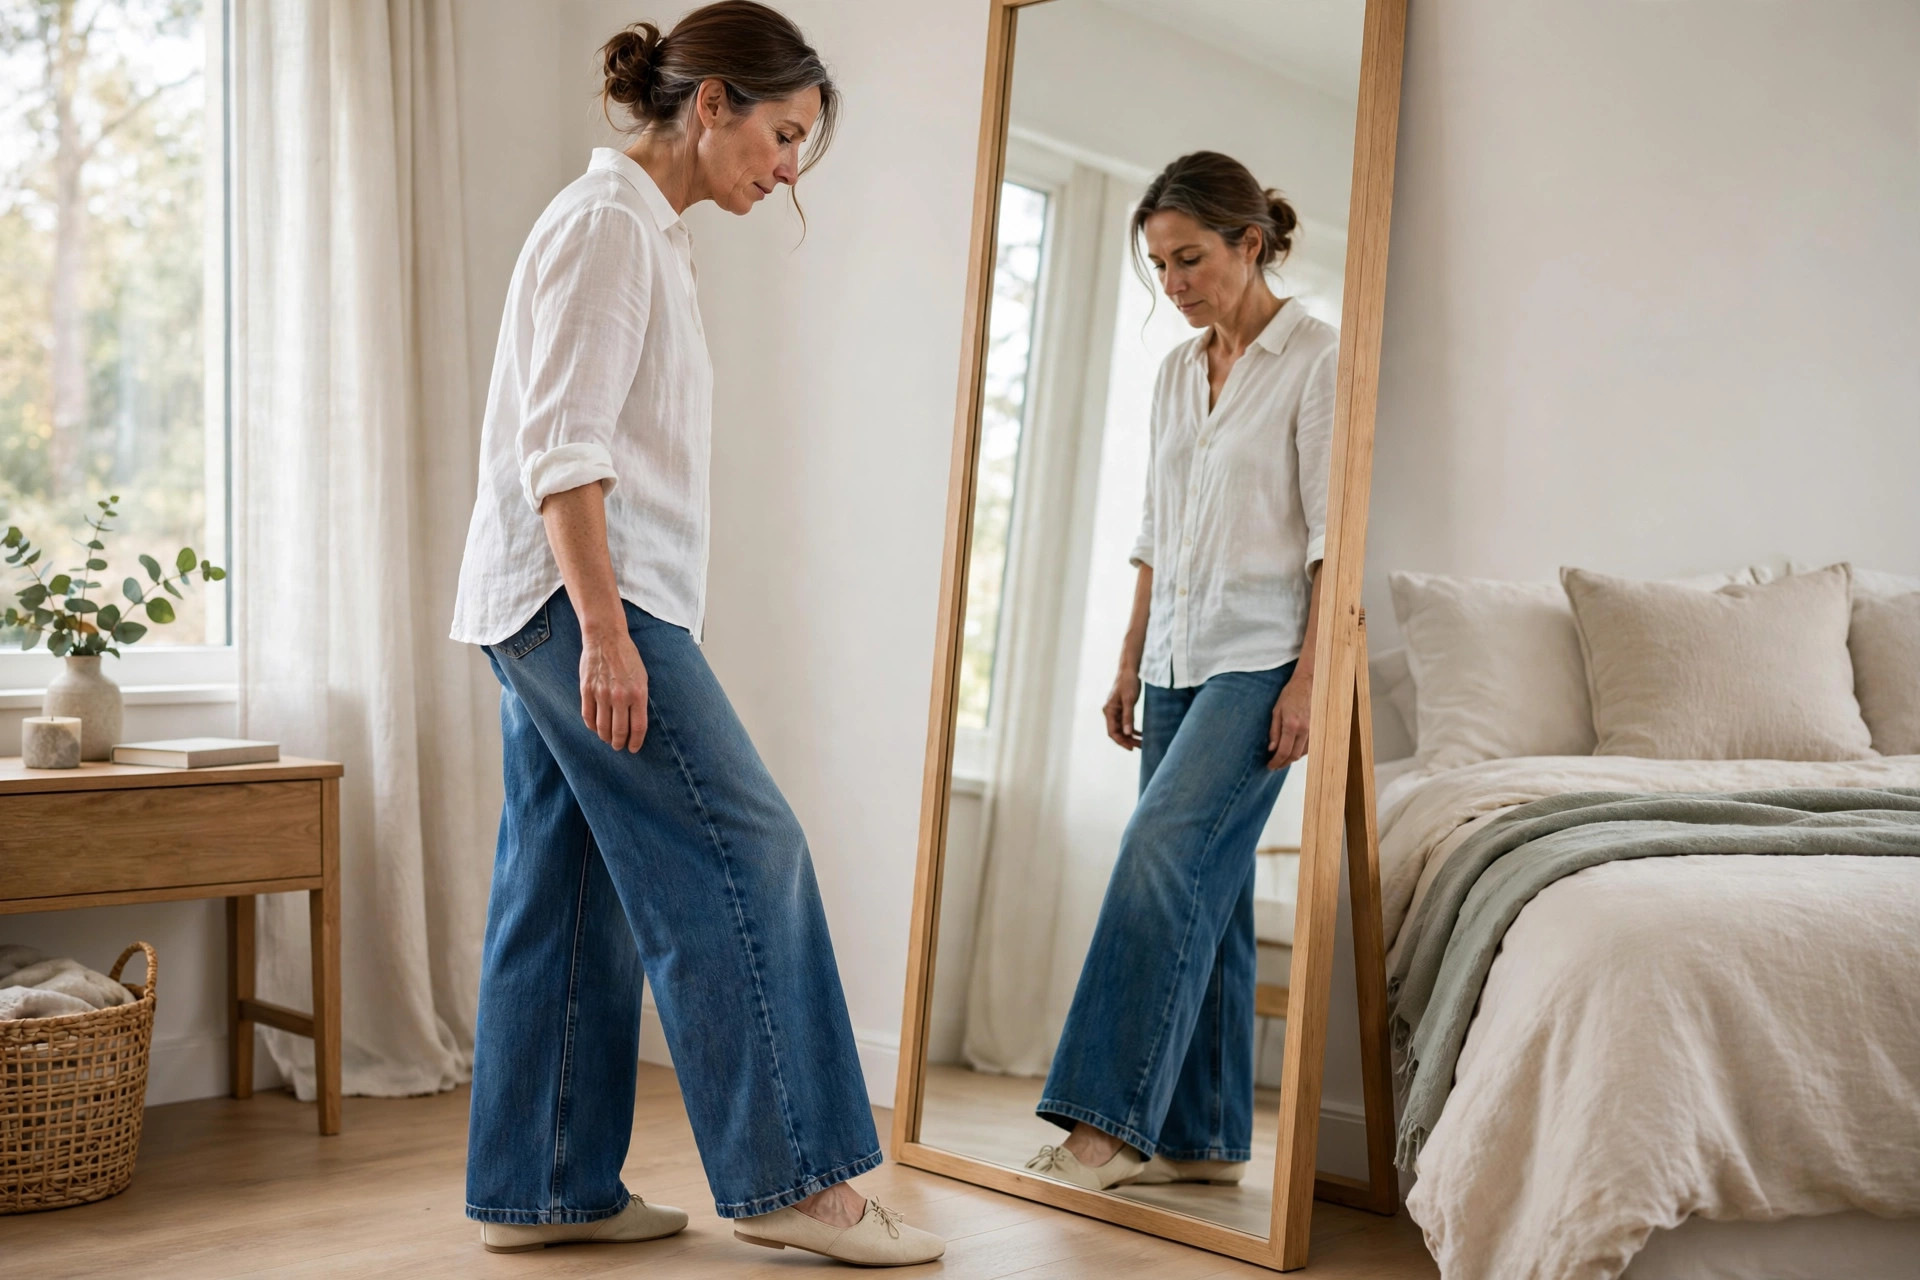
Each leg shape has its own sweet spot. Straight legs look best ending at the ankle bone. Slim legs can sit a touch above it, showing a bit of ankle.
Wide legs need more length: the hem should skim the top of the shoe or just clear the floor with your chosen heel. Too short, and wide legs look cut off.
Bootcut legs should cover most of the shoe and end close to the floor at the back. If leg shape still feels unclear, read straight leg vs wide leg jeans, how to choose first.
Write your sweet spot length for each shape on the same note. Next time you shop, those figures tell you at once which pairs need a cuff and which need a hem.
5. Pin the Fold at Both Side Seams

Pin the fold in place at the inner and outer seam of the leg, with the pins set flat and pointing down. Two pins per leg hold a test fold well.
Pin from the outside, so the folded edge stays smooth against the leg. A fold pinned in the middle will twist, and the length you judge will not be the length you get.
Pin the second leg to match the first, using the same fold depth. Then stand back and read both legs together in the mirror before you move at all.
Push pins in with the point toward the hem edge, not toward your leg. That way a loose pin will not prick your ankle when you take the jeans off.
6. Walk, Sit, and Climb a Step With the Pins In
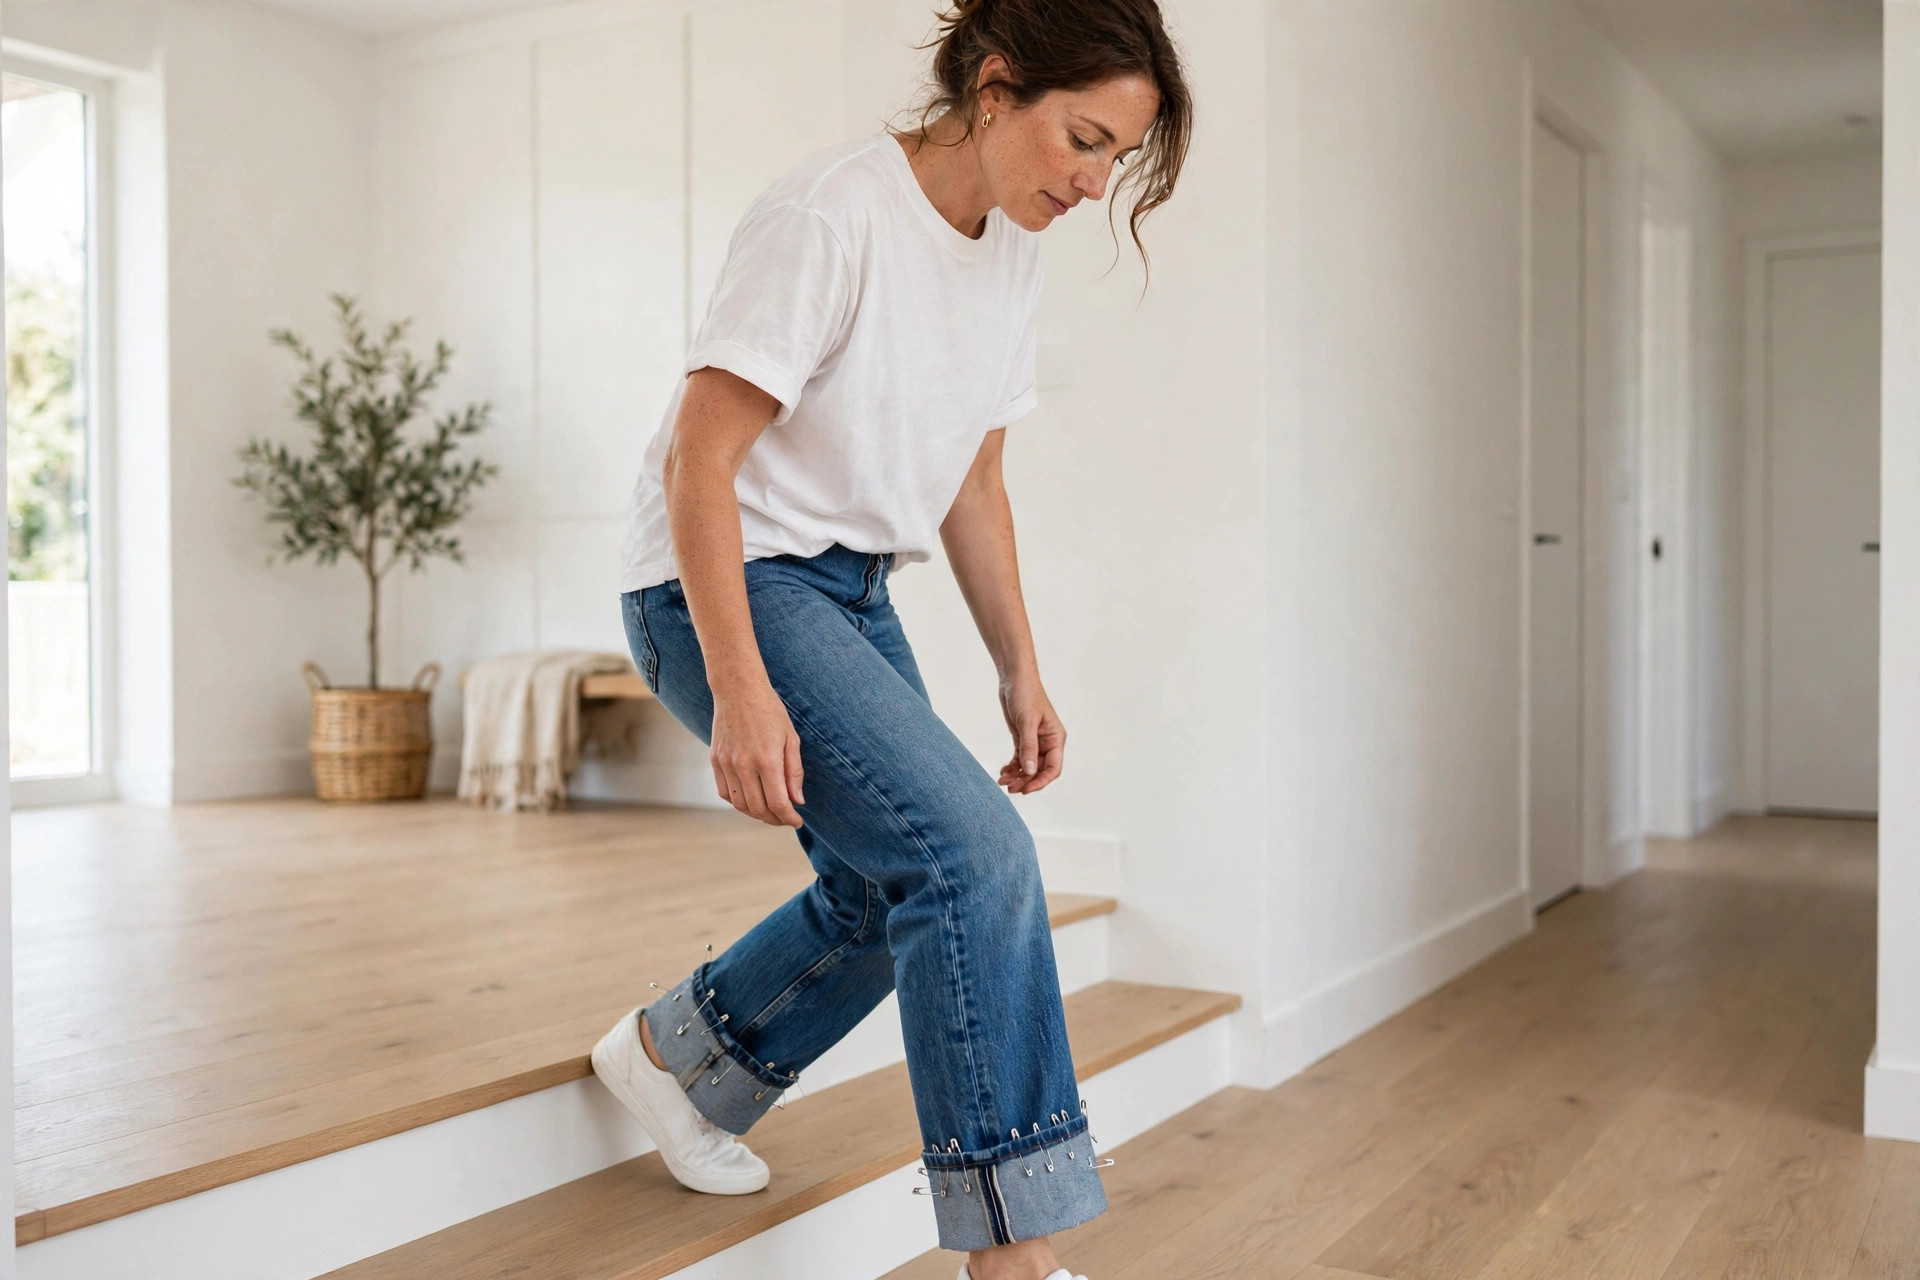
Now move like a normal day. Walk the length of the room, sit in a low chair, and climb one step if you have one. Watch the pinned hems as you go.
Jeans ride up a little when you sit, then settle when you stand. A length that looks right standing still may flash too much ankle in motion, or drag when you walk.
Adjust the pins after this test, not before. Movement is the true judge of length, and this two minute check saves most hemming regrets.
A low chair tells you more than a tall stool. Your knees bend deeper, the jeans ride higher, and any drag or pull at the hem shows up fast.
7. Mark Both Legs With Chalk at the Fold Line
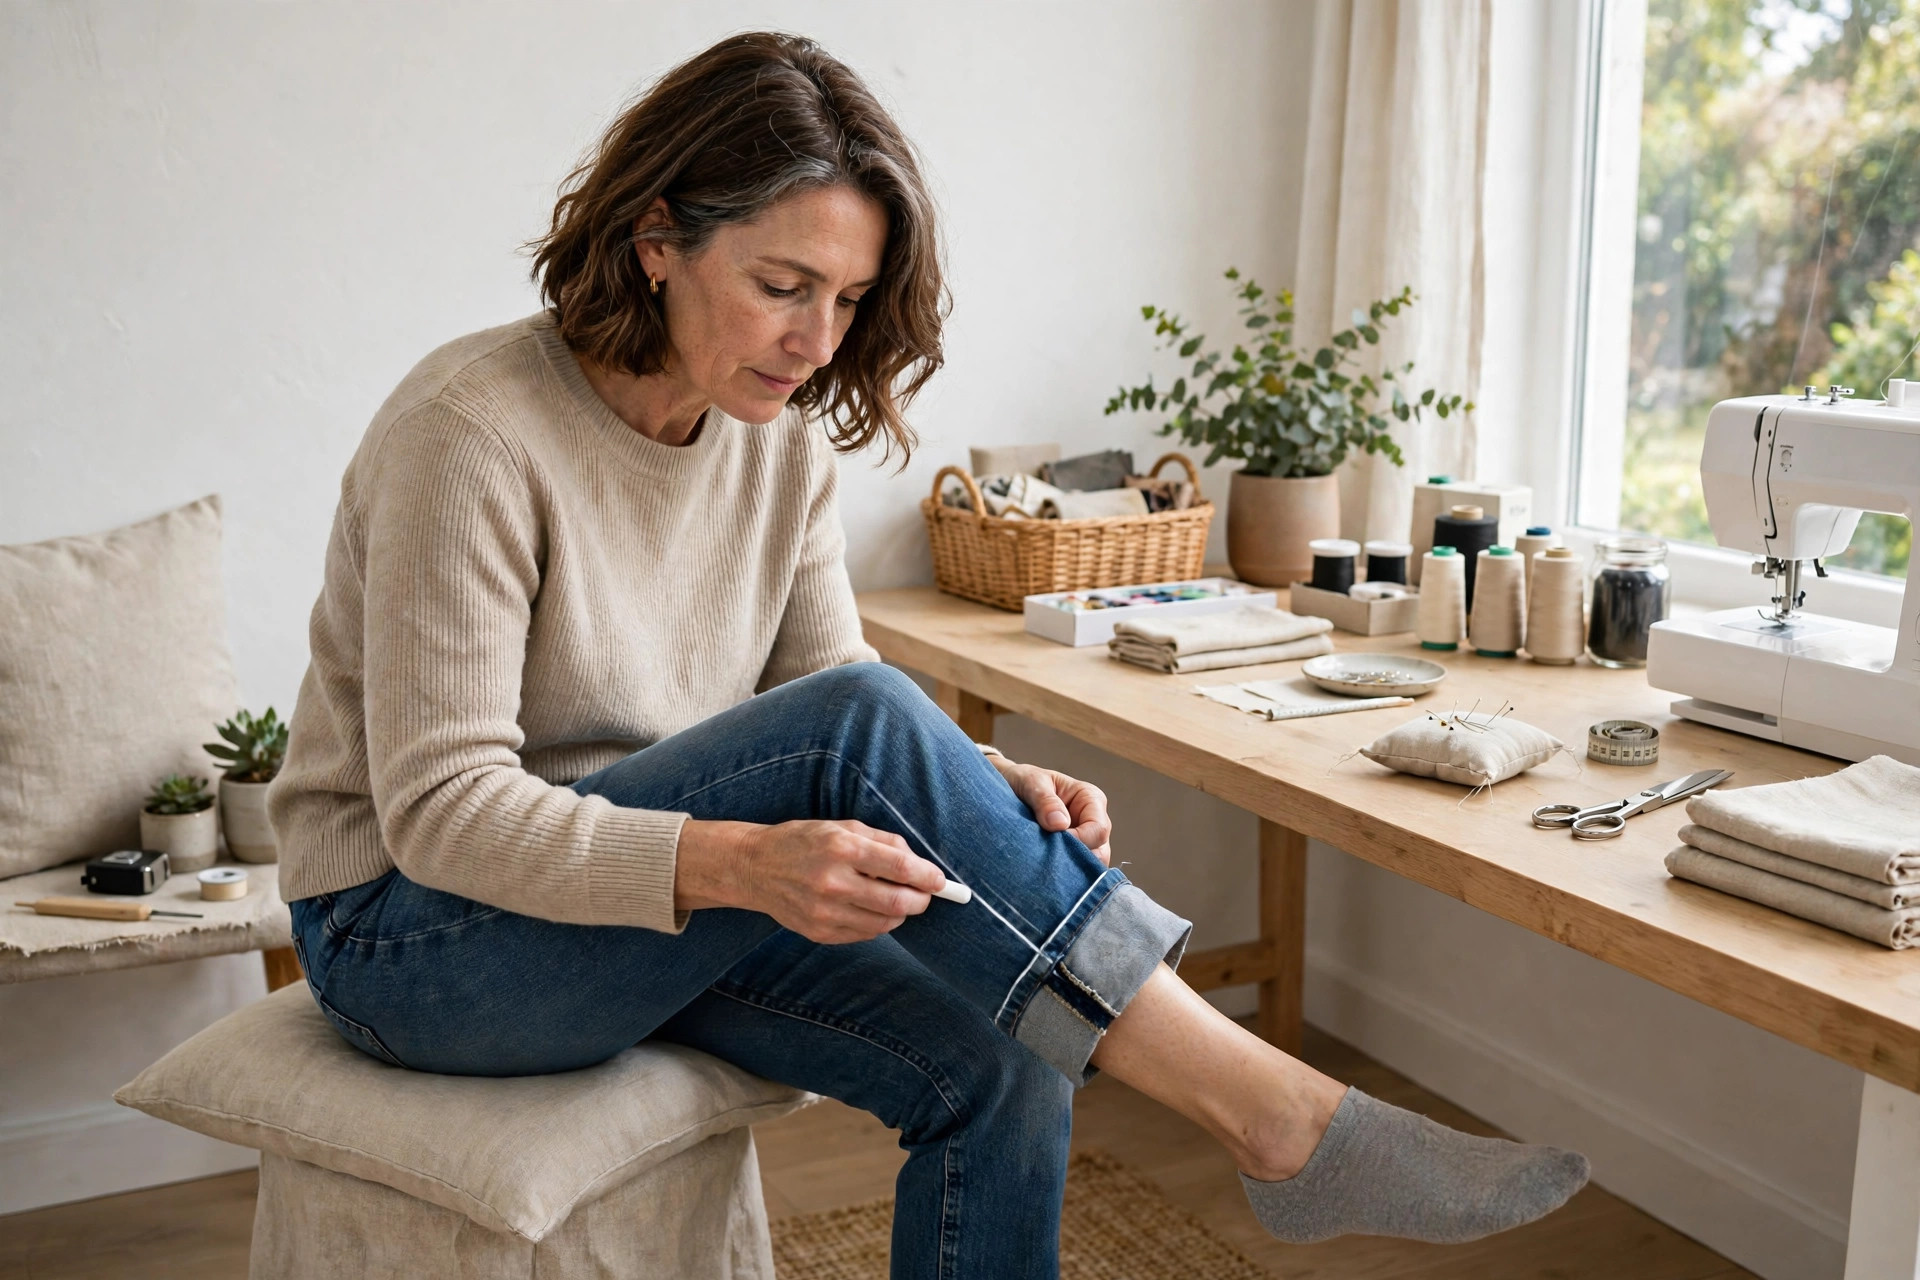
With the fold set, run a line of tailor chalk along the bottom edge of the fold, front and back, on both legs. Mark while you still wear the jeans if you can reach.
If bending to mark feels hard, note where the fold sits at the side seam, then take the jeans off with care and keep the pins in place.
Chalk brushes off denim with ease, so mark with a clear hand. A faint, broken line is hard to follow once the jeans lie flat on the table.
Mark the back of the leg as well as the front. Back hems drag first, and a mark at the back heel keeps that end honest when you lay the jeans flat.
8. Lay the Jeans Flat and Line Up the Inseams

Lay the jeans flat on a table, buttoned, with the front smooth. Line up the two legs so the inseams and side seams match from hip to hem.
Many pairs are not quite even from the shop. One leg may sit a bit longer than the other. Your chalk lines will show this at once, and that is good news, not a flaw.
Smooth each leg from the waist down with your hands. Wrinkles along the leg can add false length, so the denim must lie flat before you measure.
If one leg was made longer at the shop, do not force the folds to match by eye. Trust the tape and the chalk line, not the fold depth, for the even result.
9. Measure Both Legs and Even Out the Marks

Run a tape from the crotch seam down the inseam to your chalk line on each leg. Write both numbers down. They should match. If they do not, meet in the middle.
Adjust the longer chalk line up by the extra amount, so both legs end at the same finished length. Even legs matter more than a tiny gain or loss of length.
Check the fold depth at the hem too: the amount of denim you plan to turn up. Write that number on a note and keep it with the jeans for the tailor.
Read the tape at eye level with the jeans flat. A tape read from a slant can shift the number, and a small shift here is the whole hem.
10. Try the Simple Single Cuff First
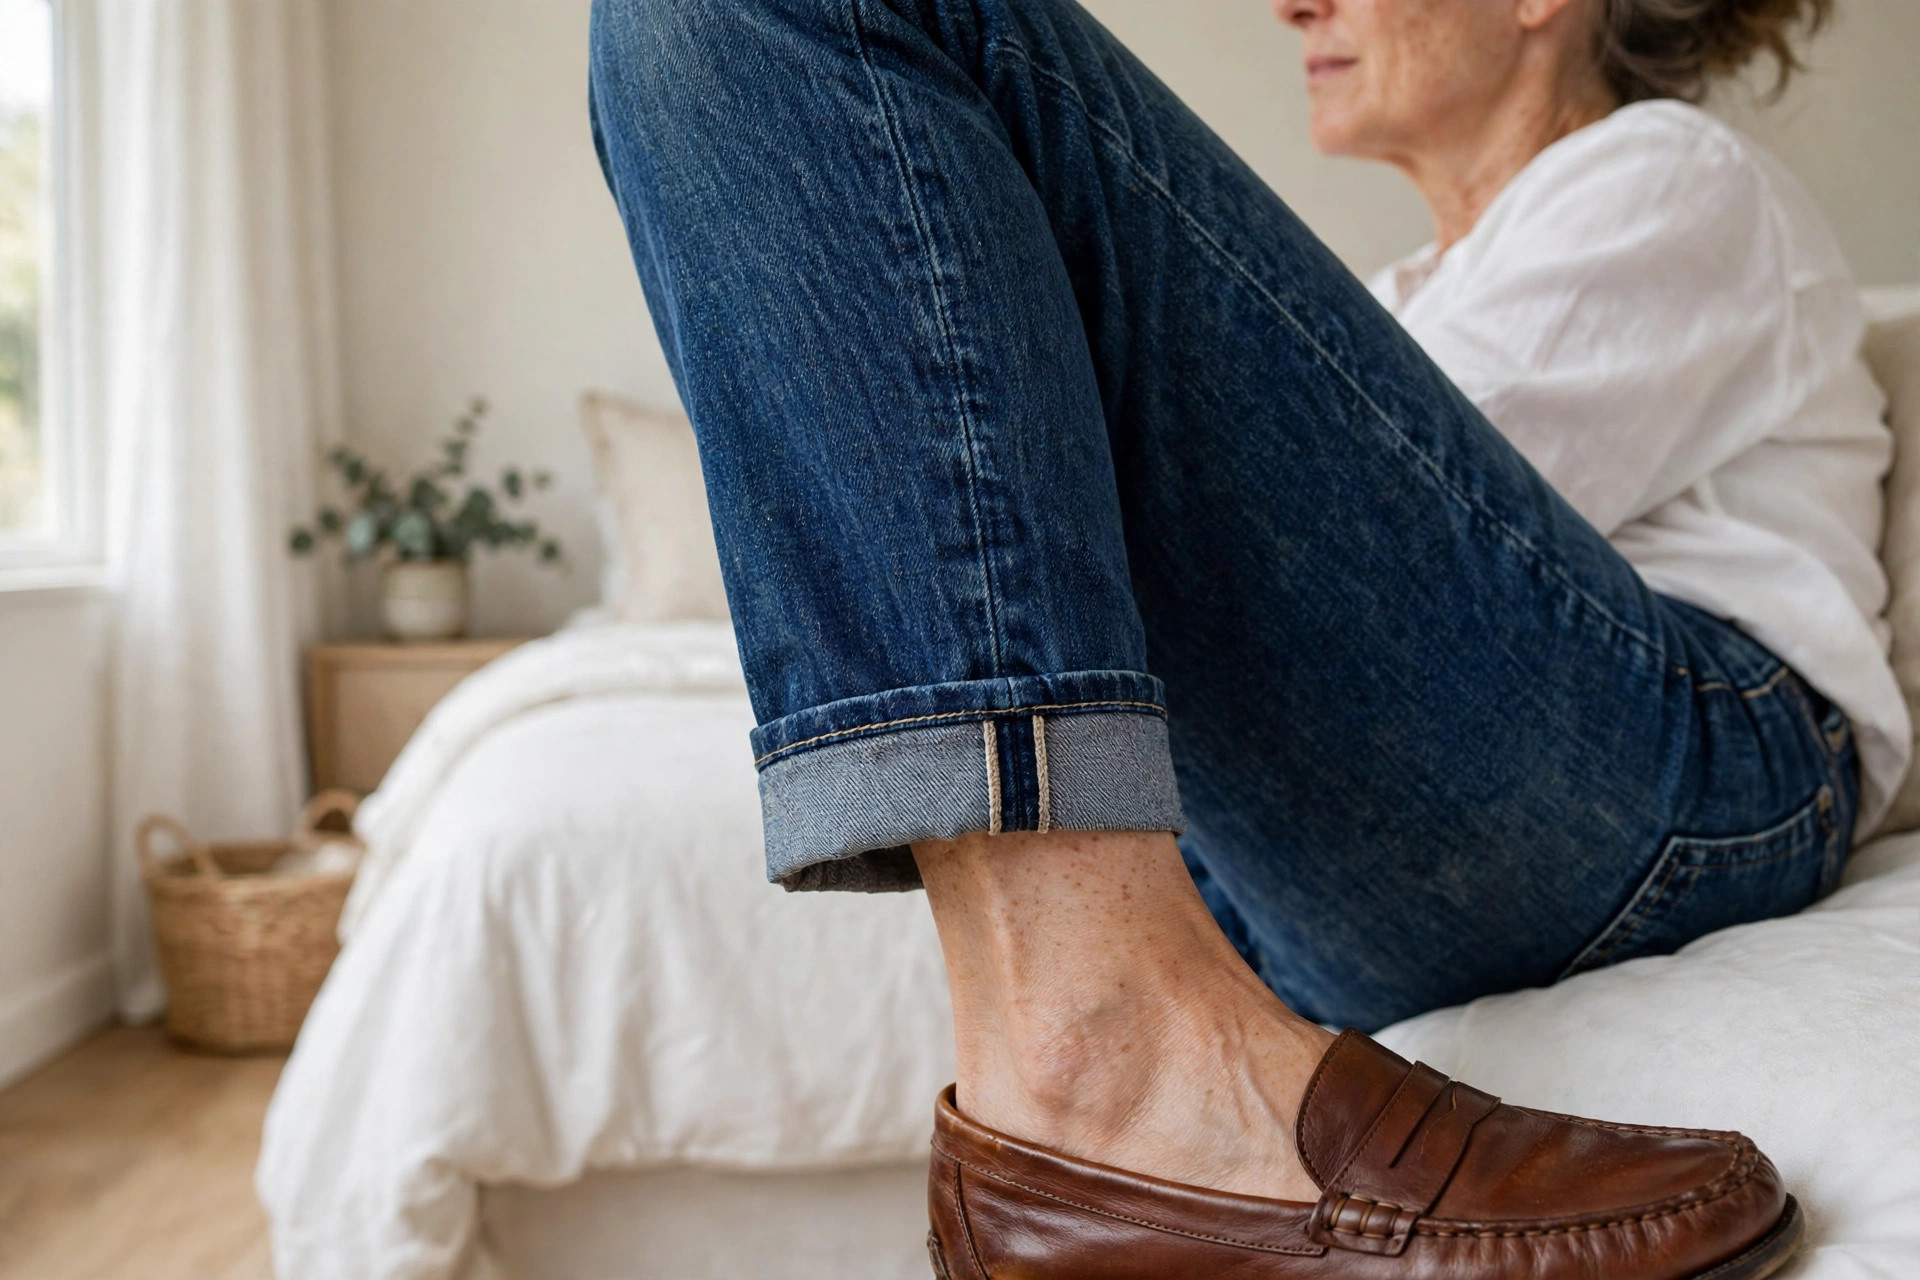
Put the jeans back on and fold each hem up once, to your marked line. This single cuff is the fastest finish, and it suits straight and slim legs well.
Keep the fold even all the way around the leg, with the seam lines matched. A fold of about one inch looks neat on most straight legs.
Look at the cuff from front, side, and back. A single cuff should sit flat, with no twist and no flare at the sides, before you call it done.
A cuff wider than about two inches can look heavy on a slim leg. If you need more off than that, read step thirteen again before you settle for a deep cuff.
11. Test the Double Cuff and Watch the Bulk
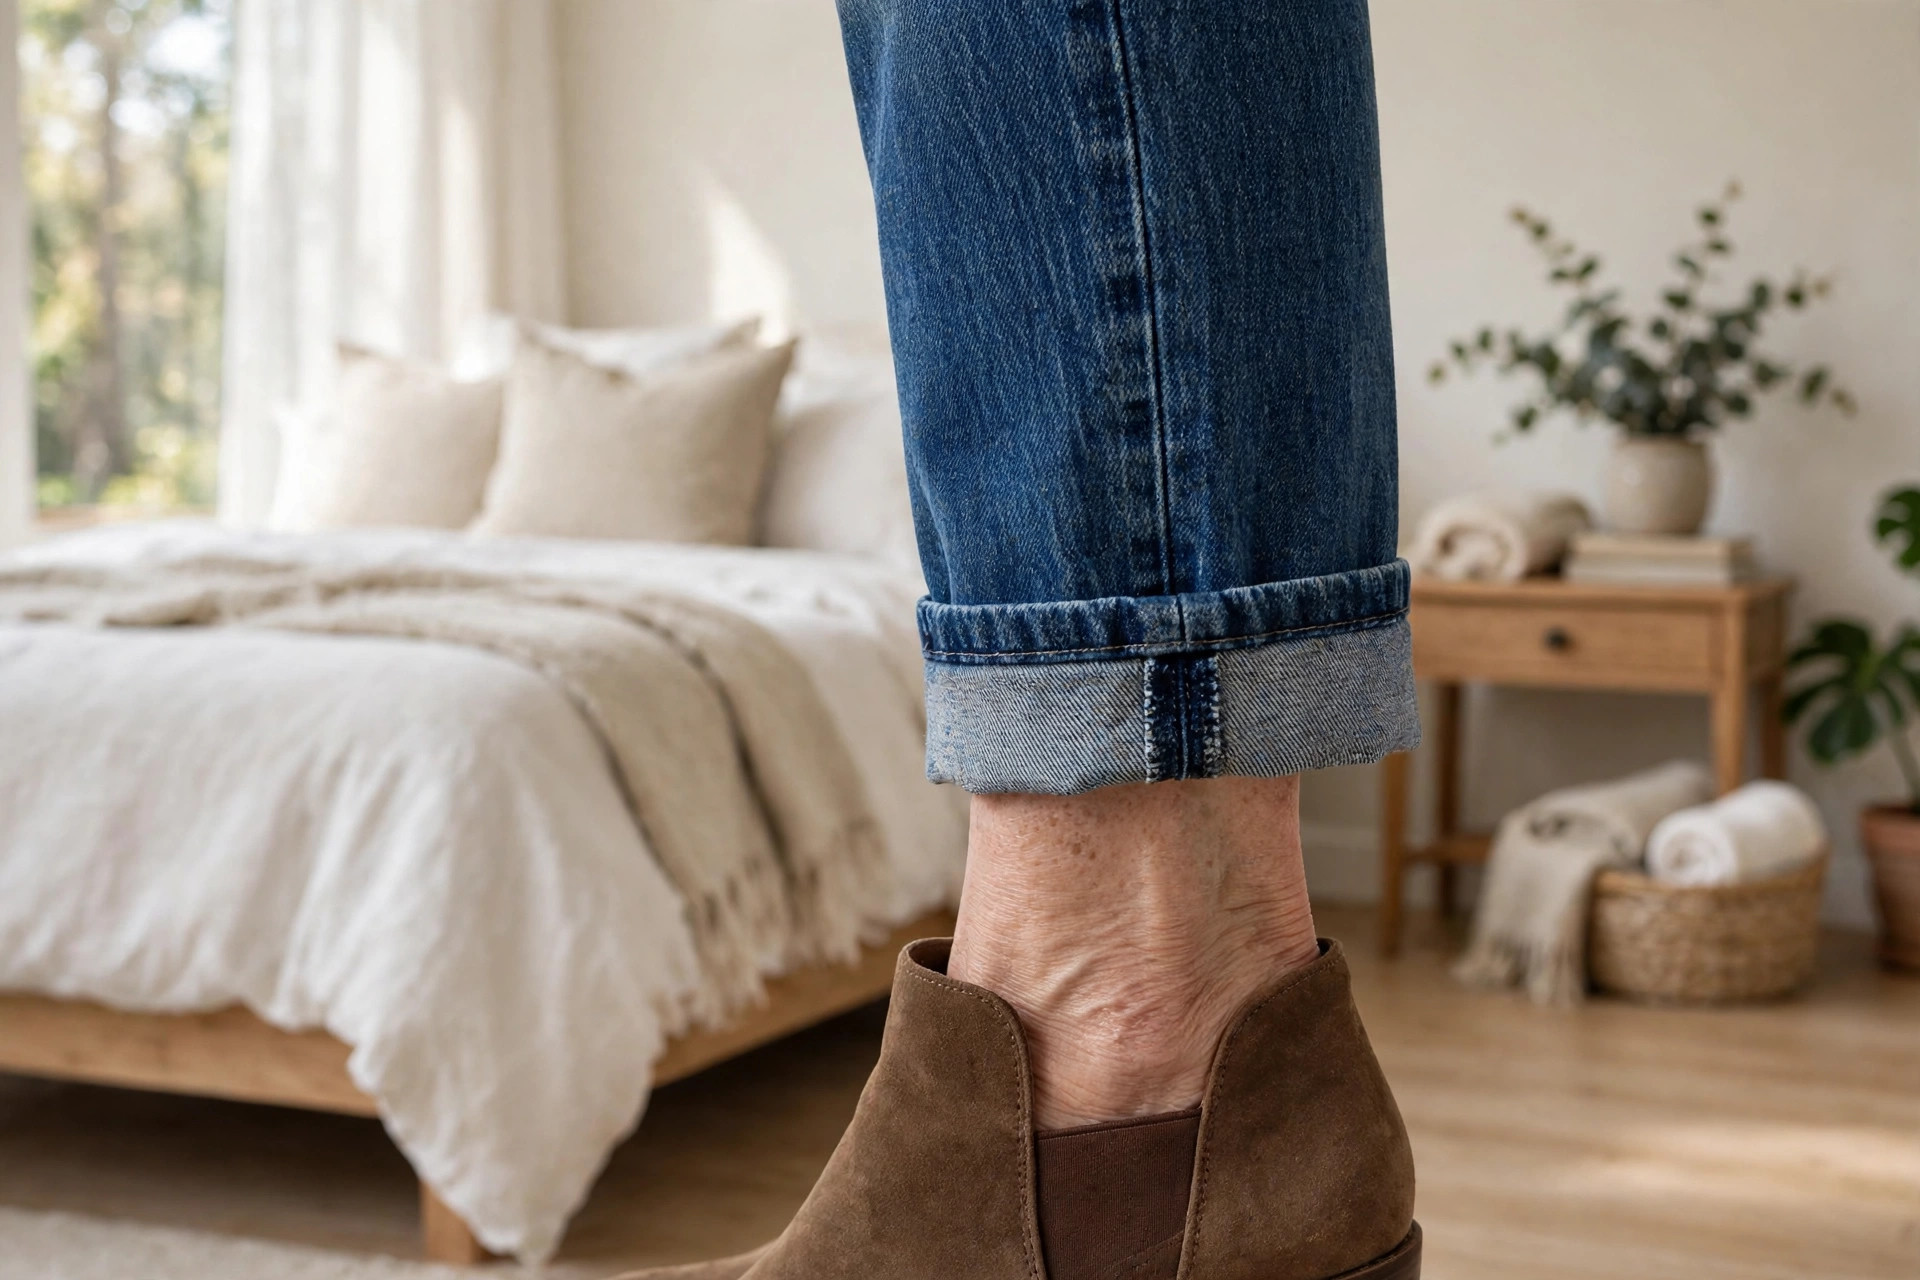
Fold the hem up once more for a double cuff. Two folds shorten more and give a chunkier line, which can suit wider legs and boots.
Watch the bulk at the ankle. Thick denim folded twice can look heavy on a slim leg and can press on the ankle bone as you walk.
Compare one leg single, one leg double, in the mirror. The right choice is the one that keeps the leg line clean and feels light when you move.
Press between the two folds if the denim is thick. Heat through both layers sets the cuff so it holds its line when you bend and sit.
12. Try the Pin Roll on Straight Legs
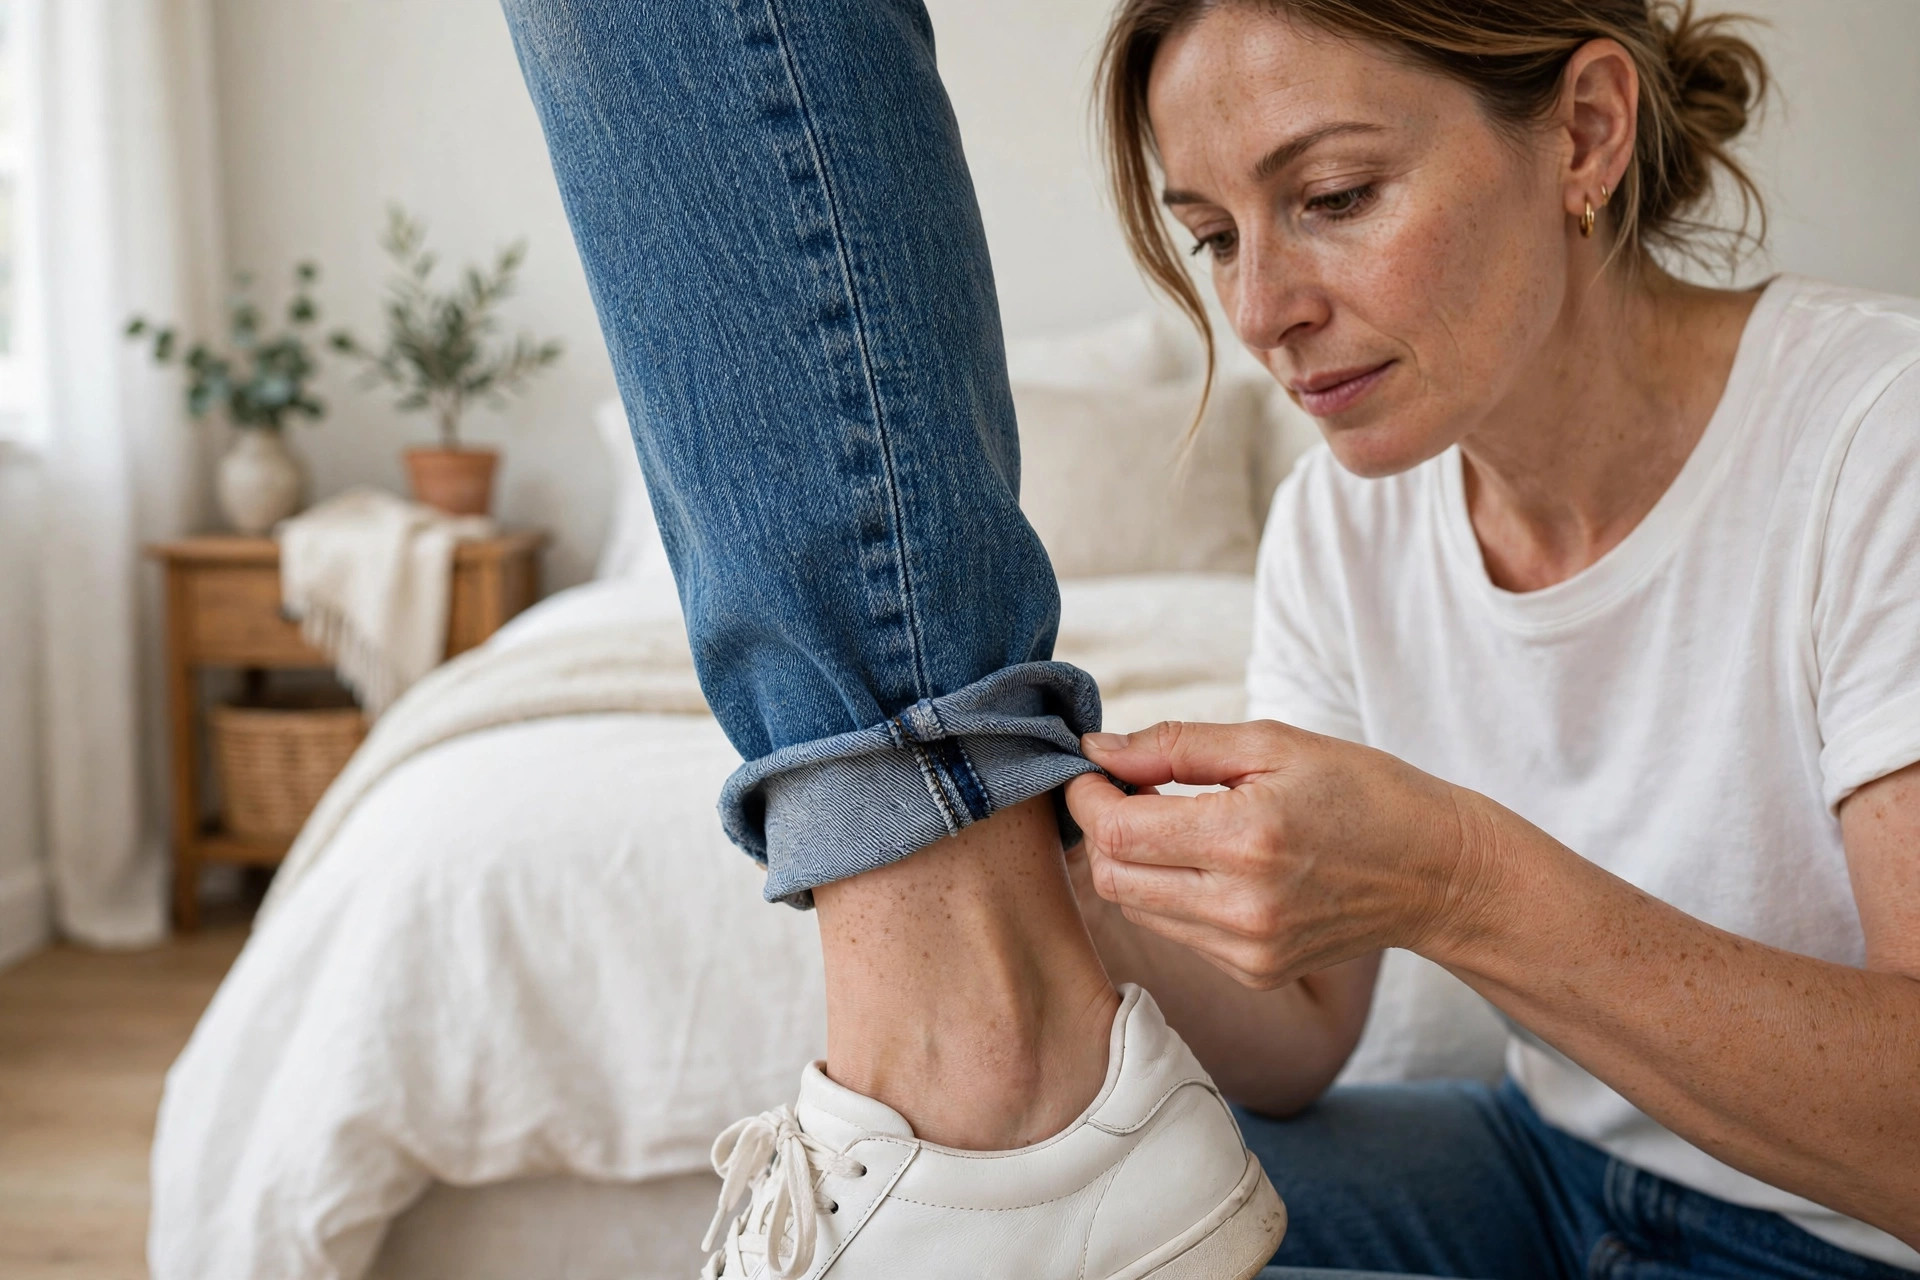
For a tapered finish on a straight leg, pinch the extra fabric at the inner ankle, fold it flat toward the back, then roll the hem up twice over the fold.
This pin roll narrows the leg opening and sits well above sneakers and low boots. It works best on soft or mid weight denim that holds a fold.
Walk a few steps to test it. If the roll pops open at once, that denim is too stiff or too wide for this finish. A plain cuff will serve you better.
Keep one safety pin at the inner seam while you test the roll for a day. If the finish suits the pair, a tailor can stitch that fold in place for good.
13. Decide Between a Home Cuff and a Tailor Hem

Here is a clear rule for the call: if you need to lose more than about two inches, or you wear the pair for work, a tailor hem is the wiser spend.
Ask the tailor to keep the original hem when the pair has a worn or stitched edge you like. That method keeps the shop finish and just moves it up the leg.
Shorter lengths can be hard to buy ready made. These best petite jeans for women over 50 show inseams that start closer to the mark.
Bring your shoes and your chalk note to the tailor. Clear facts about the shoe height and the inseam you want make the visit short and the result right.
14. Press the Chosen Fold and Check It in Daylight
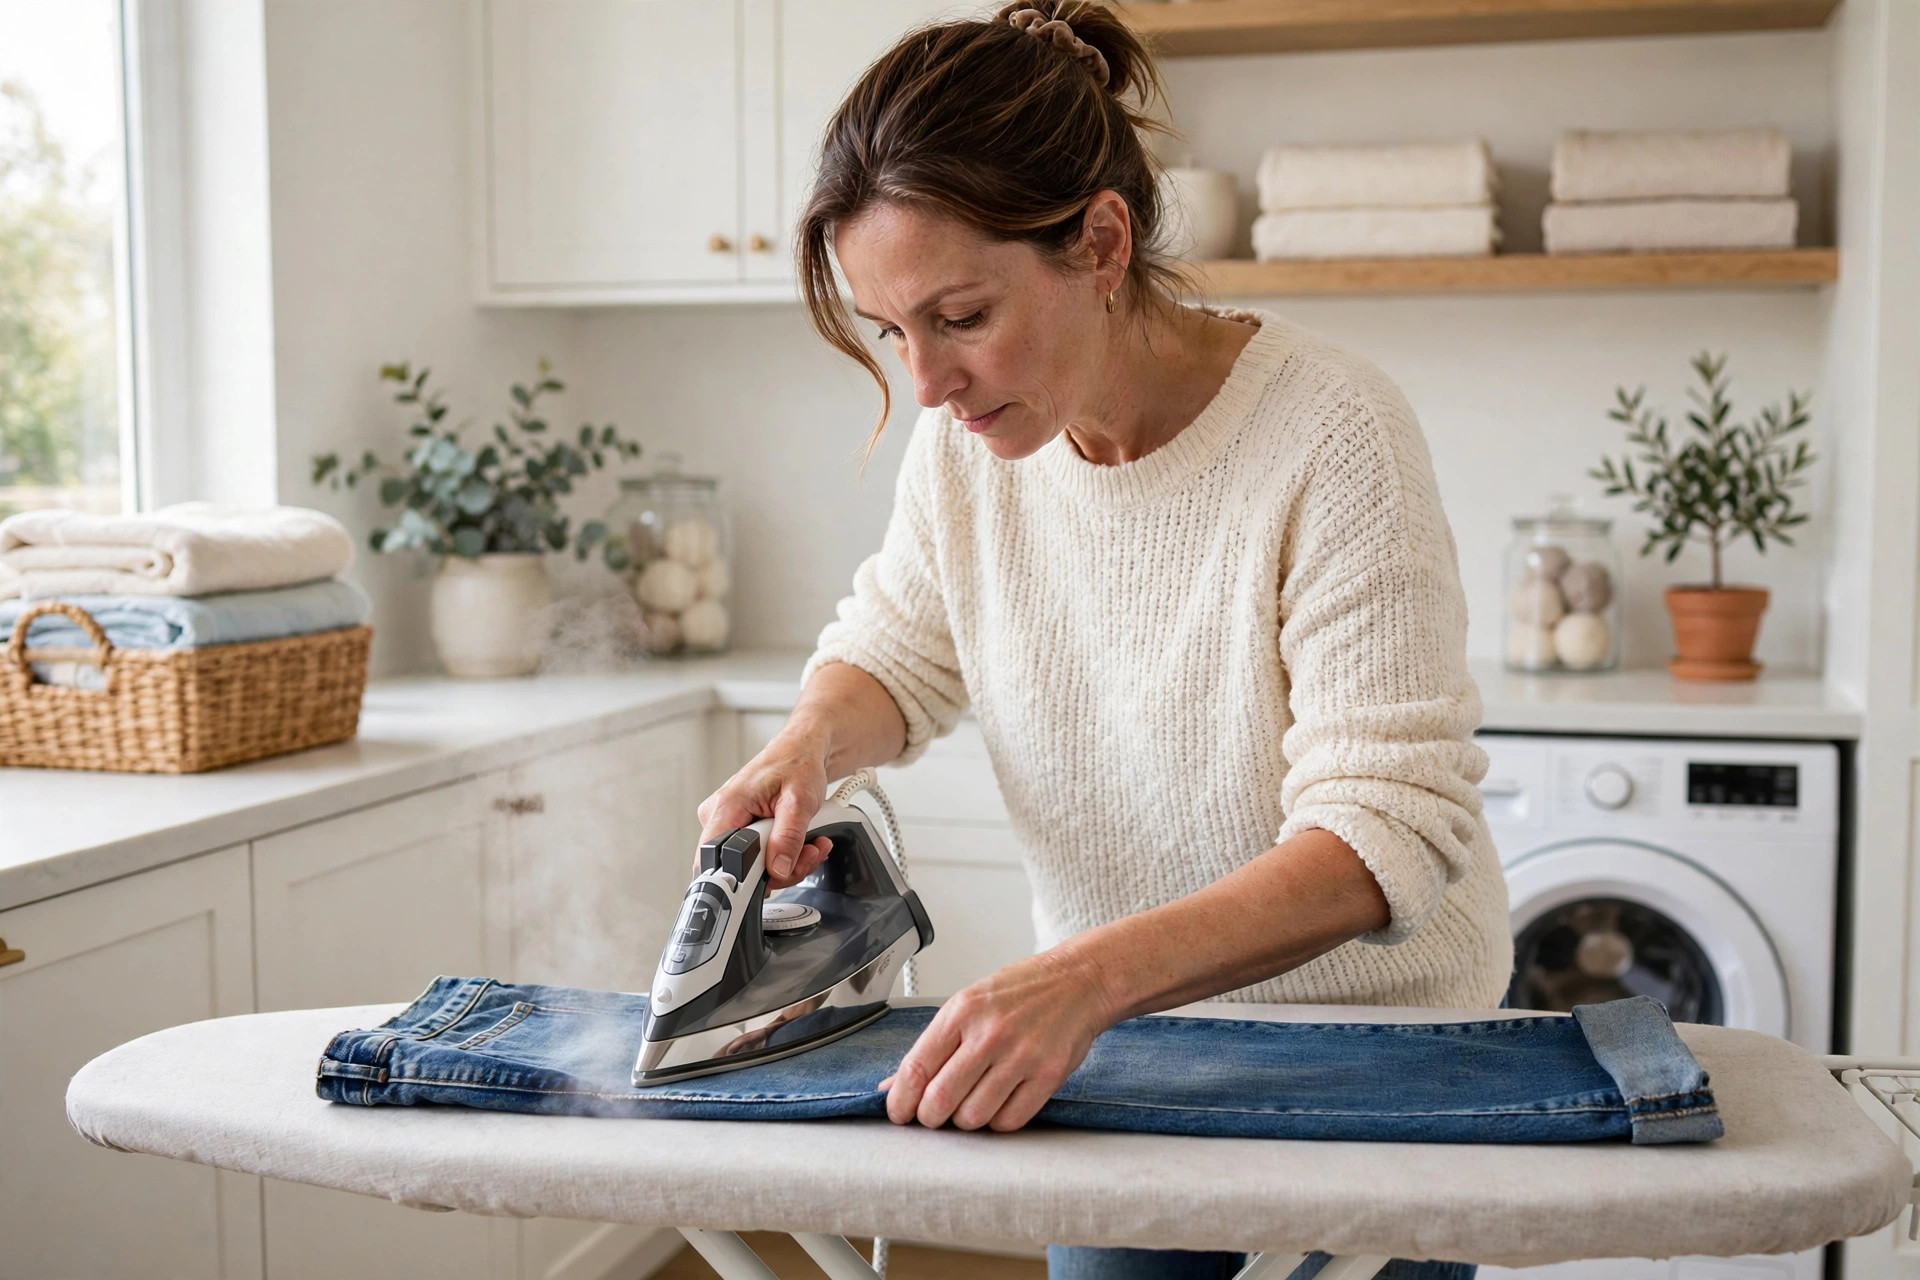
Press the fold with a warm iron, moving along the edge in short passes. A pressed cuff holds its line through the day and looks planned, not rolled in a rush.
Let the denim cool flat for a minute before you move it. A fold pressed and worn at once can shift, and the crease sets in the wrong place.
Then take the pair to a window or step outside. Check the length in full daylight with your shoes on. Indoor light flatters length. Daylight tells the truth.
Daylight also shows if the two legs match. A side by side look at the hems by the window will catch a small gap that room light missed.
15. Wear Them for a Full Hour and Do the Final Check

Wear the cuffed or pinned pair around the house for a full hour. Make tea, climb the stairs, sit at the table, and bend to the low shelves.
At the end of the hour, look at the hems once more. Cuffs that slipped open or crept up need a press, a stitch at the side seam, or a tailor visit.
If the length still sits right after real life, you have your number. Note it, and keep these petite jeans on a budget in mind for pairs that start near that length. Save this guide to your jeans board for the next new pair.
Keep the tags and receipt until the hour test is done. If the pair fails the test, you can swap the size or the length with no loss and no fuss.
Length is a habit you learn once and use for years. Shoes on, one leg first, pins in, then walk and sit before you mark or cut a thing.
Write your finished inseam on a note in your phone, with the shoes you set it for. Save this to your jeans outfits board and the next pair will take half the time.
Pin first, press second, and cut last, only if you must. That order is the safe core of how to cuff and hem jeans to the perfect length.


