

15 Long Bathroom Ideas With a Freestanding Tub Placement
A long bathroom often ends with the tub squeezed in as an afterthought, wherever it happens to fit. That is a waste, because the tub is the one piece that can give a long room its shape.
This guide stays on one job from start to finish. You will find long bathroom ideas with a freestanding tub placement for the end wall, the long wall, the corner, and the middle of the room.
Each idea gives you one clear spot for the tub, plus the small styling moves that make that spot work. Think towel reach, floor space, light, and what you see from the door each morning.
For the wider room plan first, our long narrow bathroom layout ideas cover the full floor plan. Come back here once the basics are set, and choose the tub spot with care. You will feel that choice every day, morning and night, all year.
This post contains affiliate links. If you buy through them, we may earn a small commission at no extra cost to you. See our Affiliate Disclosure.
1. Center the Tub on the Far End Wall
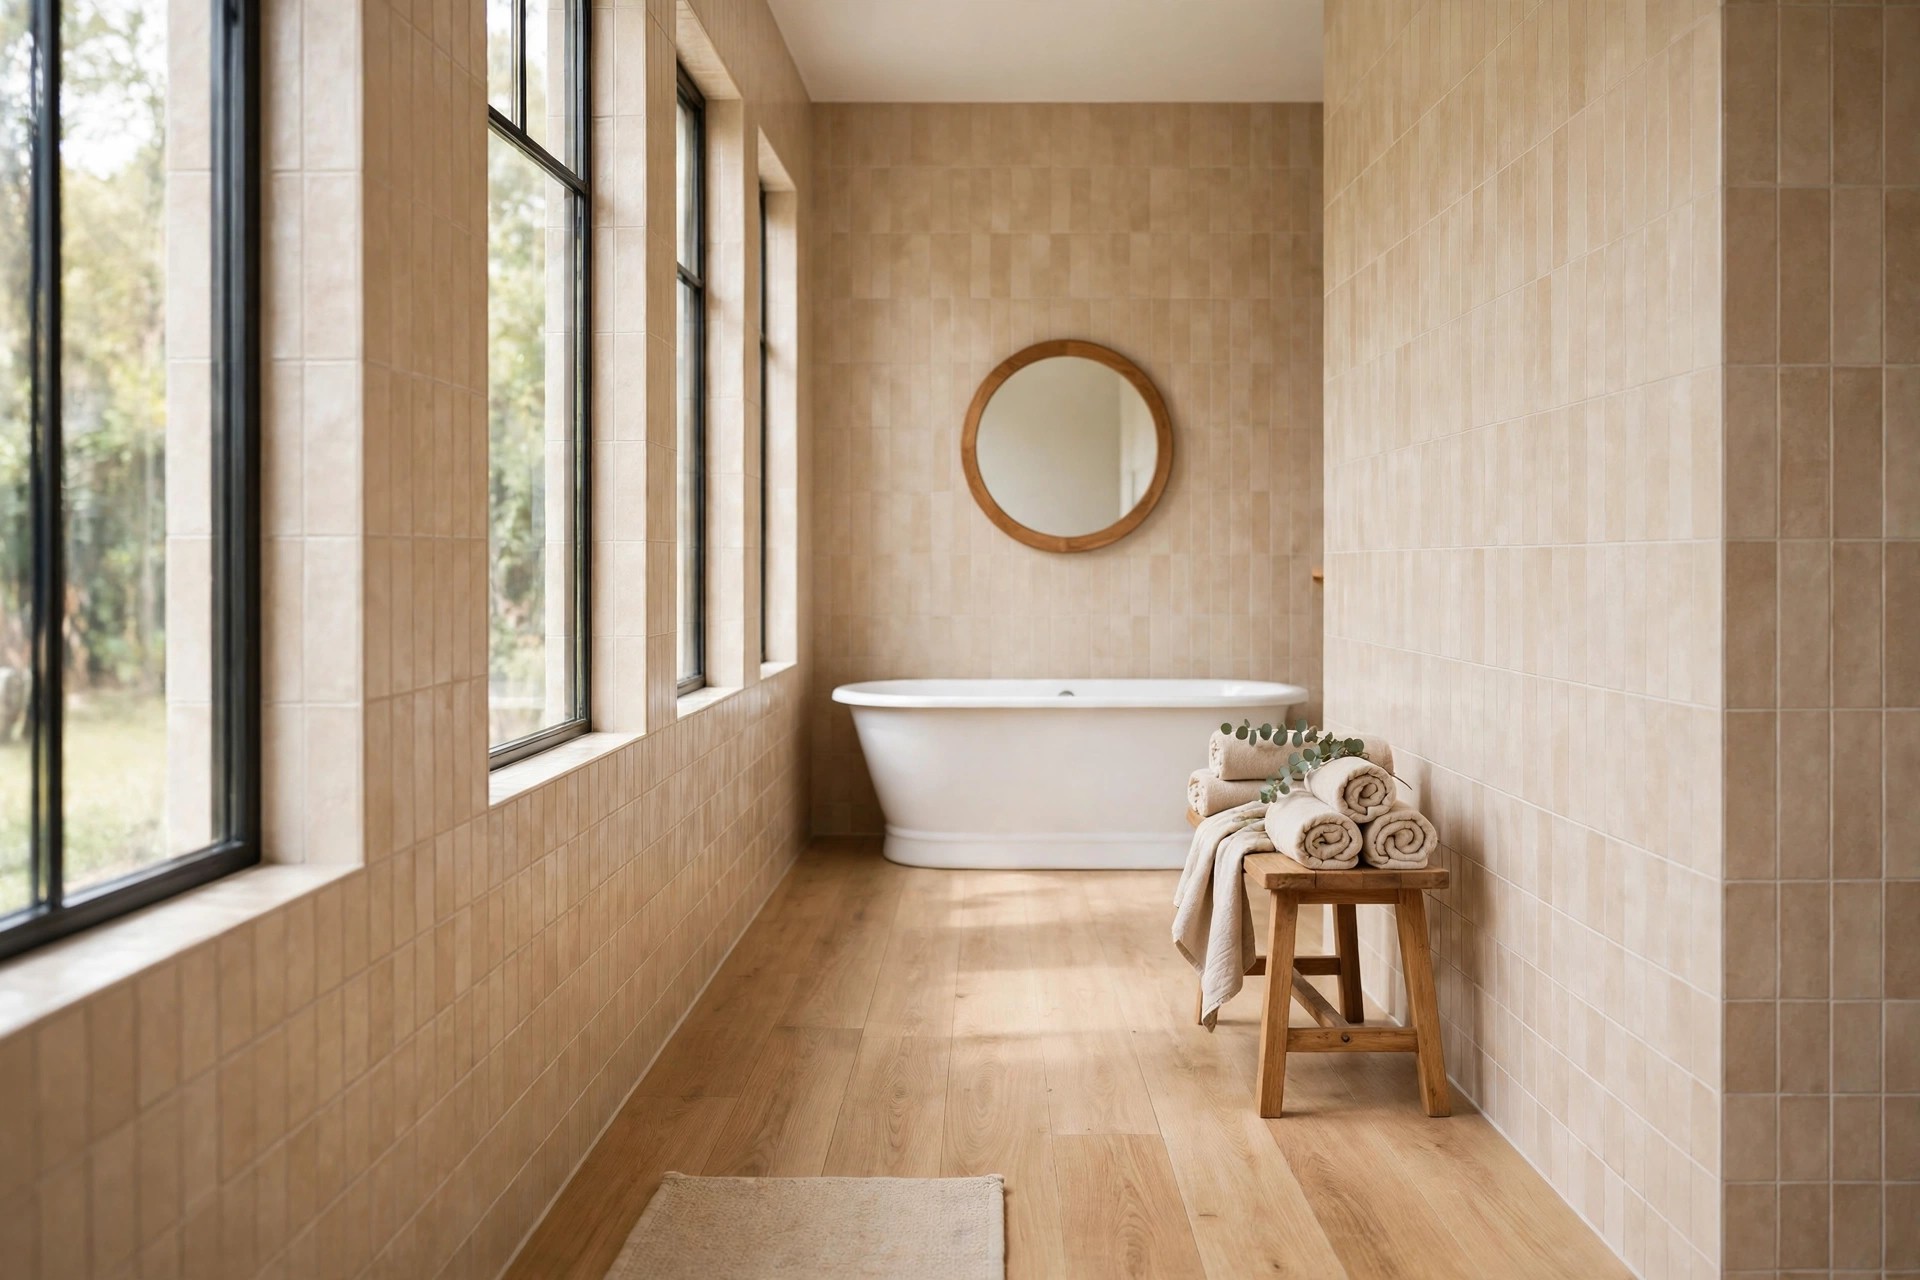
The far end wall is the natural home for the tub in most long rooms. Set the tub across the width, centered left to right, with its long side facing the door. The whole room leads to it.
Leave a clear gap between the tub and each side wall. You need room to mop, to reach a dropped bottle, and to step in without turning sideways. A hand span on each side is enough.
Hang one simple piece of art or a round mirror above the tub line if the wall feels bare. Keep it high enough that splashes miss it.
Our guide to long bathroom ideas with a bathtub shows more end wall tub rooms. Use it for color and tile pairings, then keep this centered spot as your base plan.
2. Run the Tub Lengthwise Along One Long Wall
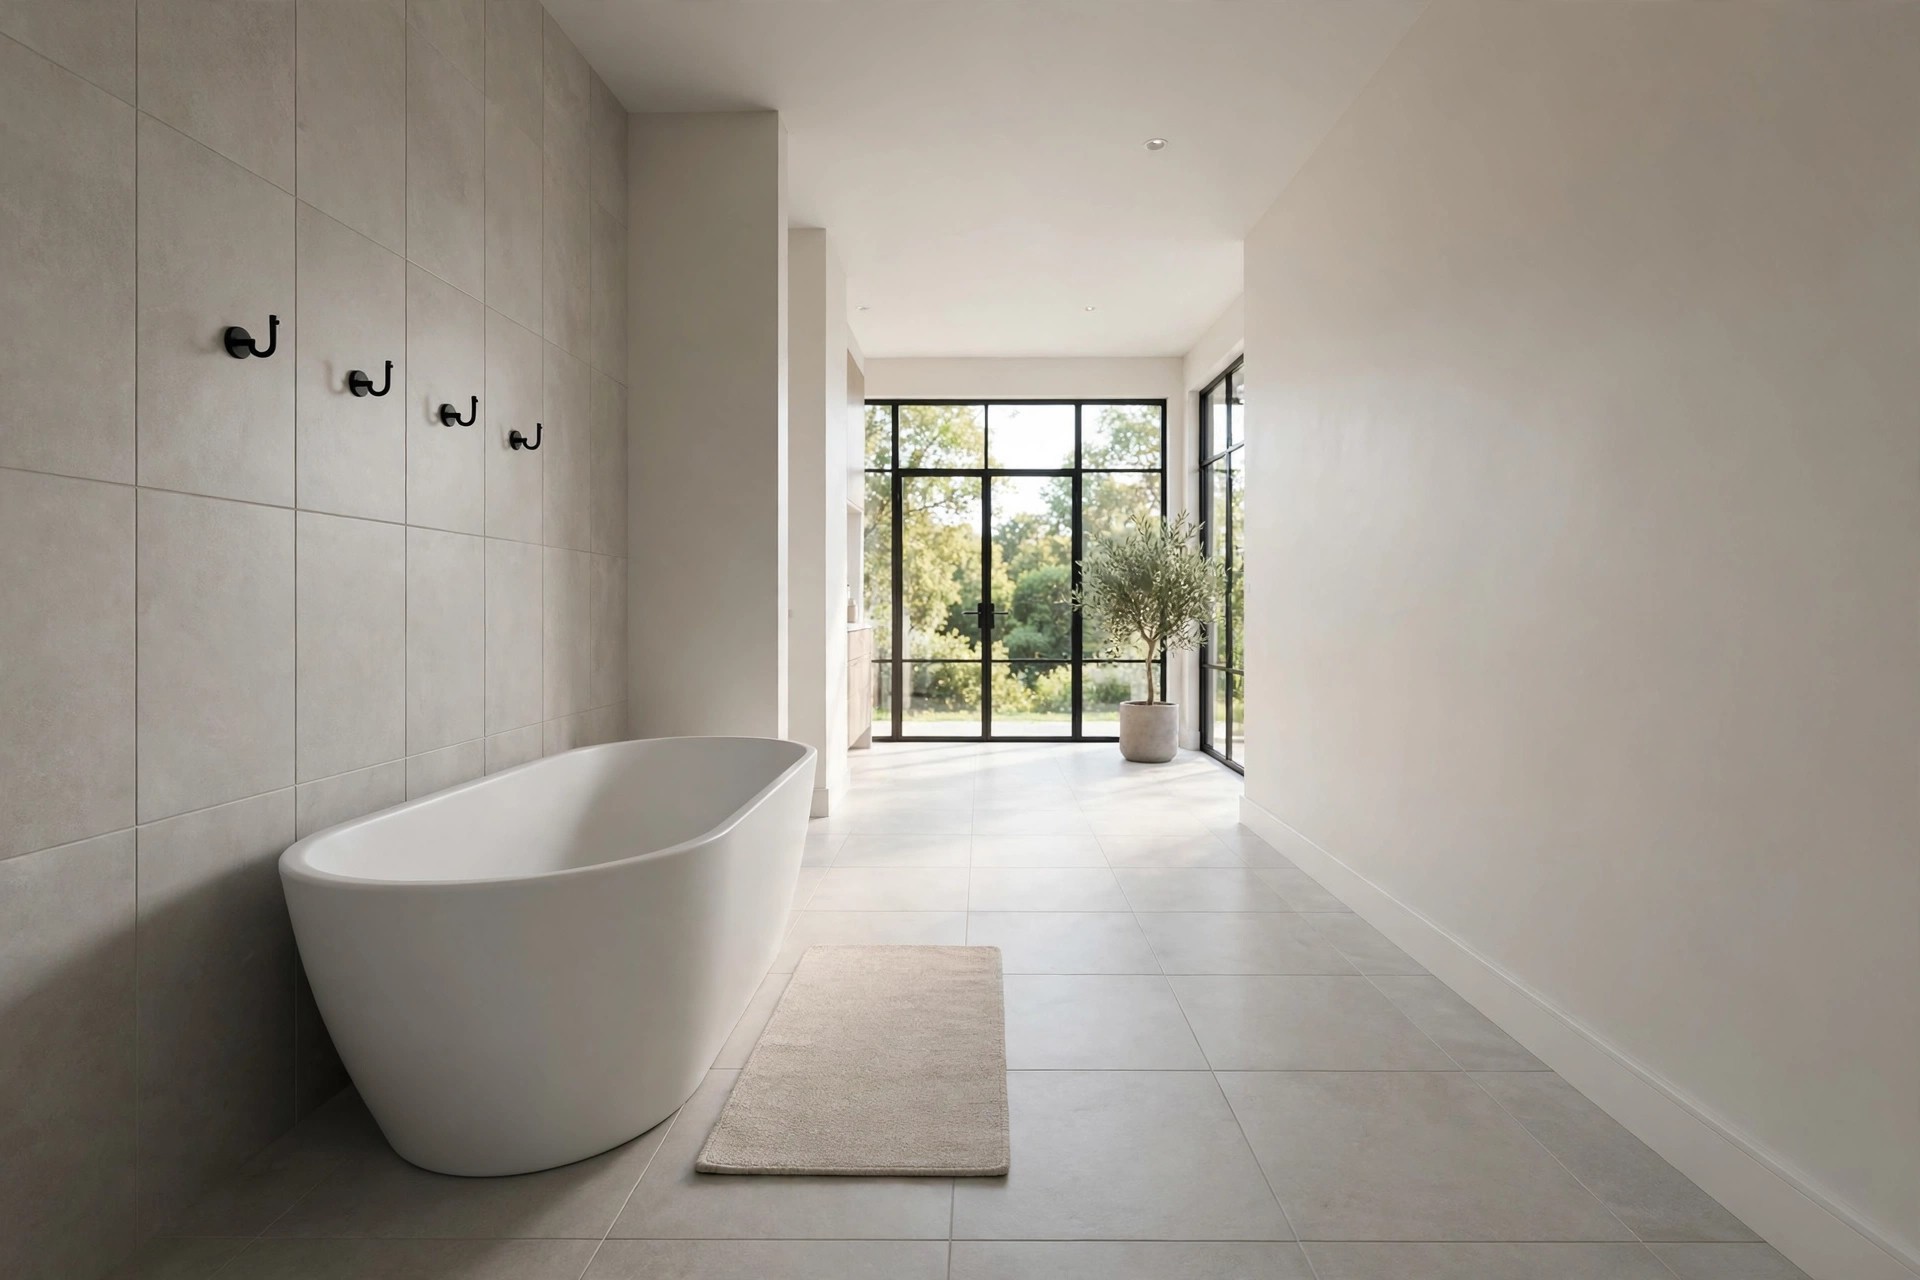
Place the tub flat along one long wall, with its long side parallel to the wall. This keeps the other side of the room open as one clear walkway from door to far end, with no weaving around fixtures.
Choose the wall without the door swing if you can. A door that opens onto the tub end feels cramped at once. The quiet wall also gives you a long, clean line for a towel hook row above.
Keep the walkway fully clear. A bath mat that stays rolled half under the tub will trip bare feet at night.
Run a low stool or a narrow bench at the far end of the walkway, not beside the tub. The bench holds folded towels and keeps the tub side free for stepping in and out.
3. Place the Tub Under the Window at the Far End
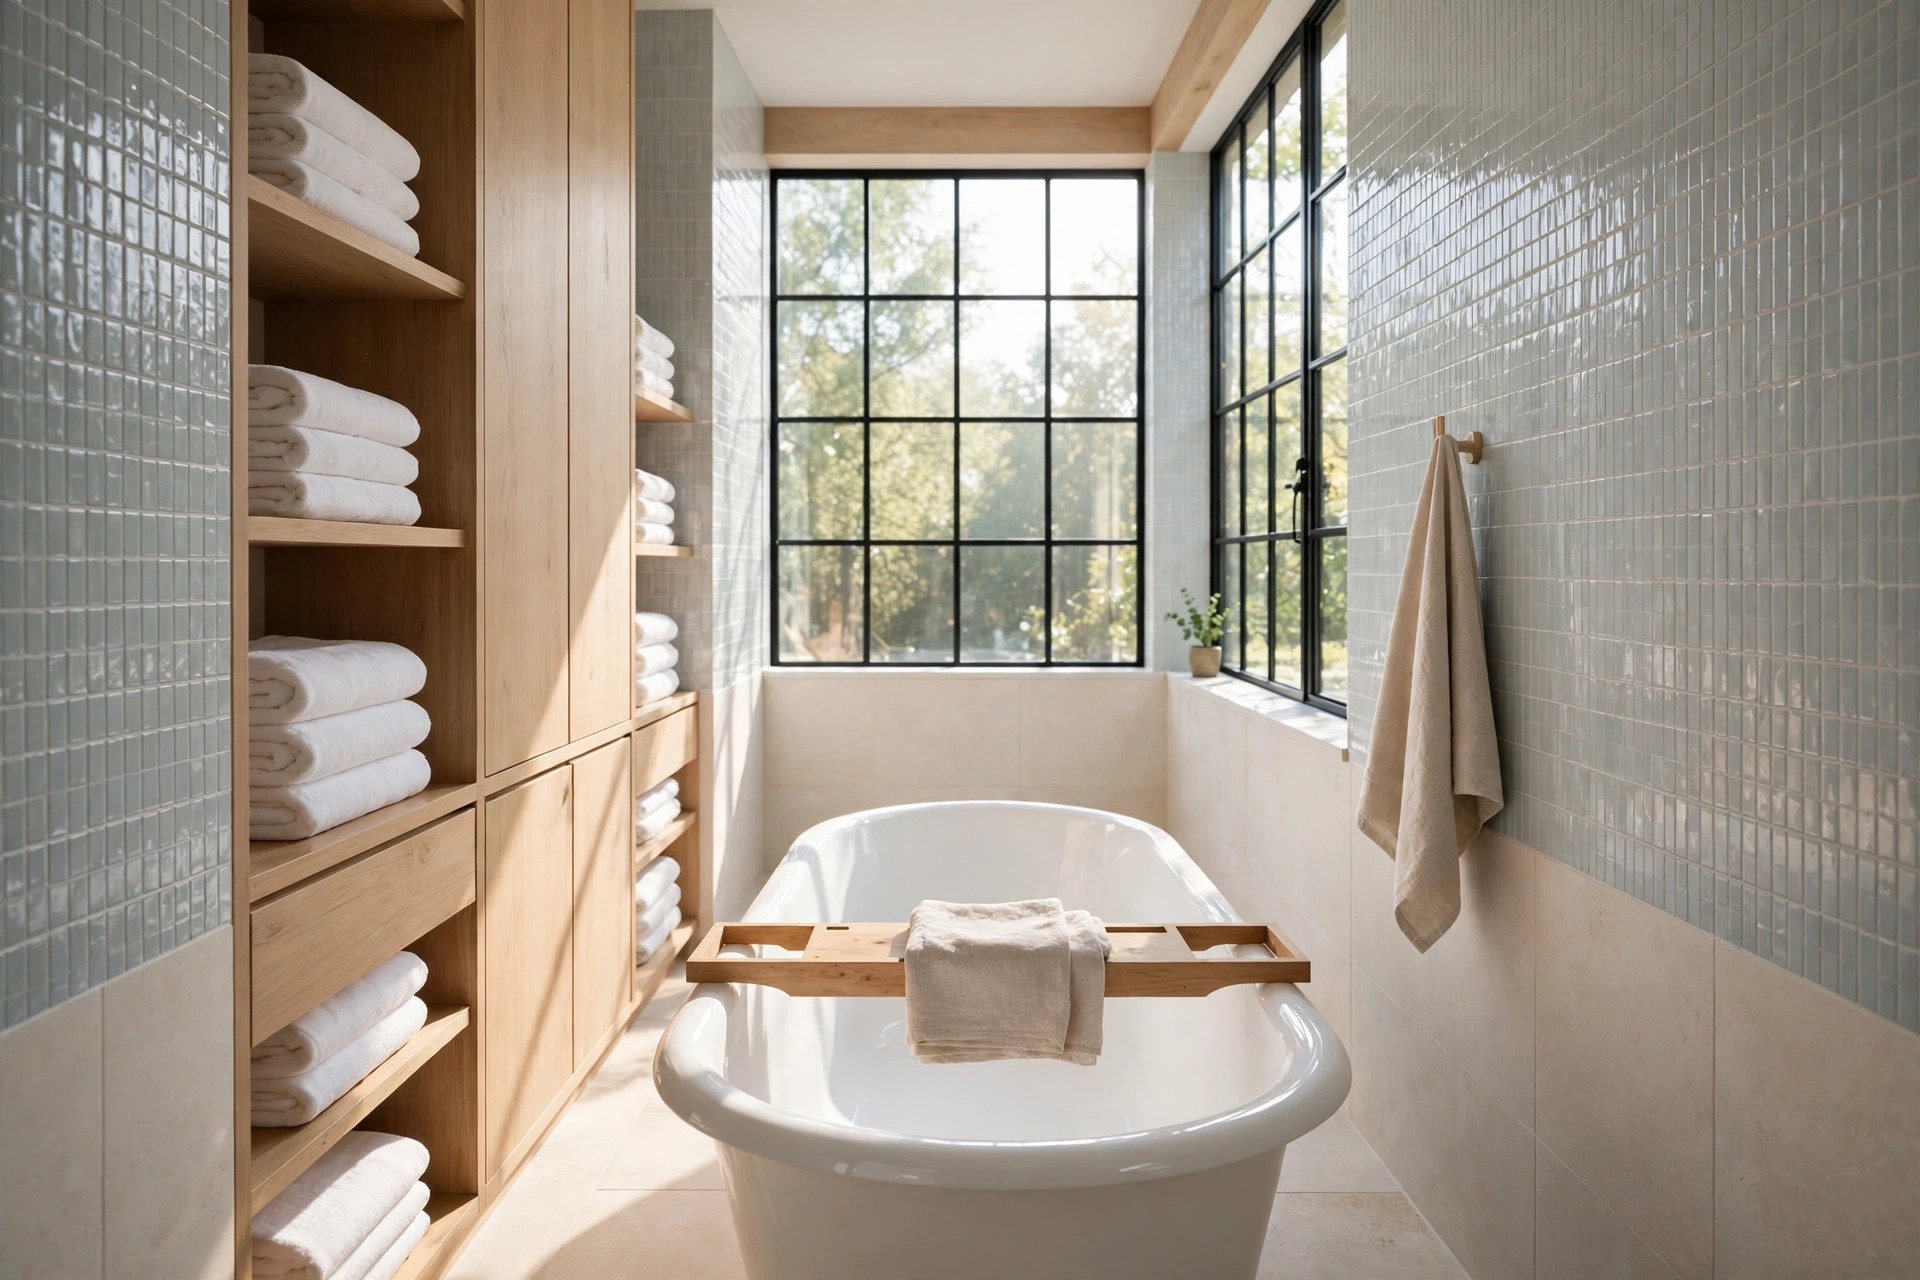
Daylight over a soak is hard to beat. If the far end has a window, center the tub under it, across the width of the room. Morning light lands on the water and the end wall glows.
Ground floor rooms need a privacy plan first. Our notes on bathroom window privacy ideas for ground floor baths cover films, blinds, and frosted panes that still let light in.
Keep the sill clear of bottles. Water pools on a crowded sill and marks the paint fast. One small plant that likes steam is enough on the sill.
For more rooms built around the glass, see our long bathroom ideas with a window. The tub under the window is the strongest version of that plan, since the light and the soak share one spot.
4. Angle the Tub Across the Far Corner
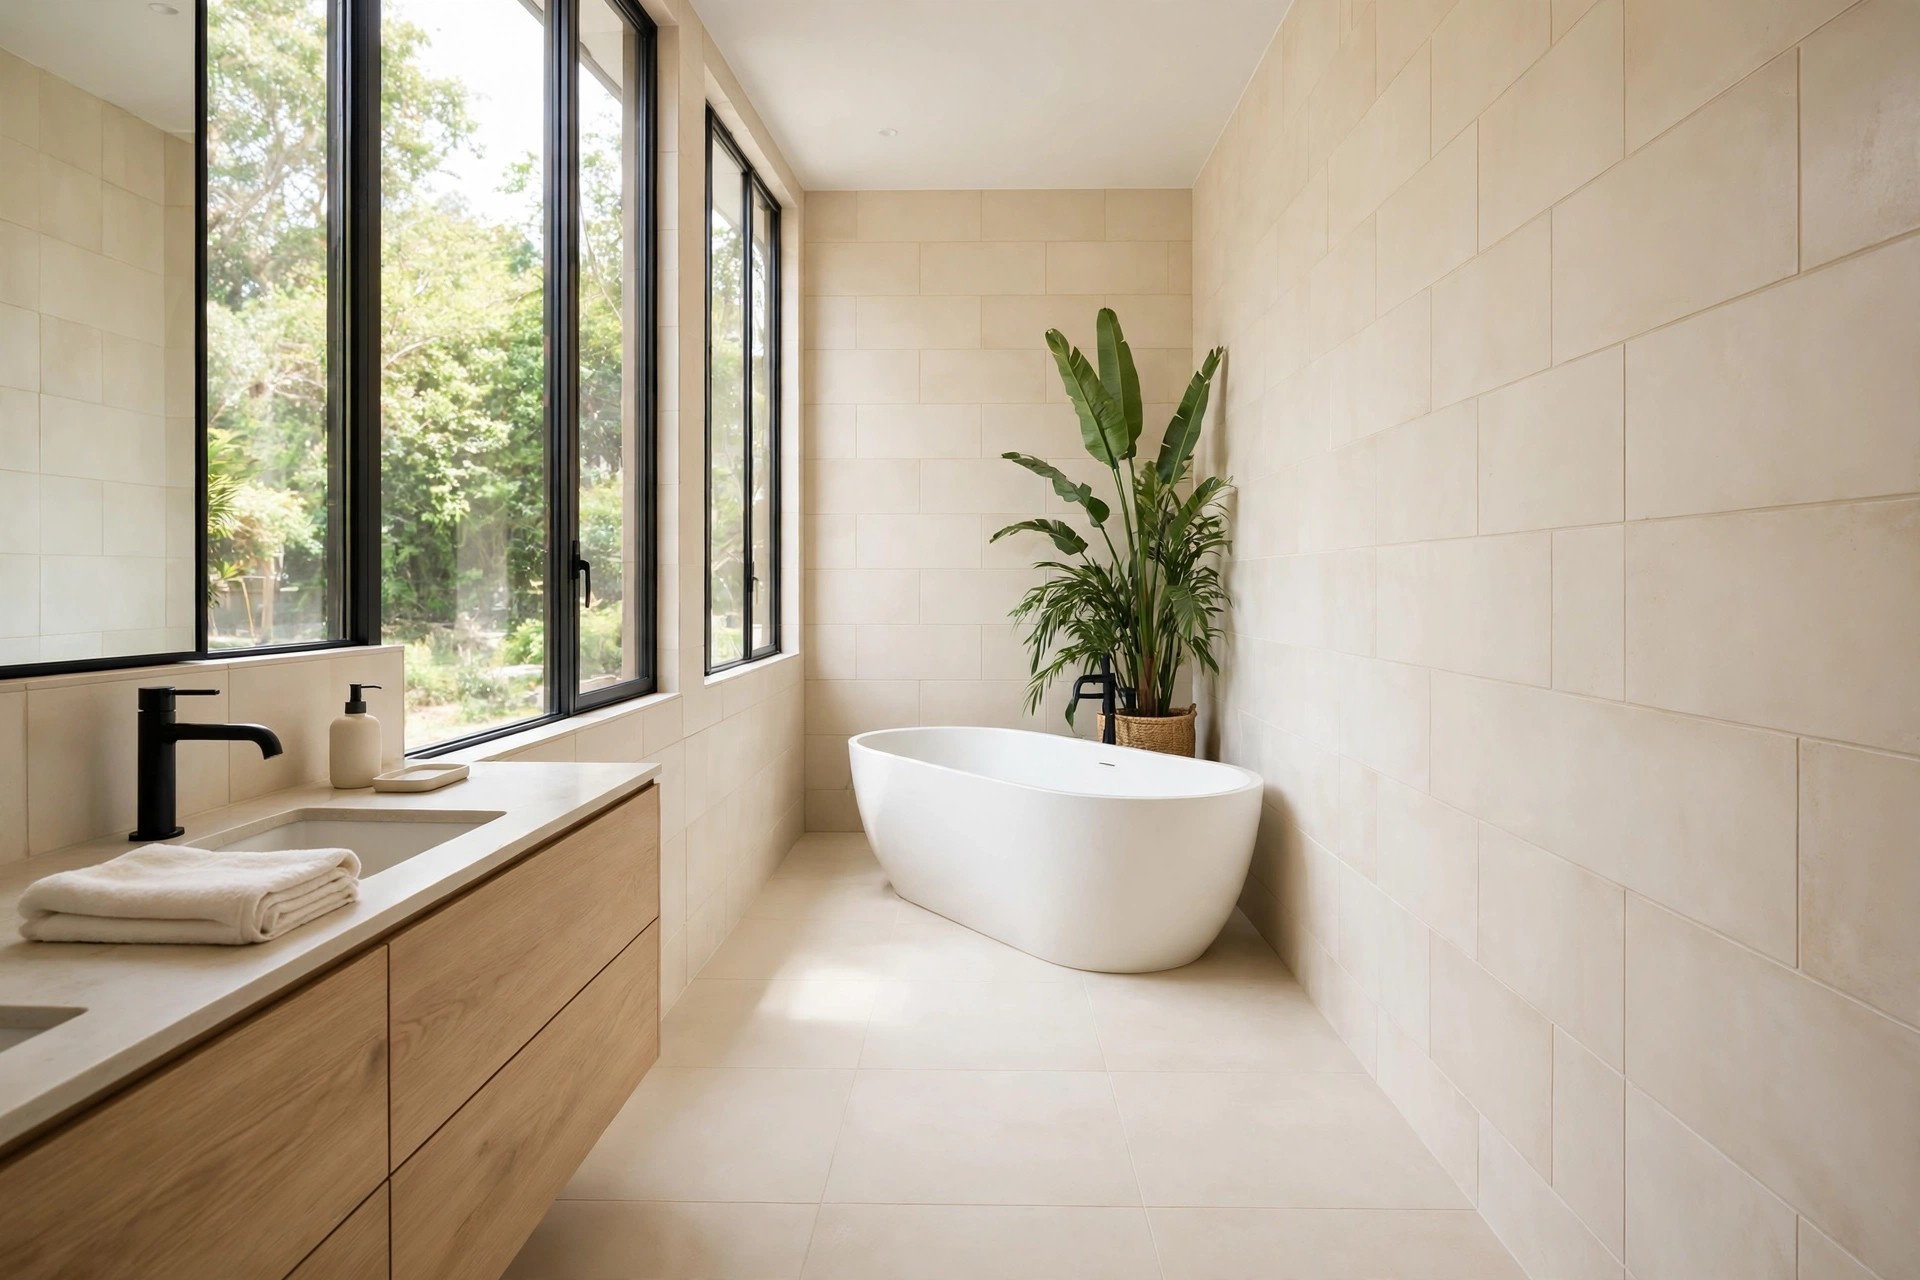
A tub set at an angle across the far corner breaks the tunnel feel of a long room. Turn the tub so one end points toward the door corner. The diagonal line makes the room feel wider at once.
This spot suits an oval tub best. Soft curves leave no sharp corner jutting into the walkway. A square tub on an angle tends to look lost, with odd gaps that collect dust and dropped caps.
Use the small triangle of floor behind the tub well. A tall plant or a slim stool can fill it. Leave it empty and it turns into a dead zone that is hard to clean.
Check the step in point before you settle the angle. You want one clear side for getting in, with a mat that sits flat.
5. Use the Tub Crosswise as a Mid Room Divider
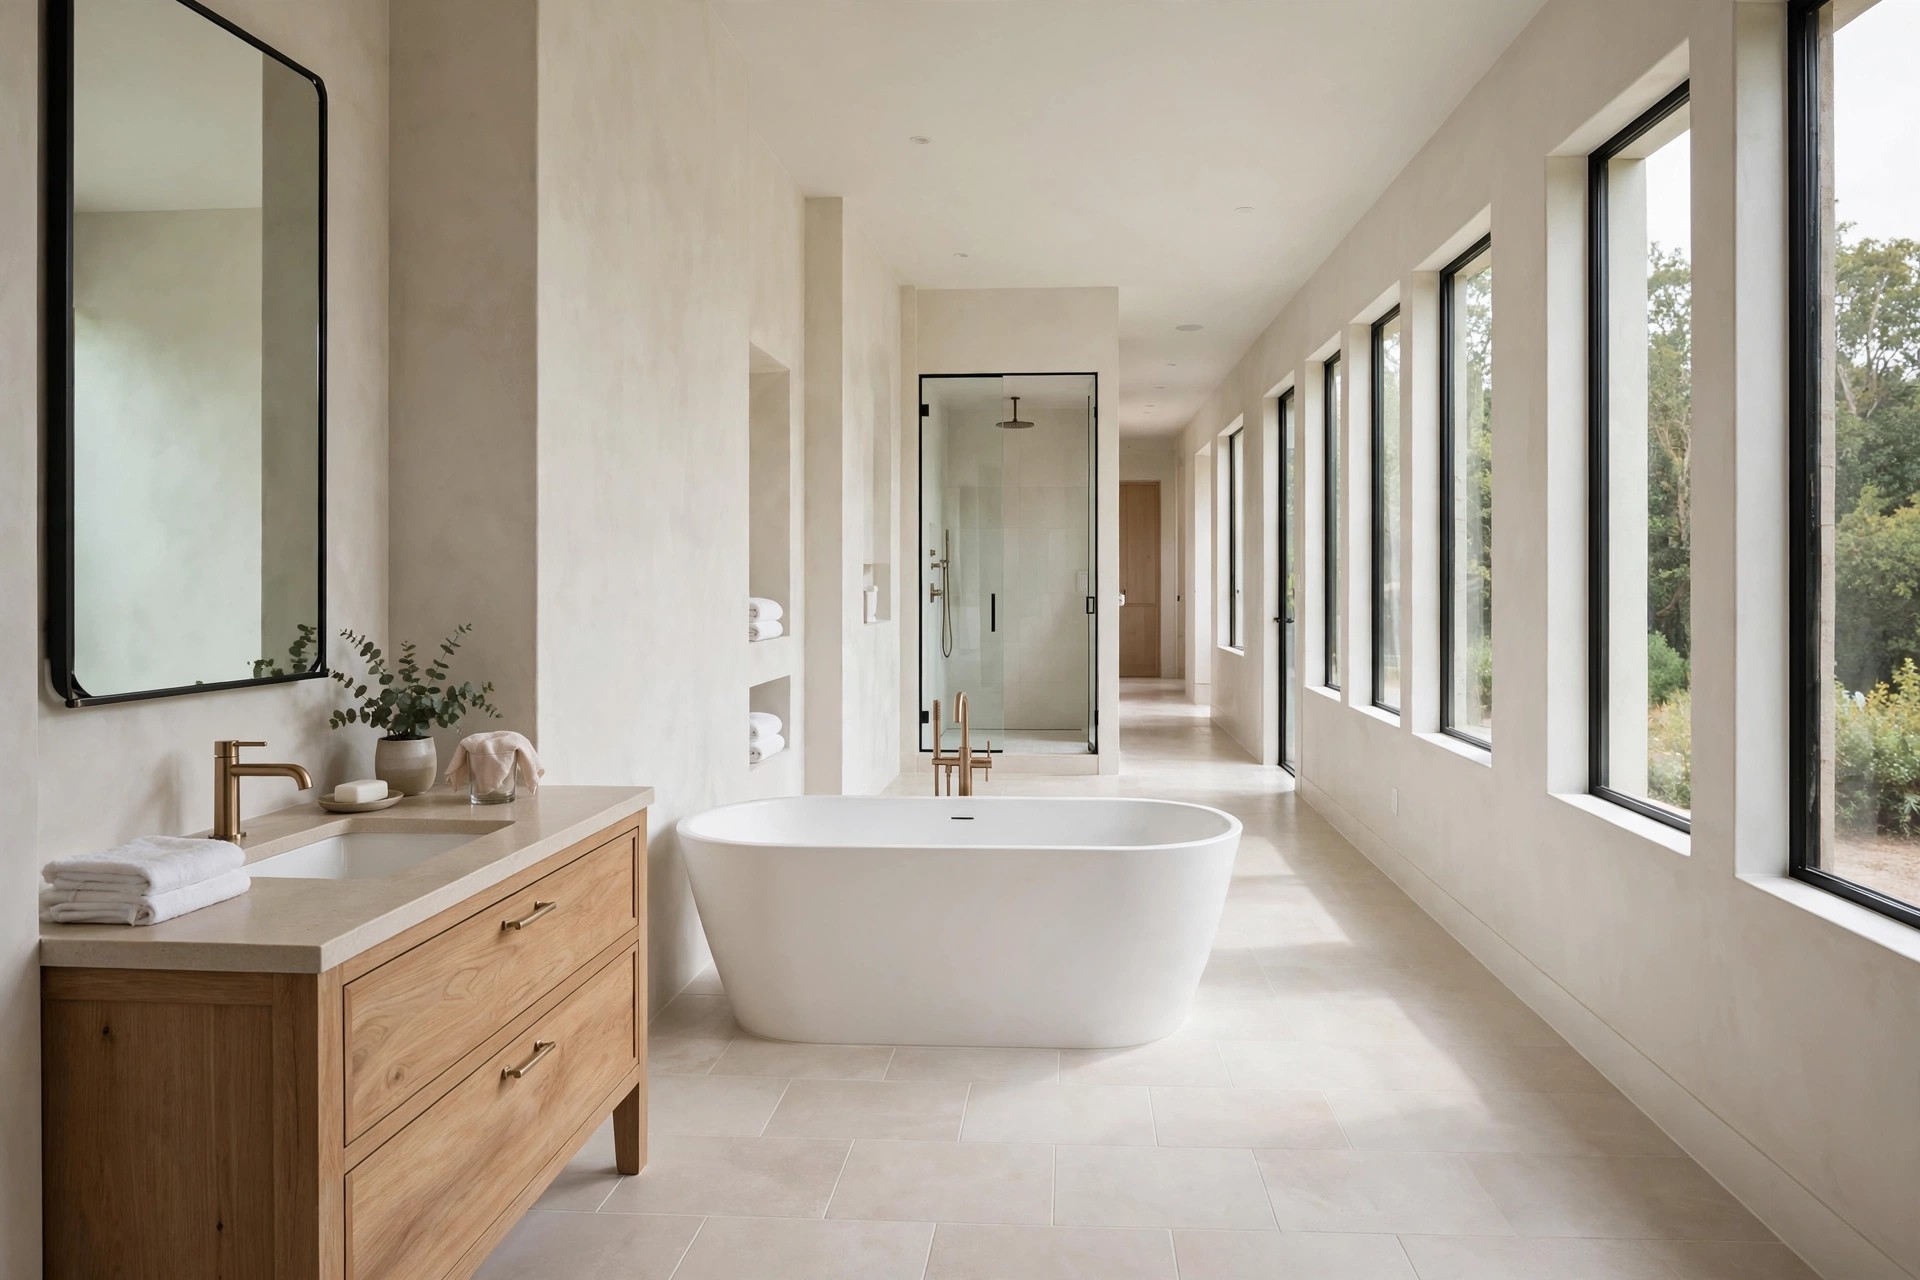
Halfway down a very long room, the tub can split the space into two zones. Set it crosswise, with one short end near the wall and the long side facing the door. Vanity sits behind you, soak sits ahead.
This works when the room is long enough to walk past the tub with ease. You need a clear path on the open side, wide enough for wet feet after a bath.
The divider spot gives the bath its own quiet zone. Sounds from the sink and mirror stay at the door end.
Keep the floor tile the same on both sides of the tub. One floor keeps the two zones calm and linked. A sudden tile change at the tub line can make the room feel cut in half.
6. Pair the Tub With the Shower in One Wet Zone at the Far End
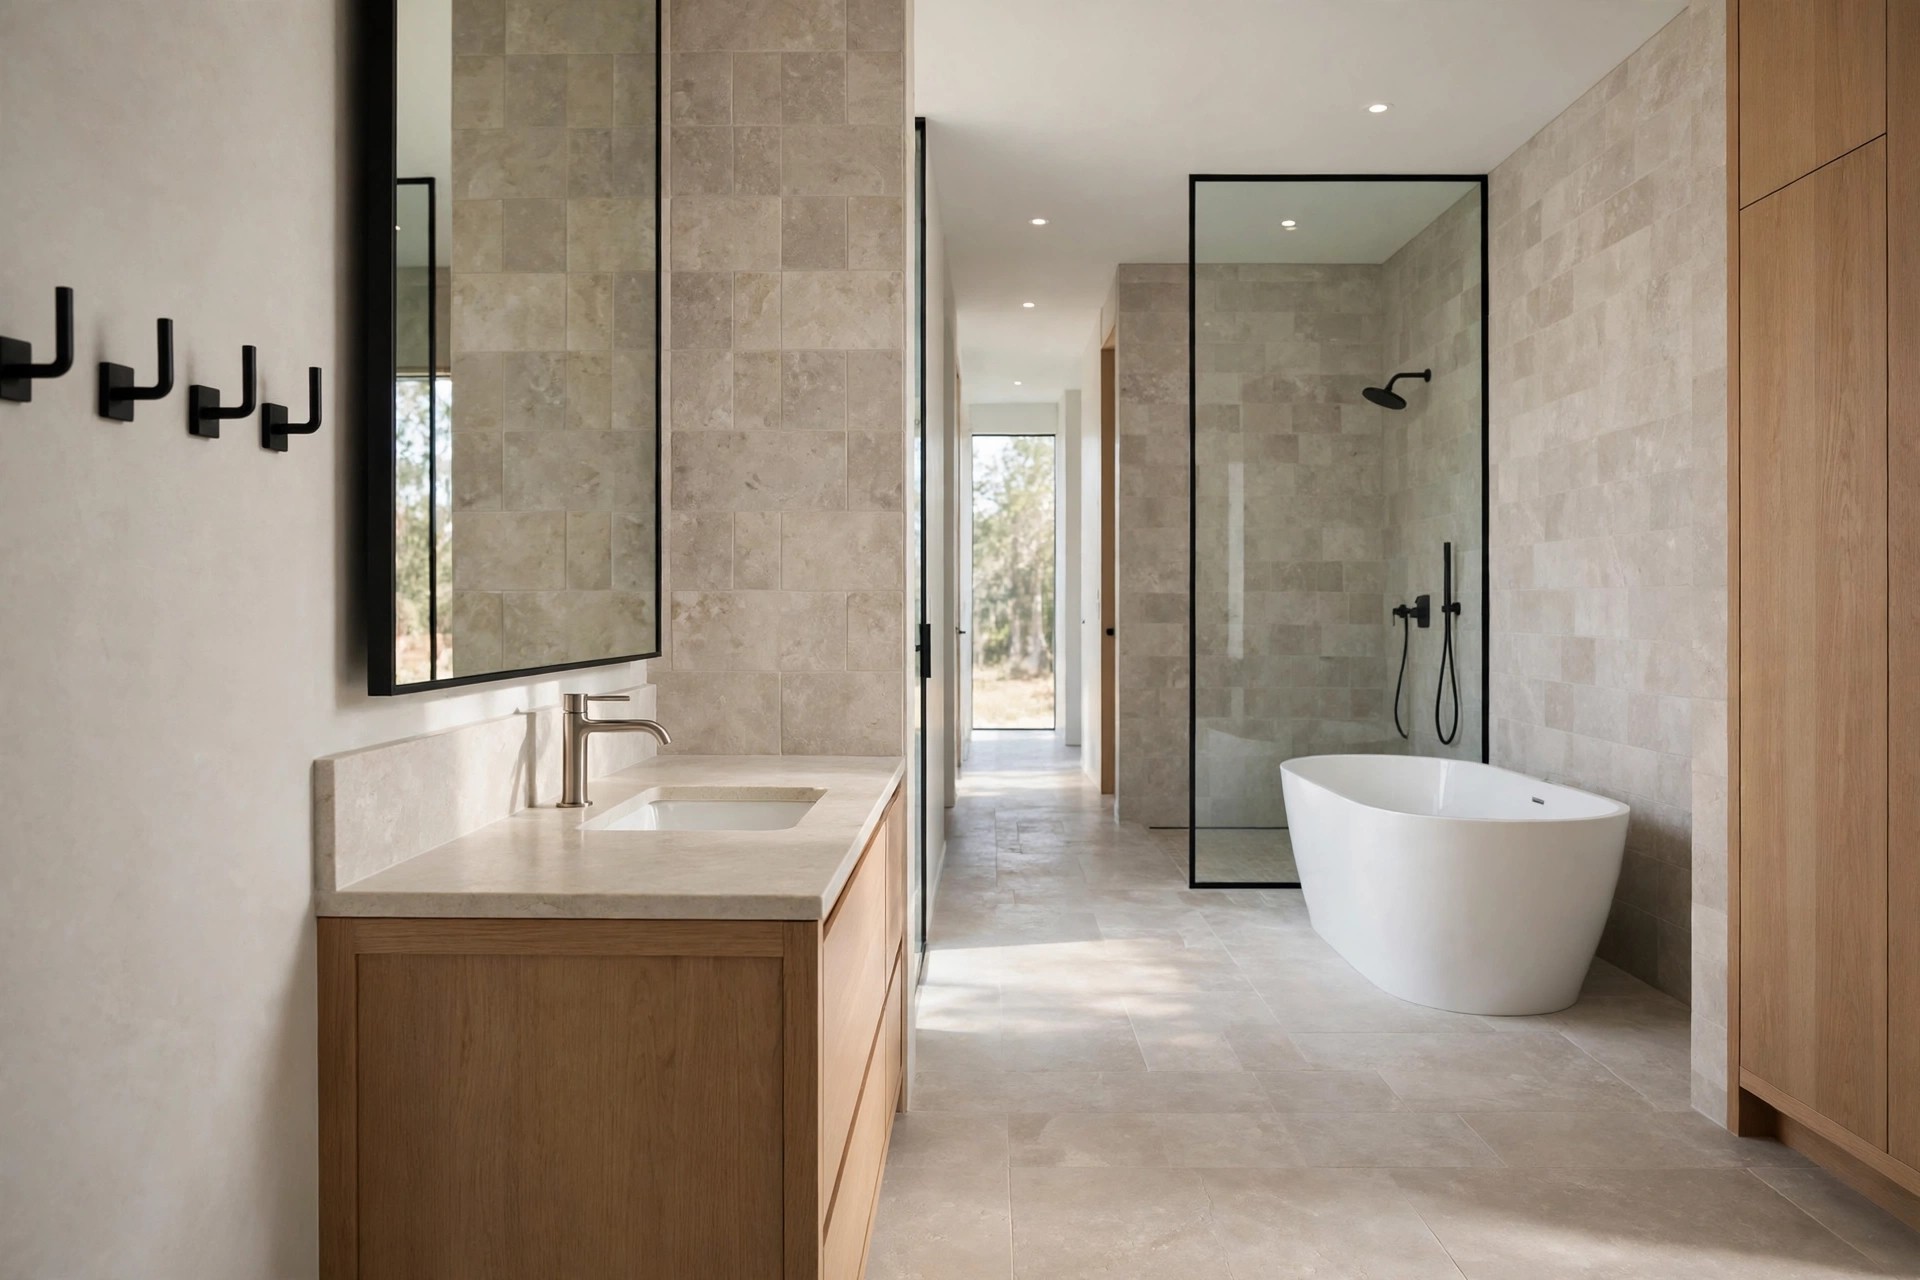
Group the wet jobs at one end. Place the tub at the far end beside an open shower, with the vanity and mirror kept dry near the door. All the splashes stay in one easy zone.
Set the tub parallel to the end wall and the shower beside it, sharing the same tiled end. A glass panel between them keeps spray off the tub rim.
Hooks matter most here. A towel for the shower and a towel for the bath both need a hook within one step. Wet footprints across a long floor get old fast.
Keep bath salts and shower bottles on separate shelves. Mixed bottles crowd fast in a shared zone. Two small niches, one for each job, keep the end wall neat.
7. Set the Tub Opposite the Vanity on the Other Long Wall
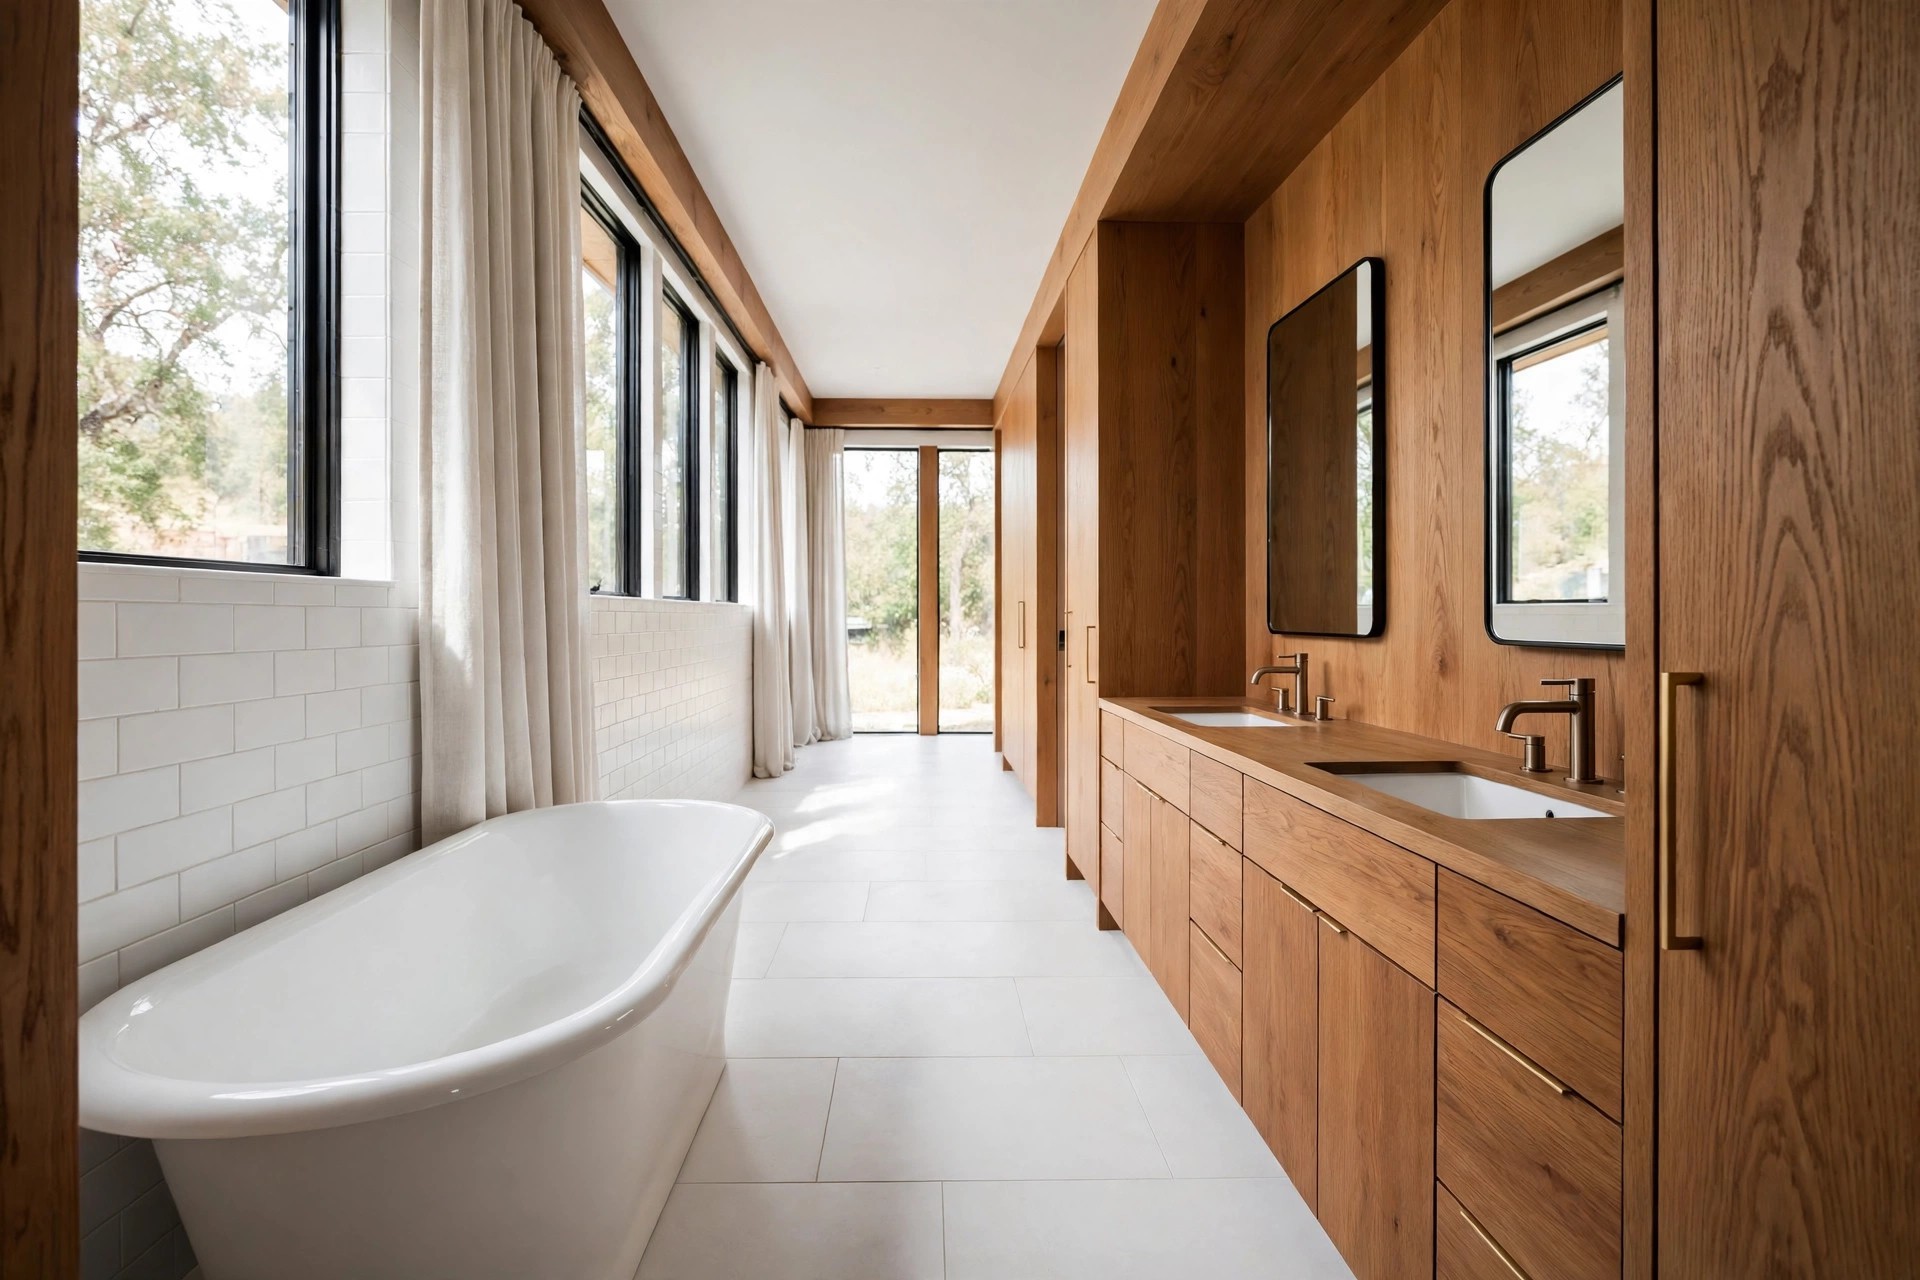
Face the tub and the vanity across the width of the room. The vanity runs along one long wall, and the tub sits lengthwise on the wall opposite. You can soak and still chat with someone at the mirror.
This layout keeps the middle floor fully open. That open strip is where you stand to dry off, where kids queue on busy mornings, and where a laundry basket can sit without blocking a door.
Mirror light needs a check in this spot. A bright vanity light aimed across the room can glare off the water at night. Warm bulbs and a shade or frosted cover keep the soak calm.
The same wood tone on the vanity and a bath stool works well. One shared tone is enough, so do not match everything.
8. Put the Tub Near the Door So It Greets You First
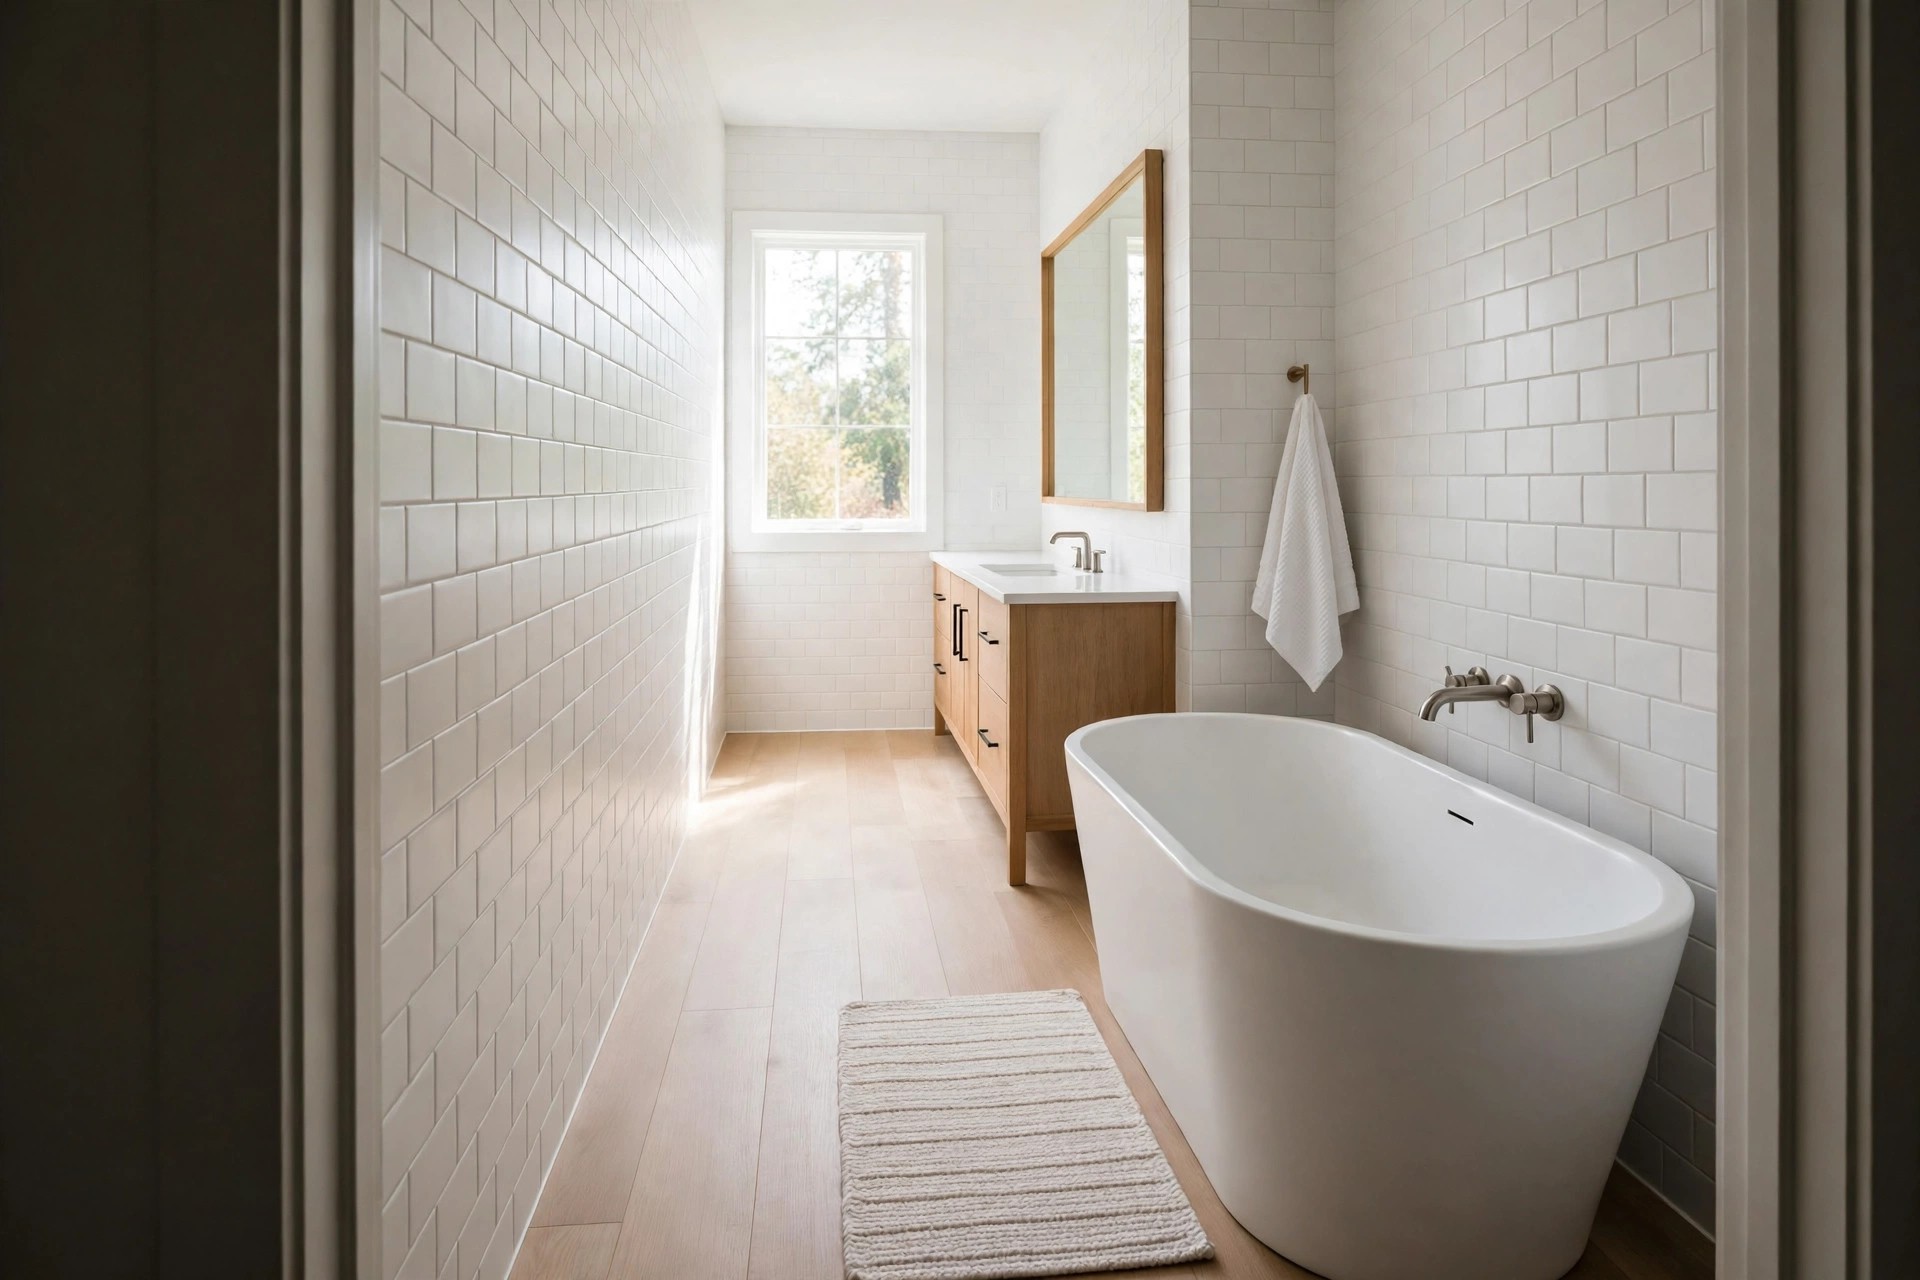
Most long rooms save the tub for the far end, but the near end can work too. Place the tub just inside the door, along the first stretch of long wall, and send the vanity to the far end.
The gain is simple: the prettiest piece in the room is the first thing you see.
Watch the door swing with extra care here. The door must clear the tub end with room to spare. If the swing feels tight, a tub set a step farther in solves it in most rooms.
Keep the floor by the door dry as a rule. A good mat at the tub side and a hook right there stop drips at the entry. Guests also meet a tidy tub, not a damp floor.
9. Offset the Tub at the End to Leave Room for a Linen Tower
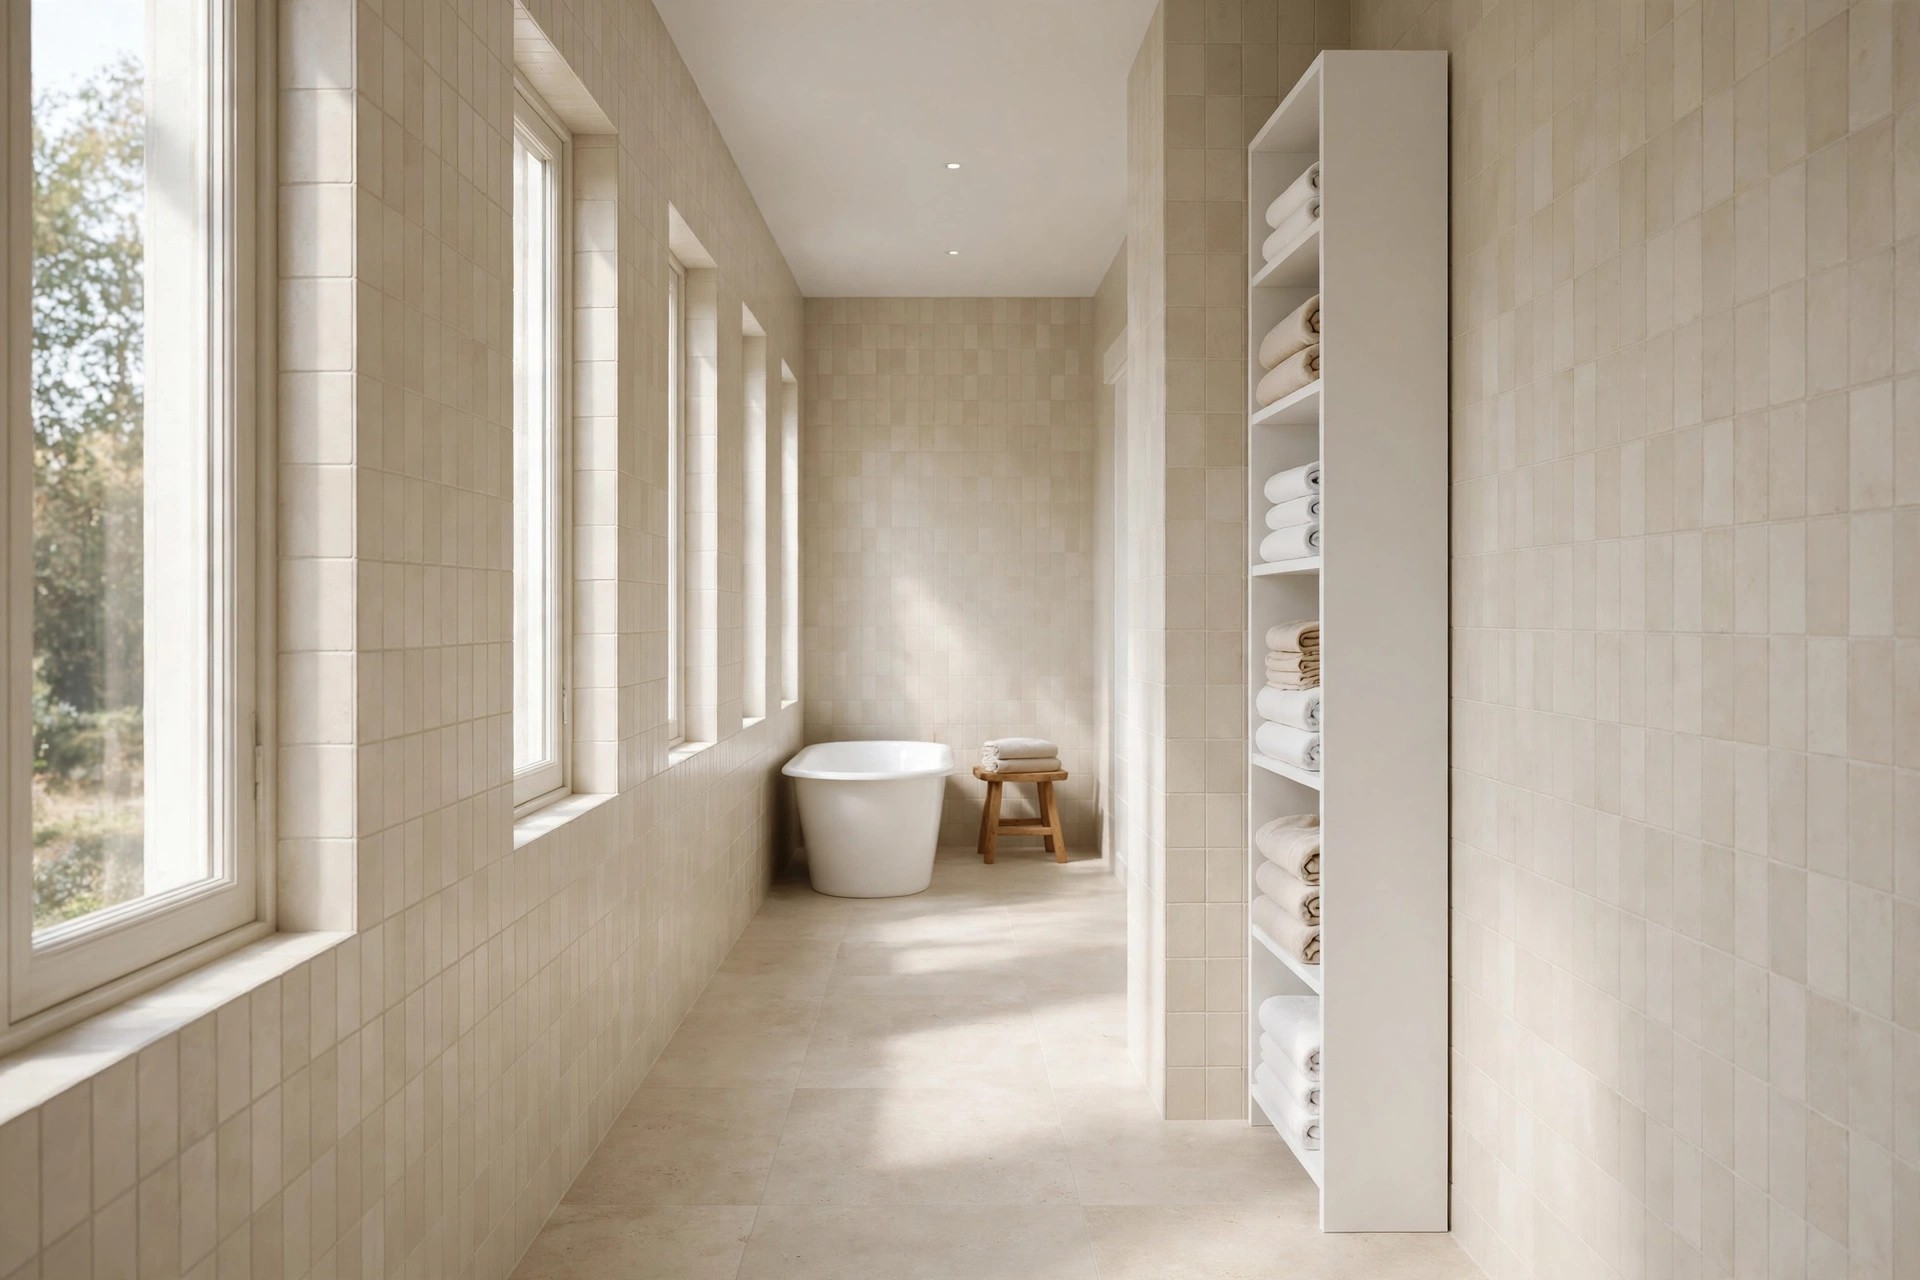
Centered is not the only end wall plan. Slide the tub to one side of the end wall and use the free corner for a tall, slim linen tower. Towels then live right where you step out.
Push the tub close to one side wall, but keep that cleaning gap. The tower takes the other corner, standing clear of splash range. Folded towels stay dry, and spare bottles hide behind a closed door.
This offset also fixes a common gripe: the towel that lives too far from the tub. In this plan, you can reach a warm towel from the water. Cold dashes across tile end at once.
Keep the tower front plain and pale if the tub is white. Two strong shapes at one end can fight.
10. Frame the Tub With a Tile Zone on the Floor and End Wall
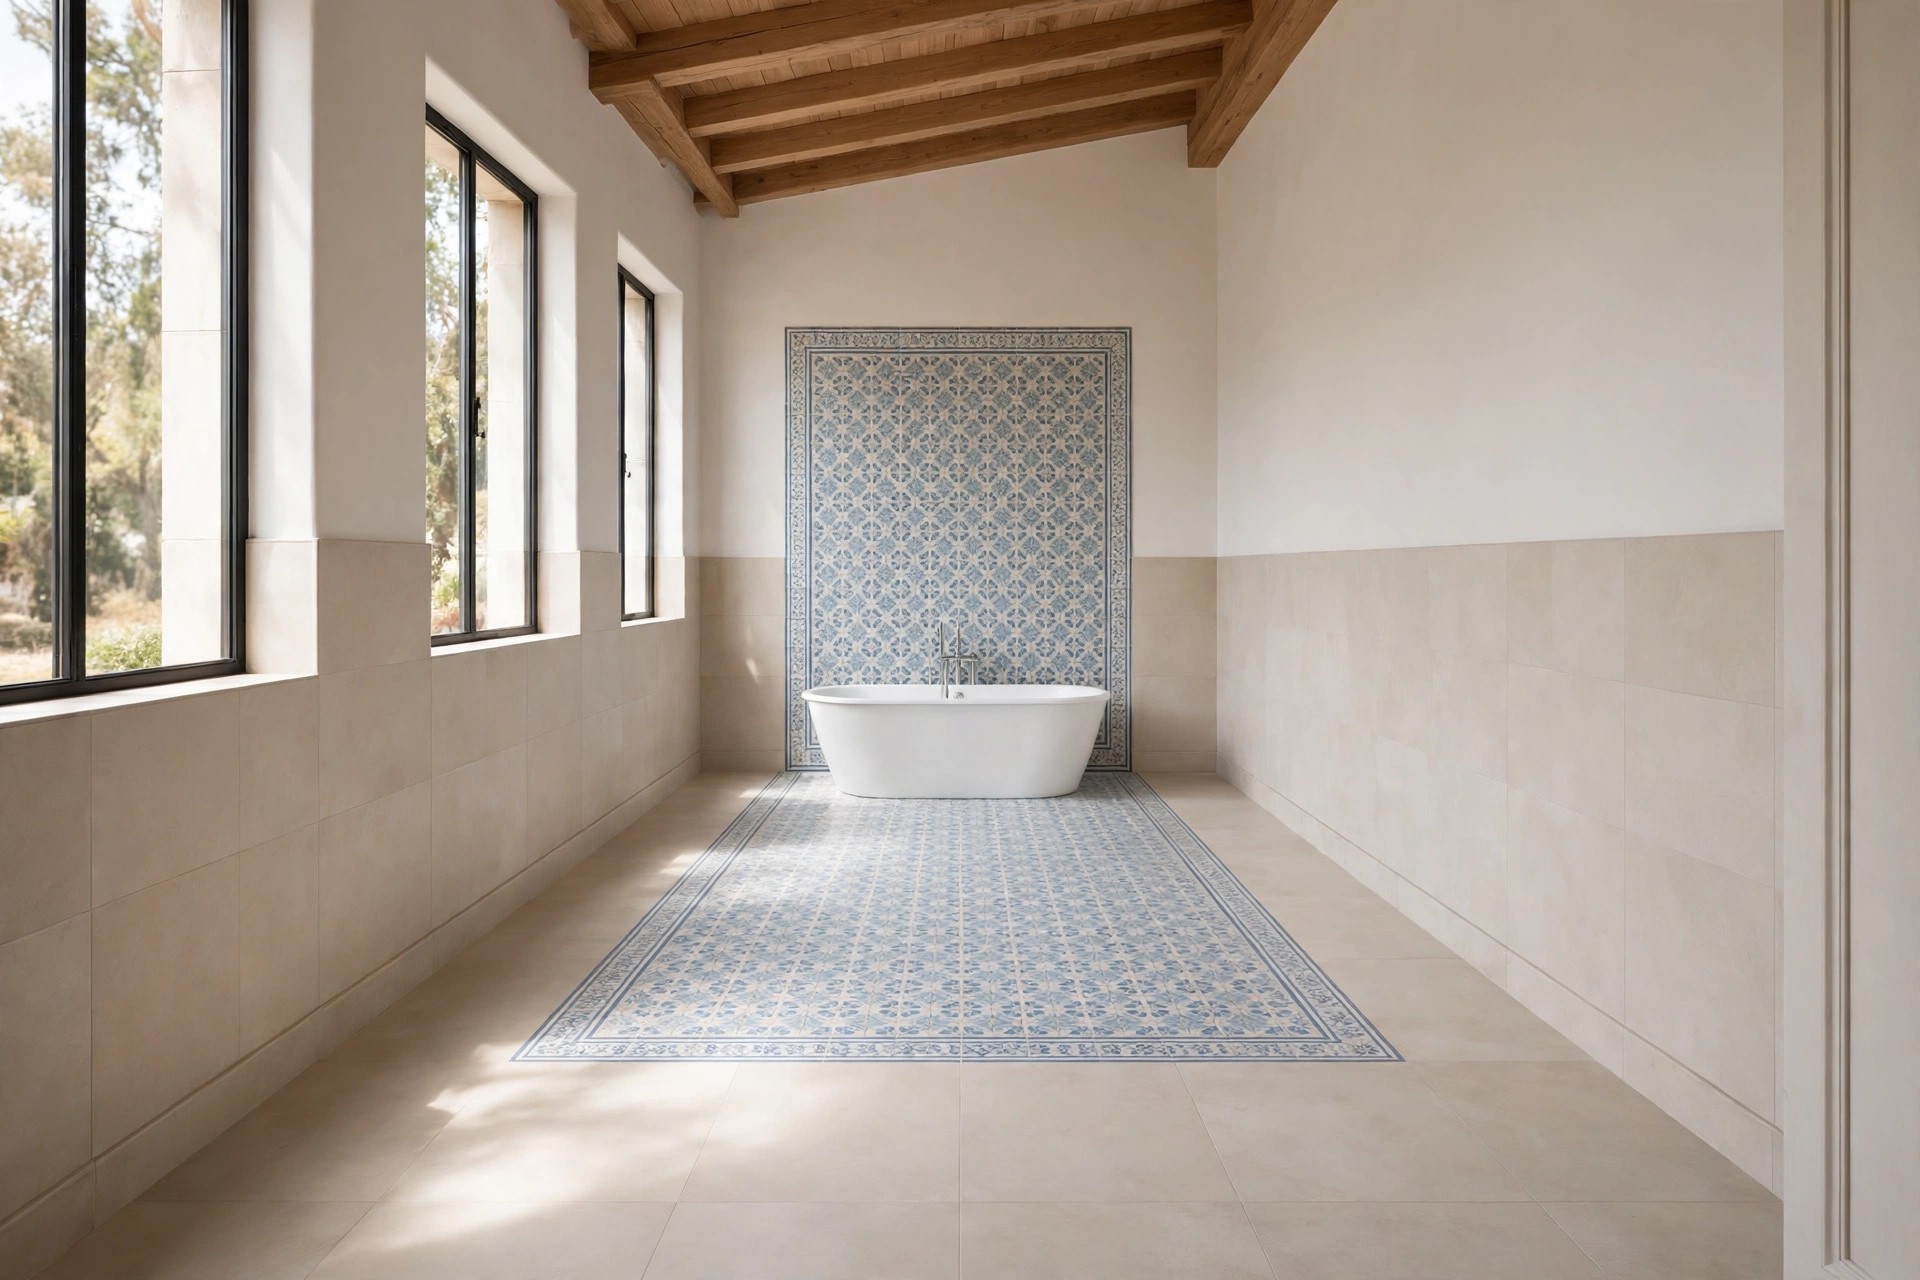
Give the tub a marked ground. Run one tile pattern under and behind the tub at the far end, and a calmer tile down the rest of the room. The tub sits inside that clear zone.
The zone can be a soft check, a small hexagon, or a plain tile in a deeper tone. Keep the pattern scale small, since a loud print can tire the eye fast.
Size the zone with care. It should extend a step beyond the tub on the open side, so wet feet land on the zone tile. A zone that ends at the tub rim looks like a mistake.
Wipe the zone edge often. The line where two tiles meet catches soap and dust first. A quick wipe when you clean the tub keeps the frame looking sharp.
11. Back the Tub Onto a Low Ledge Wall for Bottles and Towels
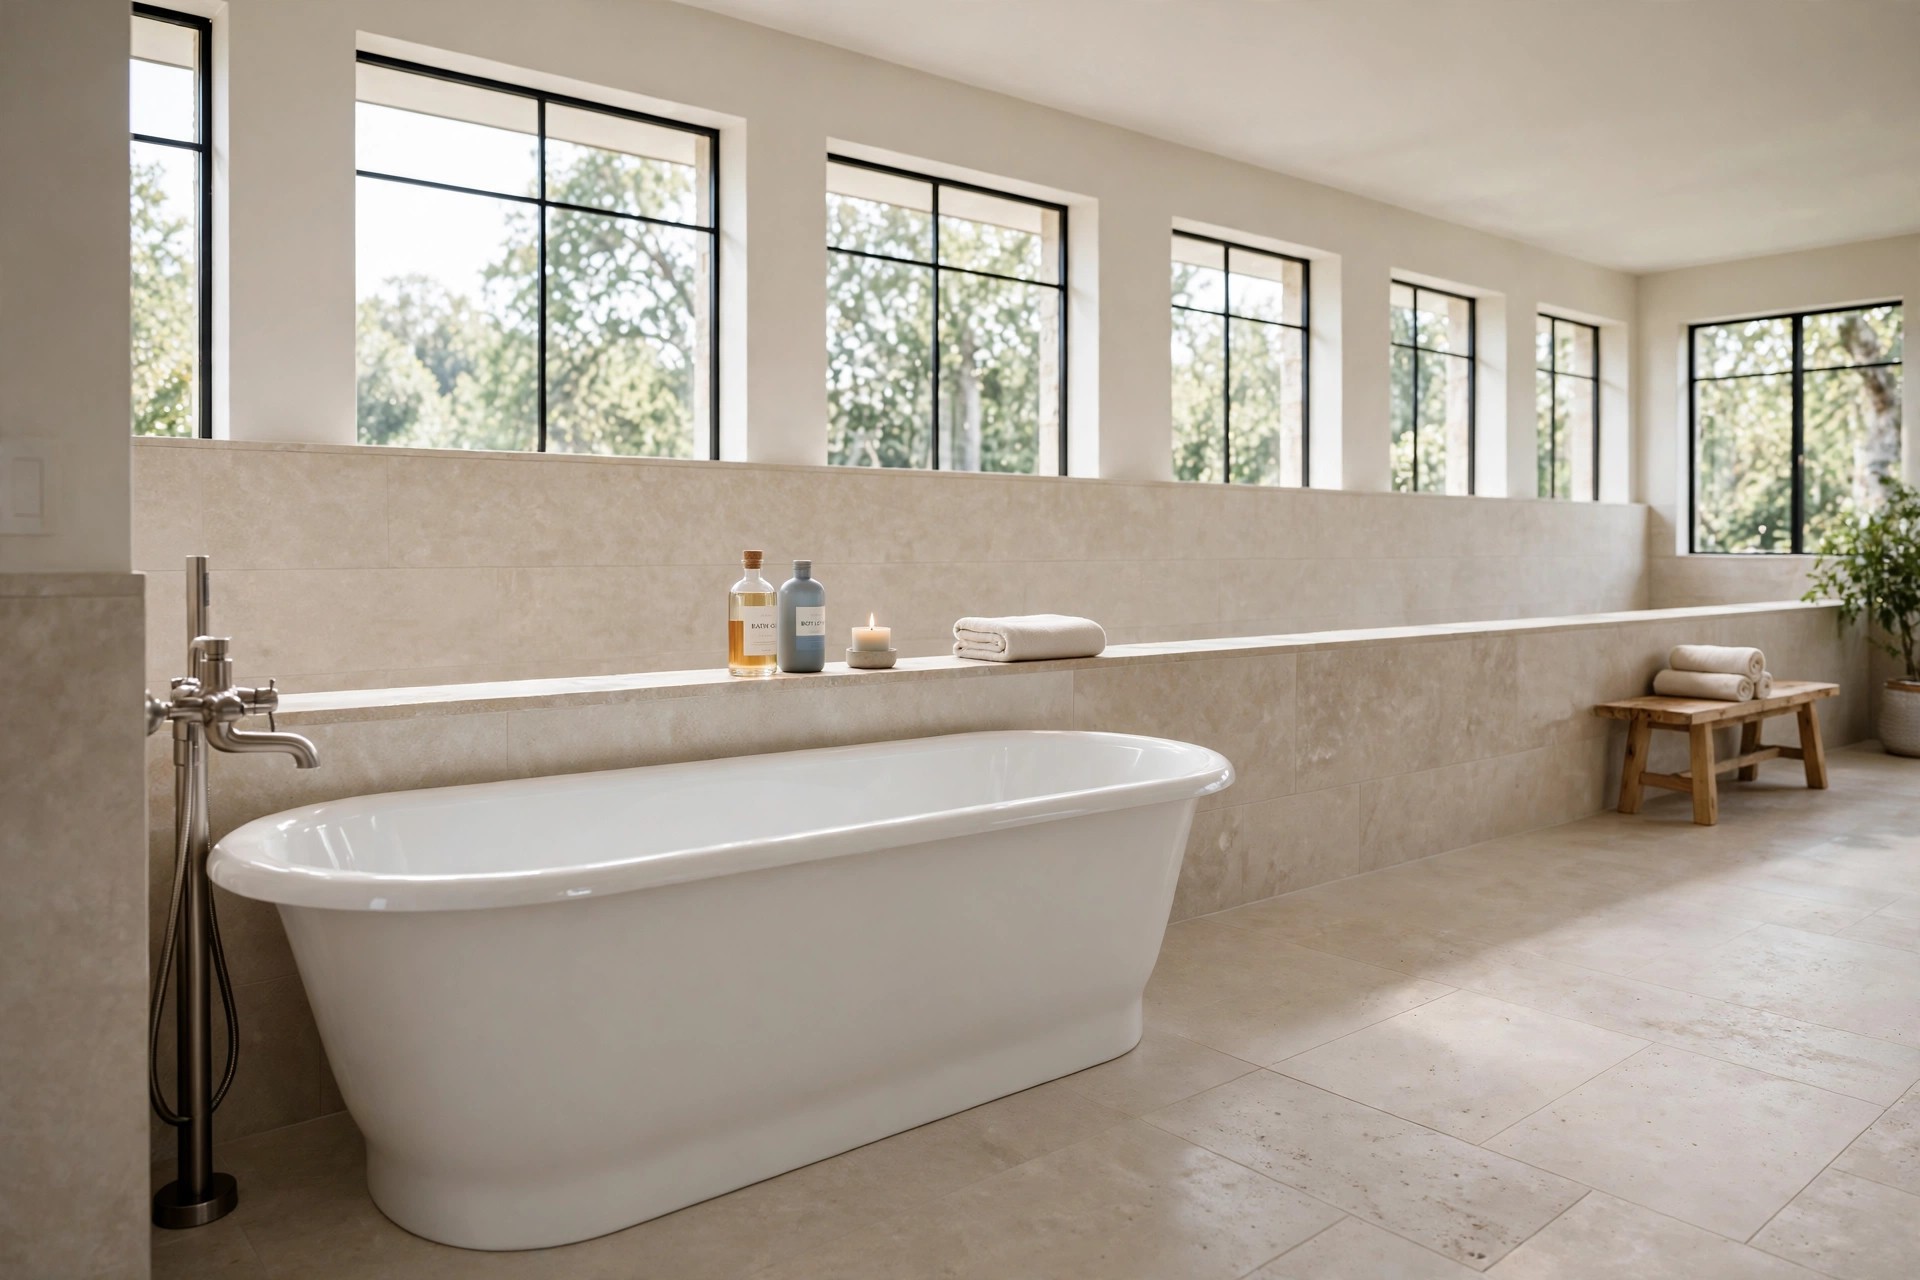
A low ledge wall behind the tub solves the bottle problem in one move. Set the tub lengthwise in front of a half height ledge that runs along the long wall or across the end wall.
The ledge top holds shampoo, a candle, and a folded towel at arm reach. Nothing balances on the tub rim, and nothing falls in the water mid soak. The rim stays clean and clear.
If a built ledge is too much work, our guide to small bathroom ideas with floating shelf styling tricks gives the same reach with one shelf. Keep the shelf low and close, or the gain is lost.
Tile the ledge top or cap it with a sealed wood board. Bare plaster marks fast near water. A hard cap wipes clean fast.
12. Tuck the Tub Into a Shallow Alcove at the Far End
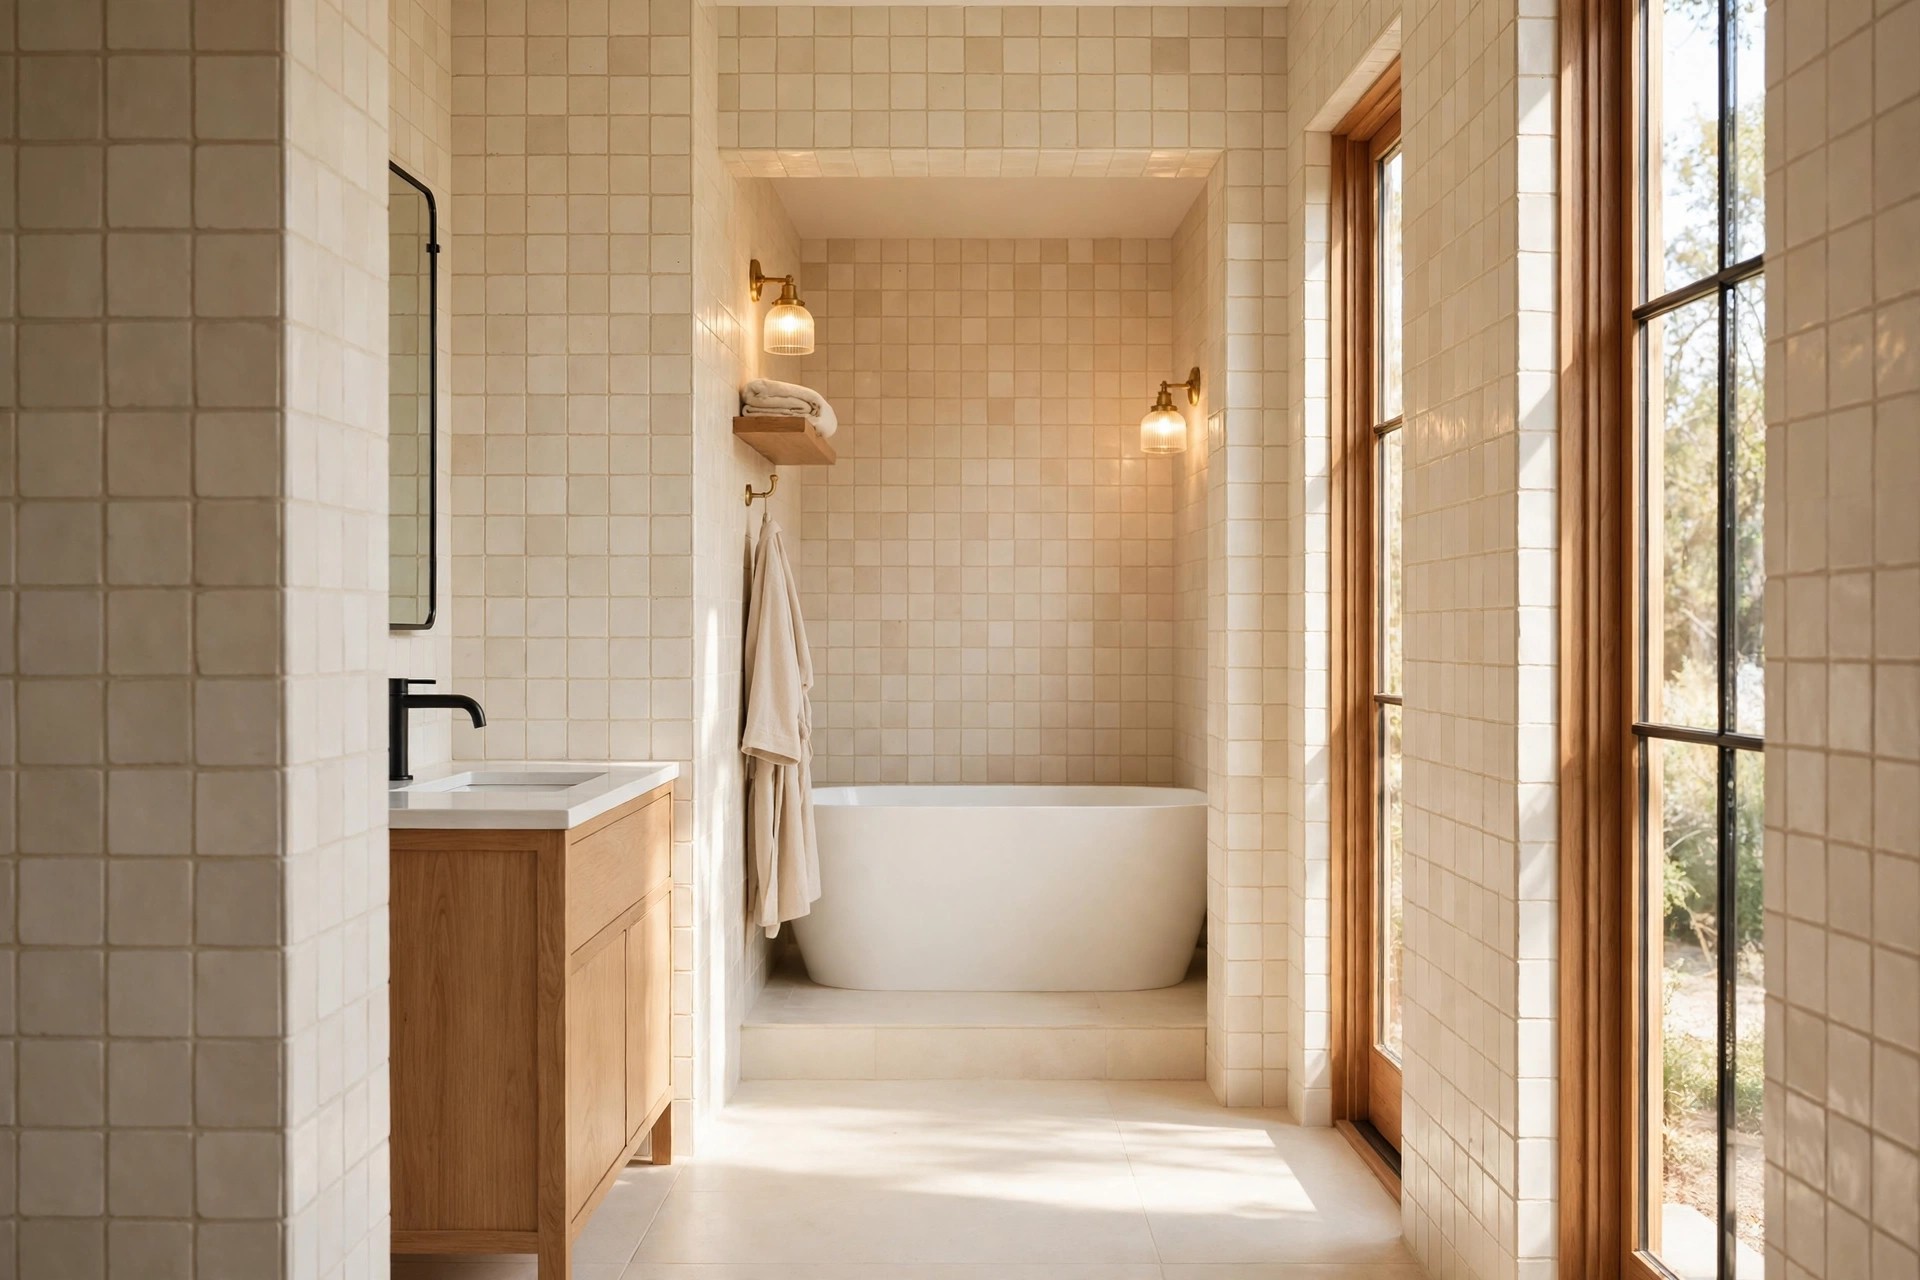
Some long rooms end with a recess or a short return wall. That shallow alcove is a gift for a freestanding tub. Slide the tub into it, across the width, with its front edge flush to the main walls.
The alcove frames the soak like a nook. Add soft light at each side of the recess, not one harsh light above. Side light flatters the tub curve and keeps glare off the water.
Curtain the alcove only if you need the privacy. A linen panel on a simple rod can close the nook for guests.
Use the wall space inside the alcove for one shelf only. A crowded nook feels like a closet. One shelf for bath goods and one hook for a robe keep the nook calm.
13. Line the Tub Up With a Long Runner and the Floor Tile Direction
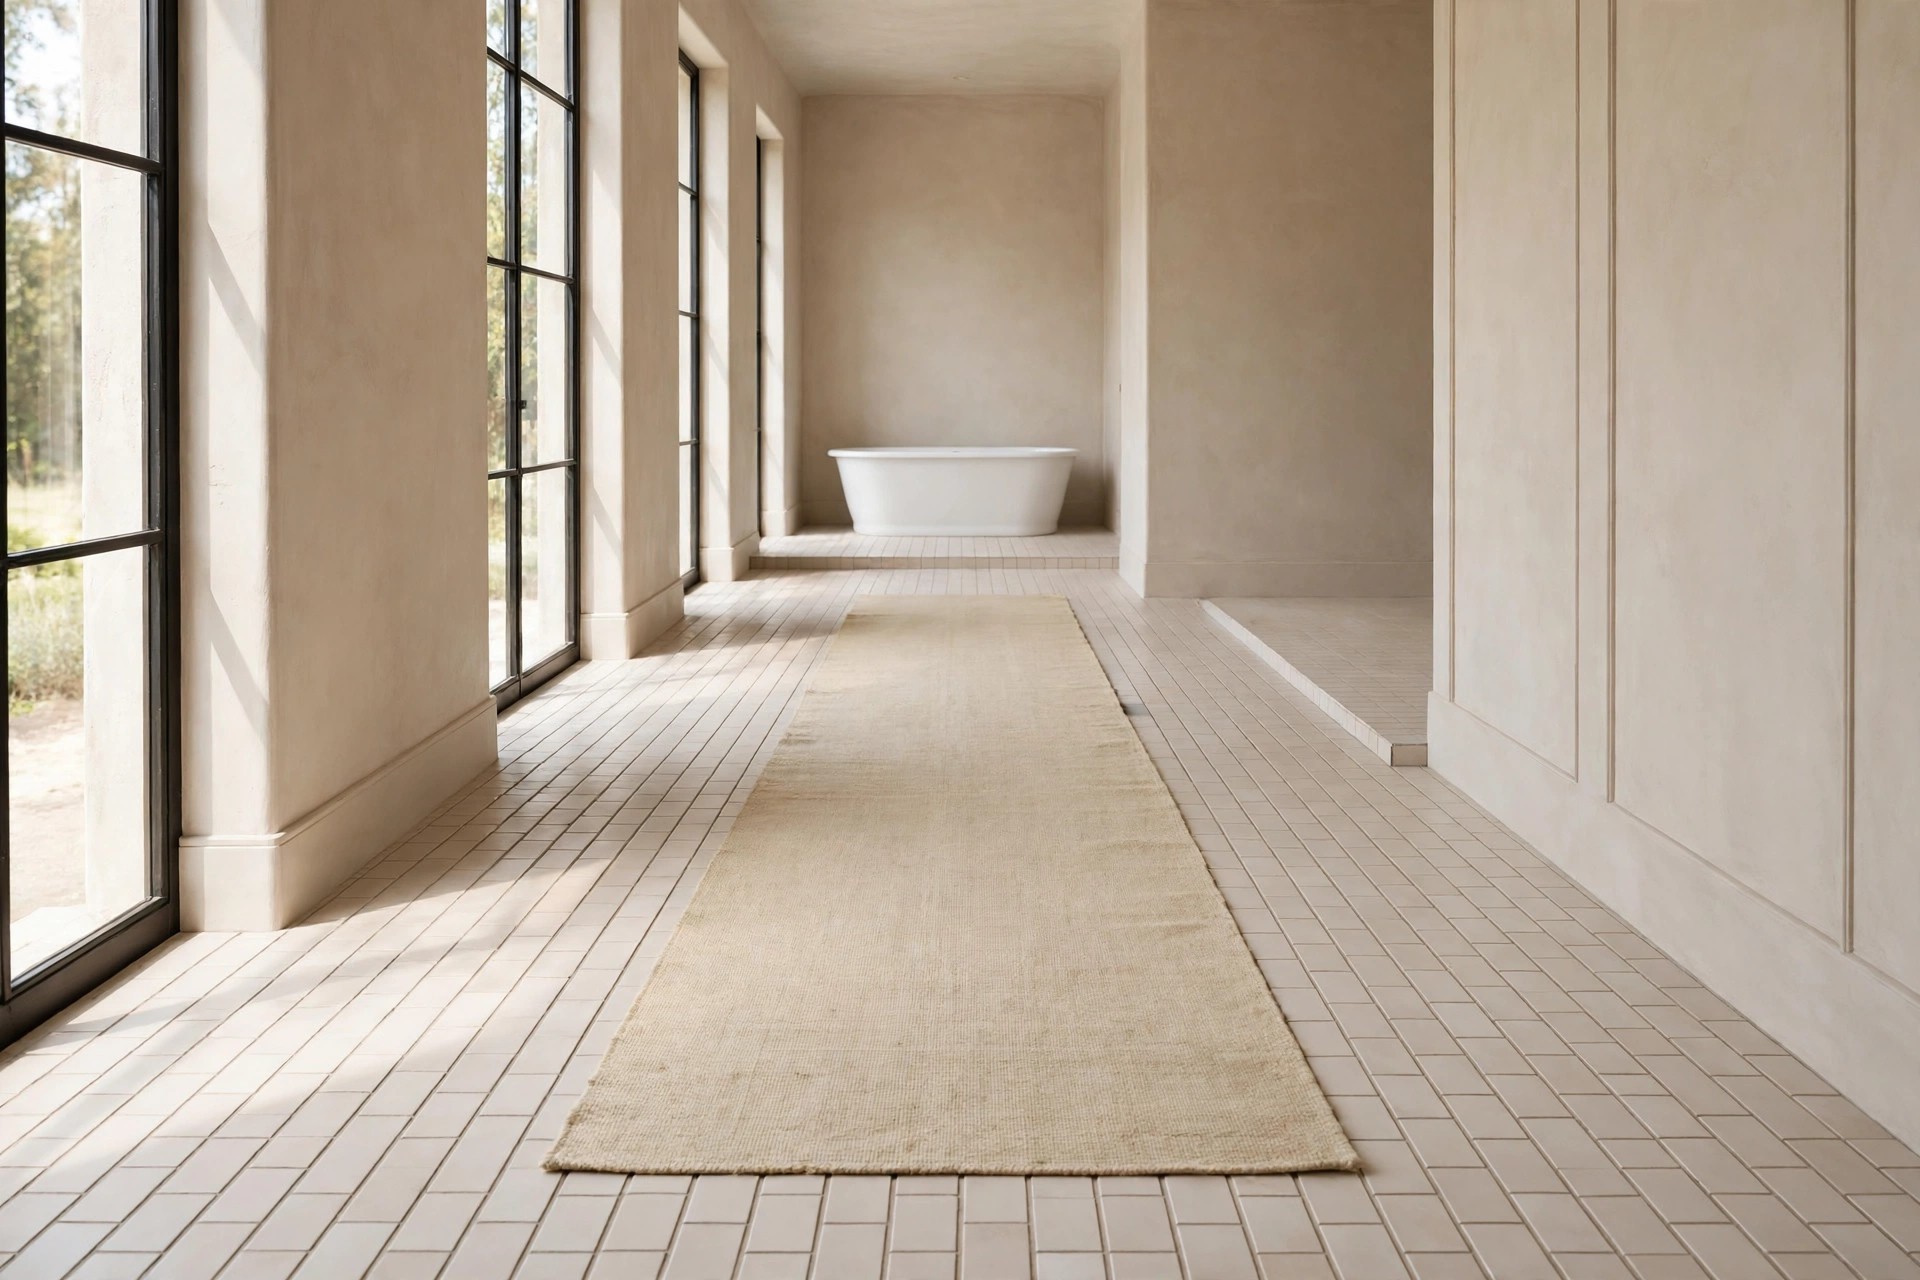
Small alignment choices make a long room feel planned. Place the tub at the far end, then run the bath runner and the floor tile lines straight toward it. Every line in the room points at the soak.
Choose a runner that stops a step short of the tub. A runner that bunches against the tub base looks untidy and stays damp. A short gap of bare tile dries fast and frames the tub base.
If your floor tile runs across the room, the end wall tub still works. Set the tub centered on a tile seam or on a tile center, not half on each. The eye reads that care at once.
Keep the runner color close to the floor tone. A bold runner steals the long view from the tub.
14. Float the Tub a Hand Span Off the Long Wall With Light Behind It
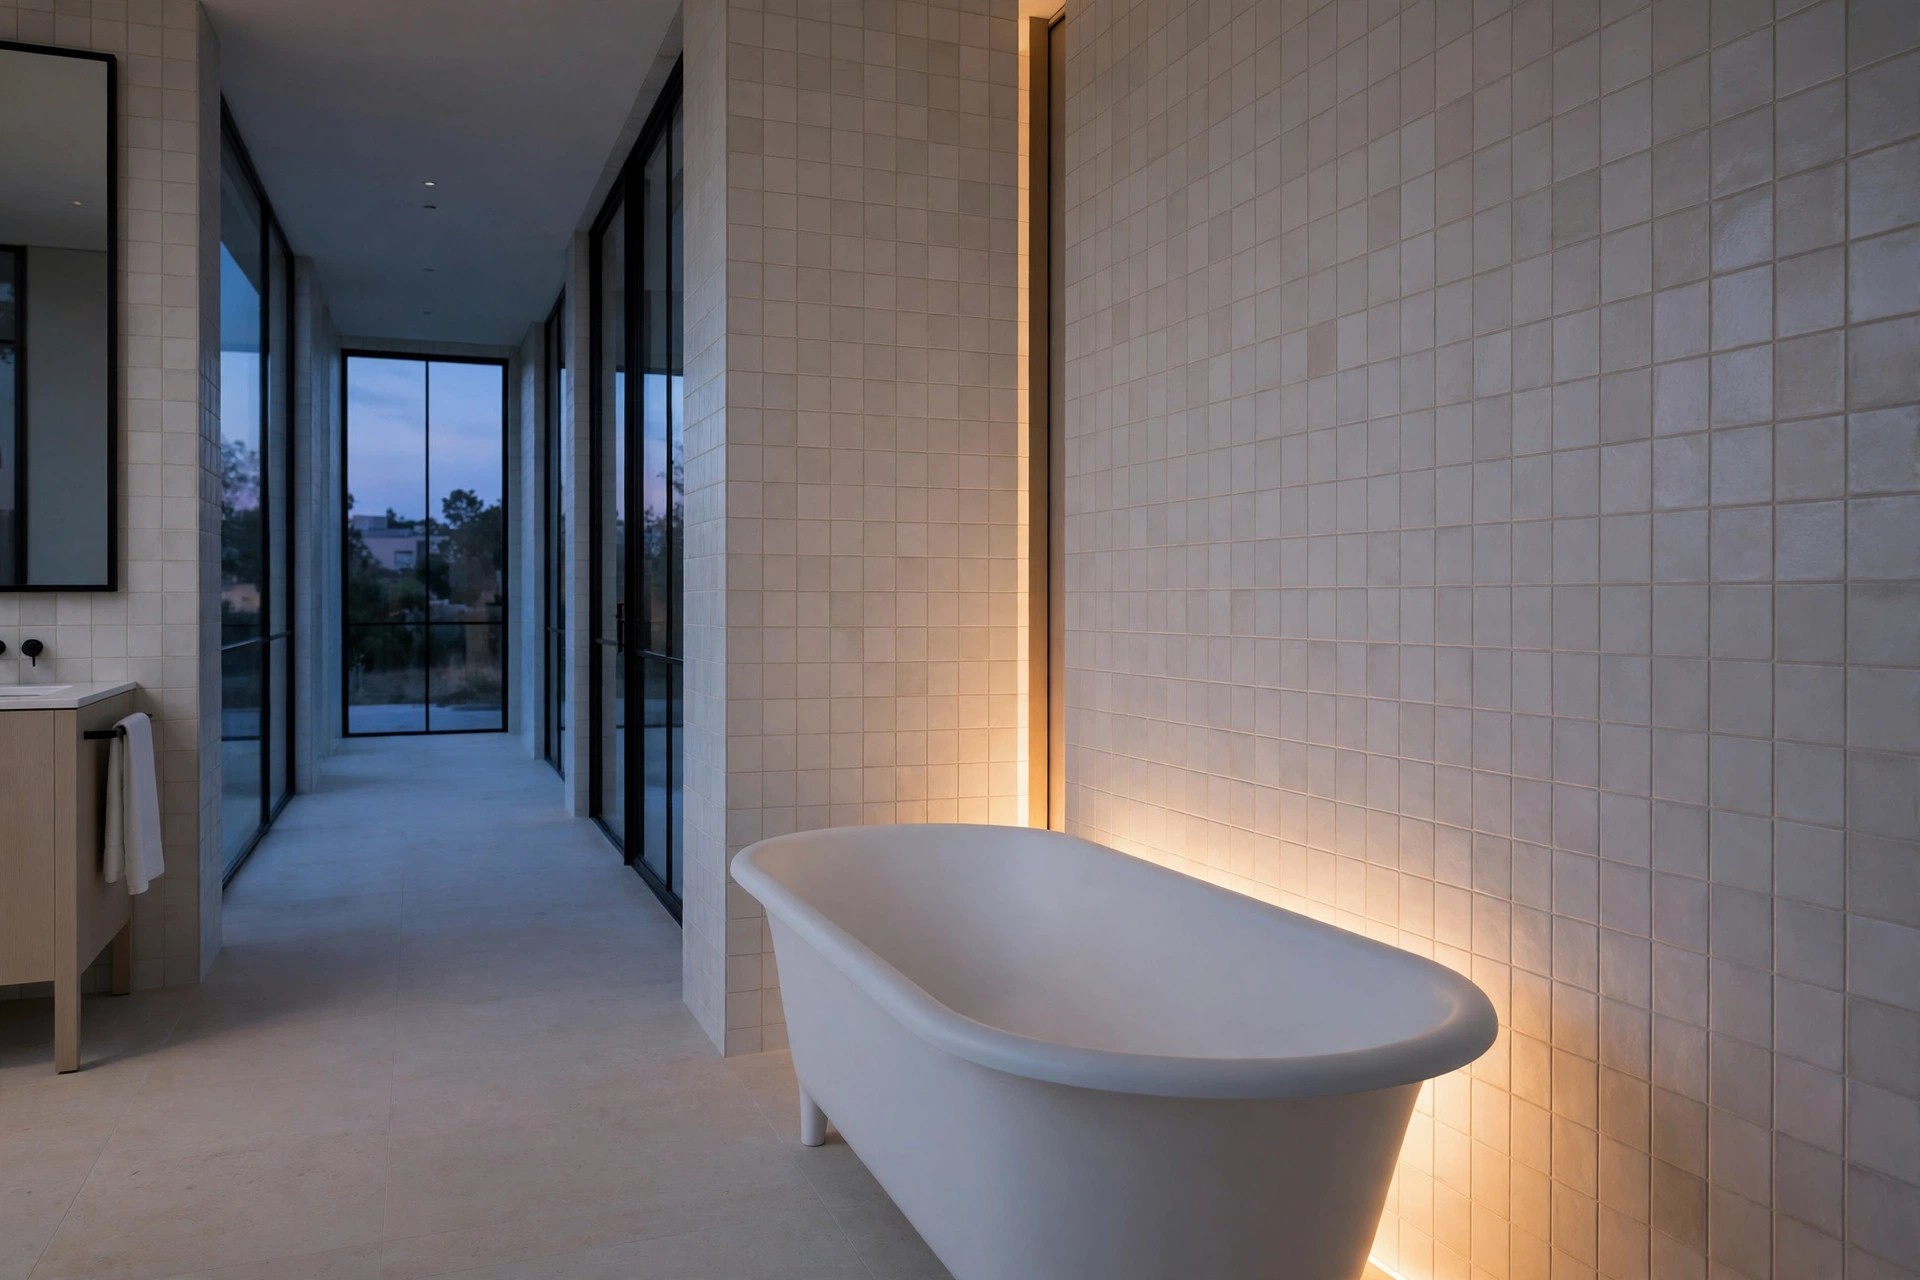
A freestanding tub should look free. Pull it a hand span off the long wall instead of pushing it flat. That slim shadow gap is what tells the eye the tub stands on its own.
Soft light in the gap lifts the whole wall. A low, warm light source behind the tub gives the room a calm glow at night.
The gap needs a cleaning habit. Dust and hair gather in that slim space first. A thin brush or a vacuum nozzle kept in the room makes the job a one minute task each week.
Do not store things in the gap. Bottles hidden behind the tub get forgotten and leak. Keep the gap empty, lit, and clean, and it will read as a design choice, not a flaw.
15. Center the Tub on the Long Axis With a Walkway on Both Sides
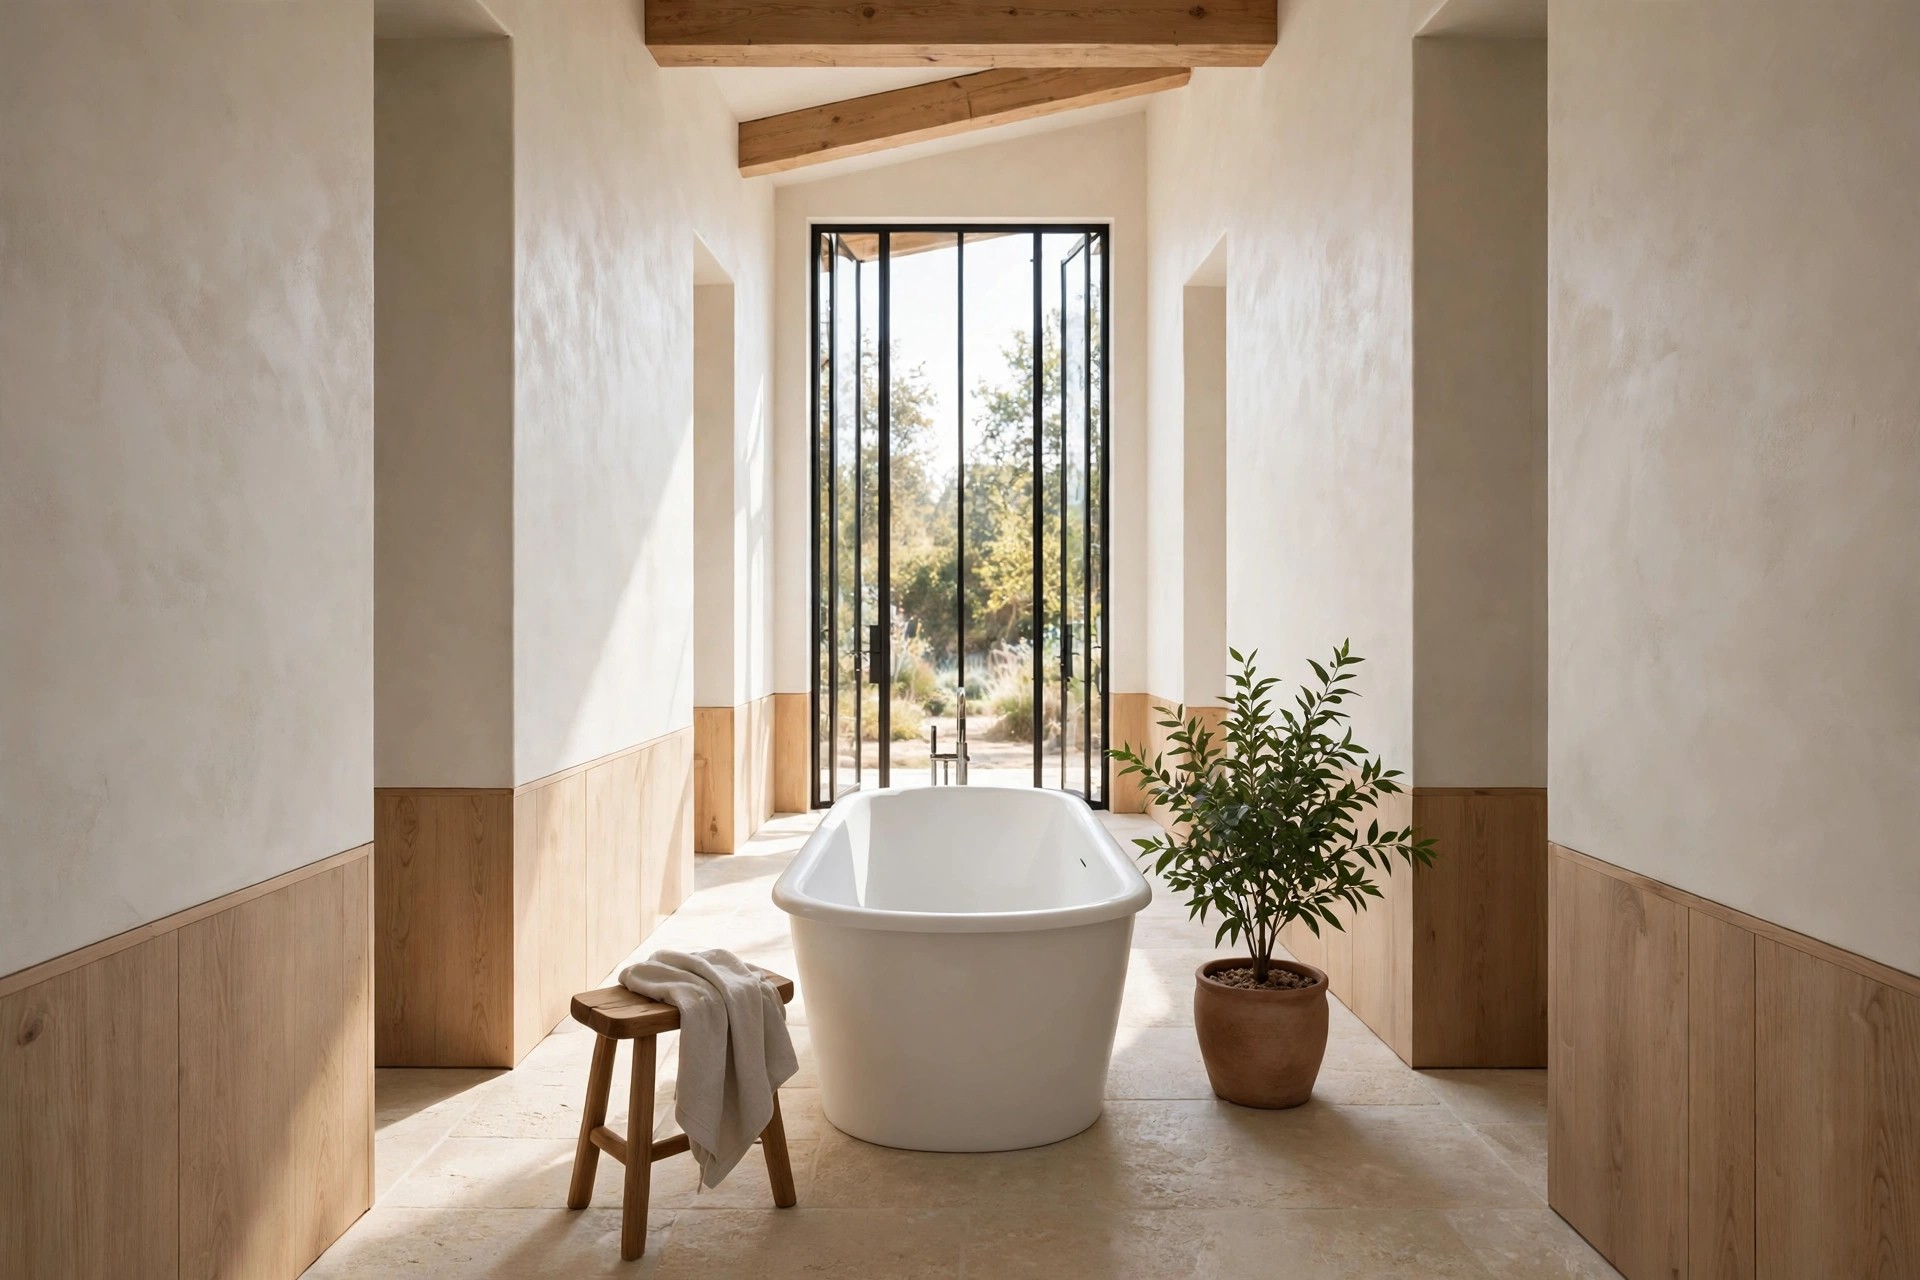
The boldest spot is the middle of the floor plan. Set the tub at the far half of the room, centered on the long axis, with its length running down the room. You can walk past on both sides.
This needs a room with real width to spare. Both walkways must feel easy, not like a squeeze past wet tile. Tape the outline on the floor and walk it at night before you commit.
Style both sides with balance in mind. A stool on one side and a plant on the other keeps the view calm from the door.
End the axis with one focal point behind the tub, like a tall window or a simple art piece. The tub then sits in a clear line of sight, and the long room gains a strong finish.
Start by taping the tub outline on your floor in two or three spots, then live with each one for a day. The right long bathroom ideas with a freestanding tub placement will feel clear in daily use.
Pick the spot that gives you an easy walkway, a towel in reach, and a calm view from the door. Small styling can change later, but the tub spot sets the room for years.
Save this to your bathroom ideas board for later, and tape your first outline this weekend.


