

15 Thanksgiving Family Photo Display Ideas for a Gratitude Themed Gallery Wall
A gallery wall of family photos turns Thanksgiving into something personal. The faces on the wall remind everyone why they gathered, and the photos give guests something warm to look at between courses.
A gratitude theme keeps the wall from feeling like a random photo pile. Each photo earns its place because of a memory, a person, or a moment the family is thankful for. The theme gives the wall its heart.
Start with the photos you already have. Old prints, phone photos, and snapshots from past holidays all work. The mix of old and new is what makes the wall feel like a real family story.
Keep the frames simple and the layout calm. The photos should carry the wall, not the frames. A quiet frame lets the faces and the memories do the work.
These thanksgiving family photo display ideas for a gratitude themed gallery wall each use simple pieces you can build in an afternoon. Pick one layout and let the photos speak.
For the rest of the room, these Thanksgiving living room ideas with warm fall layers show how warm layers make the living room feel ready.
This post contains affiliate links. If you buy through them, we may earn a small commission at no extra cost to you. See our Affiliate Disclosure.
1. Build a Grid of Matching Black Frames
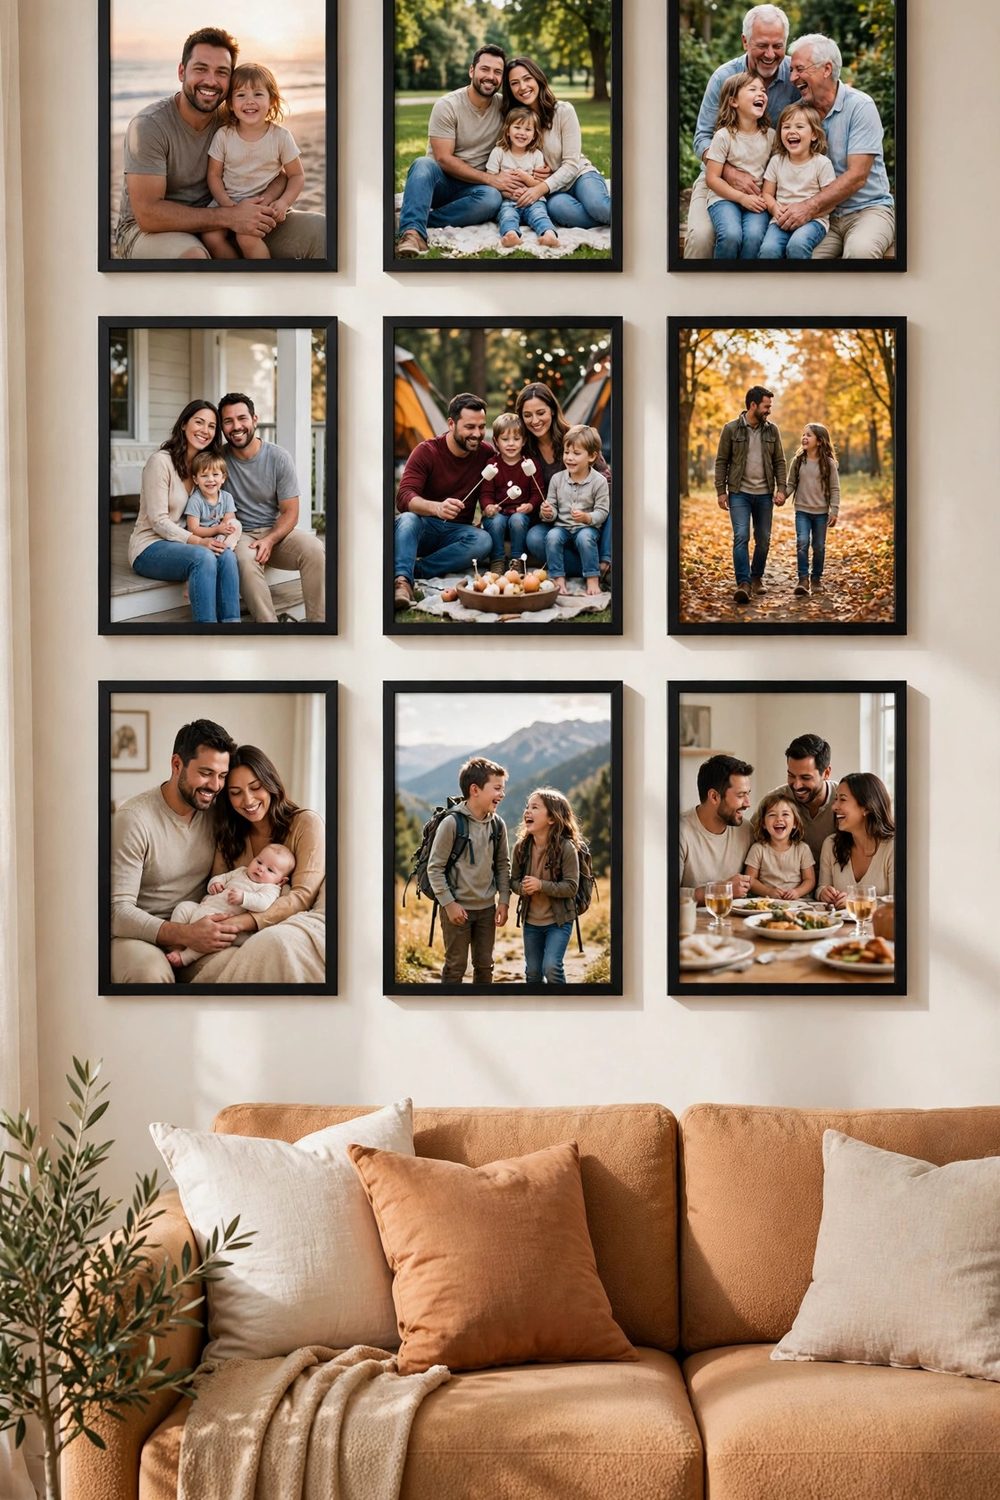
A grid of matching black frames is the simplest gallery wall. Nine frames in three rows give the wall order. The matching frames make different photos read as one set.
Measure the wall and mark the grid with painter tape before you hang anything. Tape marks let you check the spacing without new holes. Even gaps make the grid calm.
Use photos with similar tones. Black and white prints suit black frames best. Mixed color prints can work if the colors are soft and warm.
Hang the grid at eye level with the center frame at about five feet high. A grid hung too high feels distant. At eye level, guests stop and look closely.
2. Mix Old Photos With New Ones
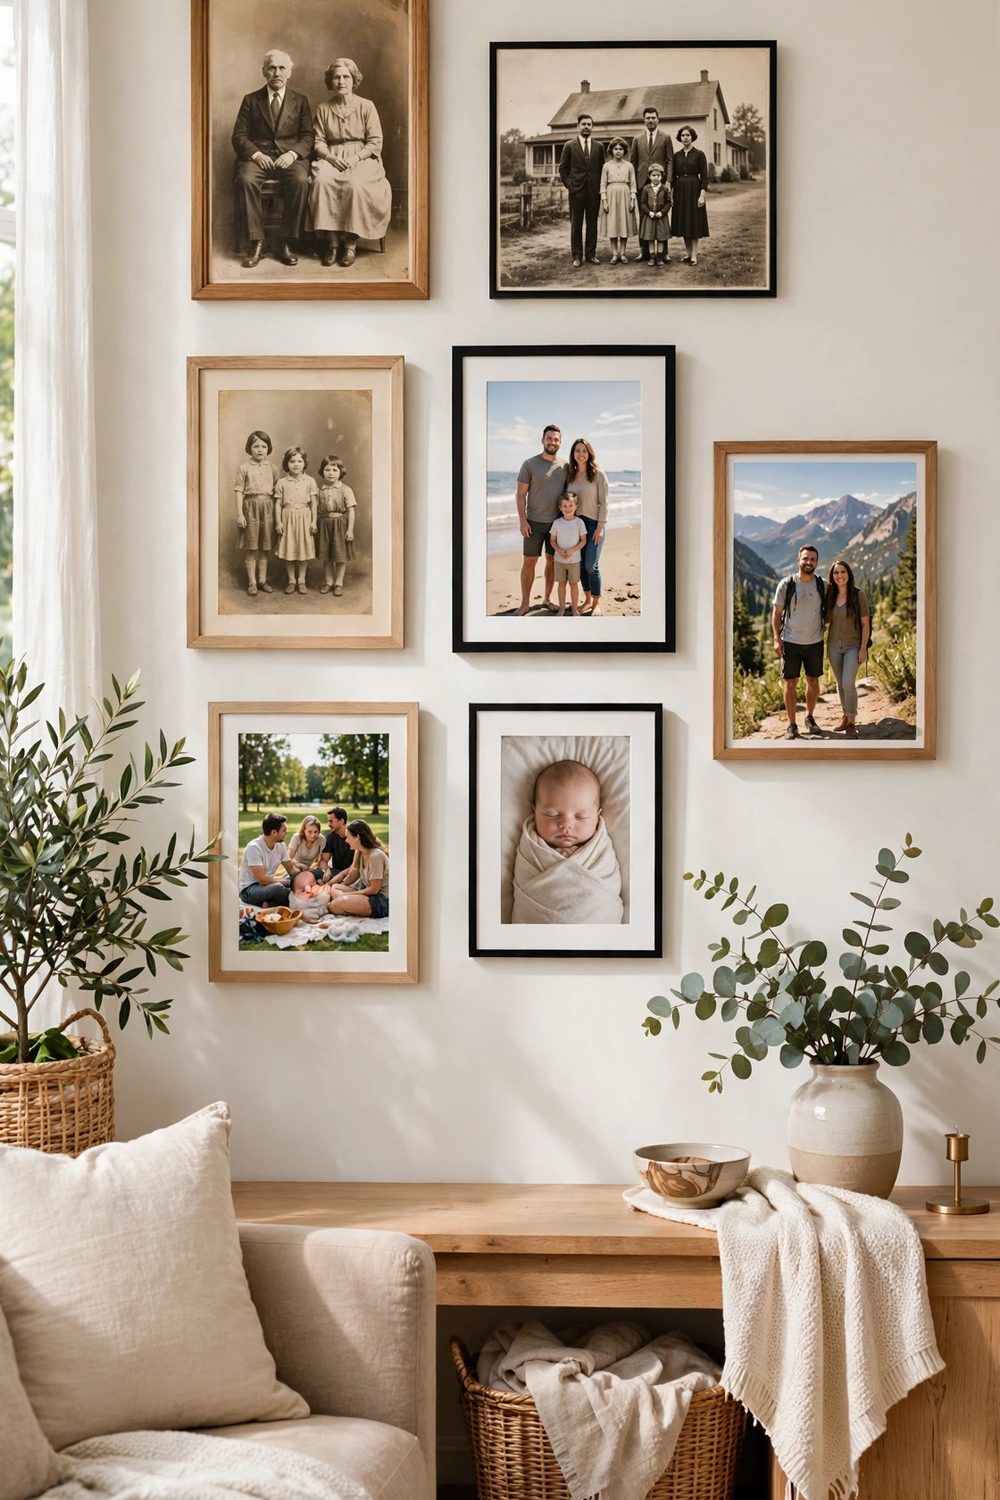
Old photos beside new ones tell the family story in full. A wedding photo from years ago next to last year dinner shows how the family has grown.
Print new photos in the same size as the old ones. Matching sizes keep the mix tidy. Different sizes can work, but they need a careful layout to stay calm.
Scan old prints before you frame them. A scan lets you print a fresh copy and keep the fragile original safe. The copy looks clean and the original stays stored.
Place the oldest photo near the center. The center draws the eye first, and the oldest photo sets the story. Newer photos can fill the edges around it.
3. Add Small Gratitude Notes Under Each Frame
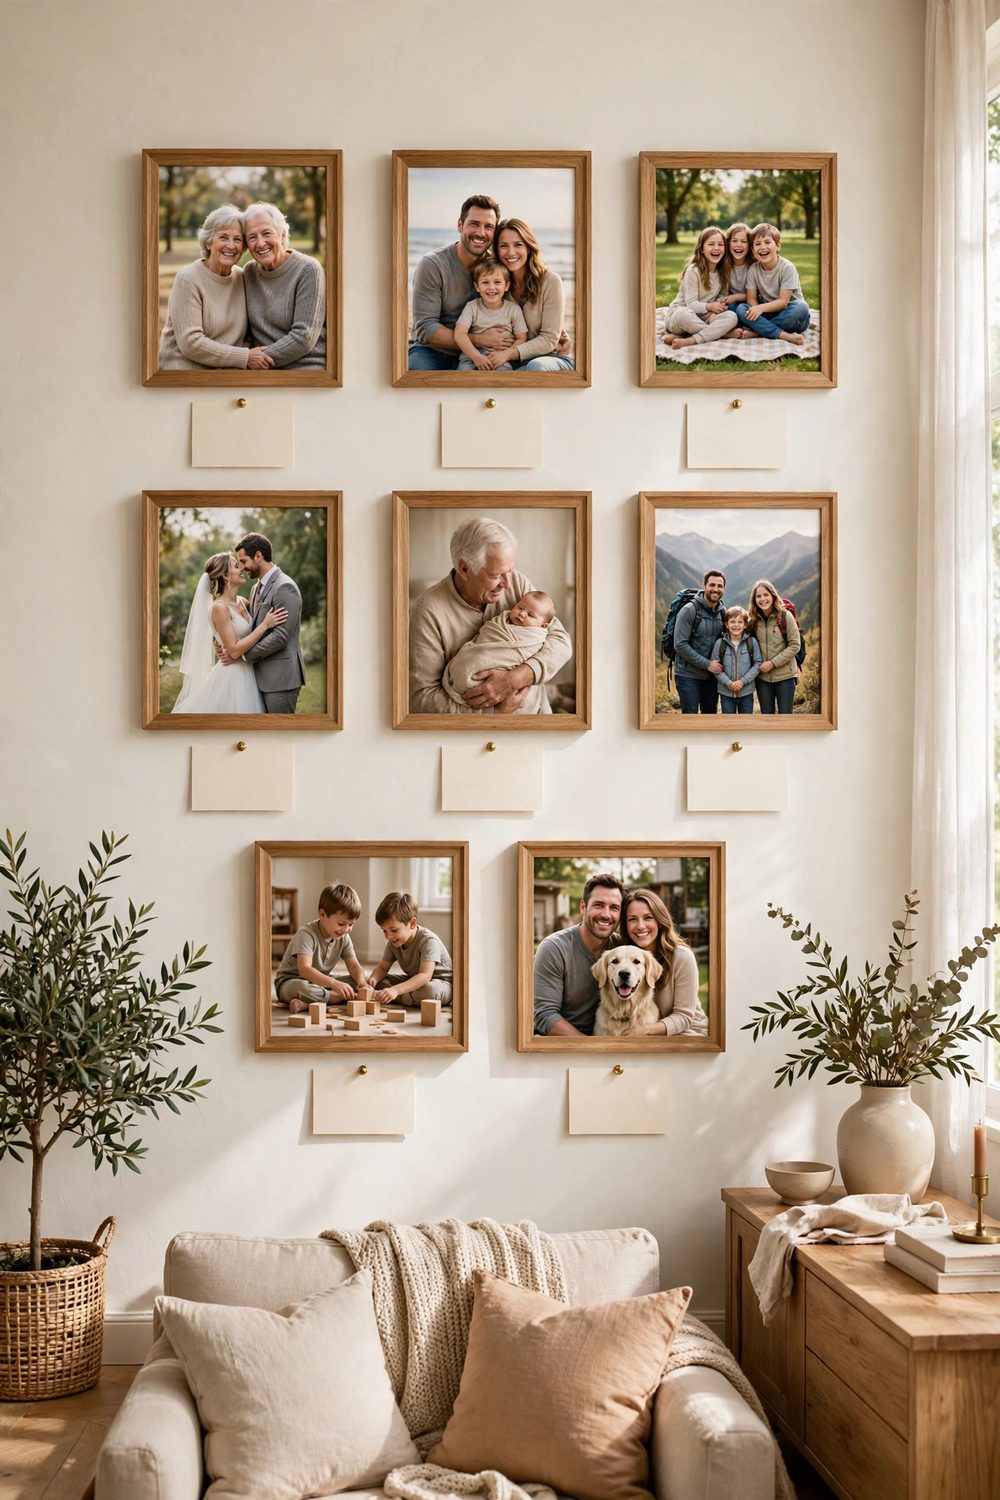
A small note under each frame turns a photo wall into a gratitude wall. Write one line per photo, such as the memory or the reason you are thankful for that person.
Use small cream cards and a dark pen. The cards should be neat and readable from a few feet away. Large cards would crowd the frames.
Ask family members to write their own notes. A note in each person own hand adds warmth that printed text cannot match. Collect the notes before you hang the wall.
Pin the cards with small brass pins or tape them flat. Pins are easy to move if a note needs a new spot. Tape can mark the wall when it comes down.
4. Use Warm Wood Frames for a Soft Look
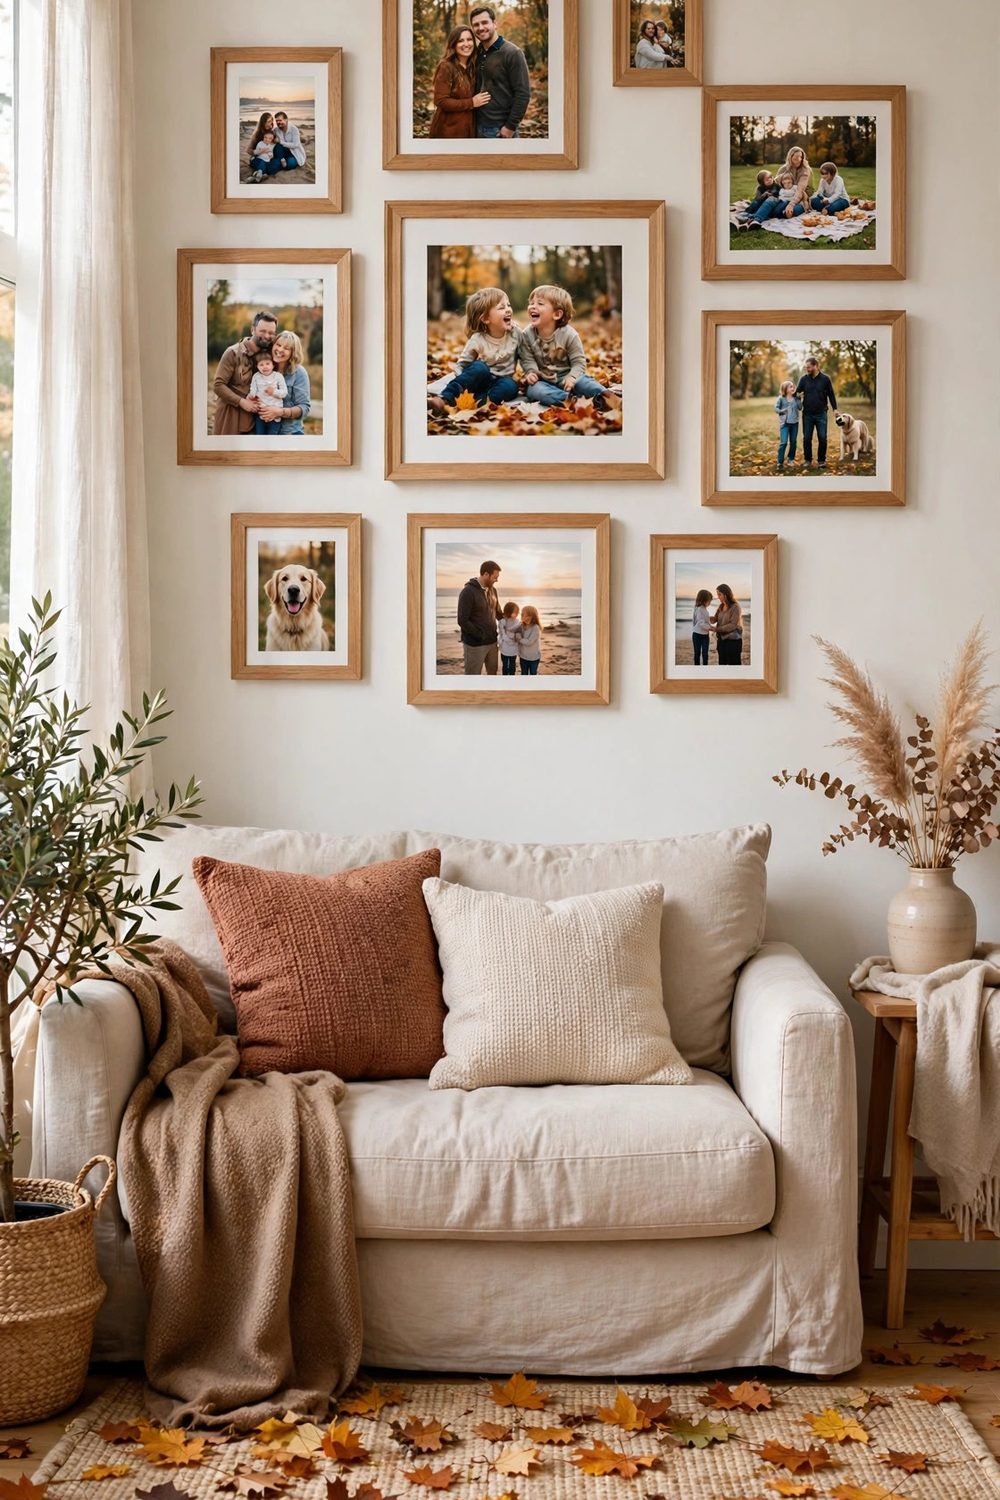
Warm wood frames soften a photo wall. The wood tone suits autumn and feels gentler than black metal. Light oak or walnut both work well.
Use the same wood tone for every frame. Mixed wood tones look scattered. One tone ties the wall together even when the photo sizes differ.
Keep the frame width the same across the wall. A thin frame and a thick frame side by side look uneven. Matching widths give the wall a calm rhythm.
Hang the frames with a little space between them. Wood frames need breathing room to show their color. Tight frames blur into one brown mass.
5. Hang a Long Ledge for Easy Swaps
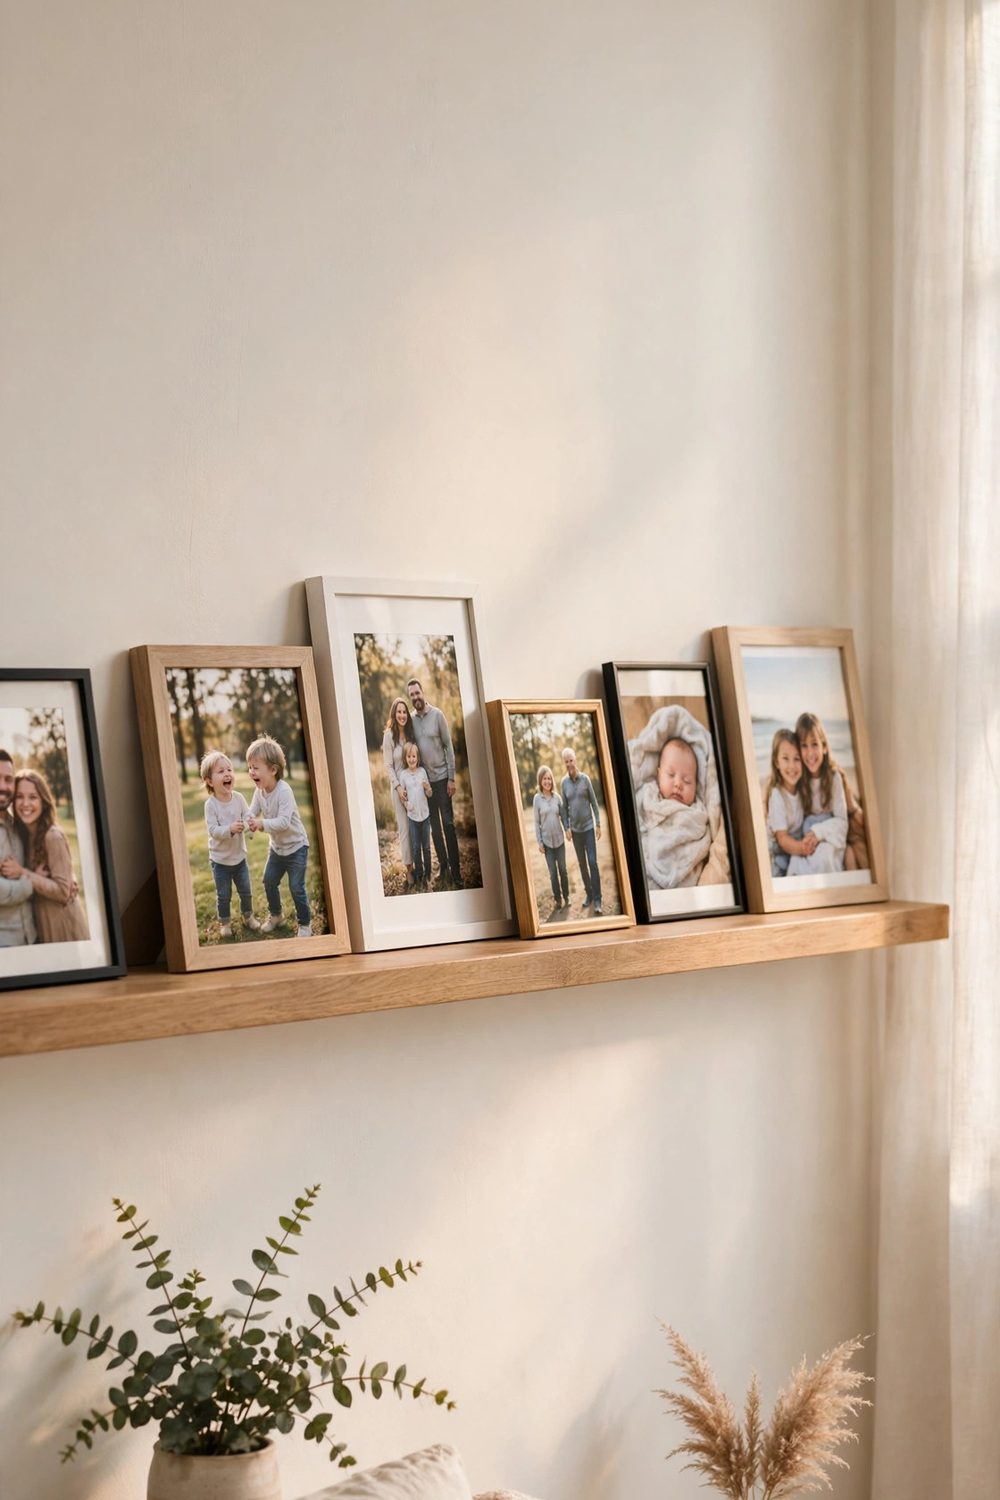
A picture ledge lets you swap photos without new holes. Lean the frames on the ledge and slide them along until the mix feels right. Change takes a minute.
Use a ledge deep enough to hold the frames steady. A shallow ledge lets frames slide off when the wall is bumped. A ledge about three inches deep holds well.
Lean larger frames at the back and smaller ones in front. The overlap adds depth and lets you fit more photos on one ledge. Keep the front row low so it hides nothing.
Dust the ledge before you set the frames. A dusty ledge shows at eye level. A clean ledge keeps the frames and the wall looking fresh.
6. Print Photos in Warm Sepia Tones
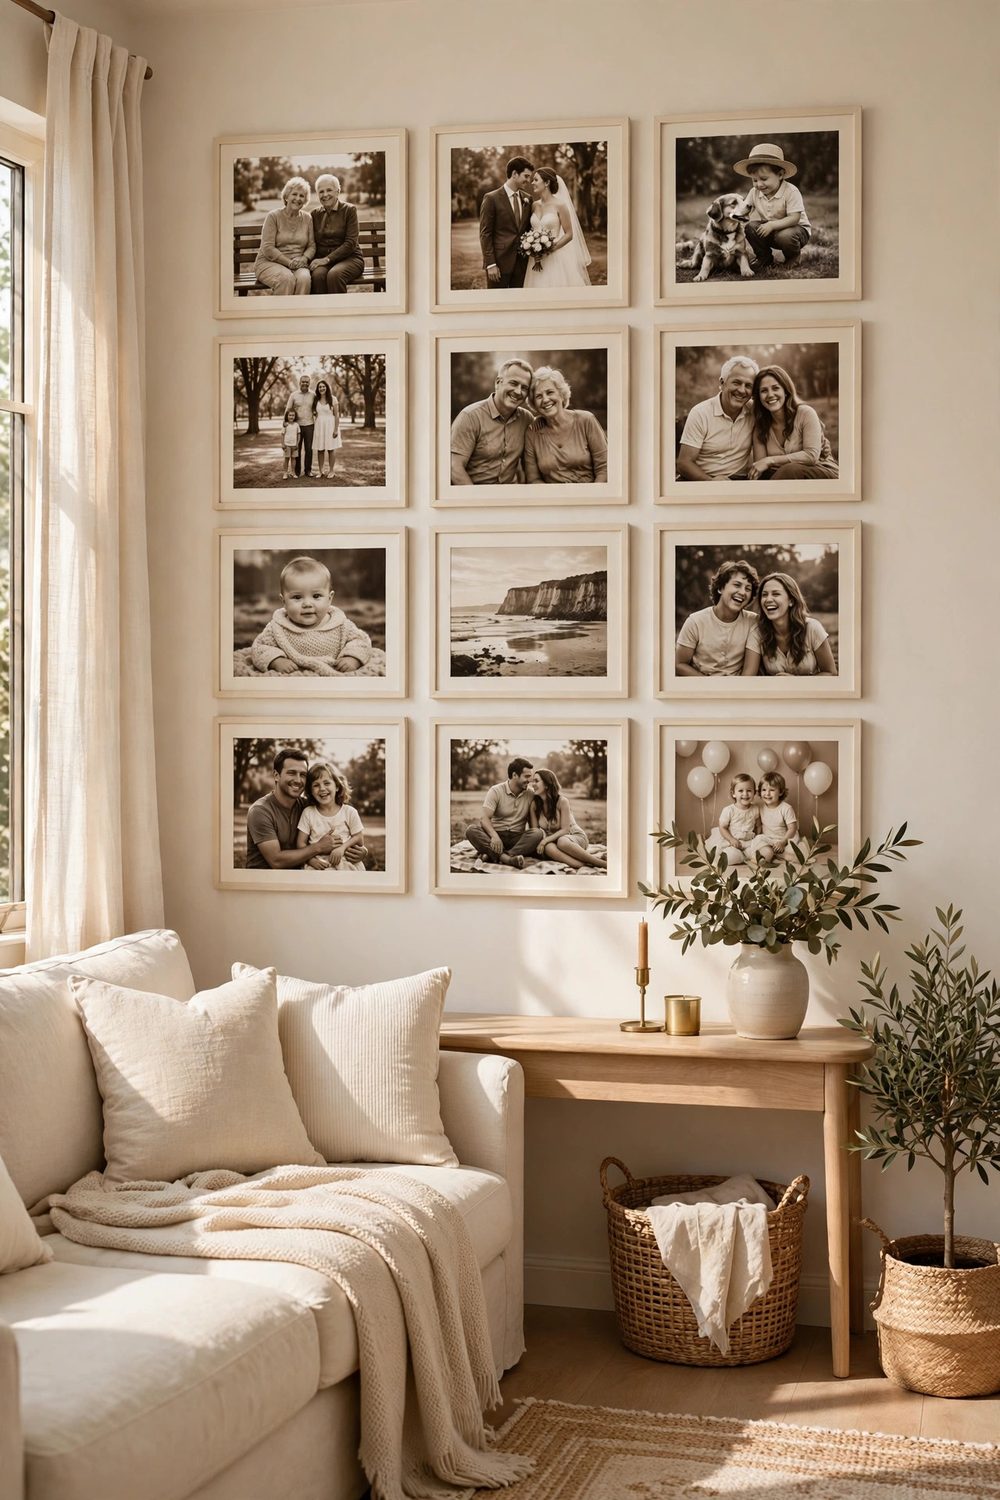
Sepia prints give a photo wall a warm, old fashioned feel. The brown tones suit autumn and make new photos sit well beside old ones.
Convert the photos on your phone before you print. Most photo apps have a sepia filter. A light sepia keeps faces clear while warming the tones.
Print all the photos at the same shop. Different printers give different sepia shades. One printer keeps the tones matched across the wall.
Use matte paper for sepia prints. Matte paper cuts glare and keeps the tones soft. For a matching living room palette, these Thanksgiving living room decor ideas in burgundy and sage tones show how burgundy and sage frame a gallery wall well.
7. Add a Center Photo of the Whole Family
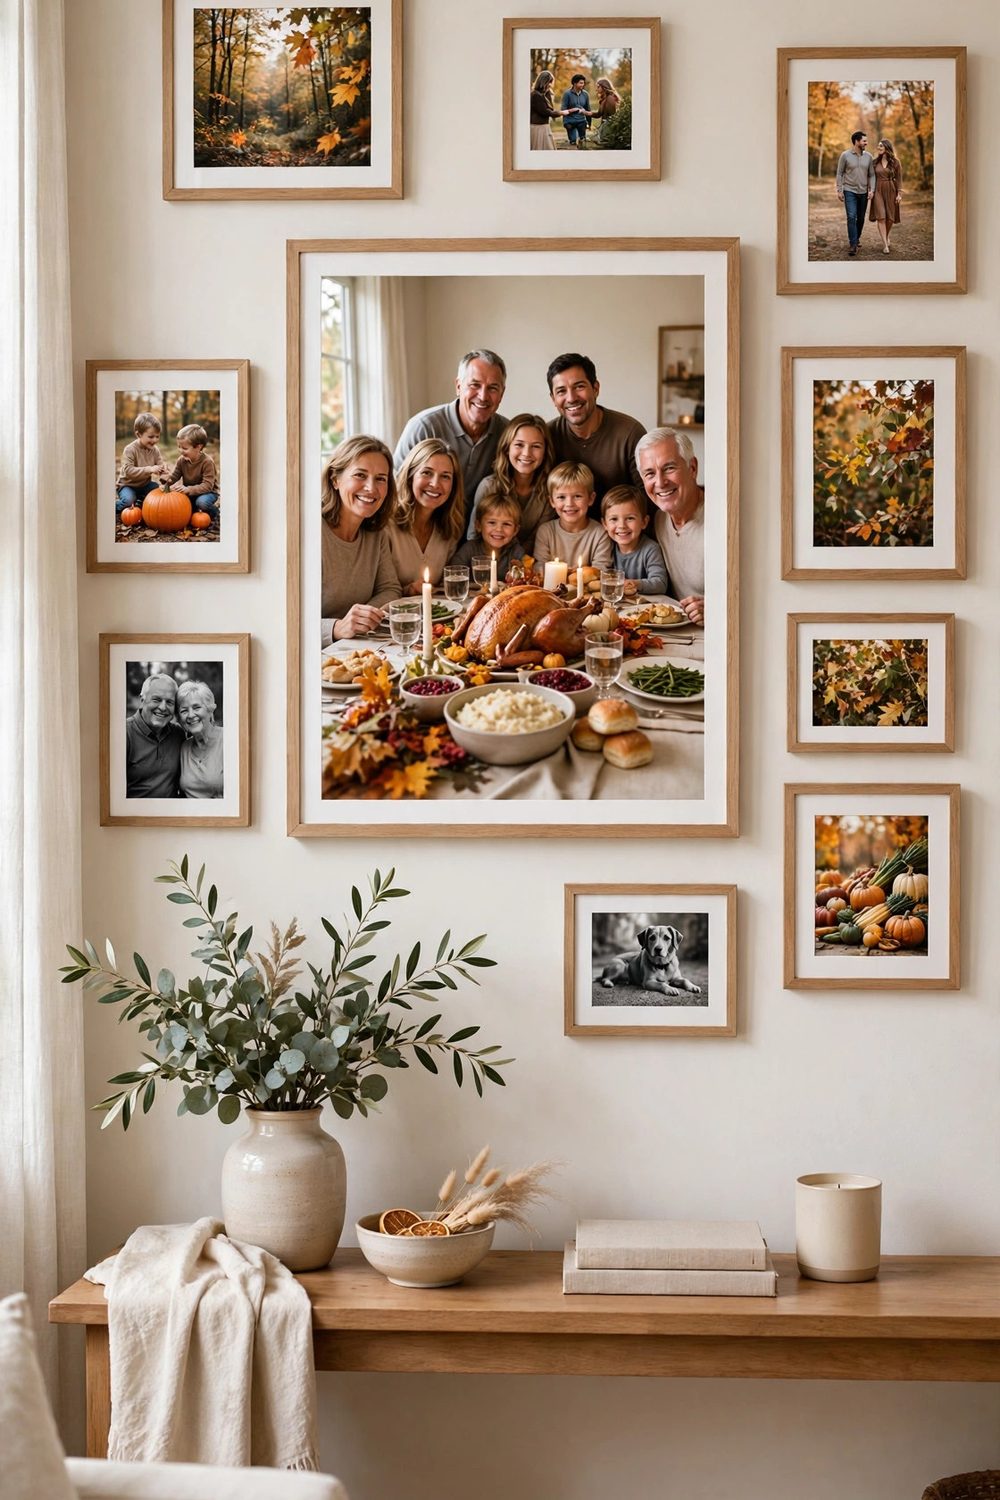
One large photo of the whole family anchors the wall. Place it in the center and build smaller frames around it. The big photo gives the wall its focus.
Pick a photo where everyone is visible and smiling. A group shot from a past Thanksgiving works well. The photo should feel like the heart of the wall.
Use a frame that is clearly larger than the rest. A frame twice the size of the small ones reads as the center. A slightly larger frame looks like a mistake.
Hang the center photo first, then add the small frames around it. The center sets the height for the whole wall. The small frames follow its line.
8. Frame Handwritten Recipe Cards Beside Photos
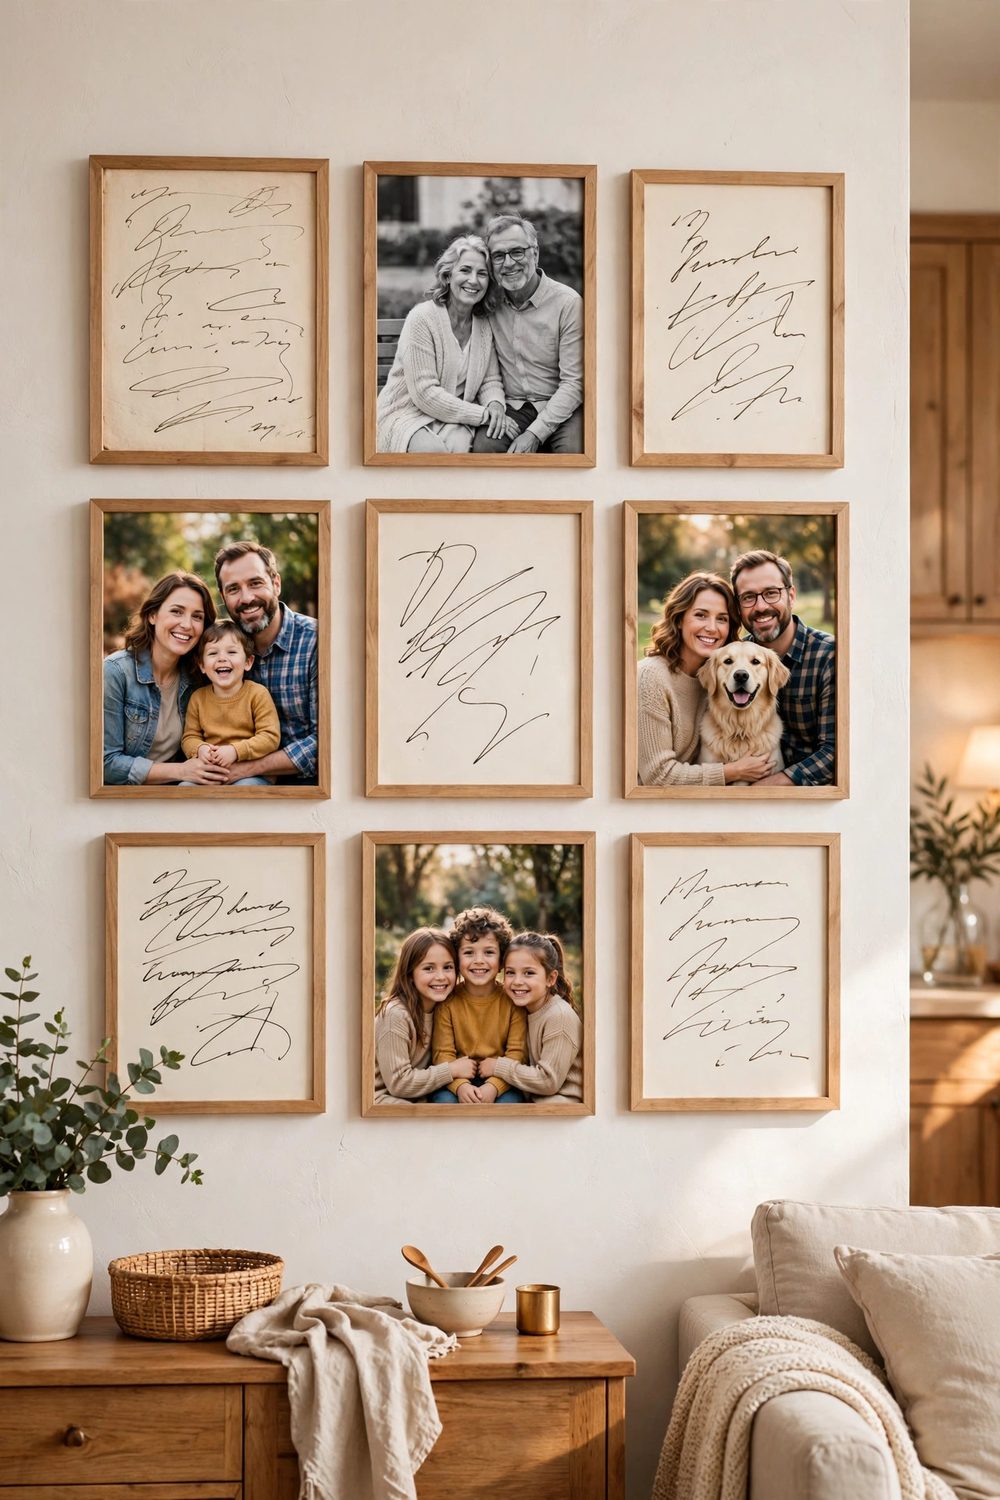
Handwritten recipe cards beside photos honor the cooks in the family. Frame a grandmother pie recipe next to her photo. The pairing tells a story in two pieces.
Use simple frames for the cards so the handwriting shows clearly. A busy frame would distract from the writing. Plain glass protects the card without glare.
Copy fragile cards before you frame them. The original stays safe in storage while the copy hangs on the wall. Guests can read the copy without risk.
Place the recipe card at the same height as its photo. The pair reads as one unit. A card hung far from its photo loses the connection.
9. Use Clipboards for a Casual Wall
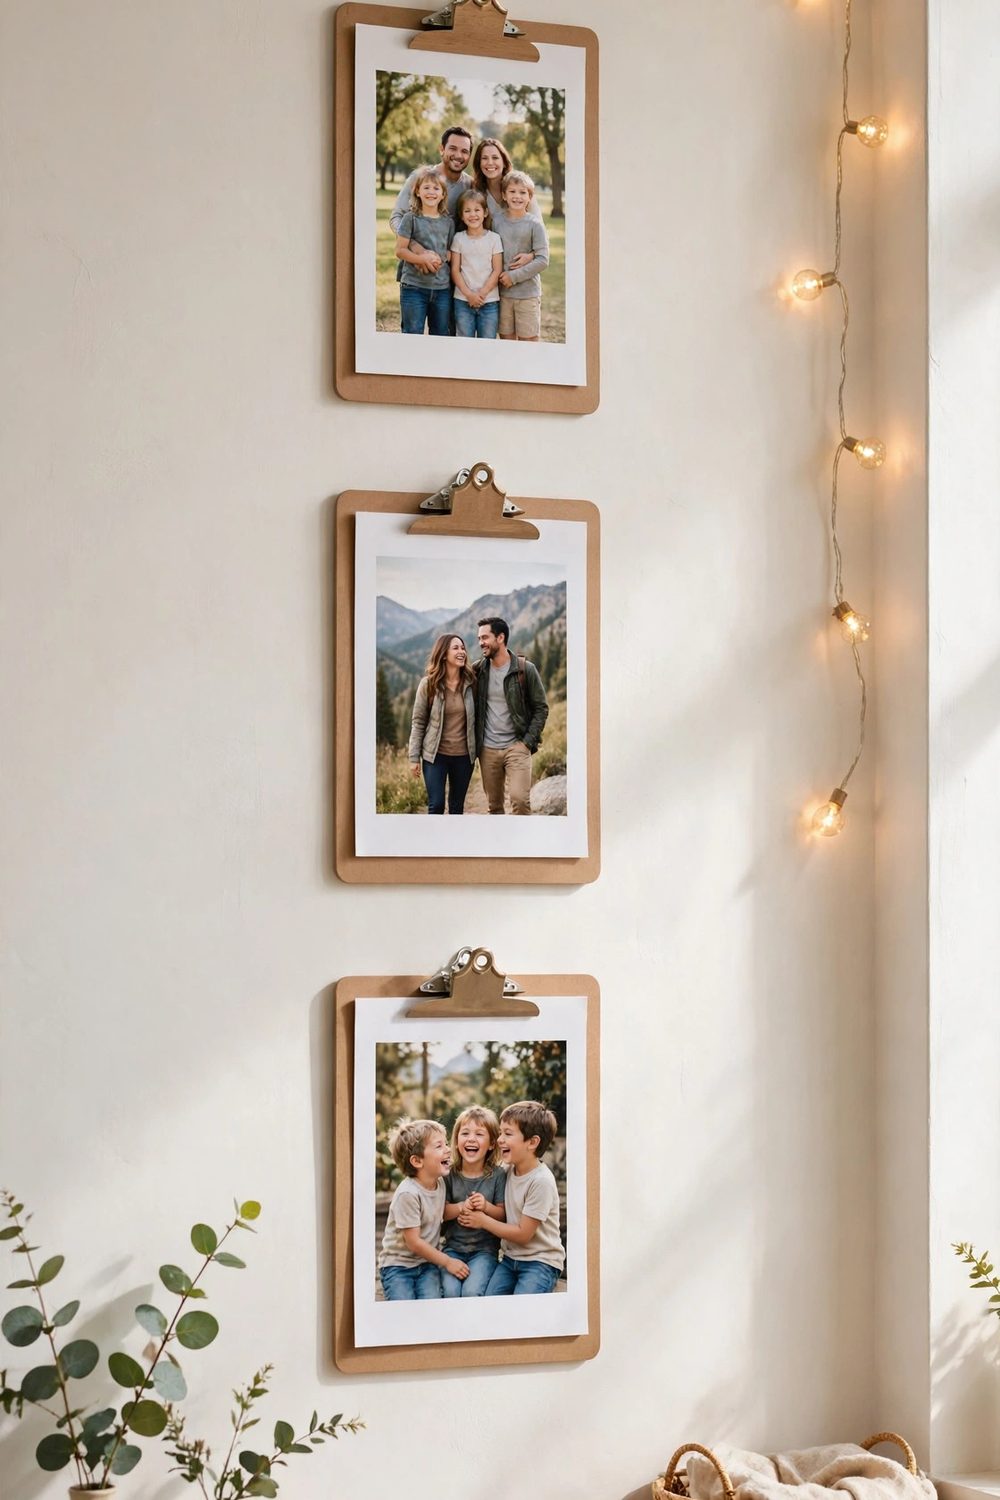
Clipboards make a casual, changeable photo wall. Clip each photo to a board and hang the boards in a loose row. Swapping a photo takes seconds.
Use boards in the same wood tone. Matching boards keep the casual look tidy. Mixed boards would look like a classroom wall instead of a home display.
Hang the boards with the clips at the top. The clip holds the photo flat and shows the top edge. A clip at the side would let the photo curl.
Keep the spacing even between boards. Even gaps keep the casual wall tidy and planned. For the stairs nearby, these Thanksgiving staircase ideas with fall garland for a welcome show how garland welcomes guests before they reach the wall.
10. Add Dried Leaves Between the Frames
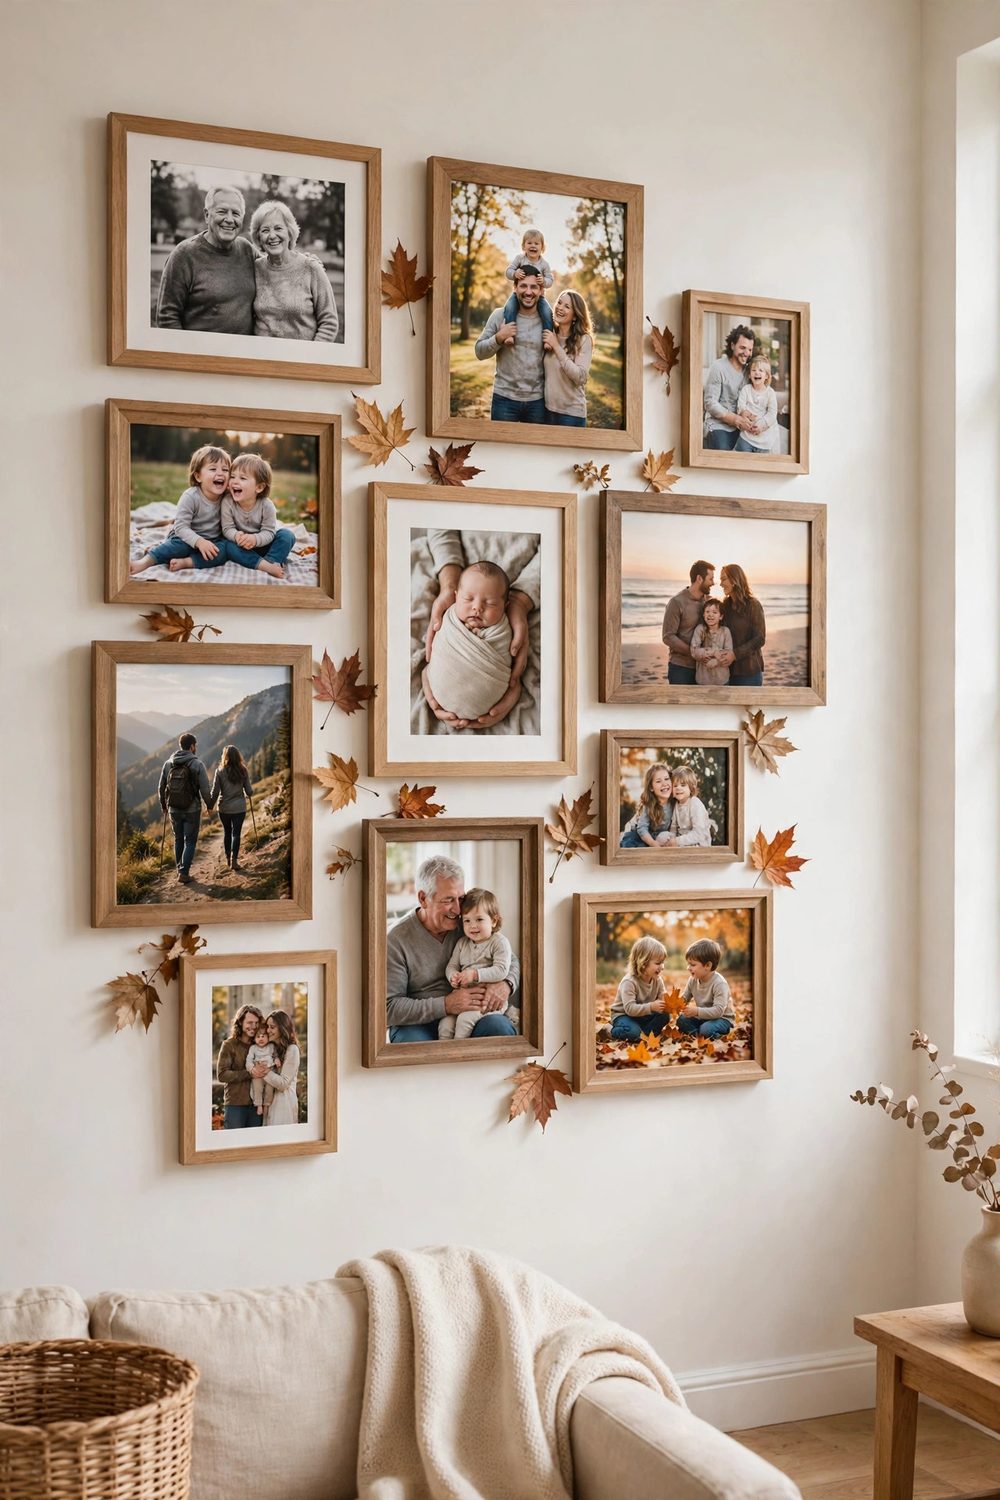
A few dried leaves between the frames add a seasonal touch. Tuck one leaf in the gaps where frames meet. The leaves should be few and flat.
Press the leaves flat for a day before you hang them. Curled leaves stick out from the wall and catch on sleeves. Flat leaves sit neatly in the gaps.
Use leaves in soft rust and gold. Bright red leaves would pull the eye from the photos. Soft tones add warmth without competing with the faces.
Replace any leaf that crumbles before dinner. A broken leaf on the floor looks untidy. Fresh pressed leaves stay whole through the holiday.
11. Create a Timeline From Oldest to Newest
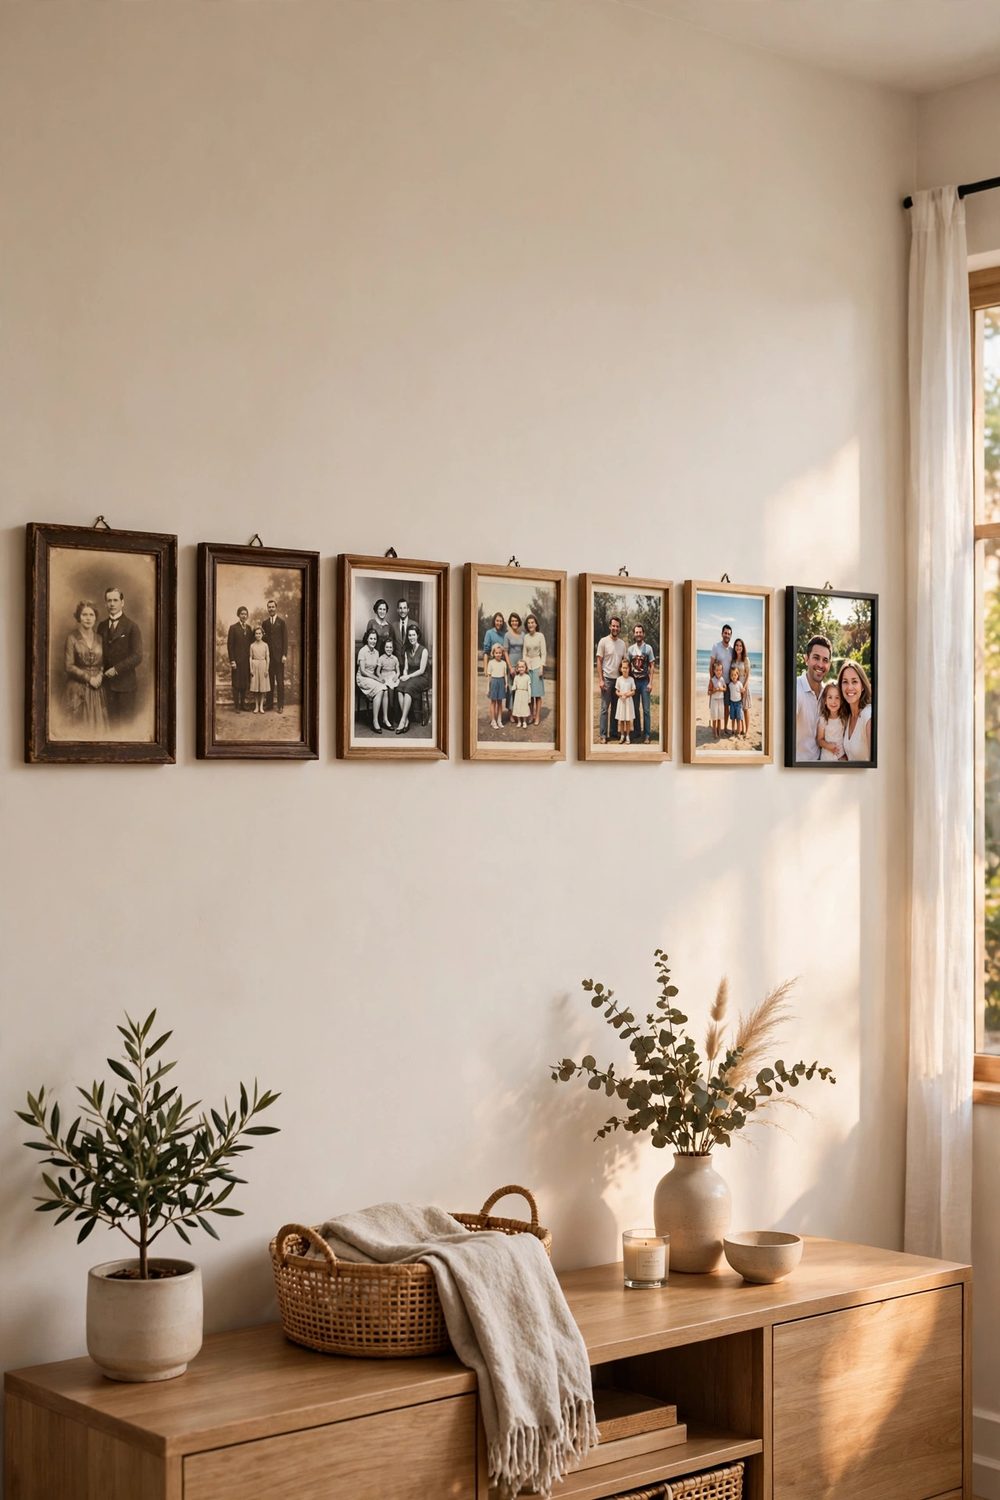
A timeline wall shows the family story in order. Start with the oldest photo on the left and end with the newest on the right. Guests read the wall like a story.
Use small frames all the same size for the timeline. Matching frames keep the line clean. The photos change, but the frames stay steady down the line.
Add small year labels under each photo. A tiny card with the year helps guests follow the story. Keep the labels small so they do not crowd the photos.
Hang the line at one height across the wall. A straight line reads as a timeline. A wavy line looks like a mistake rather than a plan.
12. Hang Small Frames Around One Large Print
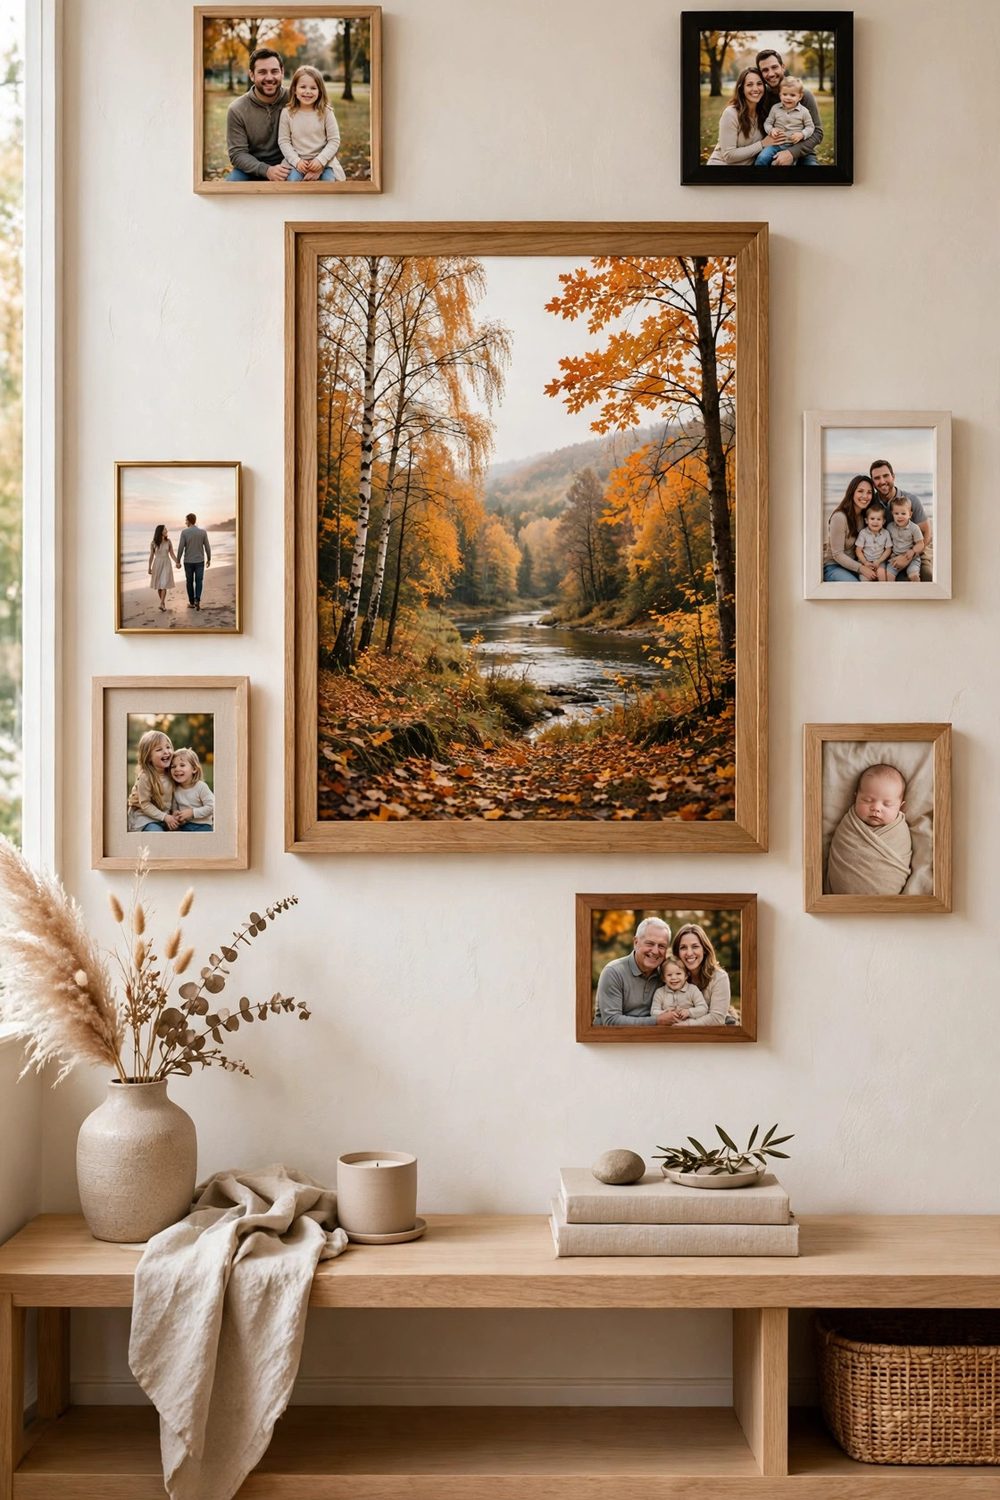
Small frames around one large print give the wall a clear center. Pick a large autumn landscape or a family portrait for the middle. The small frames orbit it.
Keep the large print in the center of the wall. The small frames should sit evenly on all sides. A lopsided cluster looks like it slipped.
Use the same frame color for the small frames. The large print can have its own frame, but the small ones should match each other to read as a group.
Leave a little more space around the large print. The space lets the center stand out. For a softer living room palette, these Thanksgiving living room decor ideas in cream and cognac tones show how cream and cognac keep a photo wall calm.
13. Add a Chalkboard for Guest Notes
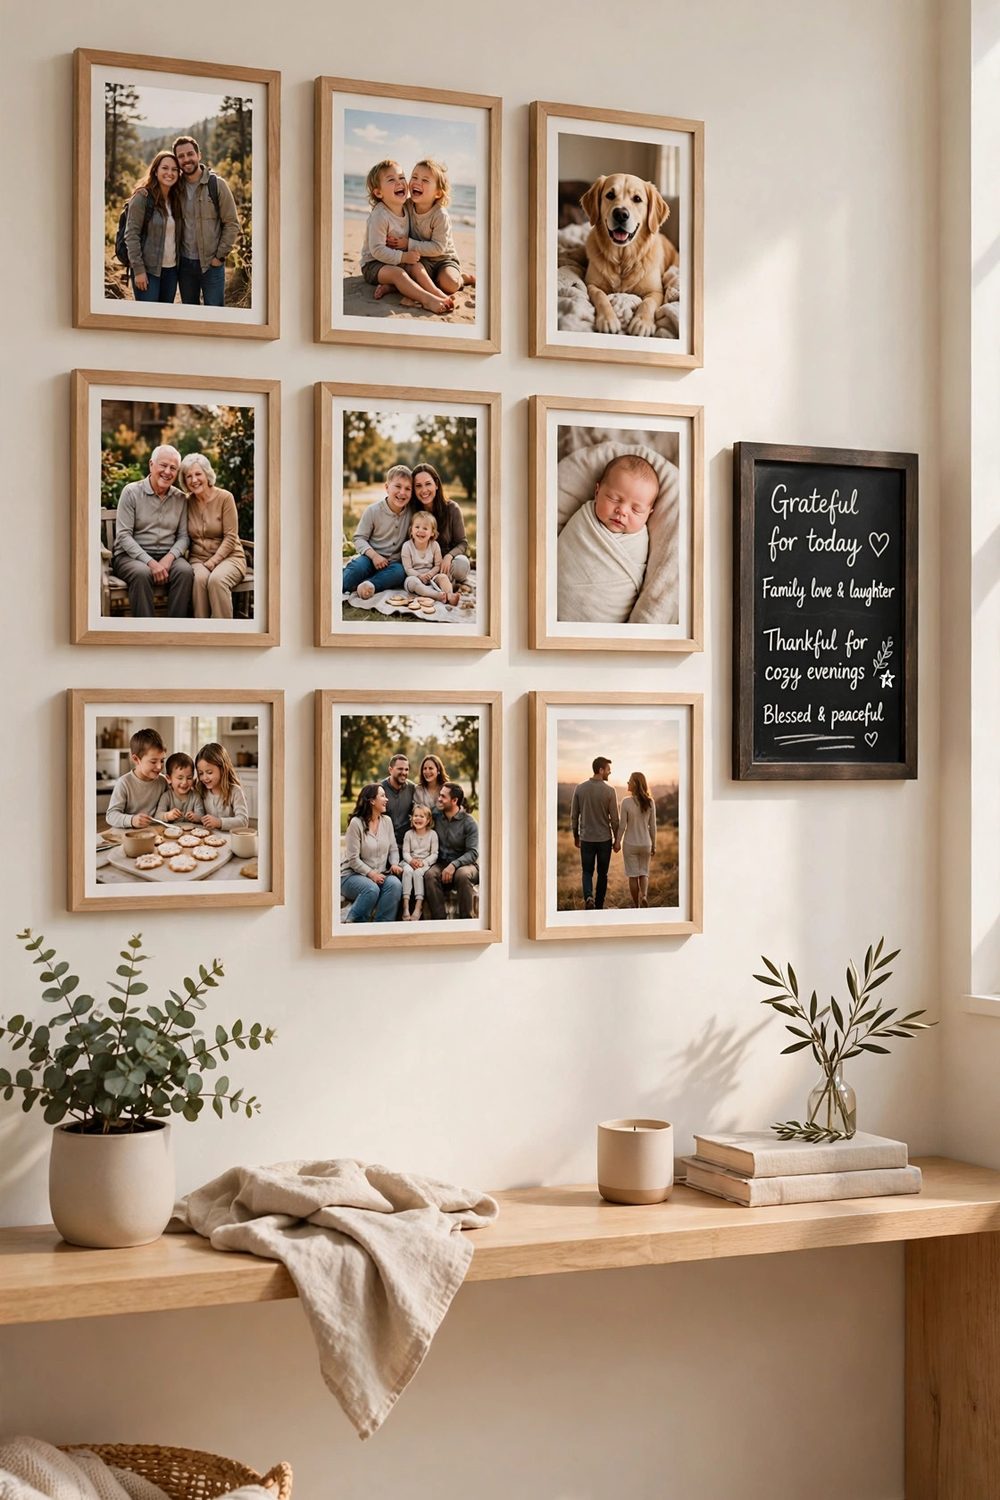
A small chalkboard beside the photo wall lets guests add their own thanks. Hang the board at hand height with chalk in a small cup below it.
Write a prompt at the top of the board, such as one line about what you are thankful for this year. A prompt helps shy guests know what to write.
Keep the board small so the notes stay short. A big board invites long notes that fill the space. A small board keeps each note to a line or two.
Wipe the board clean before guests arrive. Old notes from last year would confuse the wall. A fresh board invites fresh thanks.
14. Use String Lights to Frame the Wall
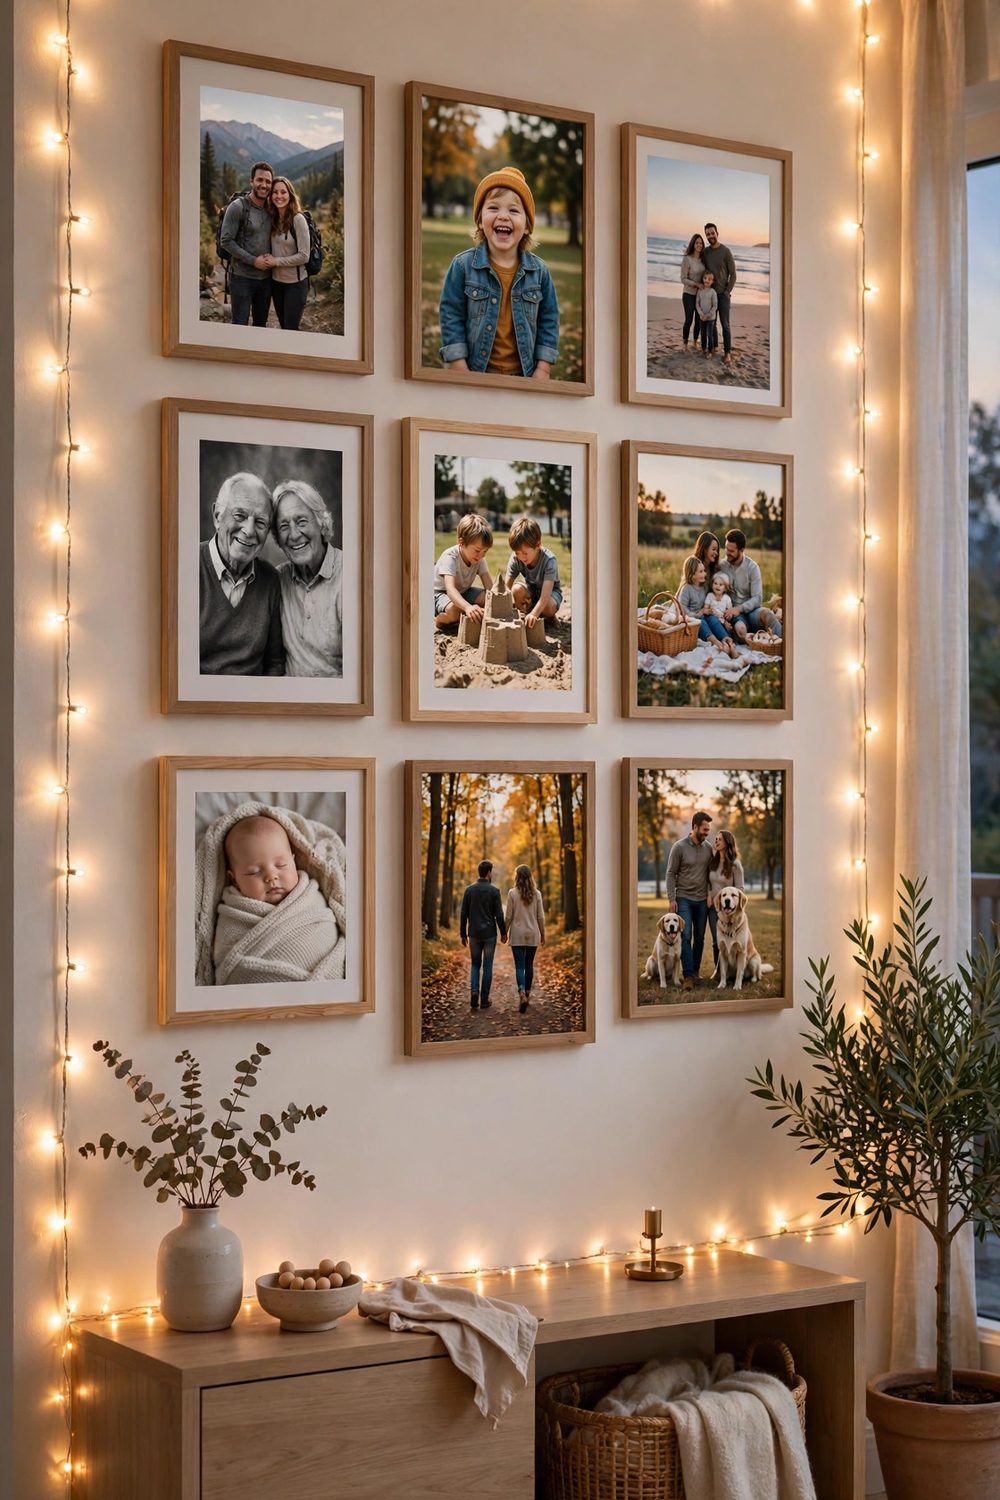
String lights around the photo wall add a warm glow at dinner. Run the lights along the top and sides of the wall. The glow frames the photos softly.
Use warm white lights, not cool white. Warm light suits the photos and the season. Cool light would make the wall feel cold and stark.
Hide the cord behind the frames where you can. A visible cord across the wall looks untidy. Tuck it behind the top row of frames.
Use battery lights if no outlet is near. Battery lights hang anywhere and need no cord across the room. Keep spare batteries on hand for the evening.
15. Leave One Empty Frame for This Year
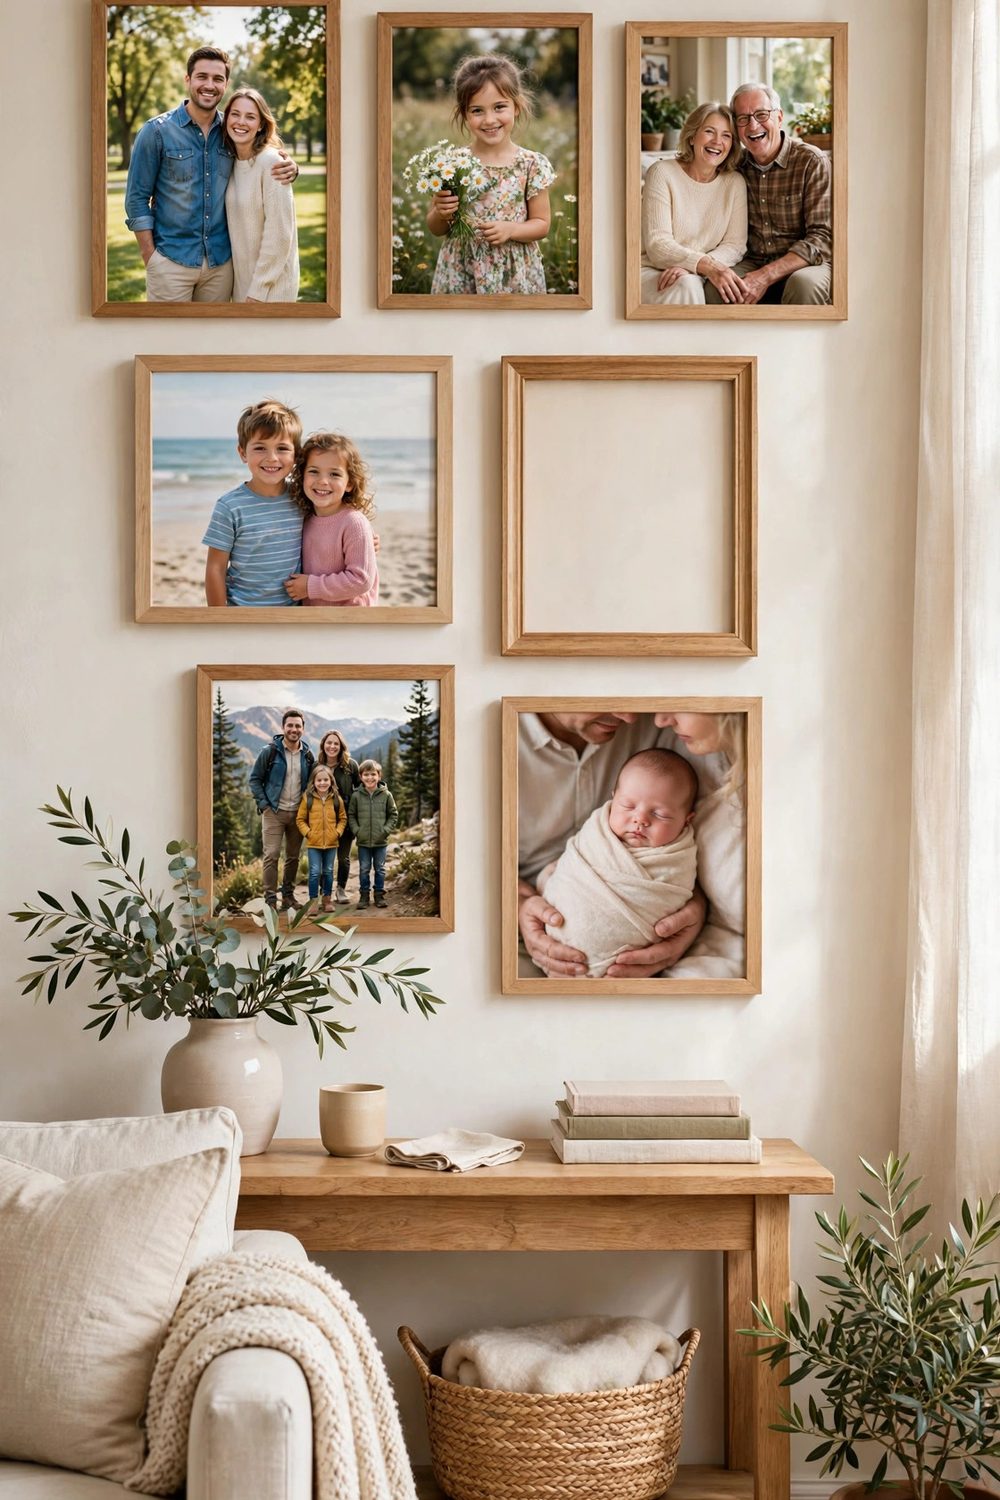
One empty frame on the wall saves a place for this year photo. Hang the empty frame at the end of the row. The gap tells guests the story is still growing.
Pick a frame that matches the rest of the wall. The empty frame should look like it belongs, not like a missing photo. A matching frame reads as a plan.
Tell guests about the empty frame at dinner. The promise of a new photo gives everyone something to look forward to. The wall becomes a tradition, not just decor.
After the holiday, print the best group photo and fill the frame. The wall grows by one photo each year. In a few years, the empty frame moves to a new spot.
A photo wall works best when the photos matter more than the frames. Simple frames and a few honest notes let the family story carry the wall.
Build the wall a few days before the holiday. Hang the frames, add the notes, and check the wall from the doorway.
Then let guests find their own faces on the wall. The photos start conversations that no centerpiece ever could. For guests staying over, these Thanksgiving guest room checklist ideas to get ready early show how to get the guest room ready early.
These thanksgiving family photo display ideas for a gratitude themed gallery wall show that the best Thanksgiving decor is the people you are thankful for.


