

15 Bathroom Micro-Makeovers Under $200 — Paint, Hardware, Mirror & Textiles
A bathroom does not need a renovation to feel new. Most tired bathrooms are not broken — they are just finished badly: a vanity in a colour nobody chose, three different metal finishes arguing with each other, grout that has quietly greyed, and towels that have seen better decades. Every one of those problems is cosmetic — and cosmetic problems are the cheapest kind to fix.
These bathroom micro-makeovers under $200 are built around the four changes that give the biggest return: paint, hardware, the mirror and textiles. Nothing here needs a plumber or a tiler, and almost everything can be done in one weekend with basic tools. Renters can manage most of it too, and take the best pieces with them.
Work through the ideas roughly in order — paint sets the backdrop everything else is chosen against. And if the room is small as well as tired, pair these updates with our small bathroom ideas that make it look twice as big for layout tricks that cost nothing.
This post contains affiliate links. If you buy through them, we may earn a small commission at no extra cost to you. See our Affiliate Disclosure.
1. Paint the Vanity a Confident Colour
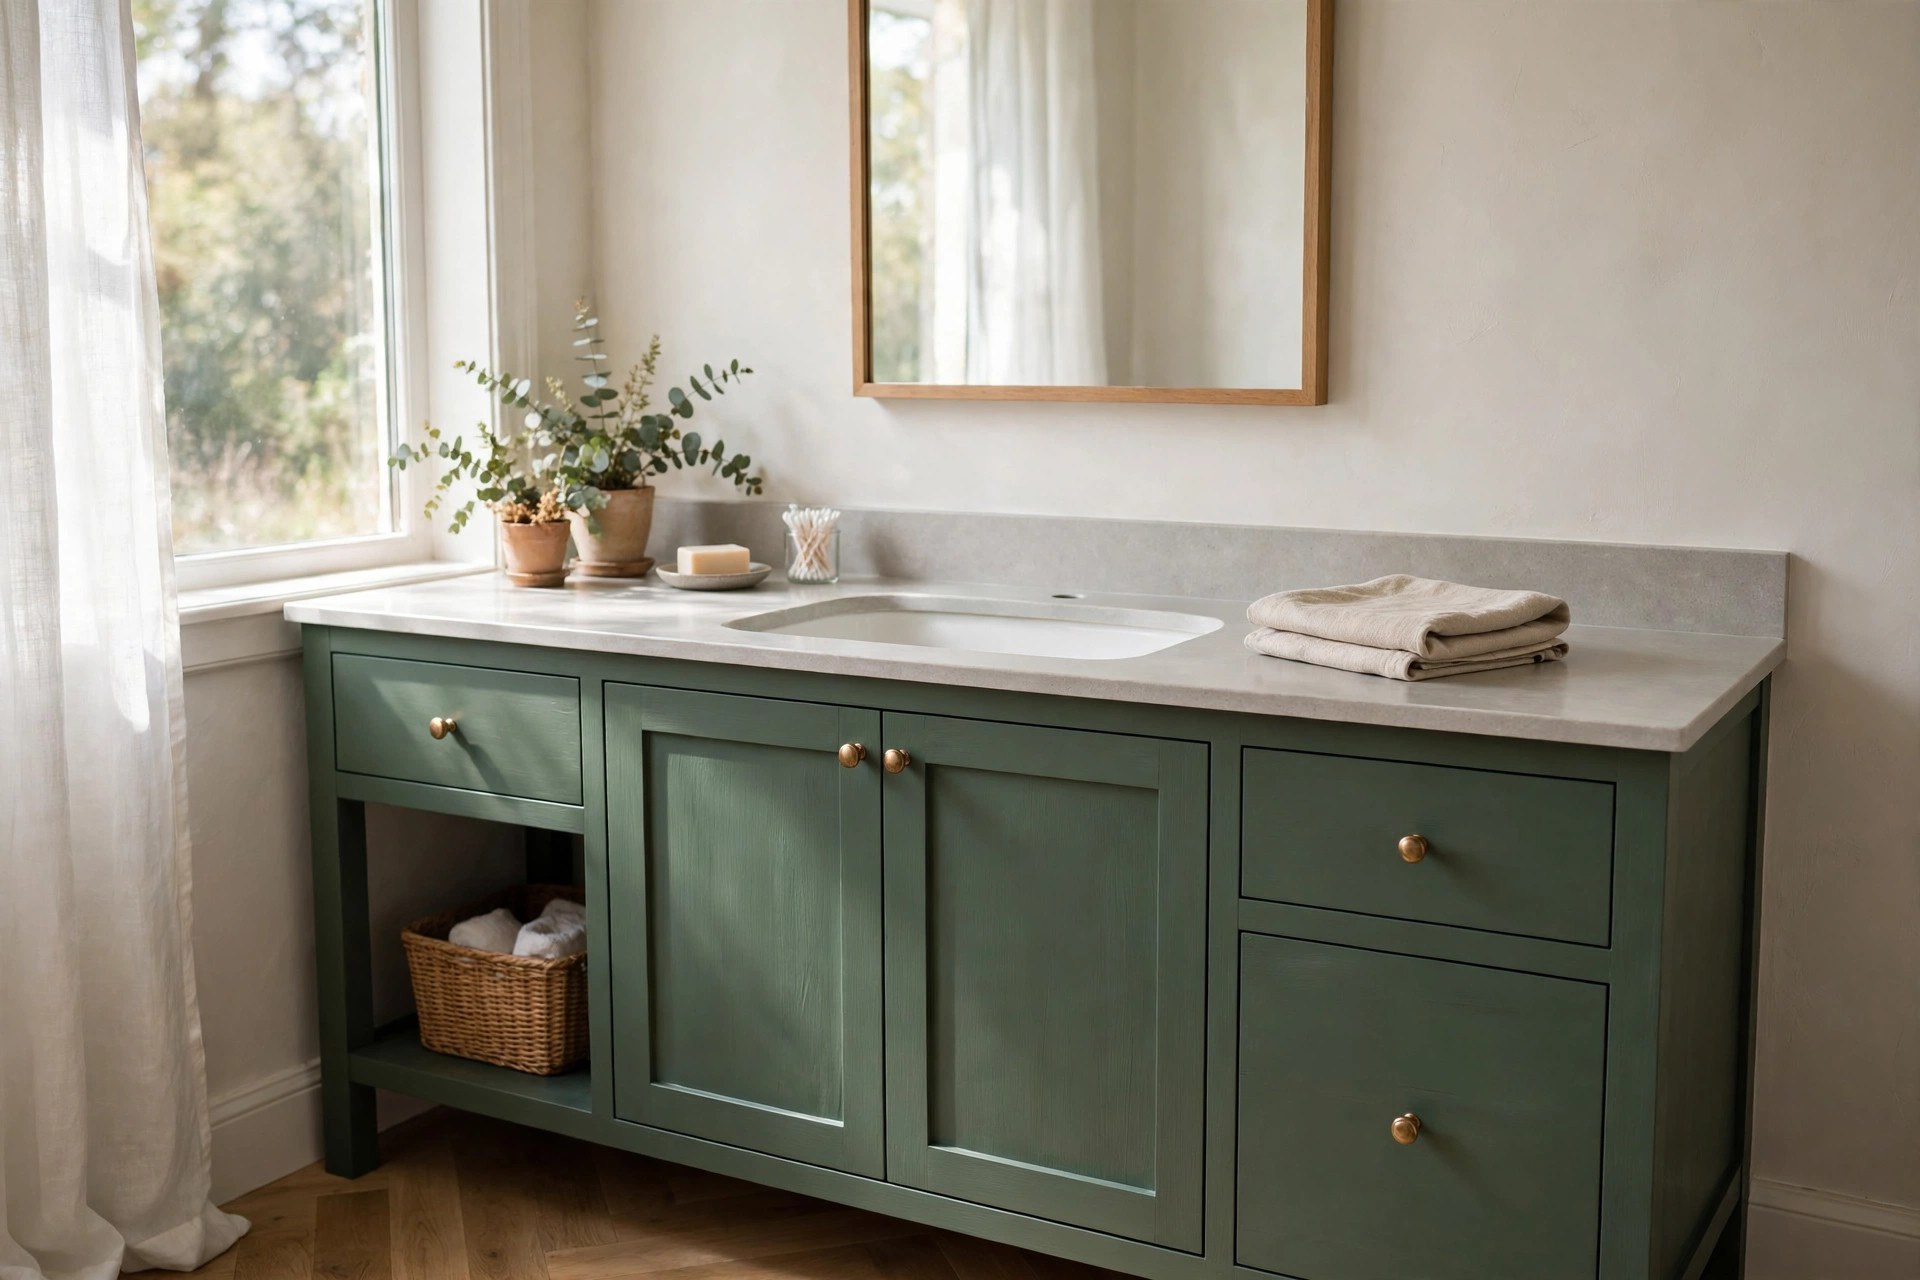
The vanity is the largest piece of furniture in most bathrooms, so its colour does more visual work than anything else in the room. A dated honey-oak or scuffed white unit painted in a deep sage, ink blue or soft charcoal instantly looks deliberate rather than default. Take the doors and drawer fronts off, clean everything with sugar soap, sand lightly so the paint can grip, and use a primer before two thin topcoats in a satin finish that can handle steam. Work in thin coats and let each one dry fully — patience here is the difference between a factory look and a brush-marked one.
2. Paint Dated Wall Tile Instead of Replacing It
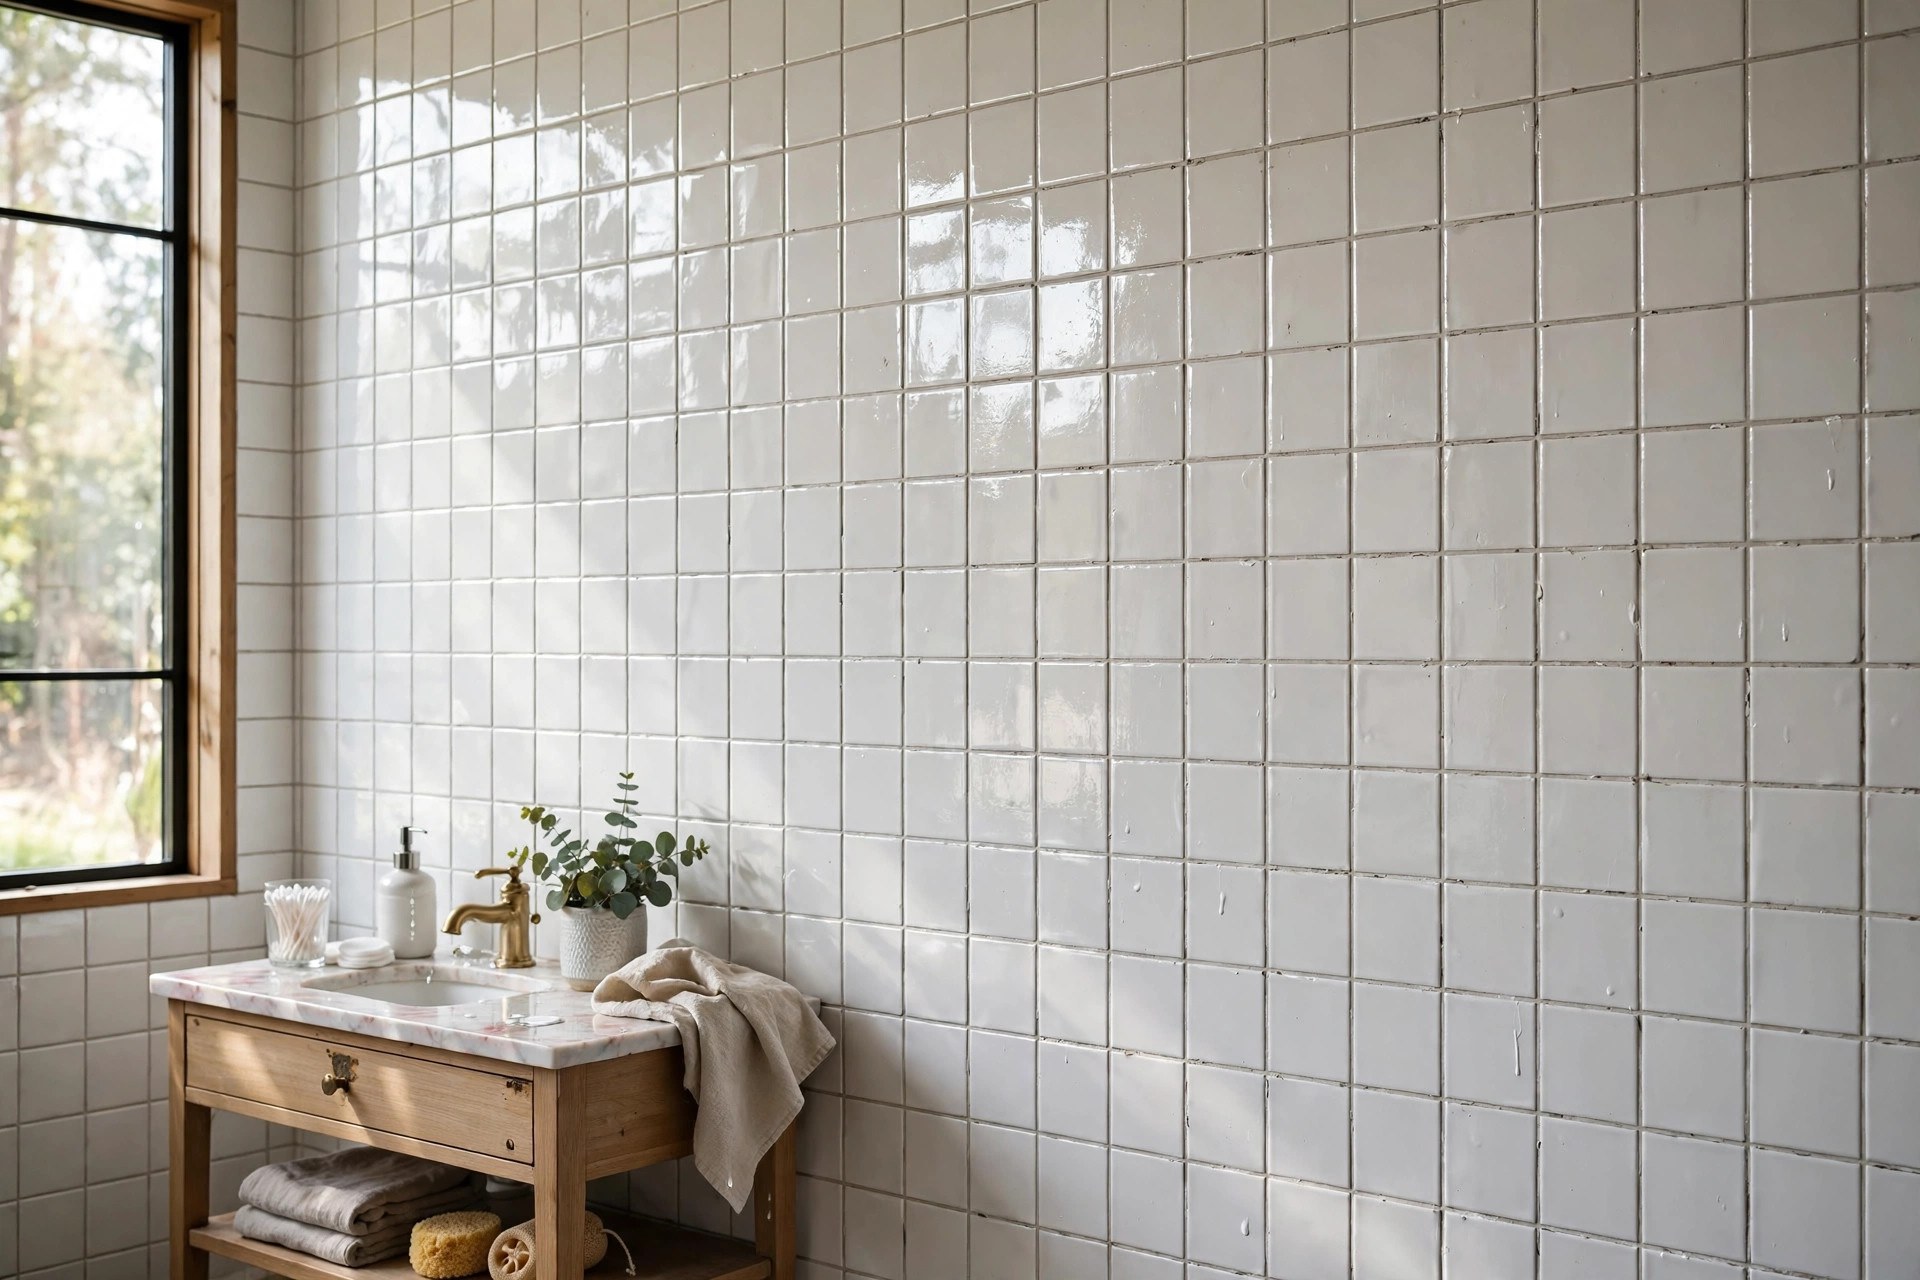
Sound but ugly wall tiles — the avocado, peach and speckled-beige kind — can be painted rather than ripped out. The secret is preparation and the right product: scrub away every trace of soap film, let the tiles dry completely, and use a proper tile paint system with its own primer rather than ordinary wall paint. Keep painted tile to walls and splash zones, where it wears well, and be realistic about floors and shower bases, which take constant water and foot traffic. Two thin coats, rolled on smoothly, will read as fresh new tiling from the doorway.
3. Repaint the Walls a Warm, Light-Bouncing White
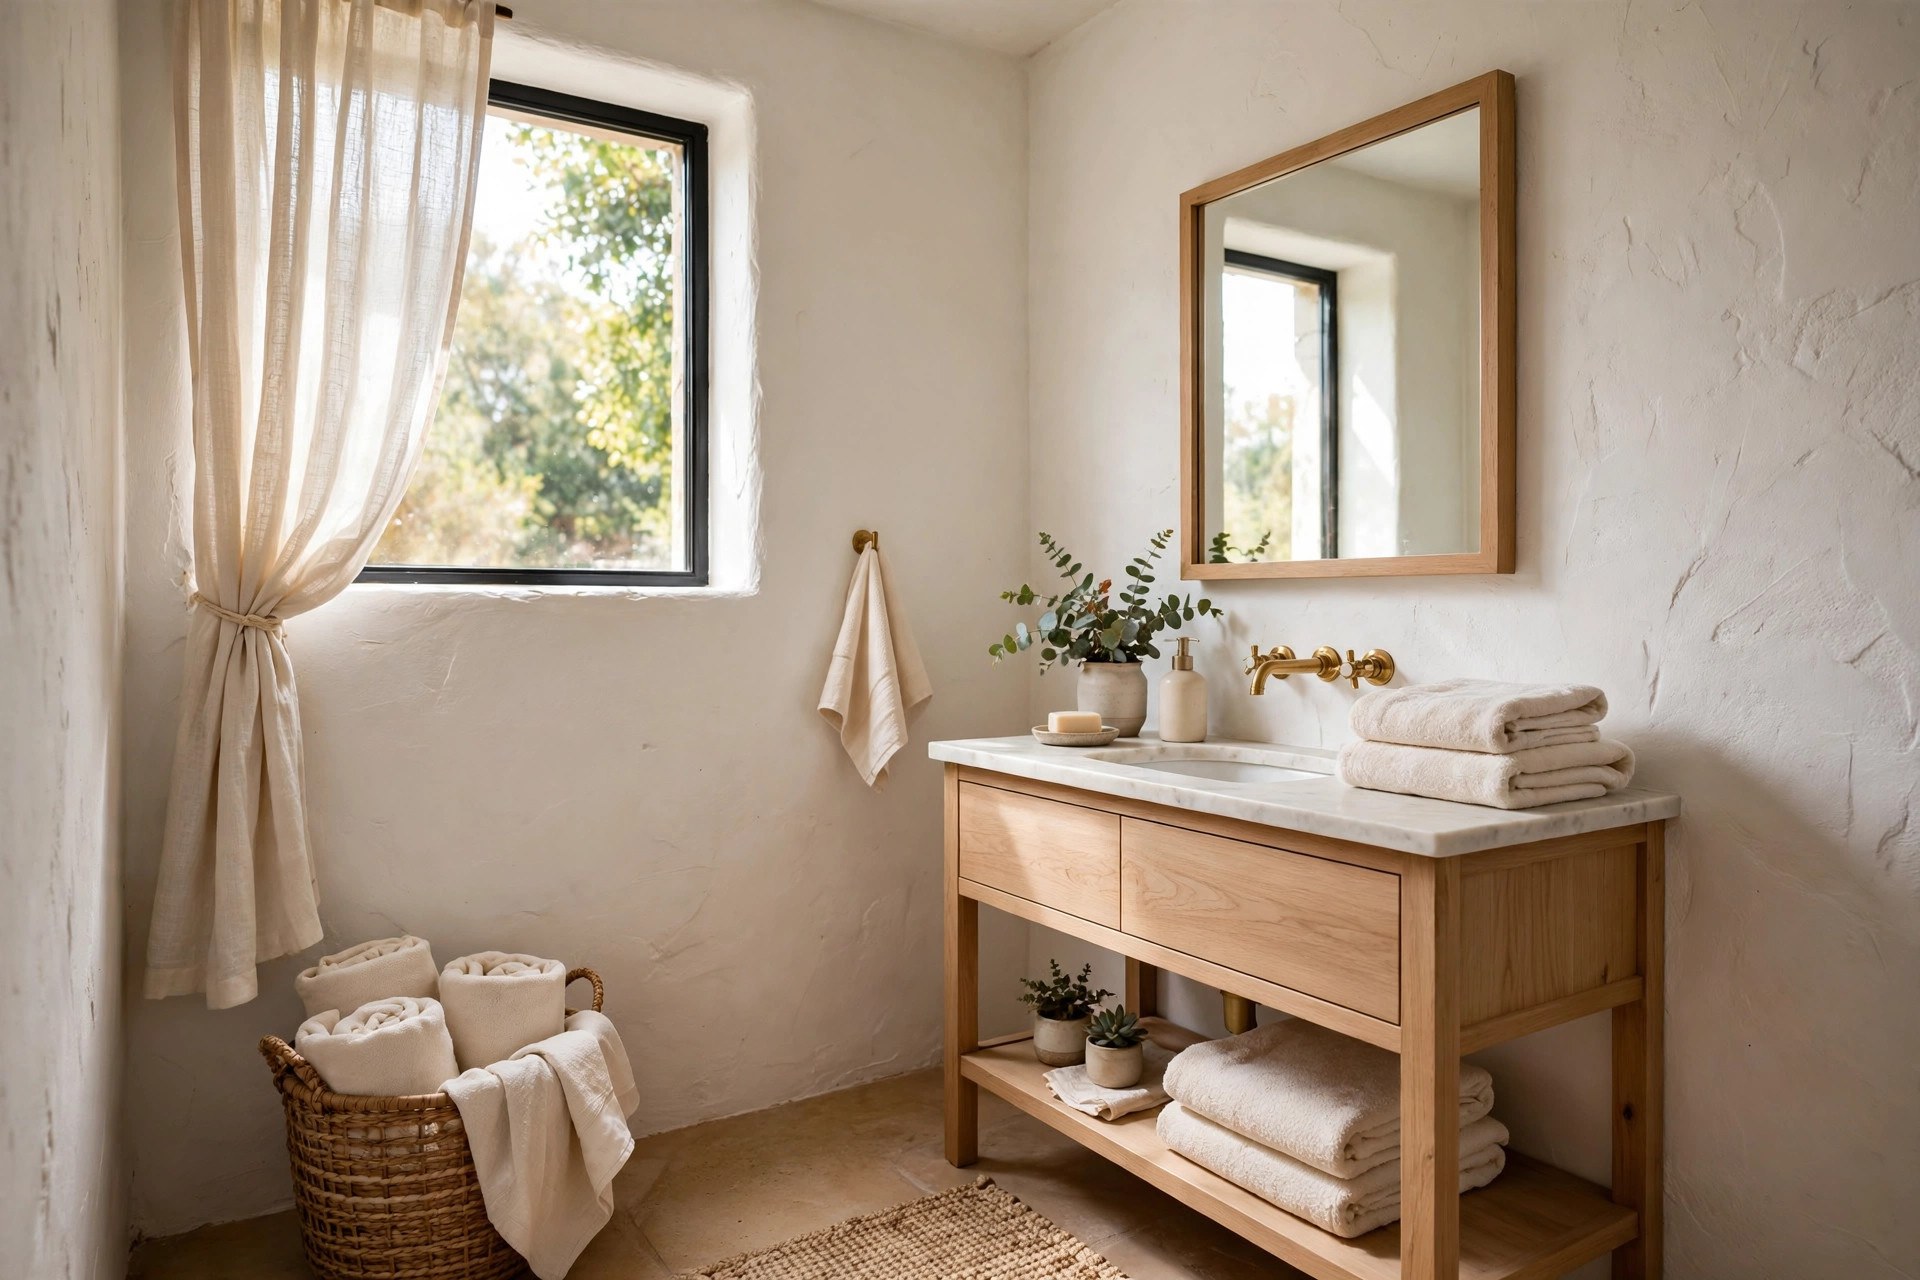
Bathroom walls pick up a grey-yellow cast over the years that makes the whole room feel dingy. A fresh coat of warm white — never a blue-toned brilliant white, which turns cold and clinical under bathroom lighting — lifts every other surface in the room. Choose a paint formulated for bathrooms so it resists mould and condensation, and test the shade on the wall first: north-facing rooms need the warmest whites you can find. For a gentle neutral scheme, our beige and white bathroom ideas show how far warm whites and soft beiges can stretch a small room.
4. Swap Every Hardware Piece to One Finish
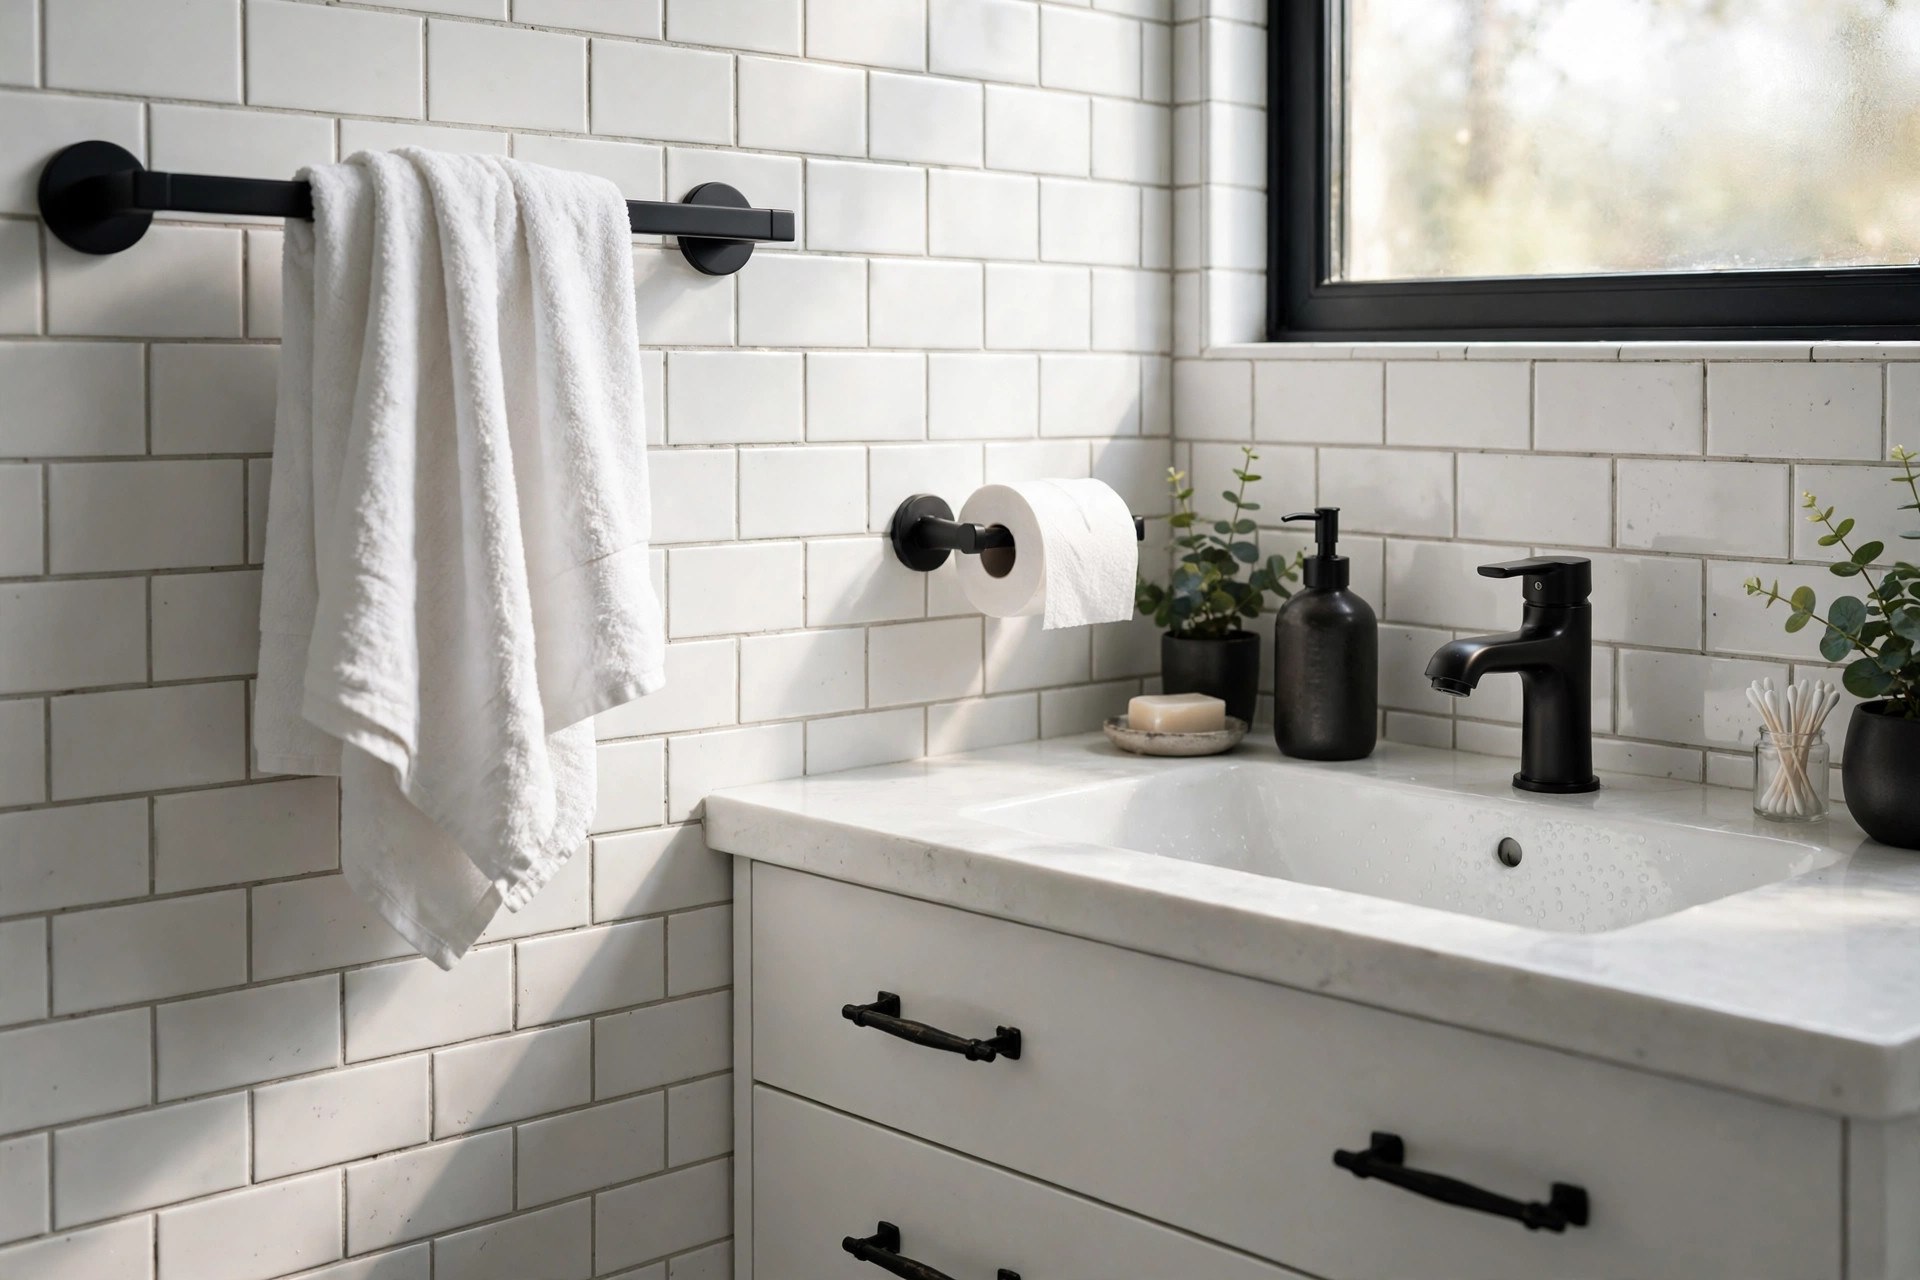
Nothing dates a bathroom faster than mixed metals: a chrome tap, brass-look towel rail, plastic hooks and a nickel flush plate all cancelling each other out. Choosing one finish — matte black, brushed brass or simple chrome — and swapping the small pieces to match makes the room look planned. Count everything before you buy: towel rail, toilet roll holder, robe hooks and cabinet knobs. Buy them together so the finishes genuinely match, and keep the old set labelled in a bag if you rent. The tap itself can stay if replacing it is out of scope — just match everything else to it.
5. Replace the Mirror — or Frame the One You Have
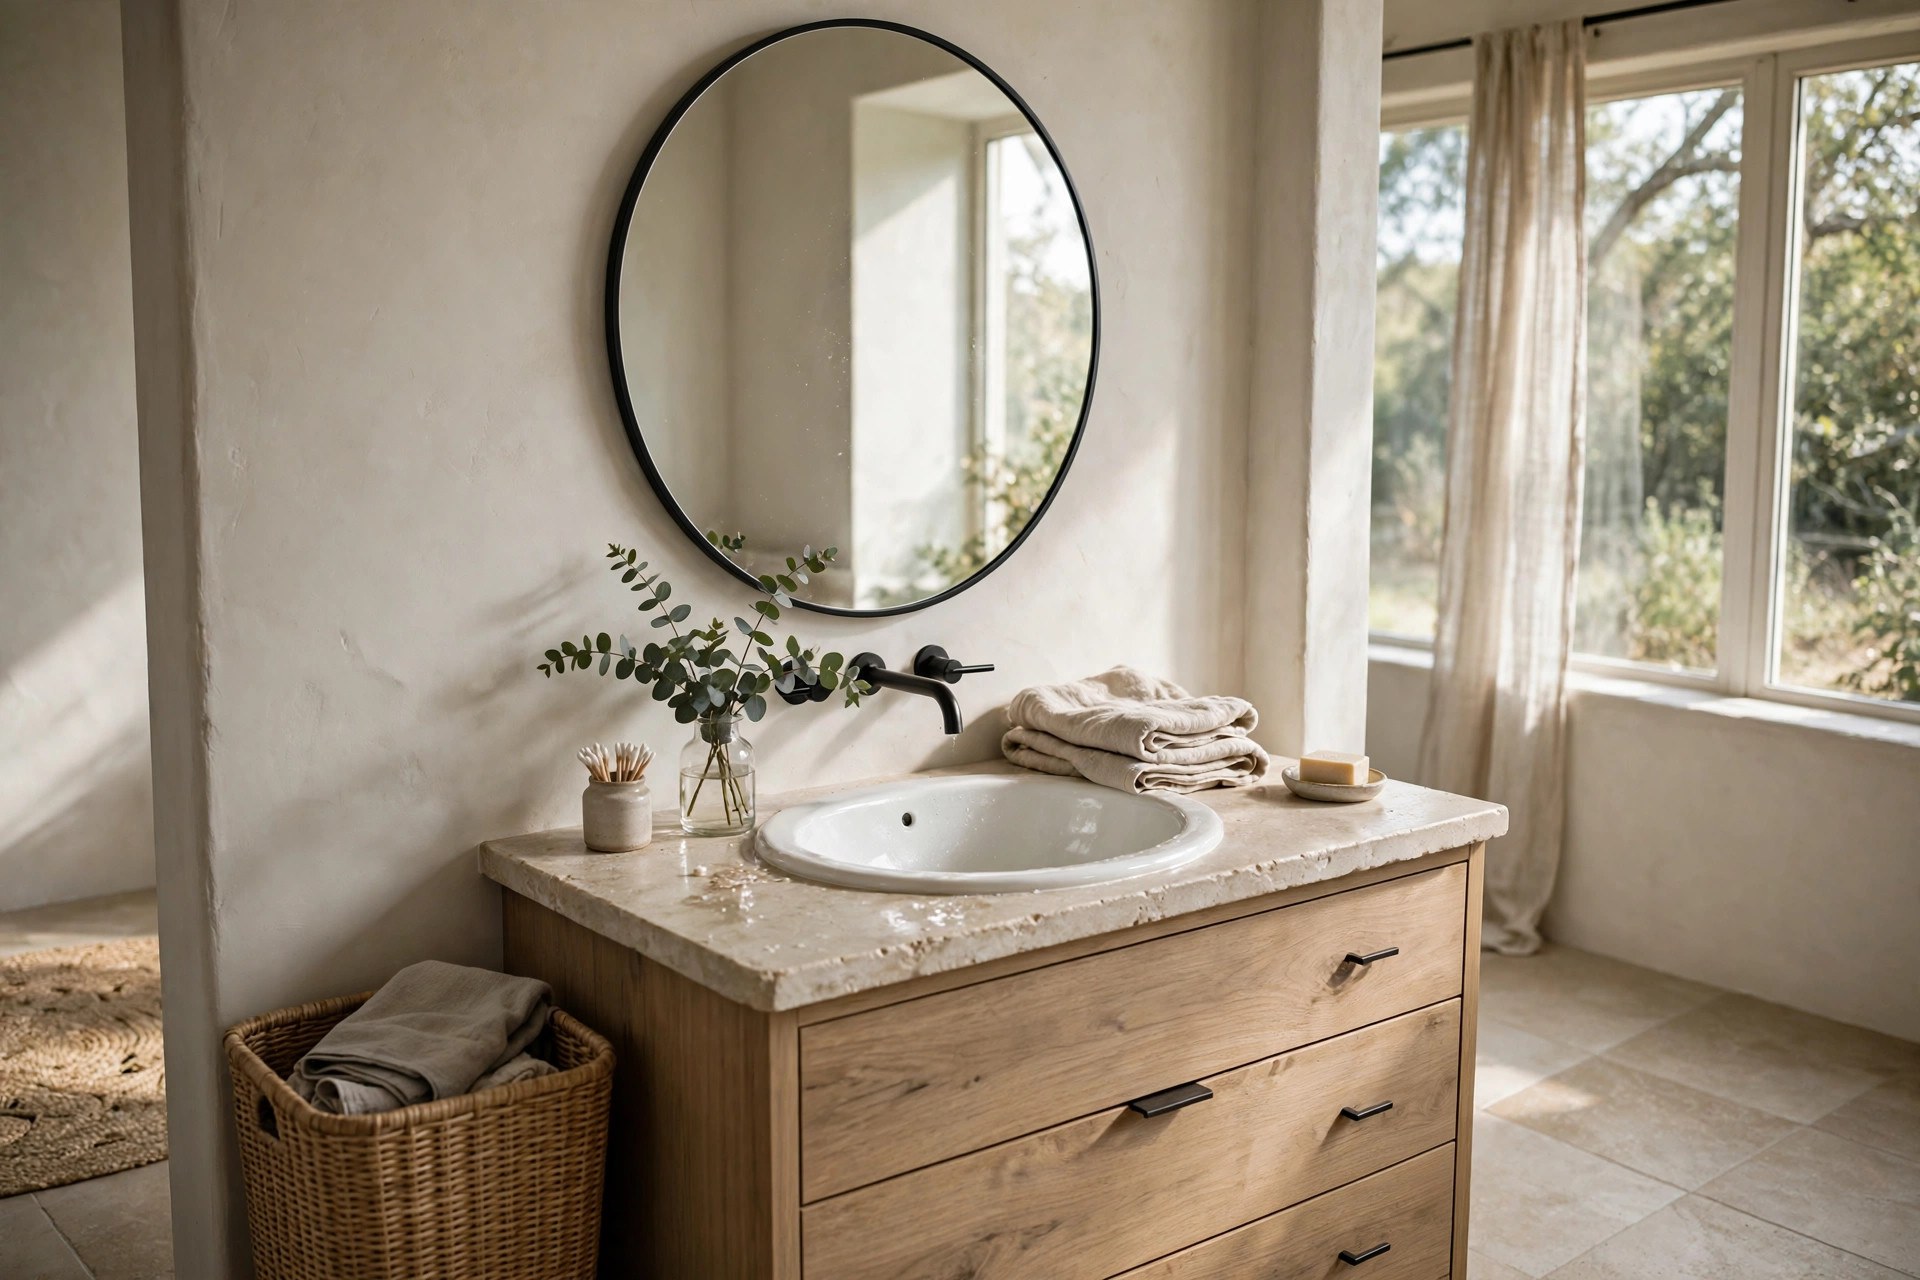
The mirror is the picture on the bathroom’s main wall, and a frameless, water-spotted rectangle does the room no favours. A larger round or arched mirror instantly softens all the hard lines and bounces more light around, and most hang from a single fixing. If your mirror is in good shape and firmly bonded to the wall, leave it in place and add a frame instead: self-adhesive frame kits and simple lengths of painted trim both give a plain sheet of glass a finished edge. Size generously either way: slightly too big looks luxurious, slightly too small looks mean.
6. Refresh Tired Grout With a Pen or Recolour
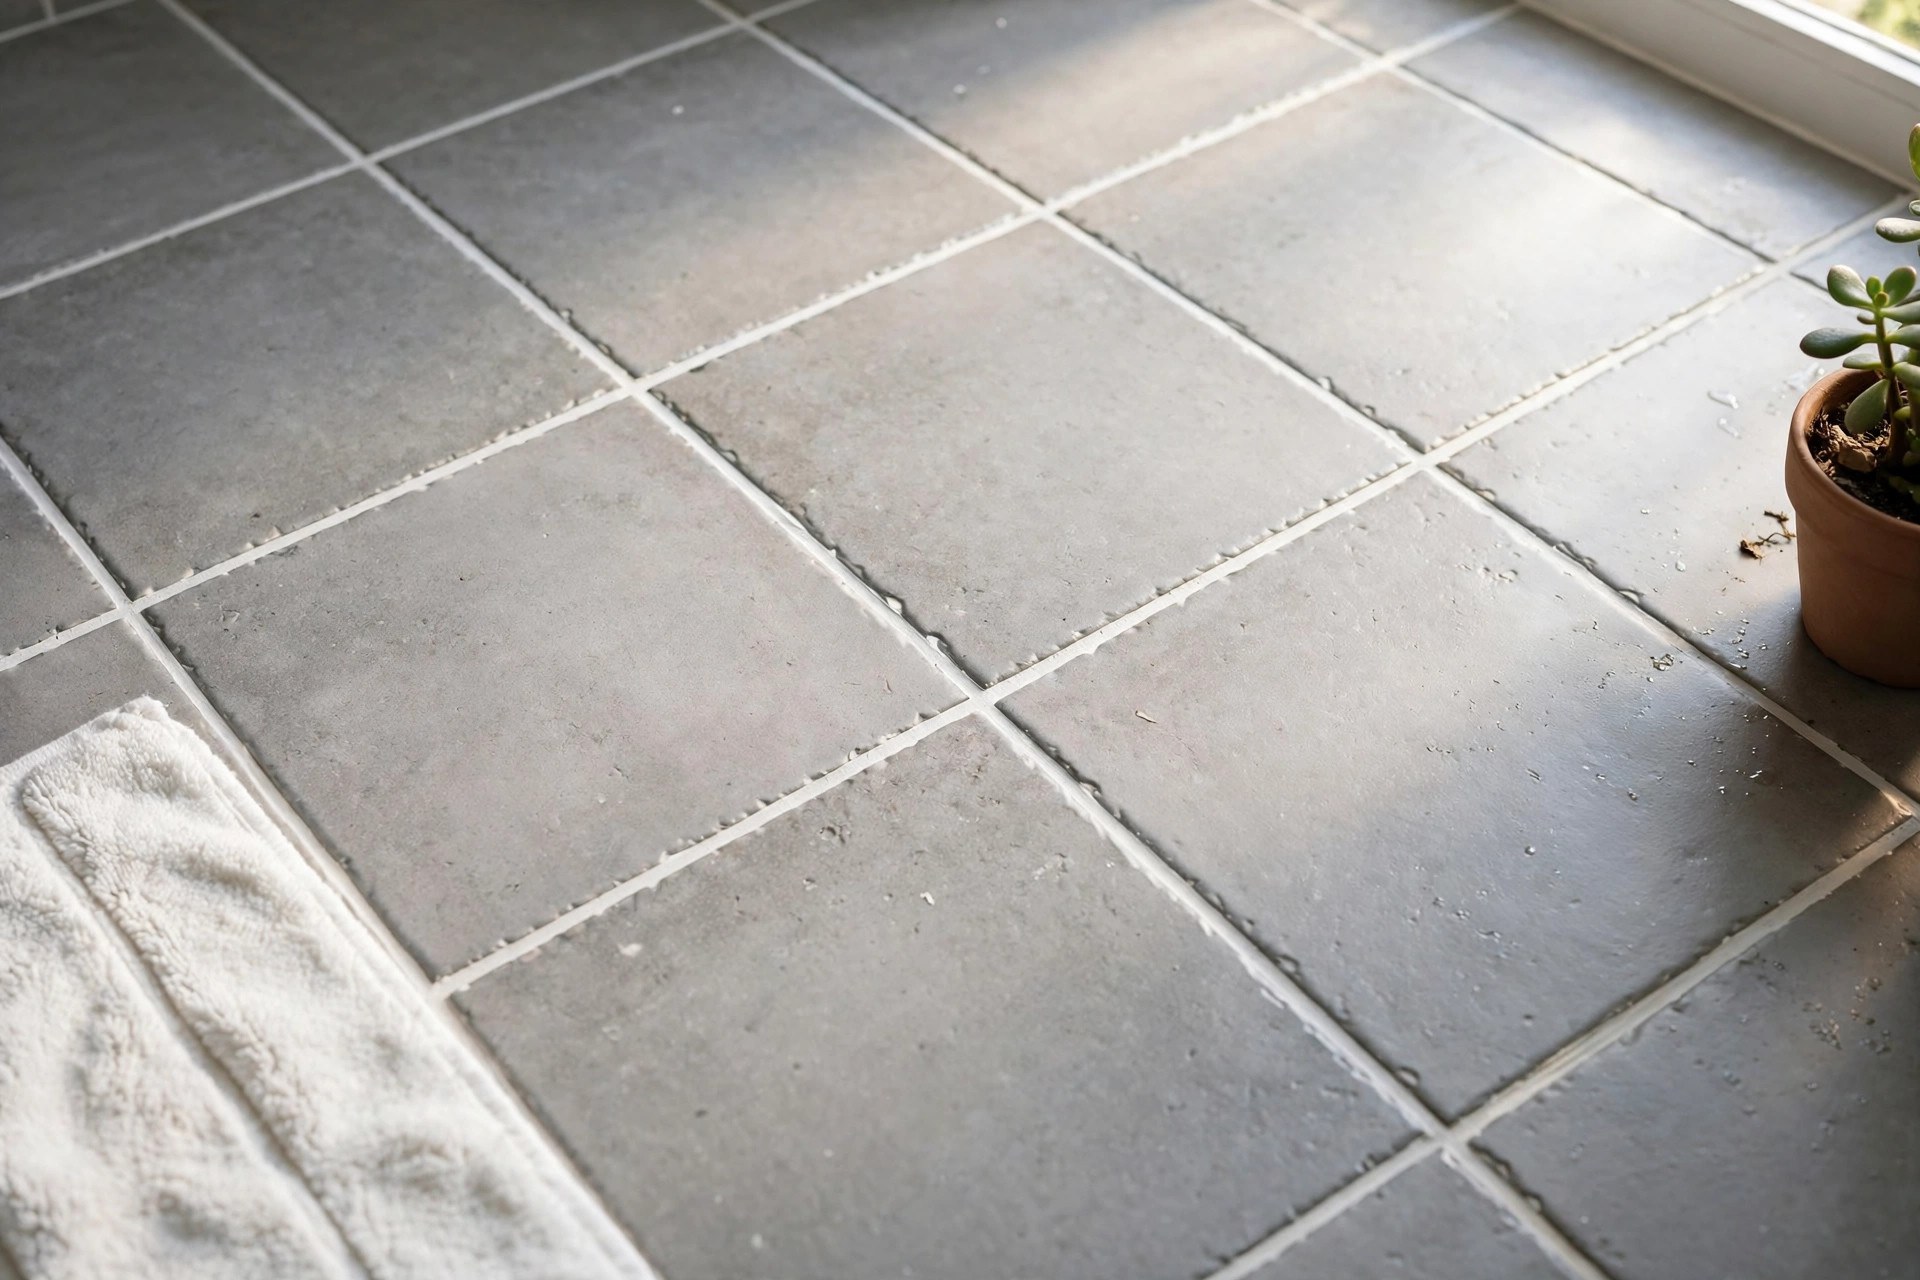
Grout makes up far more of a tiled surface than you realise, and when it greys, the whole wall or floor looks dirty even straight after cleaning. A grout pen or grout recolour restores that crisp grid, and you can change the effect while you are at it: white grout brightens, while a soft grey often looks more modern against white tiles. This only works on grout that is sound — scrub it thoroughly first, treat any mould properly, and let everything dry before you start. Crumbly or cracked grout needs raking out and replacing, which is still a cheap job, just a slower one.
7. Follow a Simple Textile Refresh Formula
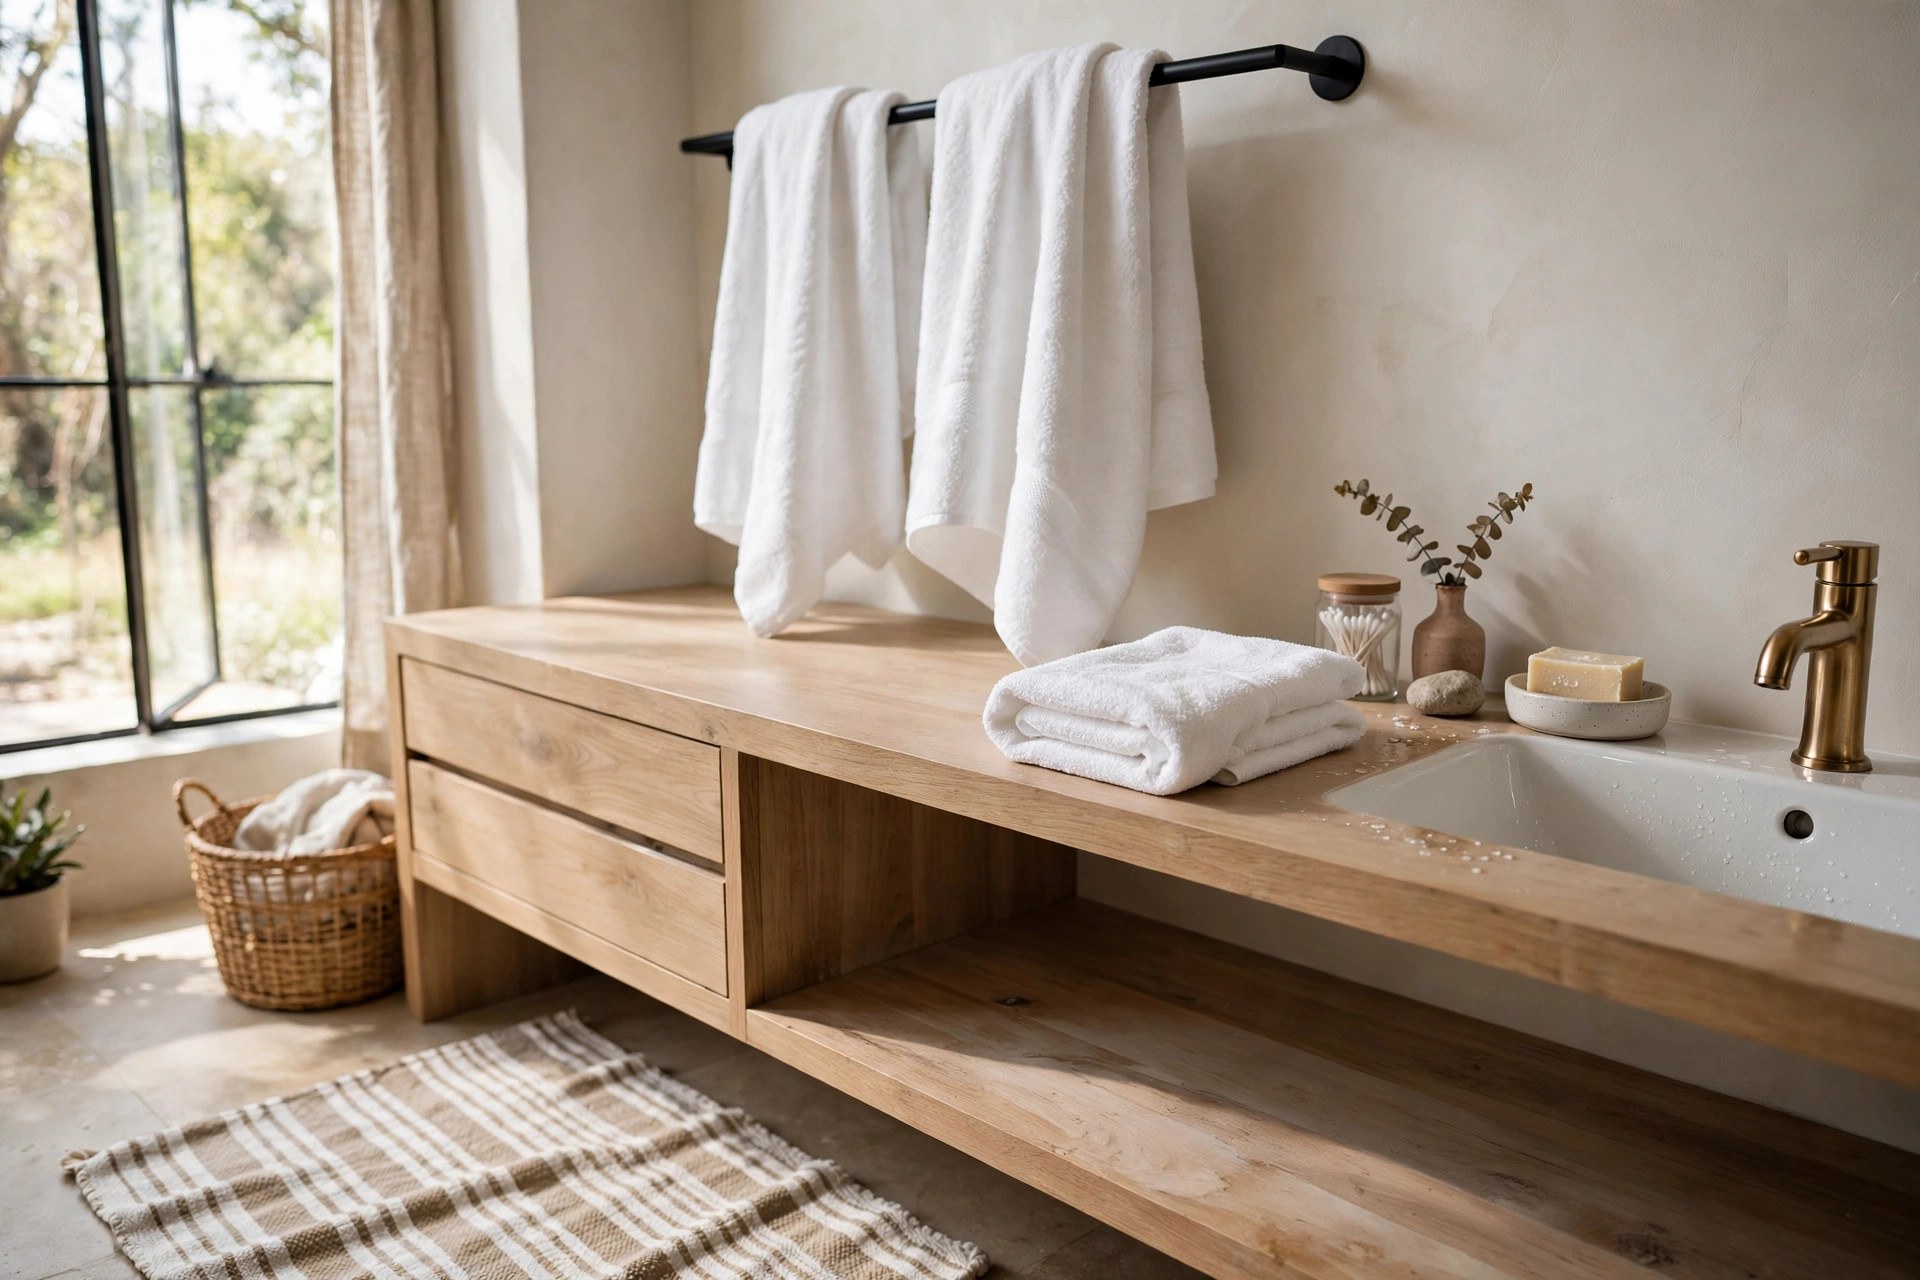
Textiles are the fastest full-room change in any bathroom, and they follow a simple formula: two bath towels, two hand towels and one bath mat, all bought as a family. One colour throughout — white is the classic for a reason, and it can be bleached back to life — looks calm and hotel-like, while the mat carries the single pattern or stripe. Retire the worst of the old towels to cleaning duty and keep the new set strictly for the bathroom. Fold the spares the same way each time; repetition makes it read as a scheme, not laundry.
8. Swap Bare Bulbs for Shaded Light
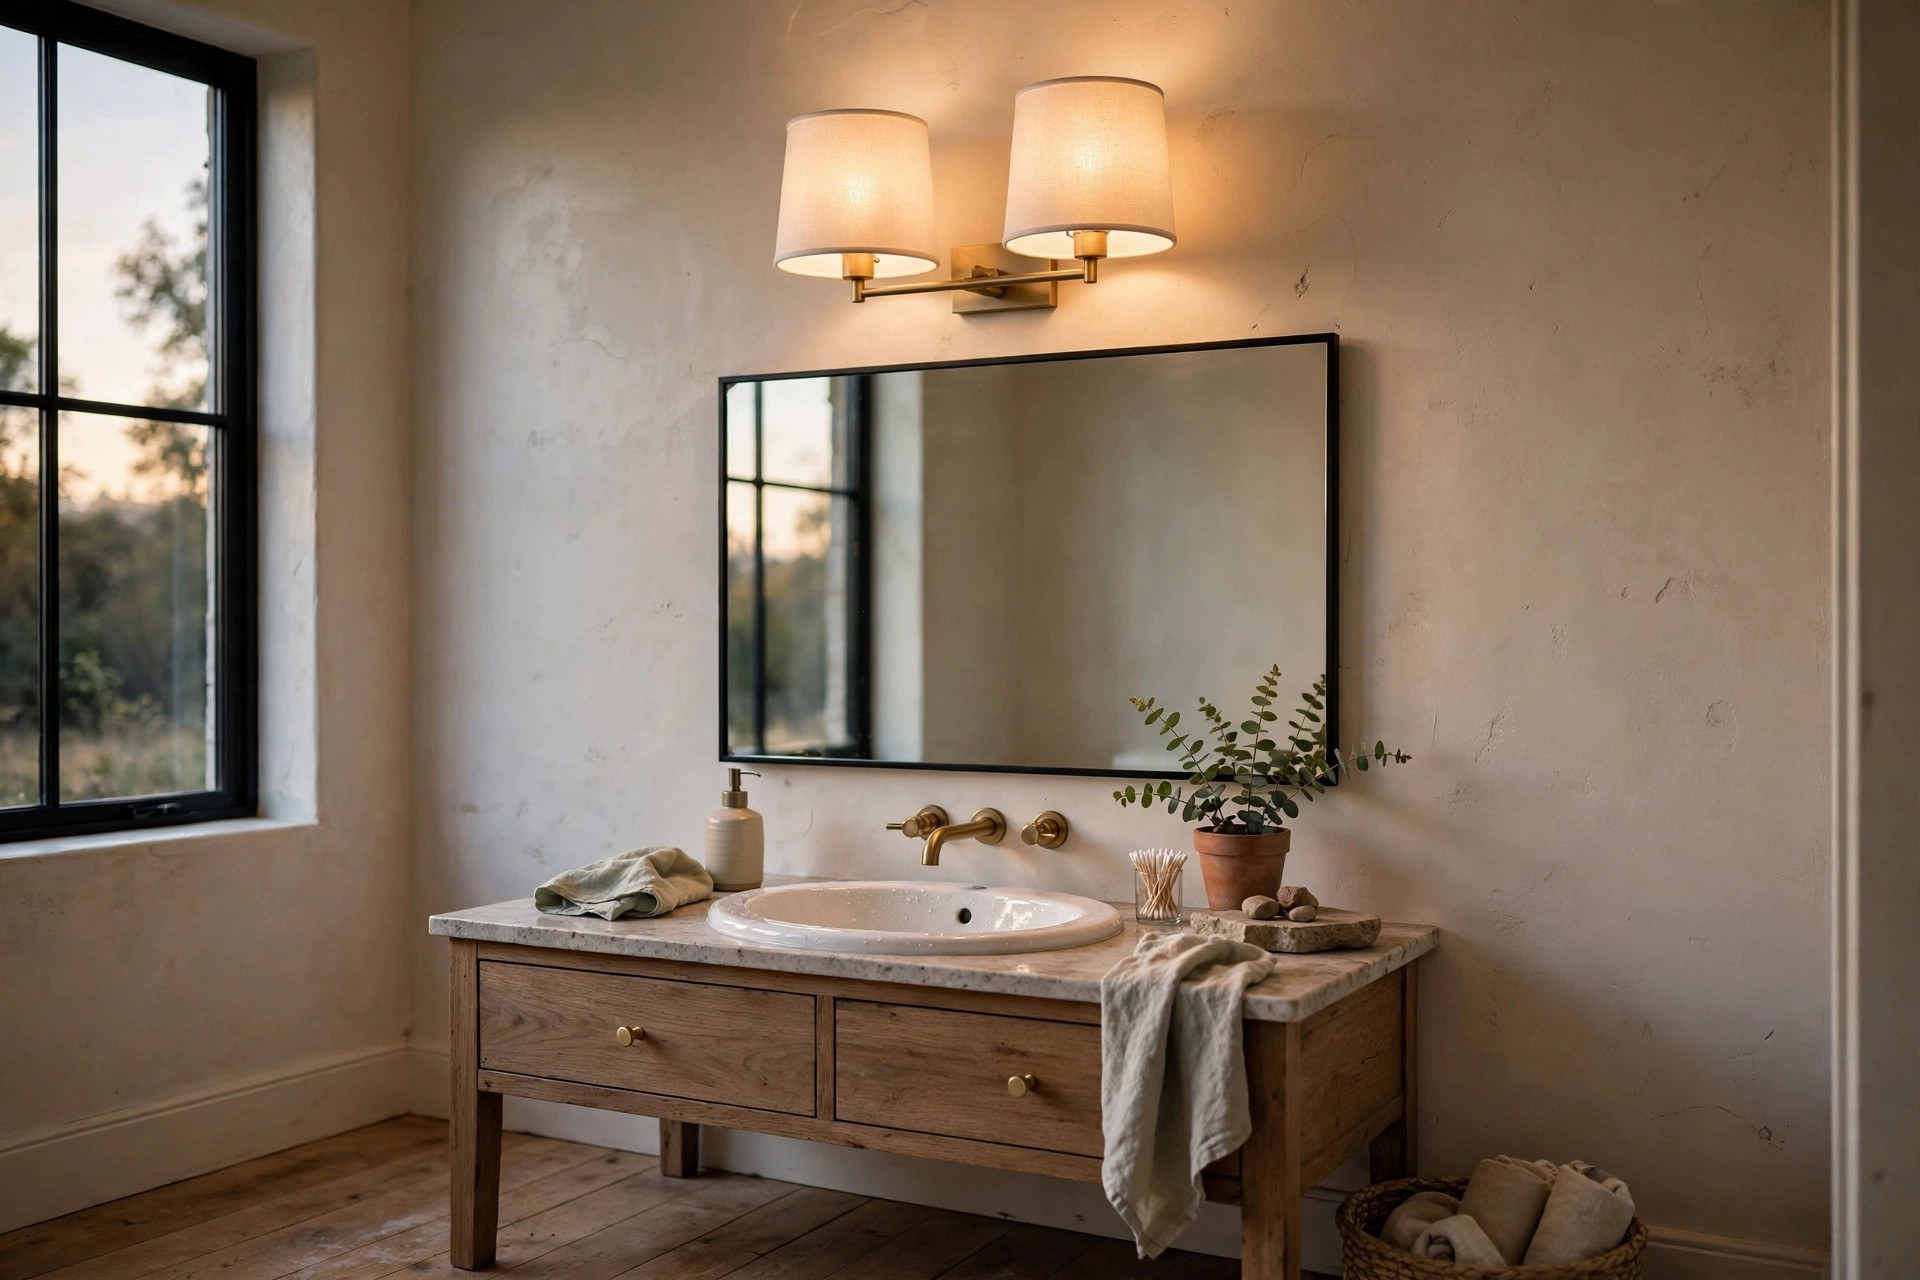
A bare bulb or a dated Hollywood strip of exposed globes makes every face — and every paint colour — look harsh. If the fitting itself is sound, new shades alone can transform it: small fabric or opal glass shades soften the light and flatter skin at the mirror. Choose warm-white bulbs, and replace them as a matched set so the colour of light is even across the room. Renters can often swap shades and bulbs without touching any wiring at all. For bigger lighting changes, our small bathroom lighting ideas cover placement and brightness in more depth.
9. Add One Open Shelf and Style It Sparingly

The blank wall above the toilet is storage waiting to happen, and a single wooden shelf does more for a bathroom than another cupboard ever would — it gives the eye something styled to rest on. Fix it firmly into studs or with proper hollow-wall fixings, since towels and jars are heavier than they look. Then edit hard: folded spare towels, one plant, one jar or basket is a complete arrangement, and the shelf should never be more than two-thirds full. A wood tone adds warmth that all-white bathrooms often lack, and a sanded offcut keeps it firmly inside the budget.
10. Paint the Ceiling and Trim Bright White
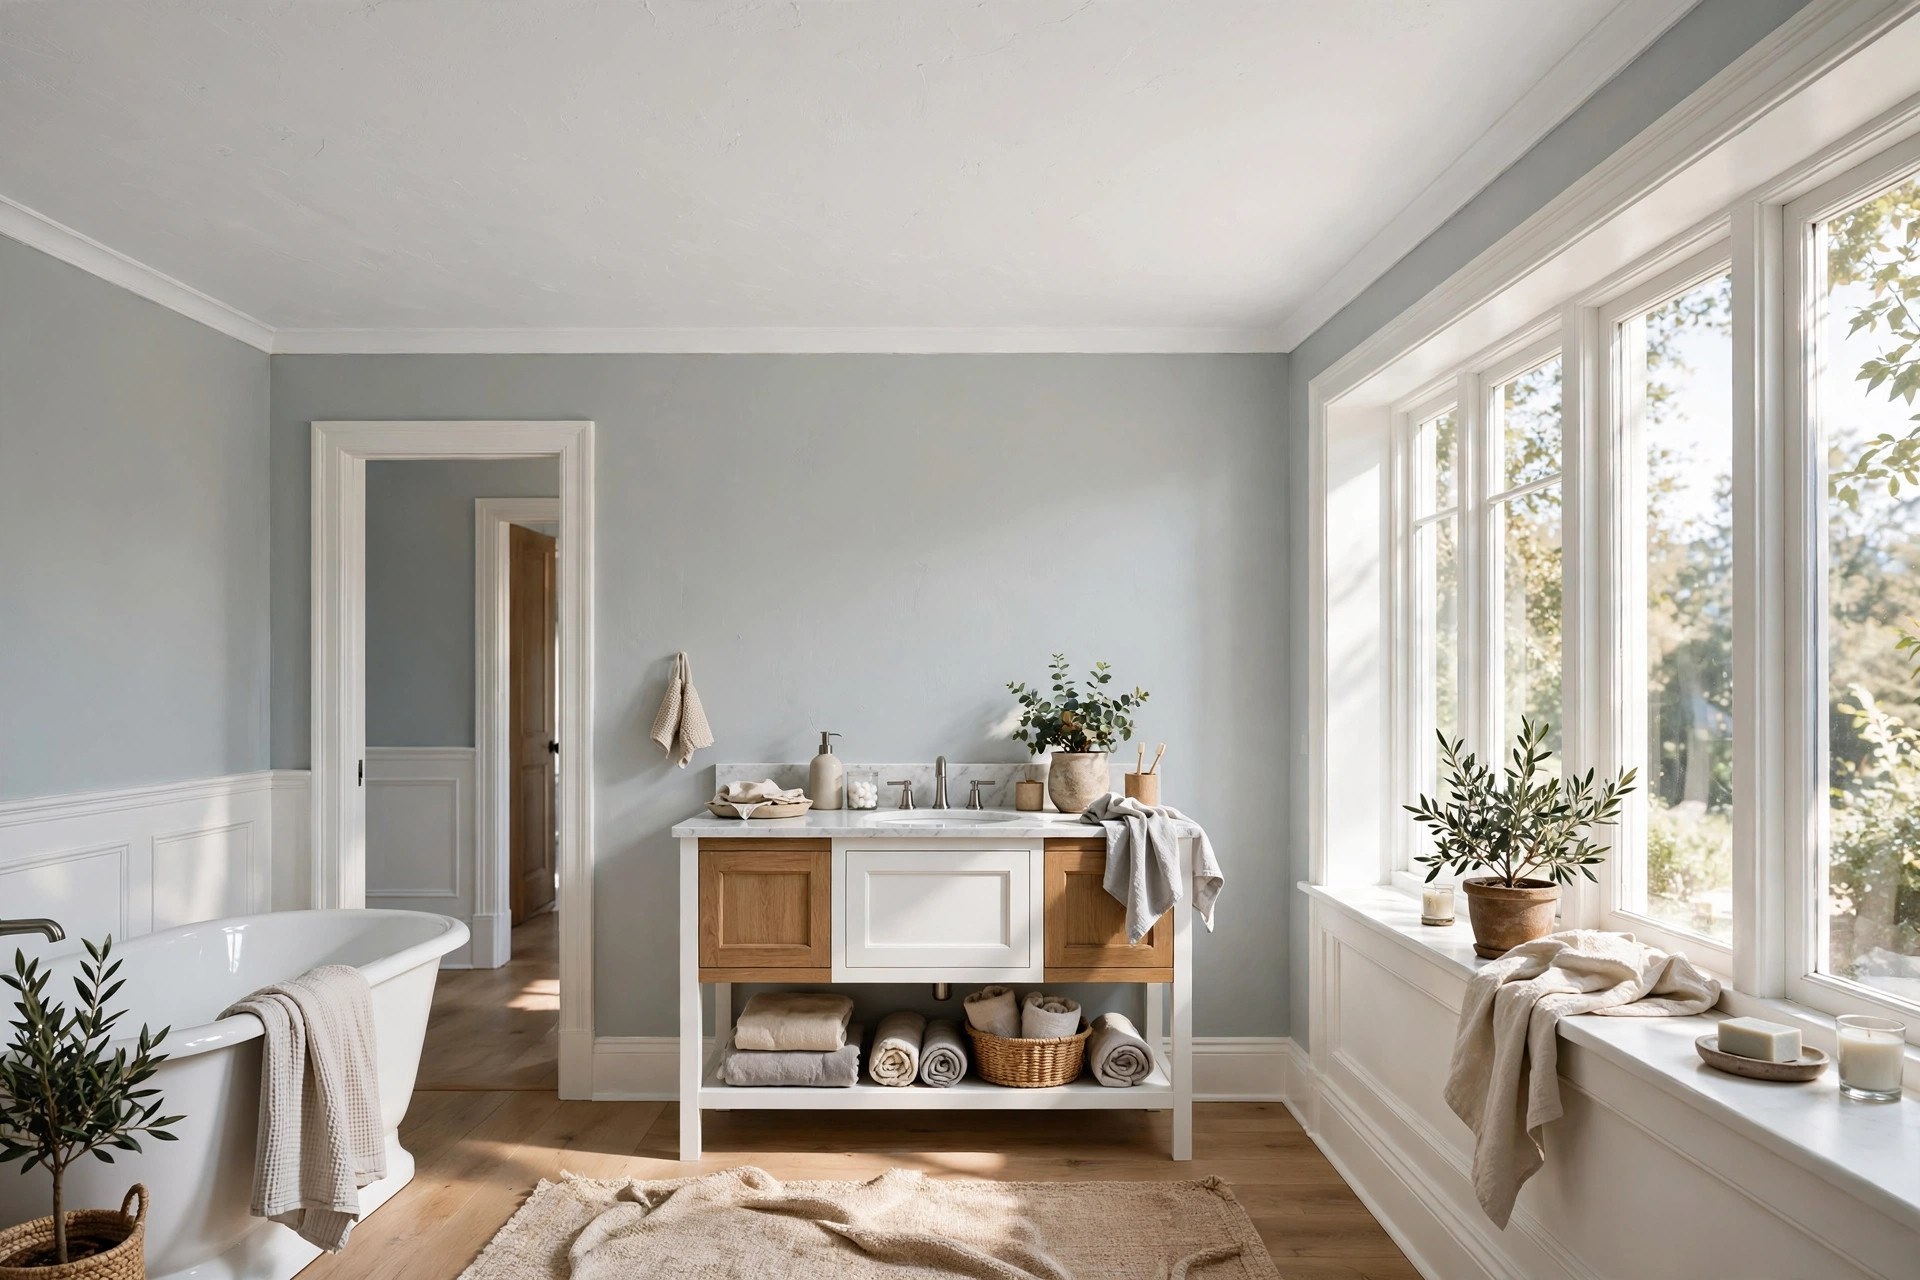
Ceilings yellow quietly from steam and time, and because you rarely look straight at them, the dinginess registers as a feeling rather than a fact. A coat of flat white ceiling paint is one of the cheapest items on this whole list and makes the walls below look cleaner by contrast. Do the trim in the same pass — skirting, window frame and the door architrave in a satin white sharpen every edge. Paint the ceiling before the walls if you are doing both, and work away from the window light so you can see misses.
11. Upgrade the Shower Curtain and Its Rings
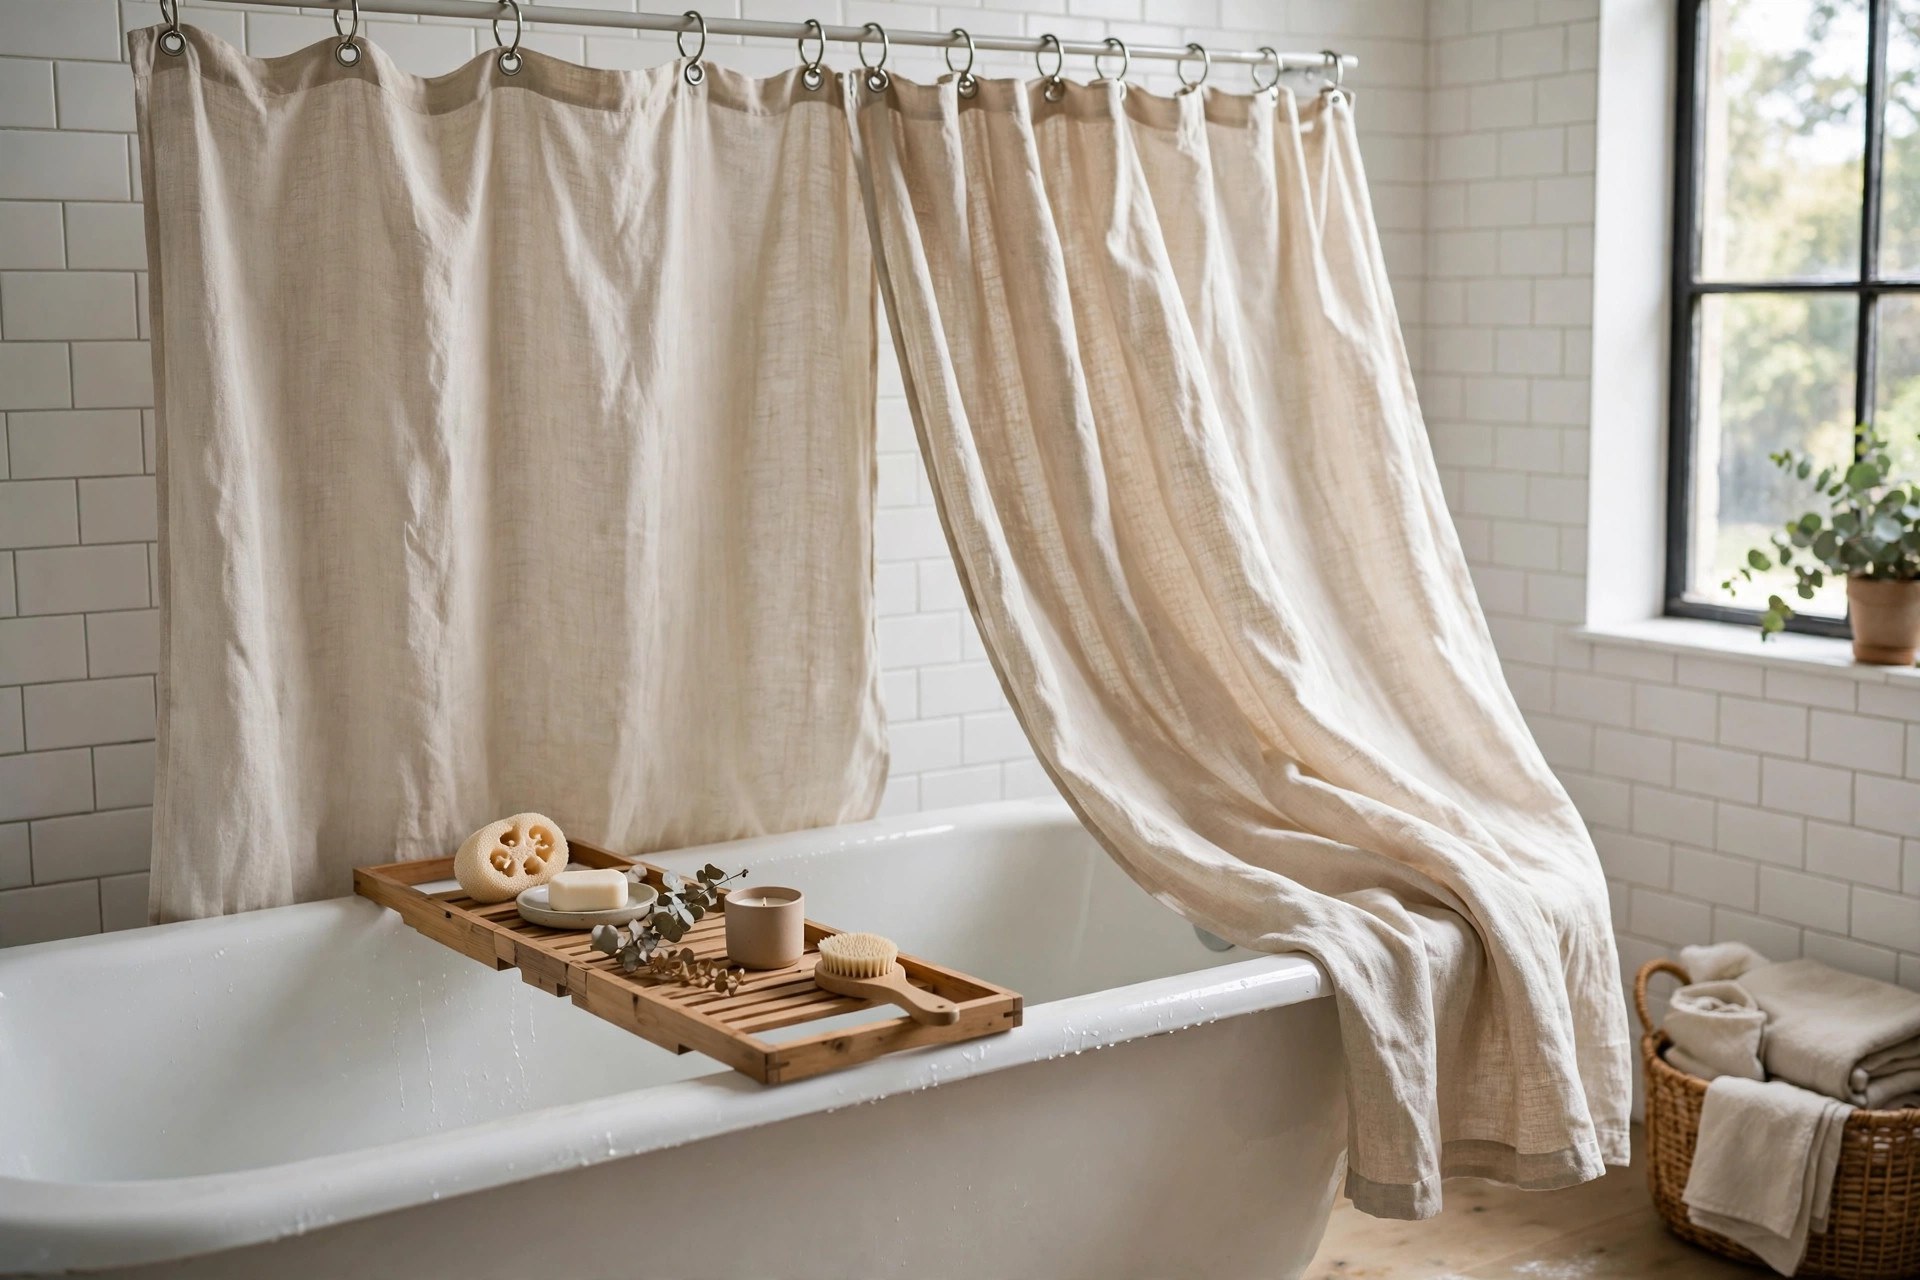
In a bath-and-shower room the curtain is the biggest piece of fabric in the room — treat it like it matters. A heavy linen-look or waffle-weave curtain in white or a soft natural tone hangs in proper folds and reads as textiles rather than plastic, with a washable liner behind it. Swap tired plastic rings for simple metal roller rings at the same time; they glide instead of snagging, which quietly makes the whole room feel better made. Hang the rail as high as you can and let the curtain just clear the bath edge — that extra height makes ceilings feel taller.
12. Corral Counter Clutter on One Tray
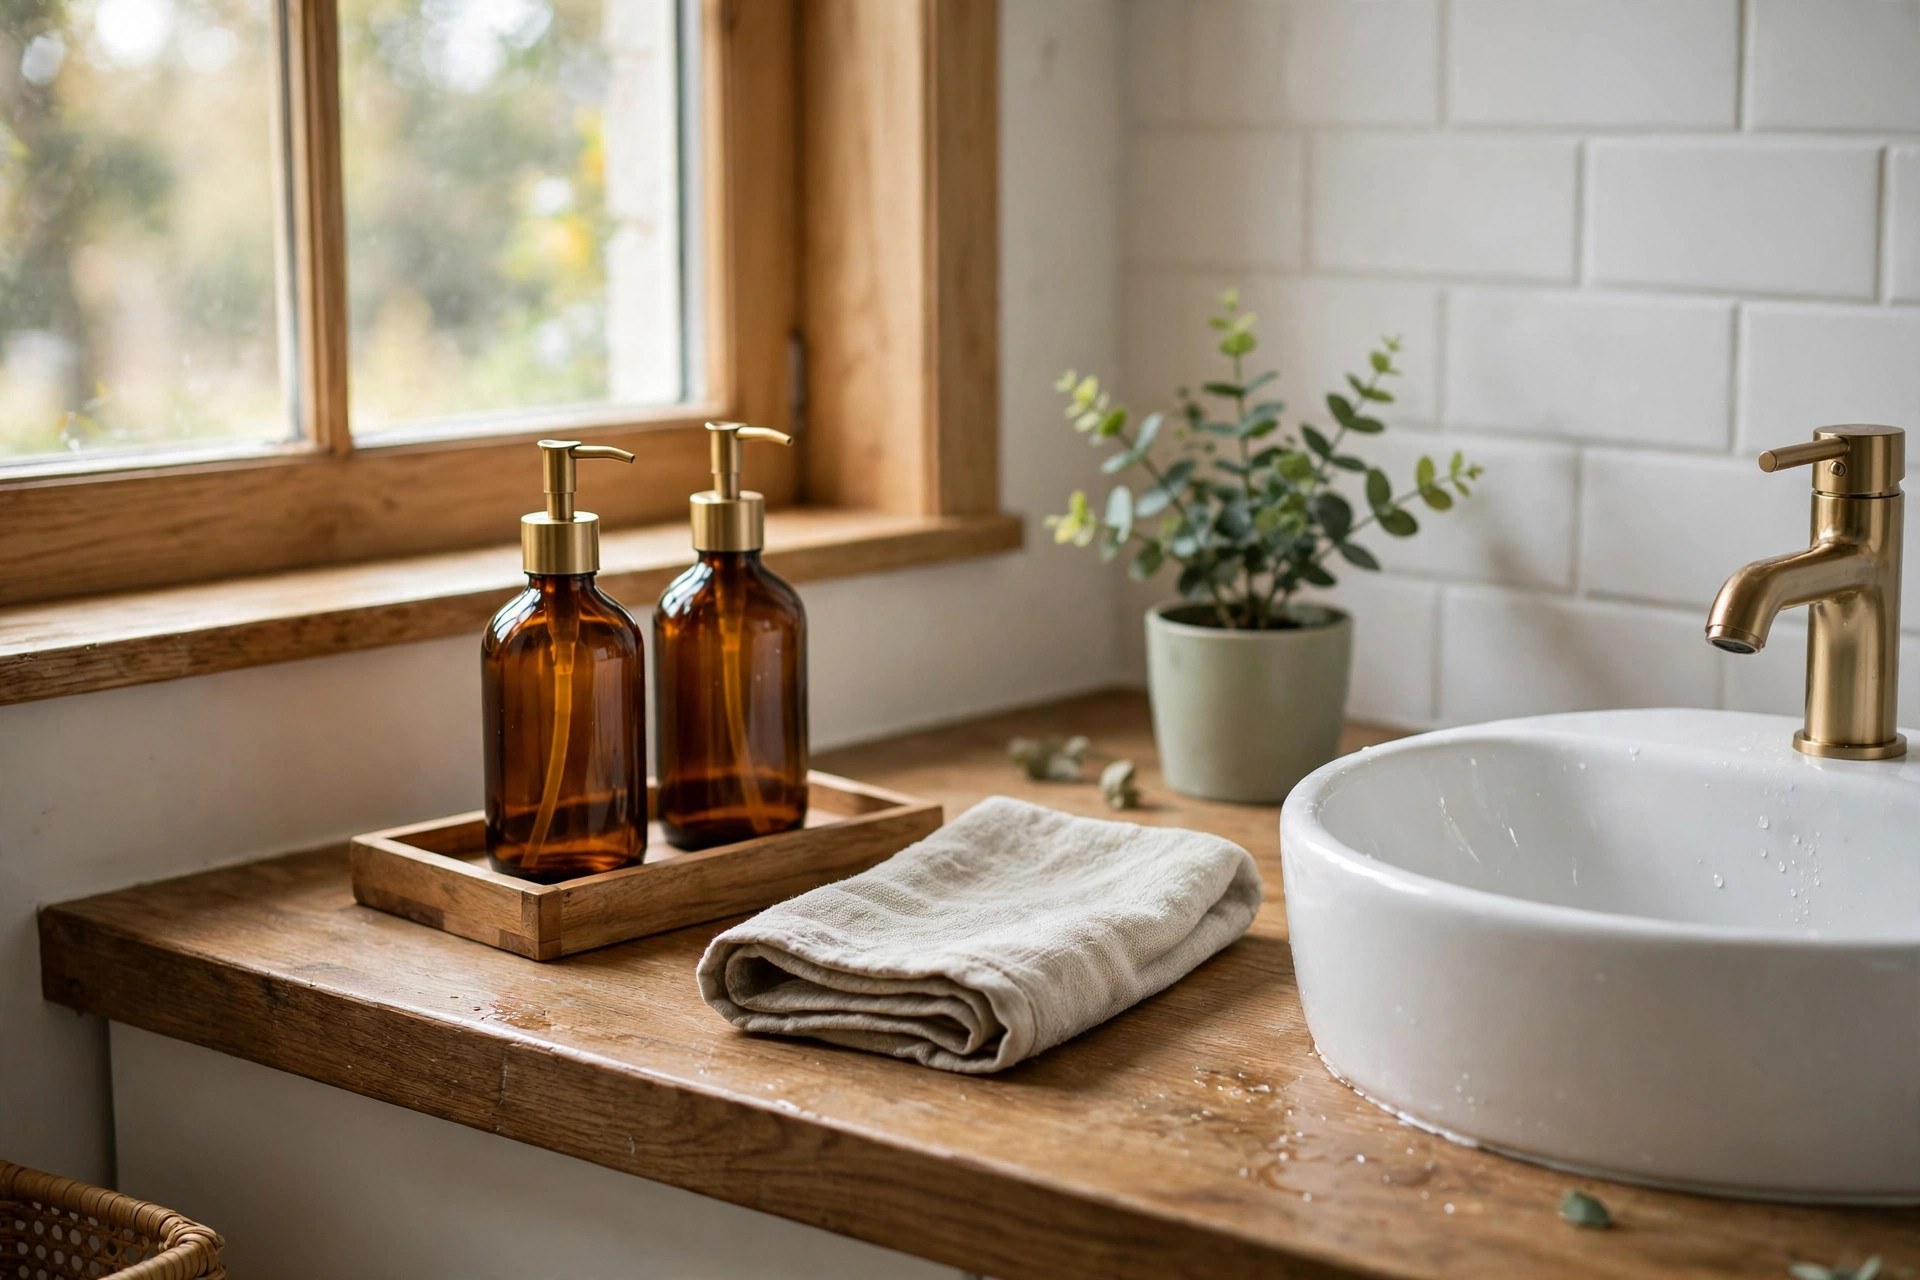
A semicircle of mismatched bottles around the basin makes even a renovated bathroom look messy, and the fix costs almost nothing: one tray, and everything earns its place on it or goes in a cupboard. Decant the everyday liquids into two or three matching dispenser bottles — plain amber or white, labels off — and line them up with the toothbrush holder and a small plant or candle. The rule that keeps it working is one in, one out: a new product joins the tray only when something else leaves. This is the idea guests notice most, because it makes the room look considered rather than accumulated.
13. Lay a Washable Runner Over Tired Flooring
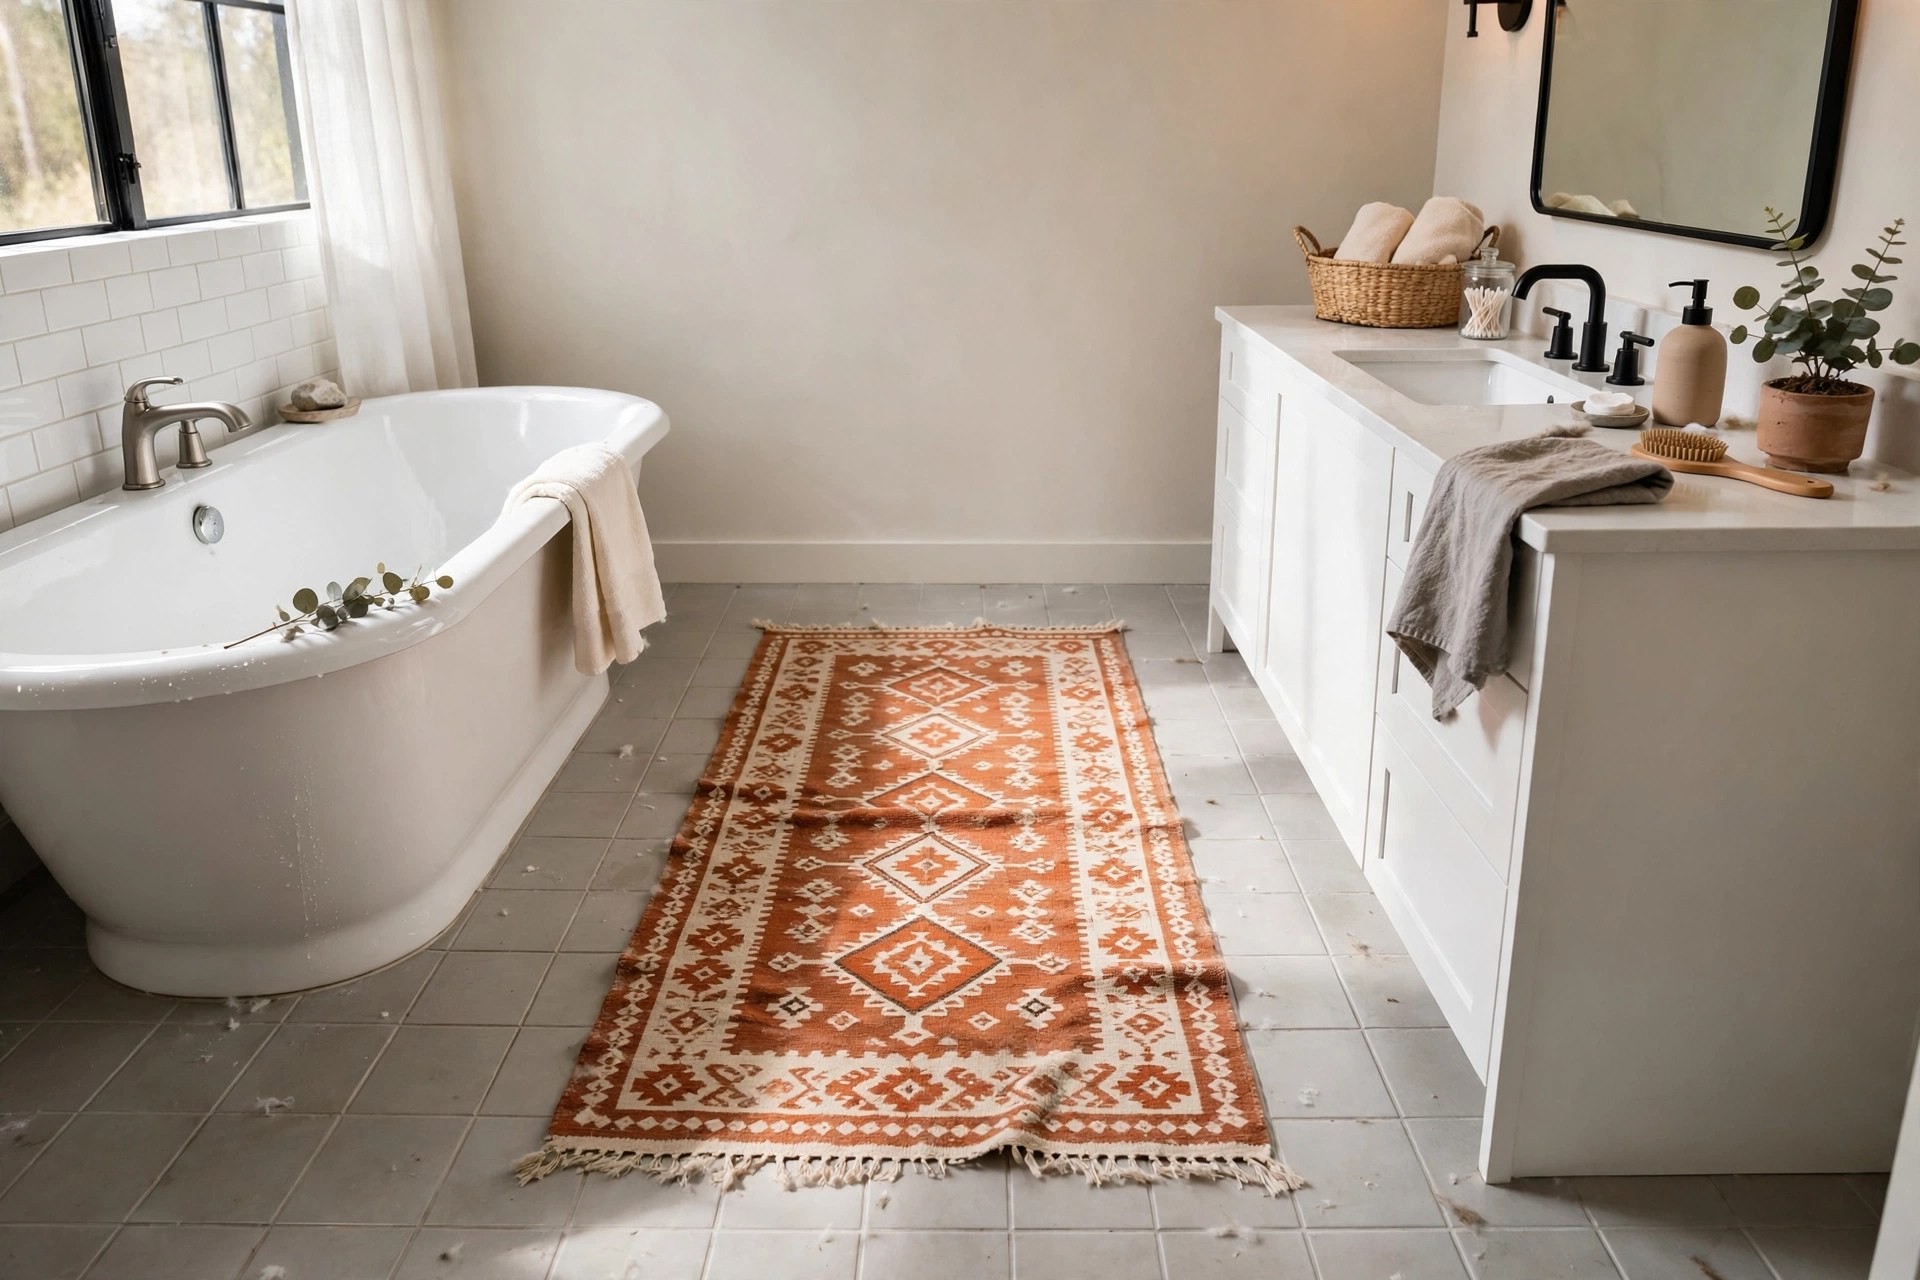
Dated floor tiles or tired vinyl can dominate a bathroom, and replacing them is never a micro-makeover. A washable runner can be: it covers the middle of the floor where your eye actually travels, adds pattern and warmth underfoot, and goes in the washing machine when it needs freshening. Measure the run from door to bath and choose the longest runner the room takes — a short mat floating in the middle looks apologetic, while a full-length one looks like a decision. Low-pile, machine-washable weaves are the practical choice, with a slim non-slip underlay beneath.
14. Hang Art and a Plant Where Your Eyes Land First
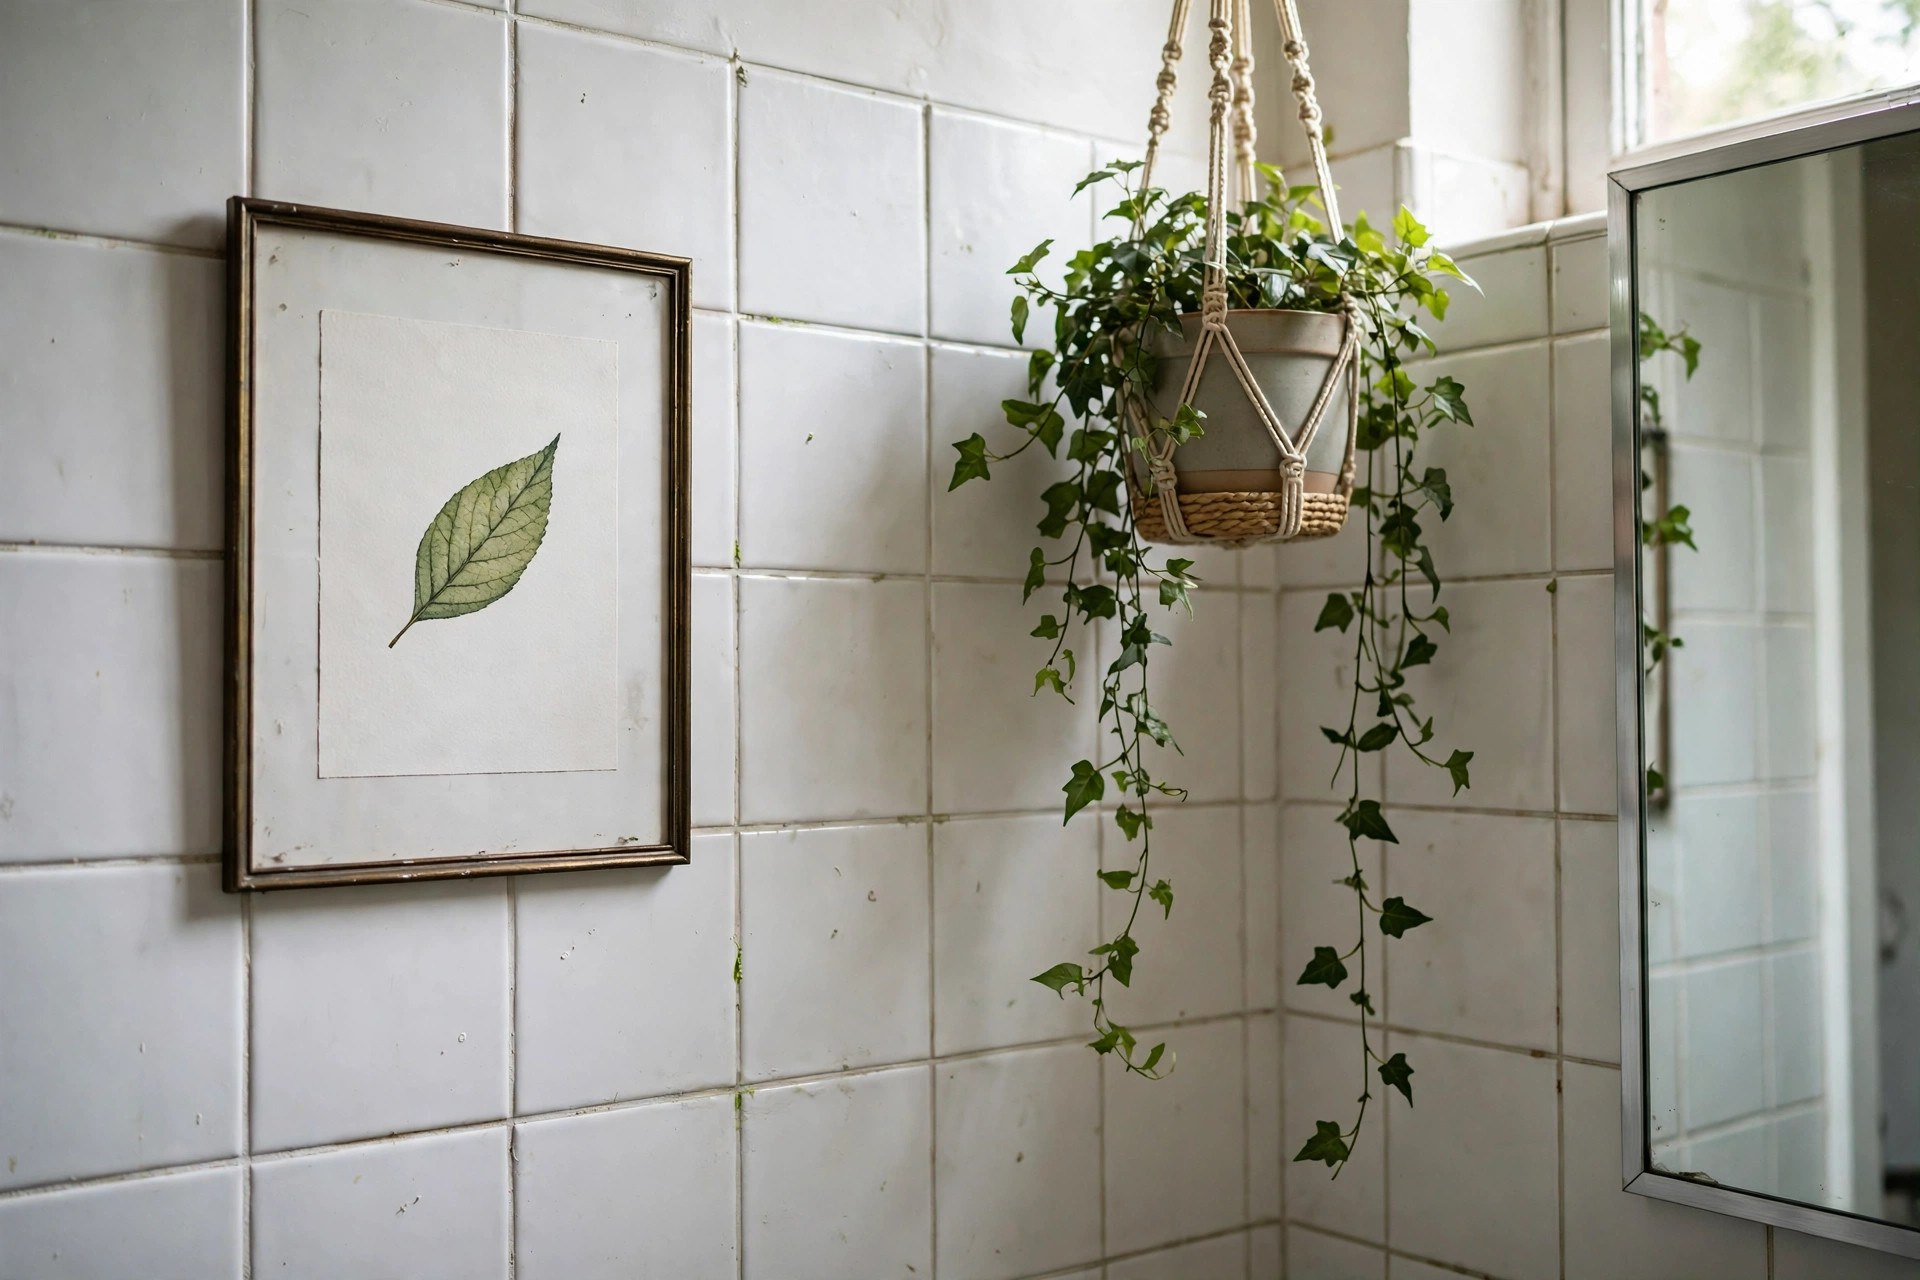
Stand in the doorway and note where your eyes land — that wall is valuable, and in most bathrooms it is holding nothing but a towel hook. One framed print at eye level, ideally something you already own from another room, gives the bathroom the finished feeling of a real room. Add a plant that tolerates humidity and lower light — a pothos trailing from the shelf or a fern by the window — and the room softens immediately. Keep frames simple and sealed against the steam, and let one good piece do the work of five small ones.
15. Paint the Bathroom Door and Swap Its Handle
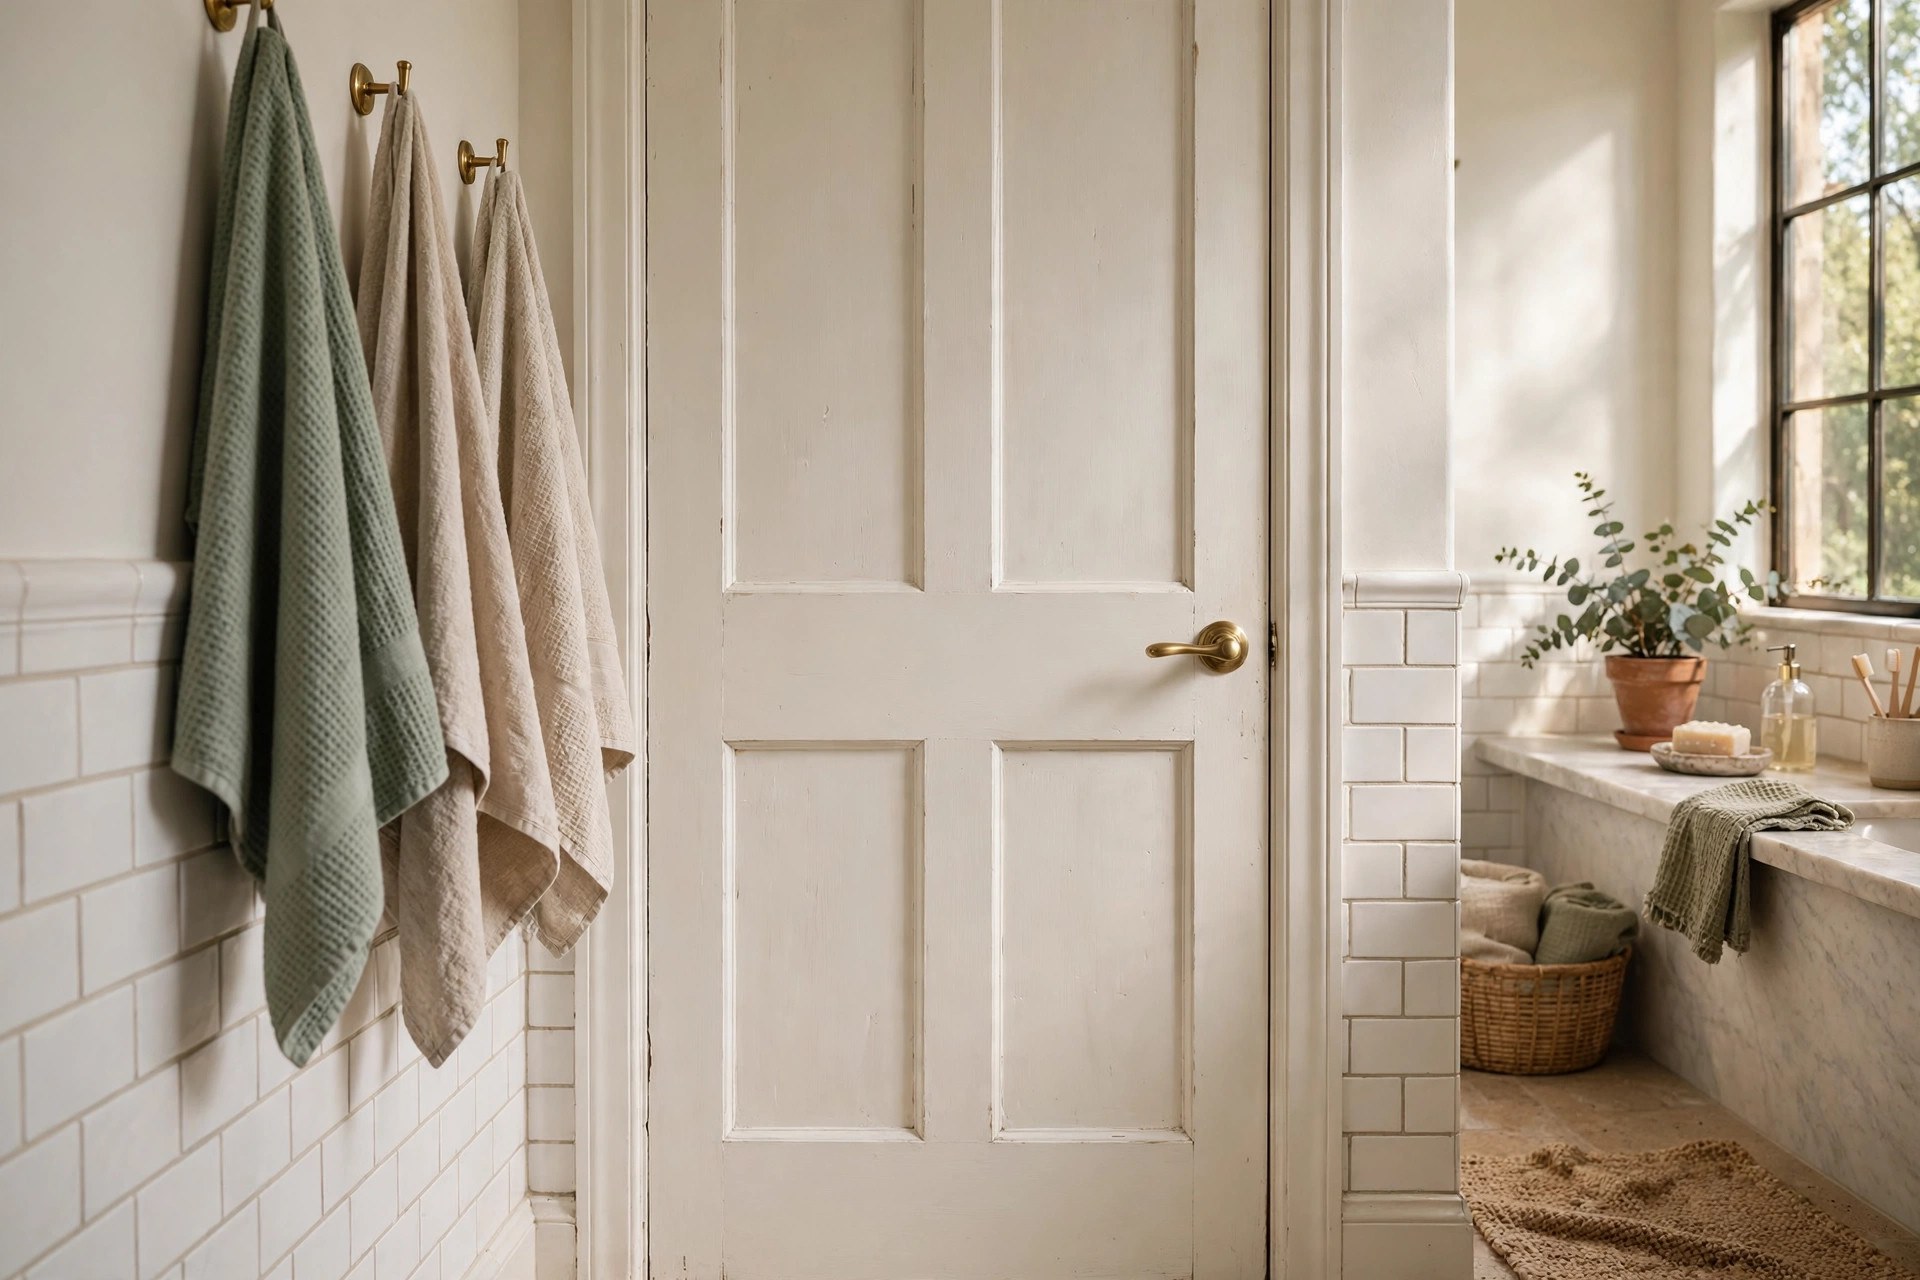
The inside face of the bathroom door fills your view every time you wash your hands, yet it is painted last and thought about never. A fresh coat in the same warm white as the trim — or, braver, the vanity colour — makes the whole room feel newly done. Complete the job with a new lever handle in your chosen hardware finish; their weight and finish register more than almost anything else in the room. Take the door off its hinges if you can, paint it flat to avoid drips, and let it harden properly before rehanging.
How to Spend a $200 Bathroom Micro-Makeover Budget, Step by Step
Start before you spend anything: deep-clean, refresh the grout, and do every free job — rearranging, decanting, clearing the counter. Then give paint the largest share of the budget, because it changes the biggest surfaces: vanity first, then walls, ceiling and trim. Paint comes before everything else for a practical reason — every later choice, from hardware finish to towel colour, is made against it.
Next comes the hardware-and-mirror phase, the second-largest share. Count every small metal piece and buy the full set in one finish in one go, then deal with the mirror — a swap if the old one is failing, a frame if it is sound. Only then should the remaining share go on textiles — towels, shower curtain and runner, chosen together so their colours agree. Hold a small reserve back; every project has one surprise fixing or extra tin in it.
Styling comes last and should cost the least: the tray, the shelf styling, the plant and the print, much of it shopped from your own cupboards. Work in this order and nothing is bought twice and nothing clashes. It is the same calm, one-story approach behind our modern organic bathroom makeover — the budget is smaller here, but the discipline is identical.
Common Mistakes to Avoid
1. Spreading the budget across ten tiny things. Ten small purchases change nothing noticeably; three or four committed changes transform the room. Concentrate the money where the eye goes — surfaces, the mirror, the textiles.
2. Mixing finishes by accident. Hardware bought piece by piece over months almost never matches, and near-matches look worse than honest contrasts. Count every piece first, choose one finish, and buy the set in a single order.
3. Skipping the preparation. Paint over soap scum lifts, grout pens over mould seal it in, and shelves on weak fixings come down. Cleaning, drying and priming are unglamorous, but they make a cheap makeover last like an expensive one.
Frequently Asked Questions
Can you really refresh a bathroom for under $200?
Yes, as long as the plumbing, tiles and fixtures stay where they are. The $200 frame works because it is spent only on the cosmetic layer — paint, hardware, the mirror and textiles — which is the layer your eye actually judges.
What should I change first in a tired bathroom?
Paint, starting with the vanity and then the walls. It covers the largest surfaces for the smallest share of the budget, and every later decision — hardware finish, towel colour, mirror frame — is easier once the backdrop is settled.
Does painting bathroom tile actually last?
On walls, yes, provided you use a proper tile paint system and prepare honestly: degreased, completely dry tiles and the maker’s primer. Be more cautious on floors and inside showers; painted wall tile in splash zones is the reliable win.
What can renters change without risking the deposit?
Almost everything soft: textiles, the runner, the shower curtain and rings, the tray and dispensers, art on existing hooks, and shade-and-bulb swaps. Check your lease before painting anything, keep every original hardware piece labelled to refit.
Final Thoughts
A micro-makeover works because a bathroom is small — a handful of surfaces, one mirror, one set of textiles — so the whole room is within reach of one weekend and a modest budget. Choose one colour story, keep every finish in the family, and let paint do the heavy lifting — the room that results will not look cheap or compromised. It will look finished.


