

How to Build a Bedroom Gallery Wall Without Measuring Twice: 15 Steps and Shortcuts
You do not need to measure ten times to hang a straight gallery wall. Most extra holes come from rushing, not from bad math. Paper templates, one clear anchor piece, and a simple order of work do the heavy lifting for you.
This guide shows how to build a bedroom gallery wall in 15 clear steps, from picking the wall to that last check from the doorway.
You will write your sizes down once, test the whole plan in paper, and hang real frames only when the layout already looks right.
Work in daylight if you can. Colors and shadows read better, and you will spot a crooked edge fast. Keep a pencil, painter’s tape, and a small notebook close by. No special tools are needed beyond the basics most homes already own.
A notebook page, a roll of paper, and a little patience will carry the whole project from start to finish, even in a small bedroom.
This post contains affiliate links. If you buy through them, we may earn a small commission at no extra cost to you. See our Affiliate Disclosure.
Step 1: Pick the wall and write down its full width and height once

Start with the plain fact most people skip: the true size of the wall. Measure the full width from corner to corner and the full height from floor to ceiling, then write both numbers at the top of one page and leave that page open.
That single note stops repeat trips with the tape later. Note window trim, sockets, and the bed headboard height on the same page. A wall above a bed has less free space than the full wall suggests.
Pick the wall you see from the bed or the door, not a narrow strip beside a wardrobe. Good light helps too, since dark corners hide small frames and wash out soft colors. Keep that page in sight the whole time.
Step 2: Settle on a frame and art color palette of about three colors

Three colors are enough to make mixed art feel like one group. Pick one frame color, one warm tone, and one soft tone, then hold every print against those three before it earns a place.
A common mix is black frames, warm wood, and cream mats. That limit saves time later because you stop second guessing each new piece. Lay a pillowcase or throw with similar tones under the art while you choose.
If a print clashes on the bed, it will clash on the wall. Write the three colors under your wall sizes. For more group ideas, browse these bedroom gallery wall ideas and note which palettes feel calm to you.
Write the list down and stick to it while you choose.
Step 3: Gather more pieces than the wall needs, then edit down on the bed
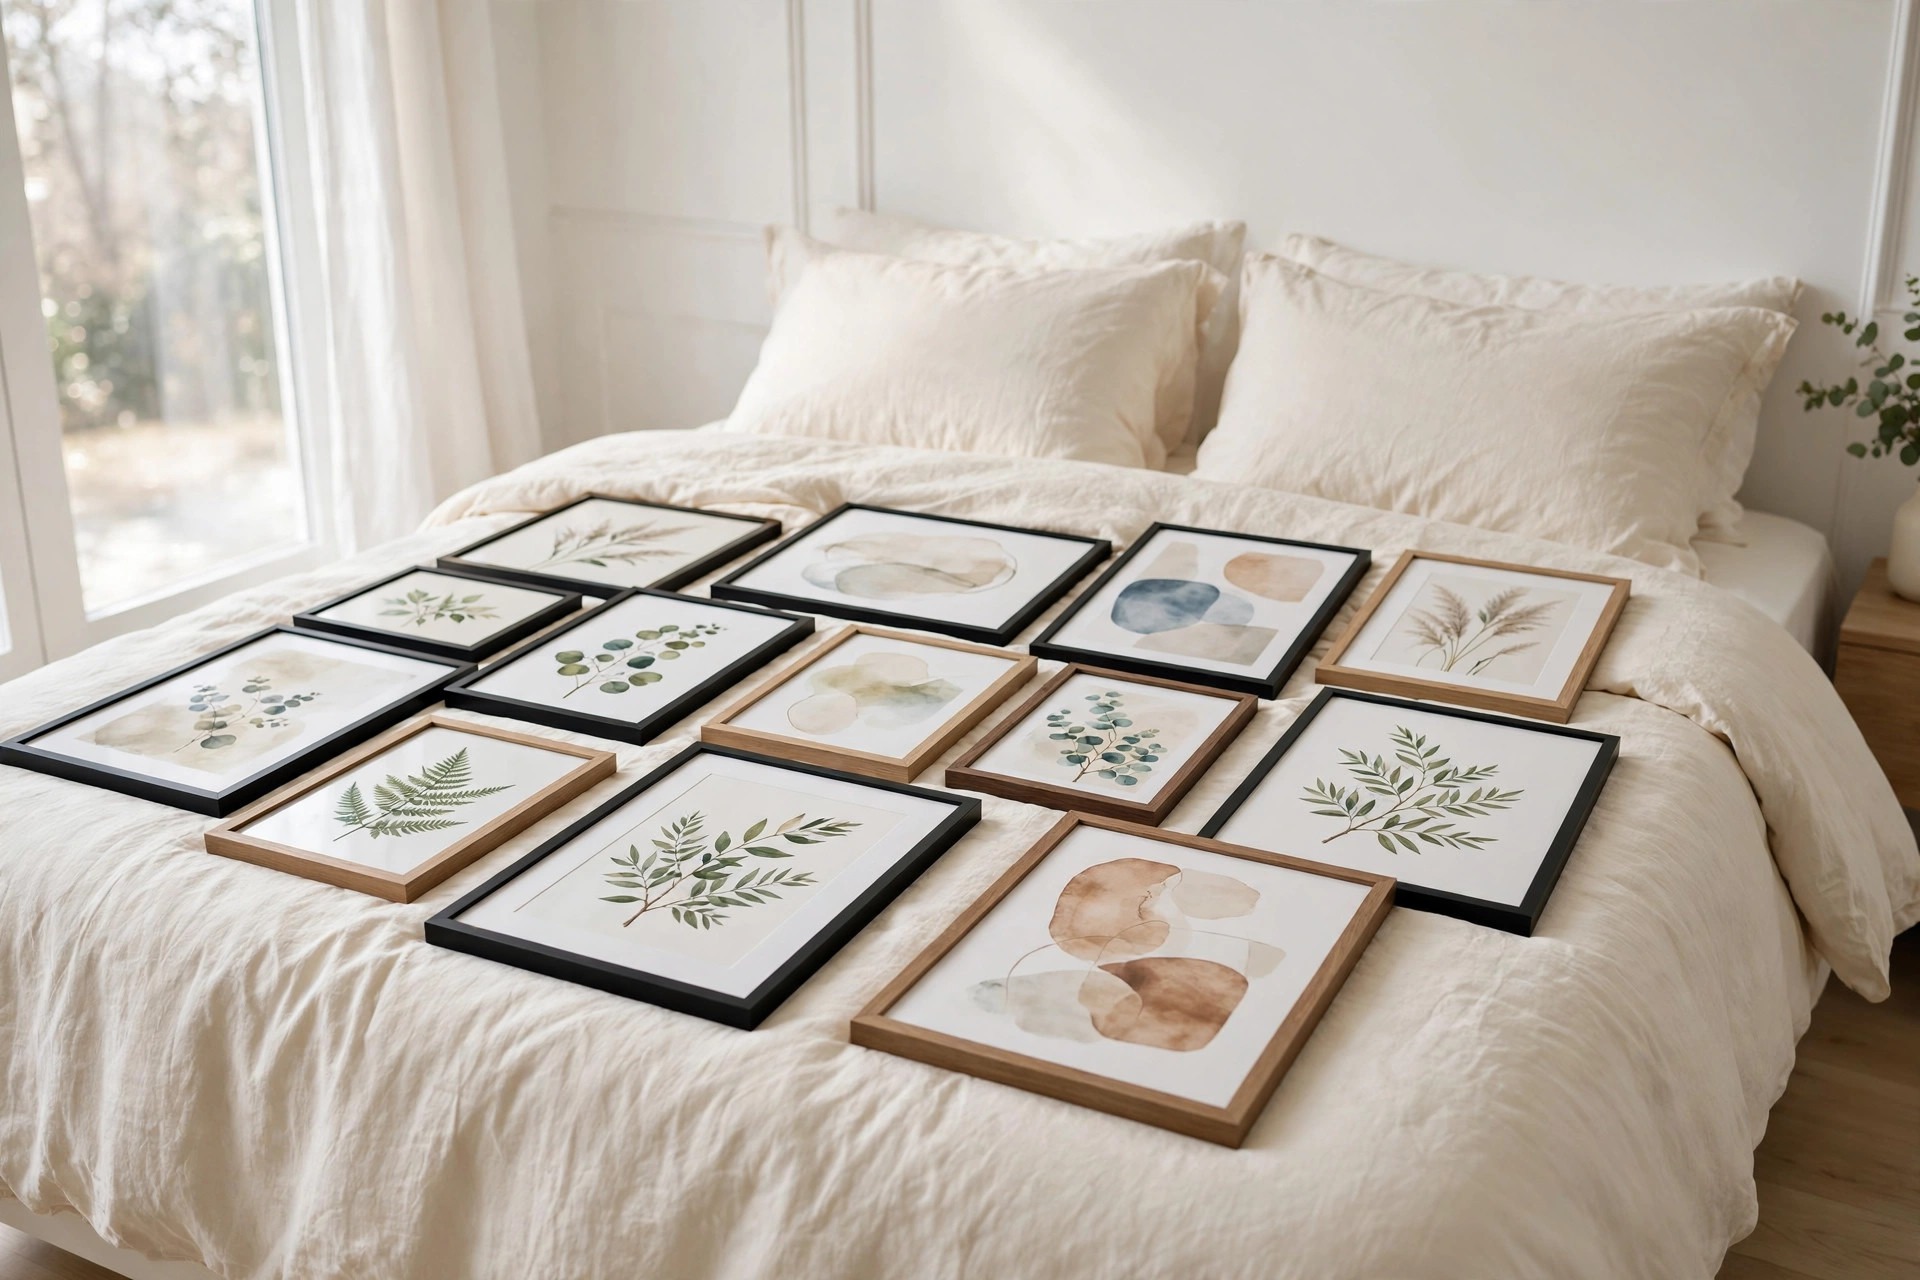
Pull out more art than you plan to hang. Extra choice is not waste here, it is how you avoid forcing a weak piece into a gap.
Spread everything on the made bed, where you can see sizes and colors side by side in soft light. Remove the prints that feel too dark, too small, or too busy first. Then remove one more.
That last cut is often the one that gives the group room to breathe. Keep the spare pieces in a flat stack nearby. You may swap one in during the floor layout stage.
A sticky note on each back with its width and height saves you from measuring the same frame twice. Lay spare pieces aside, not back in a cupboard.
Step 4: Build the whole layout on the floor before anything touches the wall

The floor is your free test wall. Clear a space about the same size as the wall area you plan to fill, and mark its edges with tape on the floorboards or carpet.
Lay the frames inside that shape, largest pieces first, then fill around them. Stand on a chair or step back to the far wall to judge the group as a whole. Swap pieces at this stage as much as you like.
Nothing costs you a hole here. Take a clear phone photo once the layout feels balanced. That photo becomes your map for the paper stage. If the group looks crowded on the floor, it will feel even tighter up on the wall.
Move the tape edges if the group wants more room.
Step 5: Trace every frame on kraft paper and cut out paper templates

Brown kraft paper does the risky work so your wall does not have to. Roll it out on the floor, place one frame on top, trace around it with a pencil, and cut just inside the line. Repeat for every frame, one sheet per piece.
Write the art name on each cutout in plain pencil, like oak leaf print or round mirror, so you never mix up two sheets of the same size. Mark the hook spot on the paper too.
Flip the frame over, find where the wire or hook sits, and copy that point onto the template. A roll of paper costs very little and turns guessing into a clear, flat plan. Stack the finished templates flat so their edges stay true.
Step 6: Tape the paper templates to the wall with painter’s tape

Now move the floor plan onto the real wall in paper form. Tape each template in place with small tabs of painter’s tape at the top corners, following your floor photo. Start with the outer shape, then fill the middle.
Use a long strip of tape across the top edge if a sheet curls. Step back often while you work. Paper is light, so you can lift and shift a piece in seconds with no marks left behind.
Keep the bottom row clear of the headboard or dresser top by a hand’s width at least. If you are still unsure about heights, read this guide on how to hang bedroom wall art at the right height before you mark any holes.
Step 7: Choose the largest piece as the anchor and center it first

Every strong gallery wall has one piece that holds the rest together. Pick your largest or boldest print and treat it as the anchor.
Center that template first, over the bed or at the middle of your marked area, and get its height right before anything else moves. Other pieces will line up against its edges, so a small error here spreads across the whole group.
A shortcut: fold a strip of tape to the wall at the anchor’s center line and keep it there as your guide.
Groups built around a clear anchor, much like a 3 piece wall art set for a bedroom, tend to look planned rather than patched together. Mark its center point lightly in pencil on the template.
Step 8: Mark each hook point through the paper, then hang the anchor piece
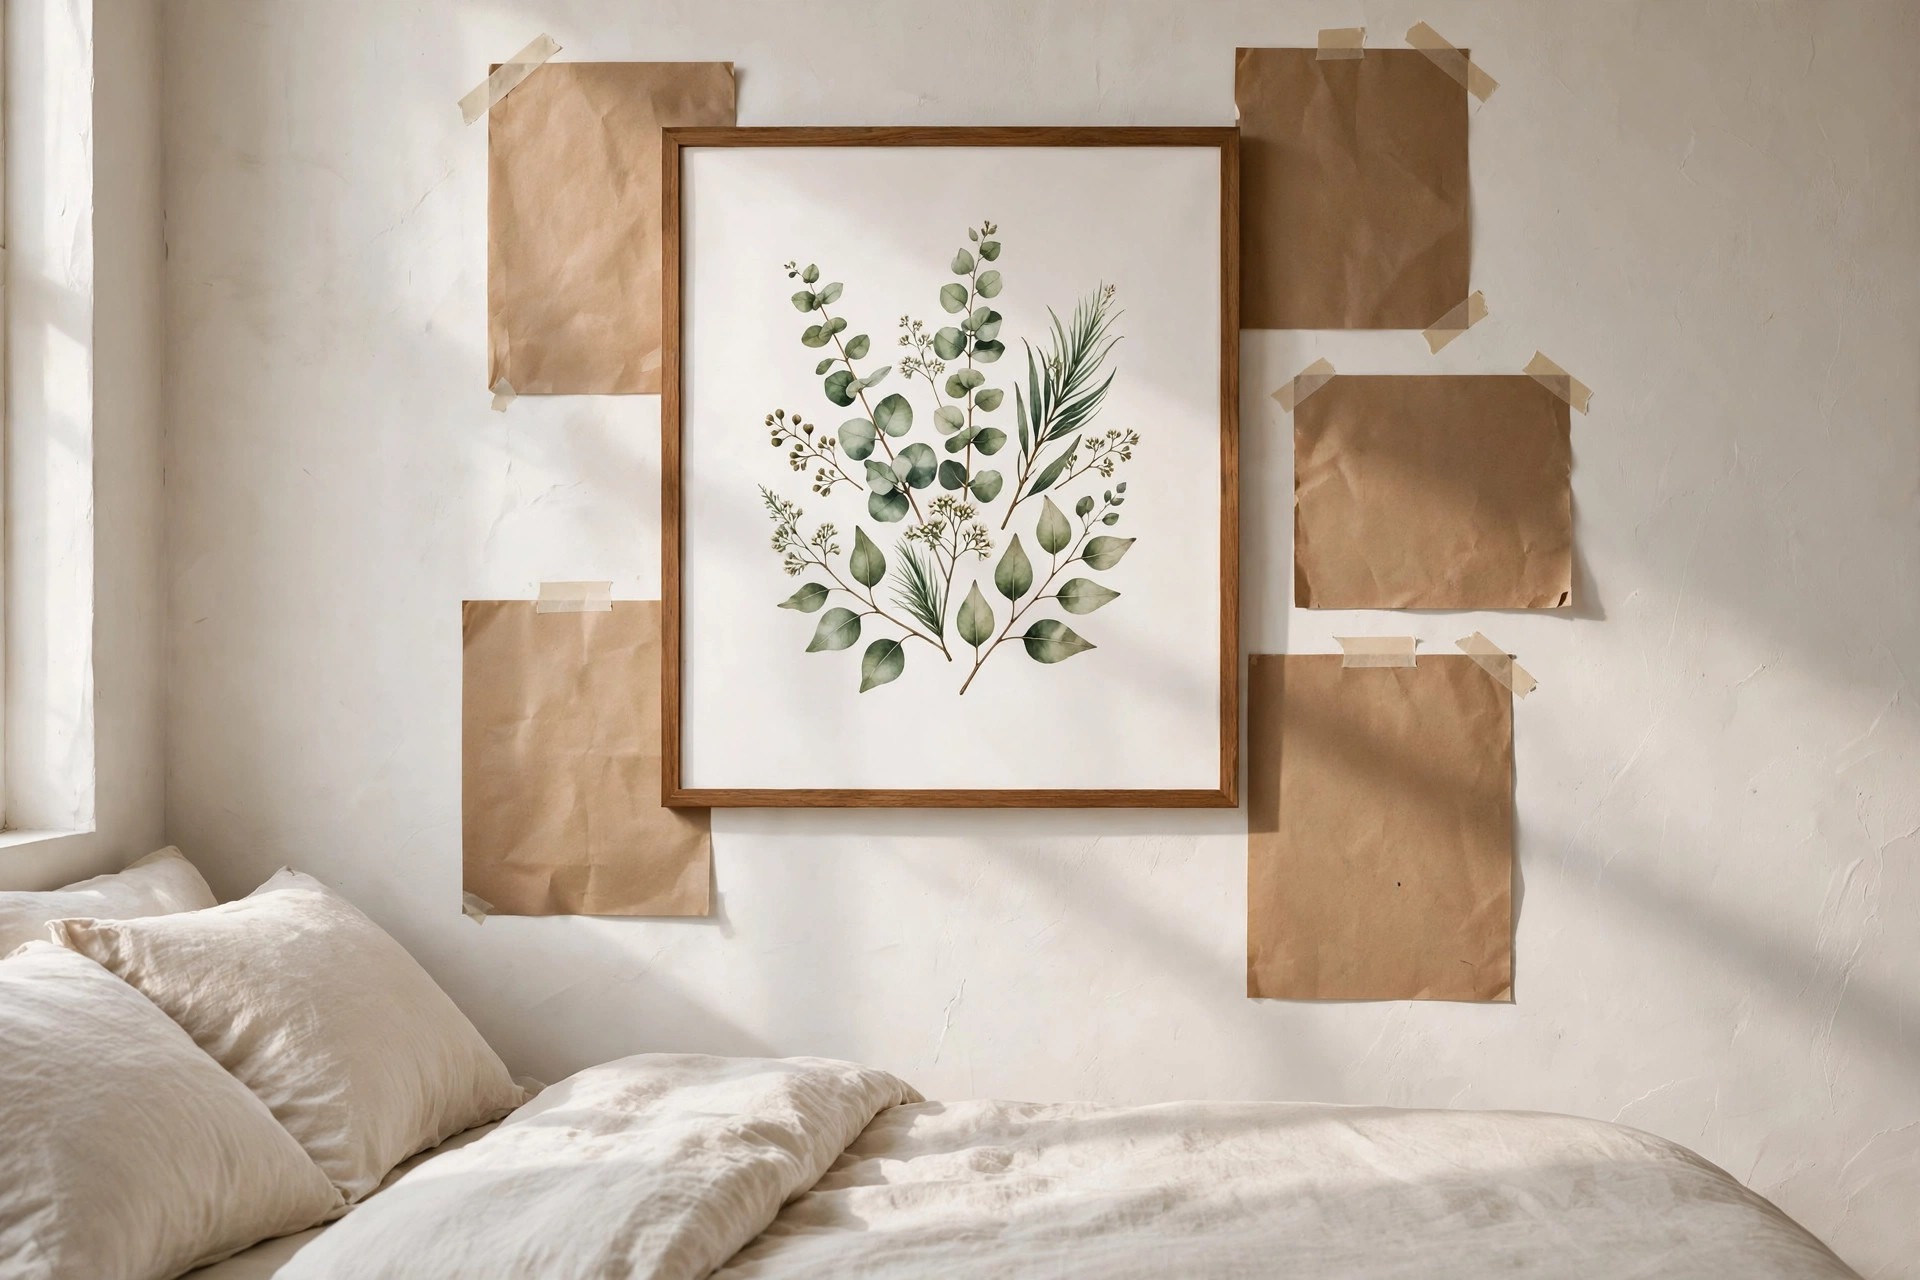
Here is where the paper earns its keep. Find the hook mark you made on the anchor template and push a pencil point or a nail tip through the paper to dot the wall beneath.
That dot is your drill or nail spot, with no tape measure needed at this stage at all. Remove only the anchor sheet, place your hook at the dot, and hang the real frame. Check that it sits at the height you wanted.
If it hangs a little low because of a long wire, note that gap on your page. You can allow for the same wire drop on the wire hung pieces that follow and keep tops level.
Keep the other templates taped up while this one frame goes on.
Step 9: Work outward from the anchor, one real frame at a time
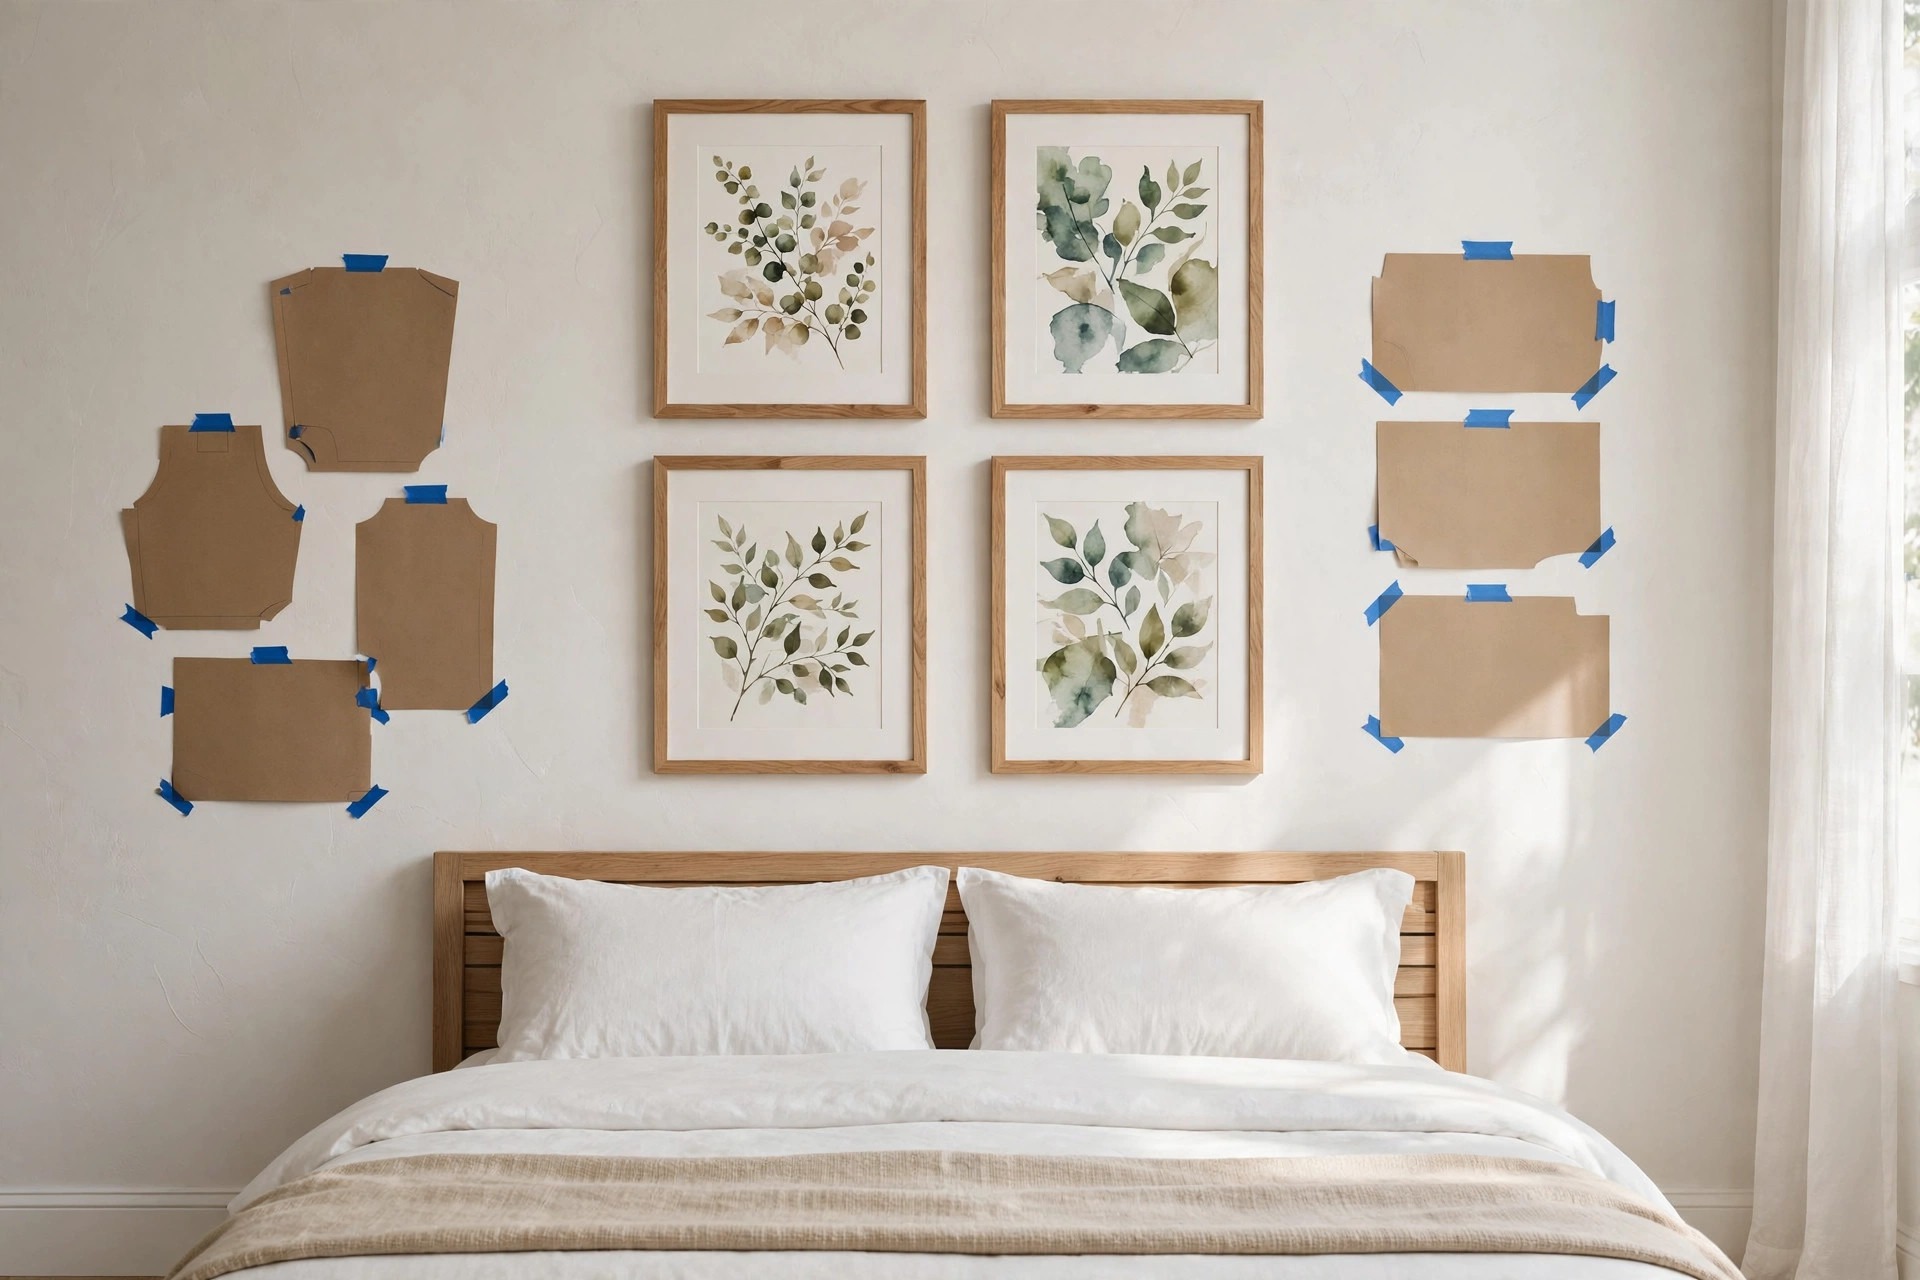
Resist the urge to mark every hole at once. Hang one frame beside the anchor, check it, then move to the next template. Working outward keeps each new piece true to a real frame, not just to paper that may have shifted a little.
Swap the paper sheet for the real frame each time, and keep the removed sheets in order on the bed. If a frame is a bit larger than its template, steal a small amount of space from the next gap rather than moving the anchor.
This slow order feels patient, but it is fast in the end. You fix small shifts as they happen instead of redoing a full row. Pause after each frame and compare it with your floor photo.
Step 10: Keep every gap at 2 to 3 inches using a simple spacer you already own

A steady gap makes a mixed group look tidy. Aim for 2 to 3 inches between frames, and use one object as your spacer every time.
The short edge of a paperback book, a phone case, or a strip of thick card cut to size all work well. Hold the spacer between the hung frame and the next template before you mark its hook.
That habit removes the need to measure each gap from scratch.
Uneven gaps are one of the most common wall art size mistakes that make a bedroom look off, and they are easy to spot once one gap is twice as wide as the rest.
Use the same spacer turned the same way for both side and top gaps.
Step 11: Check level after each frame with a small level or phone app

A frame can hang from the right hook and still tilt. Place a small level across the top of each frame right after you hang it, or open the level tool on your phone and lay the phone on the frame edge.
Nudge one corner up or down while the hook stays put. Fixing a tilt now takes seconds. Fixing it after five more frames hang beside it takes much longer and risks new marks.
Wipe the frame top with a dry cloth as you go, since dust shows up fast in side light. Keep the level in your pocket between frames so you actually use it every time.
A tiny tilt at one corner often shows the hook needs a small shift sideways.
Step 12: Step back to the doorway after every three frames to judge the whole group

Close up, every frame can look fine while the whole group drifts. After every three frames, walk to the doorway and look at the wall the way you will see it each morning. Check the outer shape first.
Is the top edge calm, and does the group sit centered over the bed? Then check balance. A dark print on one side may need a dark frame on the other side to steady it.
Paired prints, like a bedroom wall art set of 2 prints, can balance a single large piece this way. Take another phone photo at each stop. Small drift is easy to fix at frame three and hard at frame twelve.
Look once more from the bed before you hang the next three.
Step 13: Add one non-frame piece, like a woven hanging or small mirror, for texture

One soft or round piece breaks up a grid of straight edges. A small woven hanging, a round mirror, or a shallow basket adds texture and gives the eye a place to rest.
Keep it to one piece, or two at most, so the group still reads as art first. Hang this piece using the same paper template method as the frames. Trace its shape, tape it up, and mark the hook through the paper.
Place it off center for a natural feel, near the anchor but not right beside it. In a calm bedroom, a woven piece in cream or soft tan picks up bedding tones and softens hard frame lines without adding new colors.
Keep its colors inside your three color palette so it still belongs.
Step 14: Live with the taped layout overnight before drilling any extra holes

If some templates are still on the wall, leave them there overnight. Morning light and evening lamp light show the same layout in two very different ways.
A print that looked soft at noon may look harsh under a warm lamp, and a gap that felt fine may look wide from the bed. Sleep on it, then look again with fresh eyes while the kettle boils or the bed gets made.
Move any sheet that still bothers you and live with the change for an hour. This pause costs nothing, and it is the step that saves the most spare holes.
Only drill extra holes for heavy pieces once the paper plan has passed a full day and night. Trust the morning check over a late night hunch.
Step 15: Finish with removable putty dots behind bottom corners so frames stay straight
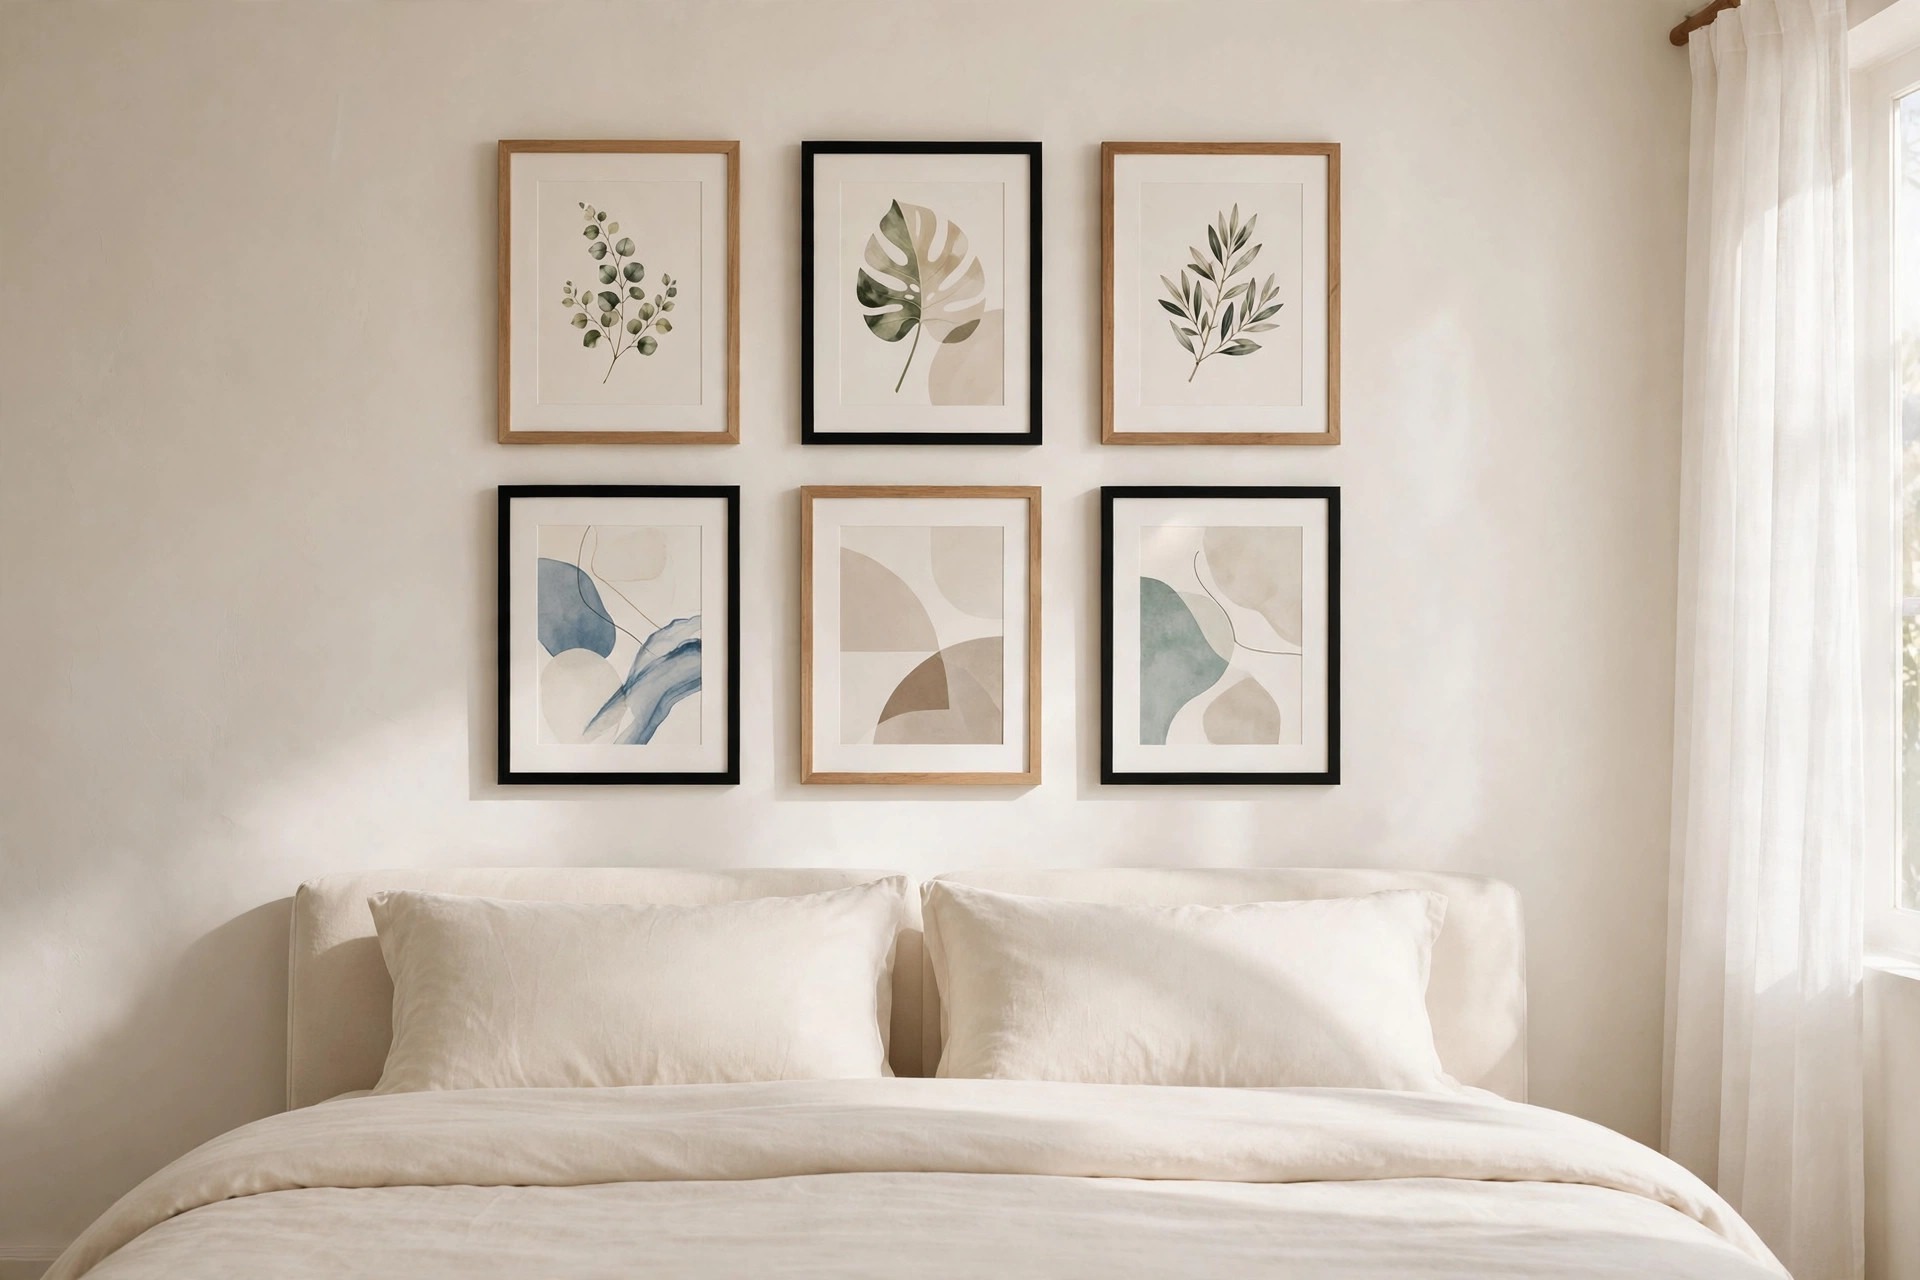
The last job is small and worth it. Roll a tiny ball of removable putty, press it flat behind each bottom corner of every frame, and push the frame gently against the wall.
The putty holds the corner in place when a door closes hard or the bed gets bumped during sheet changes. It also stops the slow daily tilt that makes a neat wall look tired within a week.
Use putty rated for painted walls and keep the dots small, about pea size. Check each frame from the doorway one final time. Straight, even, and steady is the goal, and now the wall should hold that look for months.
That is the whole job: one set of notes, a floor plan, paper templates, and a steady order of work. You measured once, tested the layout in paper, and hung each frame against a real neighbor.
If you plan to learn how to build a bedroom gallery wall for another room next, keep your notes and spacer in a drawer. They will make the second wall even faster.
Save this post to your bedroom board for later, so the steps are close at hand when you start.


