

15 Thanksgiving Dessert Table Ideas for a Kitchen Island Buffet
The kitchen island spends all afternoon as a work bench, covered in peelings, bowls, and a resting turkey. By dessert time it is cleared, wiped, and standing empty in the best-lit spot in the house. That reset is the whole opportunity.
That empty island is the strongest dessert surface most homes own. It is counter height, it can be walked around, and guests already know the way to it. It also keeps dessert out of the dining room, where the table is still full of dinner.
These thanksgiving dessert table ideas for a kitchen island buffet use the island as a true buffet, with a start, a middle, and an end that guests can read at a glance. No one has to ask where the plates are.
The ideas below cover the loop, the zones, the cold desserts, and the quick reset after. Set the empty pieces before dinner, and dessert lands in minutes. Everything here works on the island you already own.
This post contains affiliate links. If you buy through them, we may earn a small commission at no extra cost to you. See our Affiliate Disclosure.
1. Move the Stools Out and Open a One-Way Loop
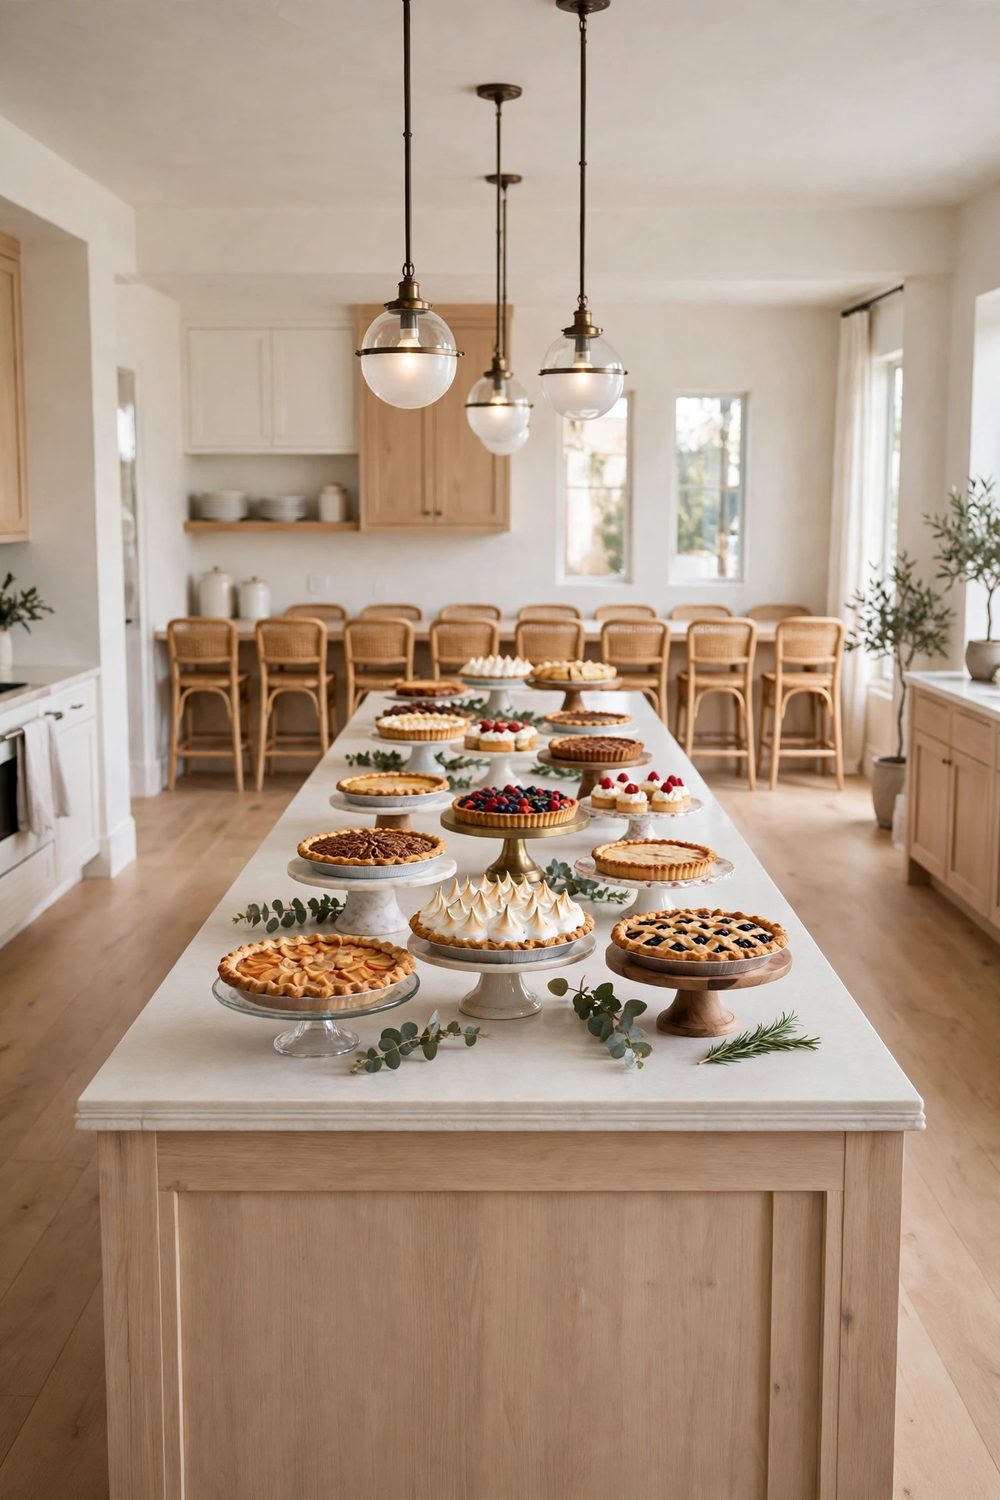
An island buffet fails at the stools. Guests park on them, the line bends around knees, and serving turns into a reach across someone who is sitting down to eat.
Move every stool to the far wall or the living room before dessert. The island becomes a loop that guests walk in one direction, plate in hand, with no one in the way.
Start the loop at the corner nearest the dining room and end it at the corner nearest the seats. A short, clear loop keeps the kitchen calm while the cook still works.
Put one stool back after the line fades, for the guest who wants to sit near the coffee. The loop matters most in the first busy twenty minutes.
2. Split the Island Into Three Clear Zones
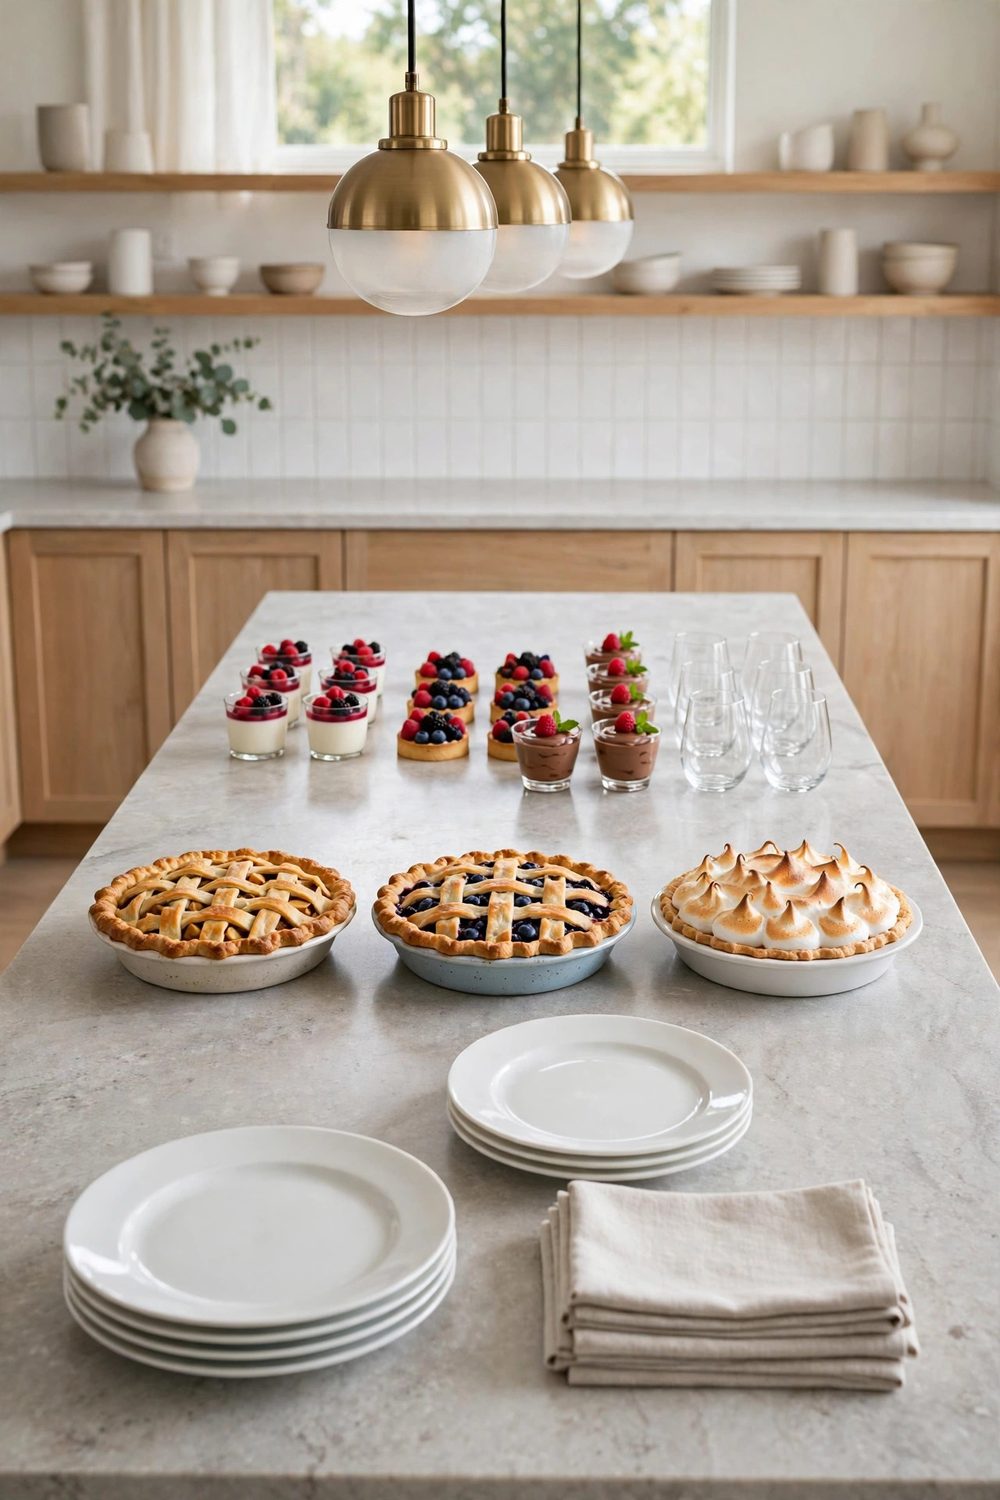
Give the island three jobs and mark them by placement. Pies and cakes hold the first third, mini desserts and cookies the middle, and coffee with cups the far third.
Guests read zones faster than they read labels. A person who wants coffee walks straight to the far end, and a person who wants pie never has to cross the line.
Leave a hand of empty counter between each zone. The gaps are where plates rest while hands pour, slice, or reach, and they stop the zones from blurring together.
Keep the zones in the same order as the meal line earlier. Habits formed at dinner carry into dessert, and the room moves without fresh directions.
3. Run Tiered Stands Along the Center Spine
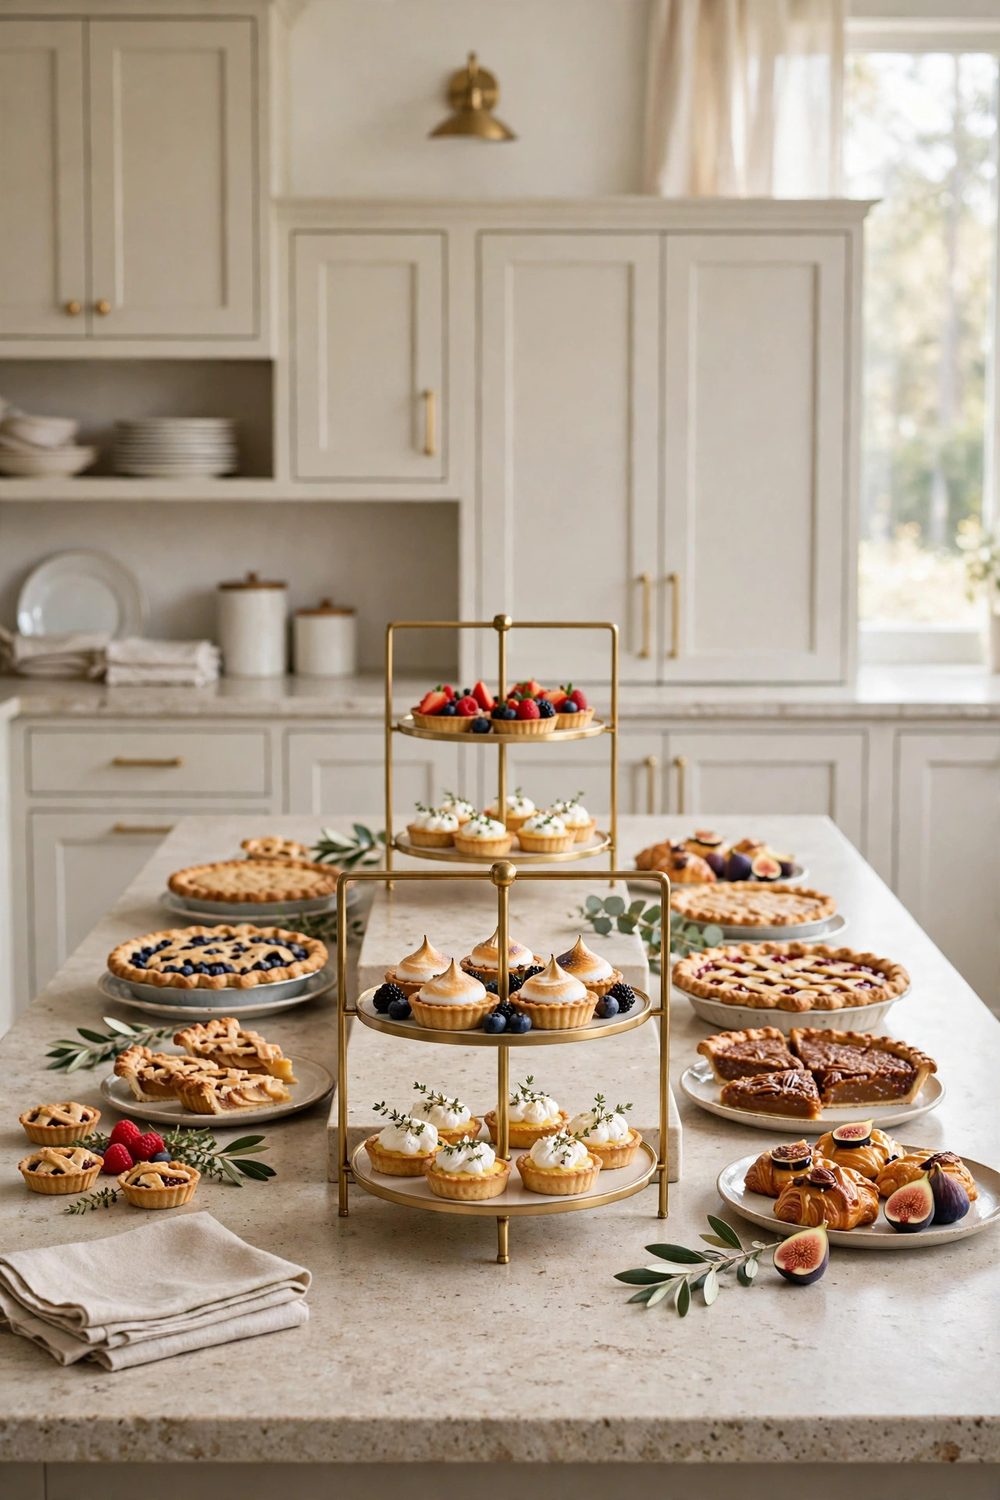
The middle of an island is dead space for hands, which makes it the right home for height. Line two or three tiered stands down the center spine, back to back.
Guests serve from both sides of the island, and a center spine can be reached from either side. Fill both faces of each stand so no side of the island feels like the back.
Put minis and cookies on the stands, whole pies on the counter. Heavy dishes belong on the stone, light ones can climb, and the stands stay steady under small weights.
Keep the tallest stand below the pendant lights. A stand that crowds the lights looks squeezed, and its top tier sits in shadow instead of glow.
4. Stack Plates at the Entry Corner Only
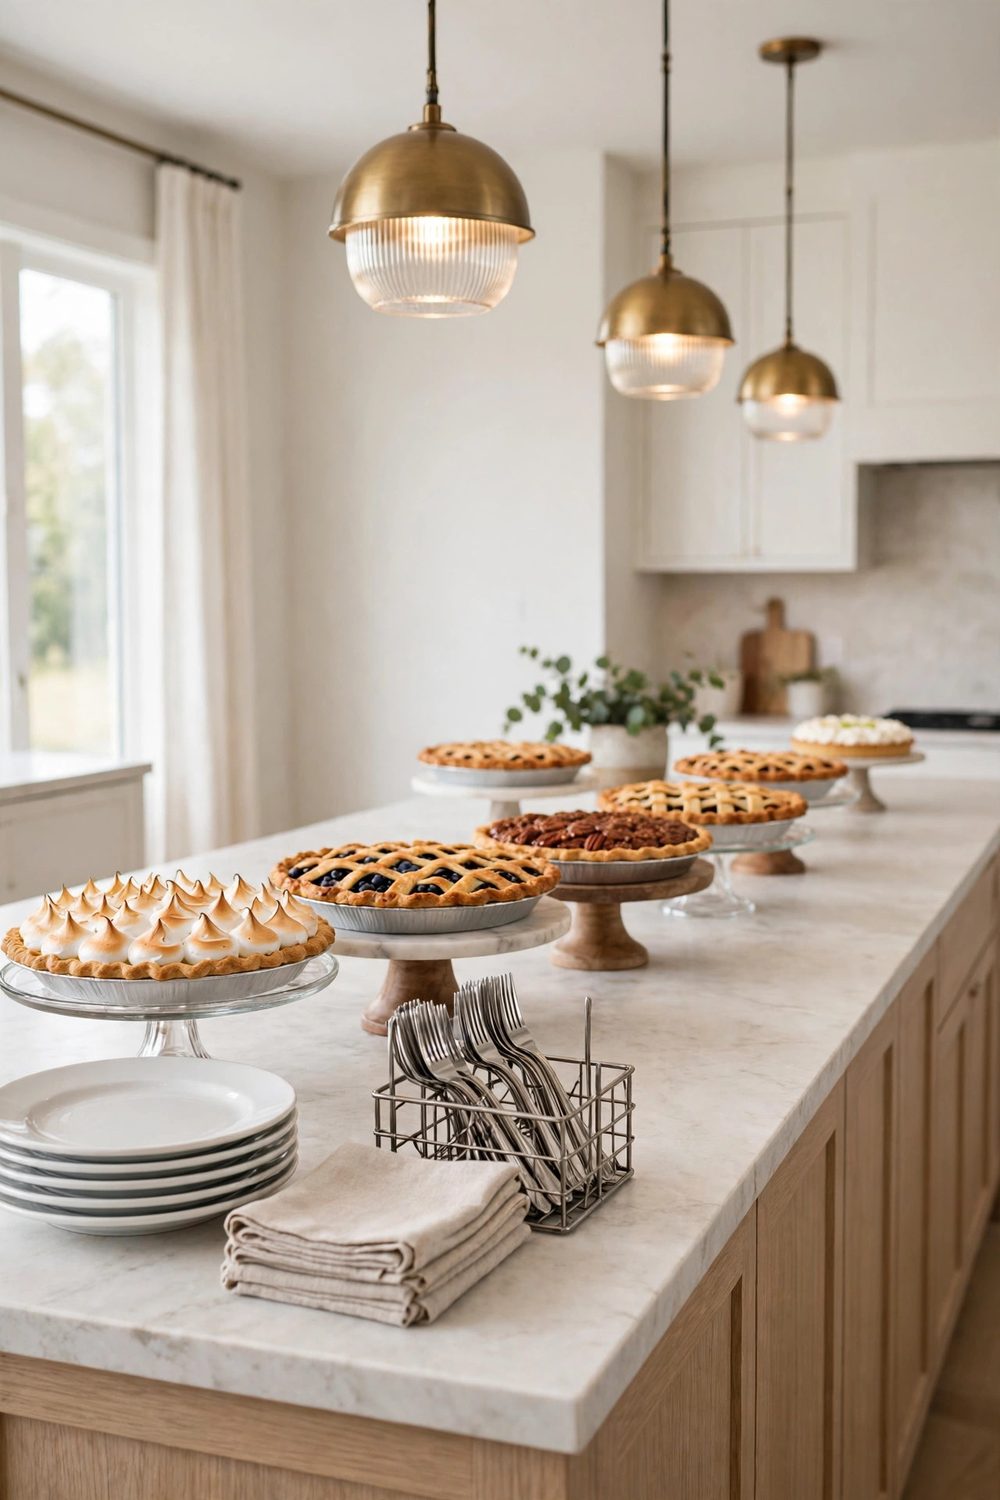
One stack of dessert plates, at the entry corner, starts the whole line. Two stacks start two lines, and two lines on one island meet head-on at the pies.
Set forks in a jar beside the plates and napkins under a small weight. Wind from a busy kitchen door lifts loose napkins, and a stray napkin in a pie helps no one.
Make the entry corner obvious with the tallest stack on the counter. Guests follow the plates the way they follow a sign, without being told where to begin.
Restock the stack from the kitchen side as it drops. The host never enters the guest loop, and the line never pauses for clean plates.
5. Keep the Decor Spine Low Under the Pendants
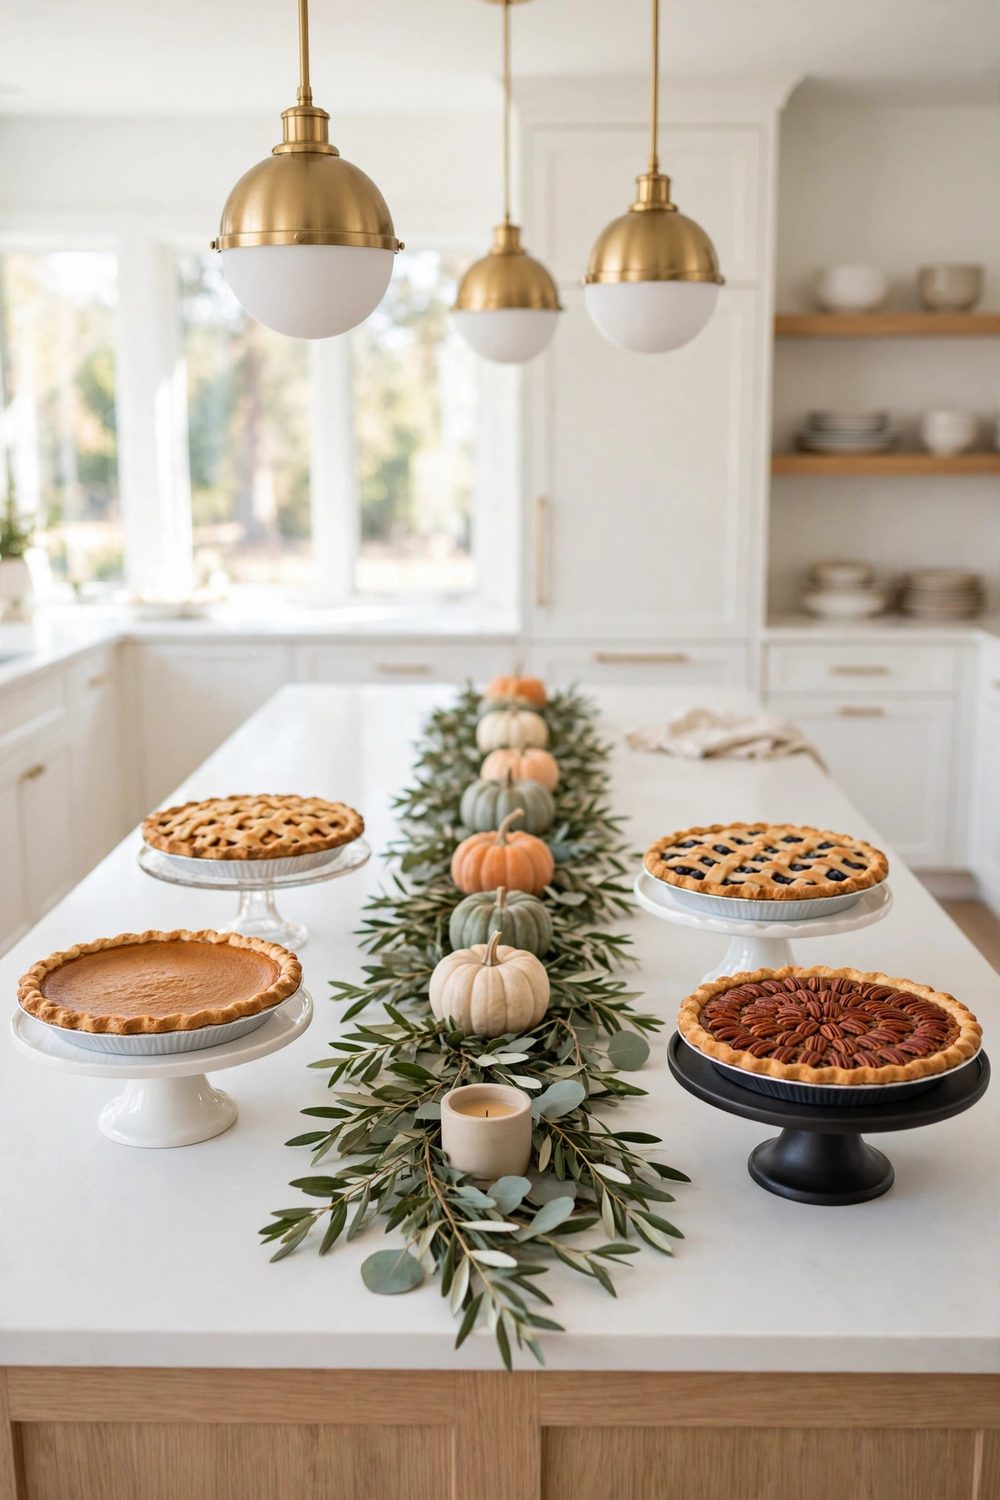
Island pendants already give the surface its light and its look. The decor between the stands can stay low: a flat run of leaves, small pumpkins, and short candles in glass.
Lay the greenery in a loose line along the spine, tucked between stands so it fills gaps without touching food. Green against stone reads rich at almost no height.
Skip anything tall or wide here. Guests reach across the spine from both sides, and a tall piece in the middle gets leaned over, dripped on, and finally moved.
The low spine also keeps sightlines open across the kitchen. The cook can see the dining table, and guests can see the cook, which is half the warmth of an island.
6. Lift Pies on Wooden Boards, Not Tall Stands
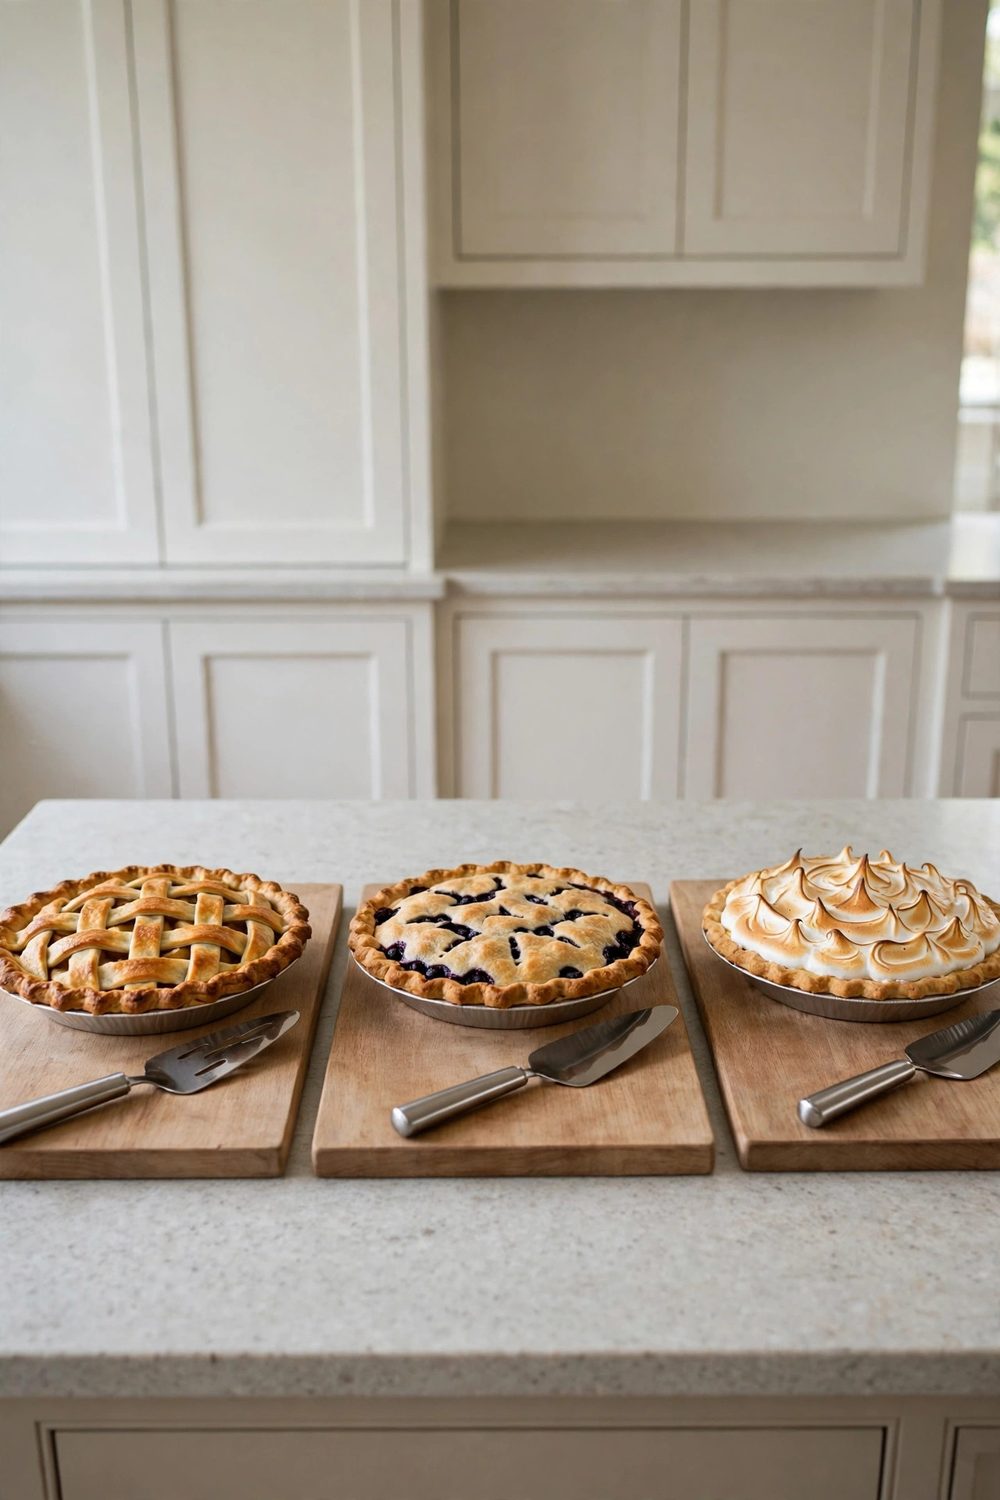
Thick wooden boards lift a pie just enough to set it apart from the counter, about the height of two fingers. That small rise reads as care and keeps slicing steady.
A board does not rock the way a stemmed stand can when a knife presses down. On a hard stone counter, steady matters more than tall.
Use boards in mixed warm wood tones and let the pies sit slightly off center on each. The loose placement keeps the island from looking like a shop counter.
Slide a folded cloth under one corner of each board if it shifts. Stone and wood can skate against each other, and a still board makes for clean slices.
7. Set the Cold Desserts Near the Sink Side
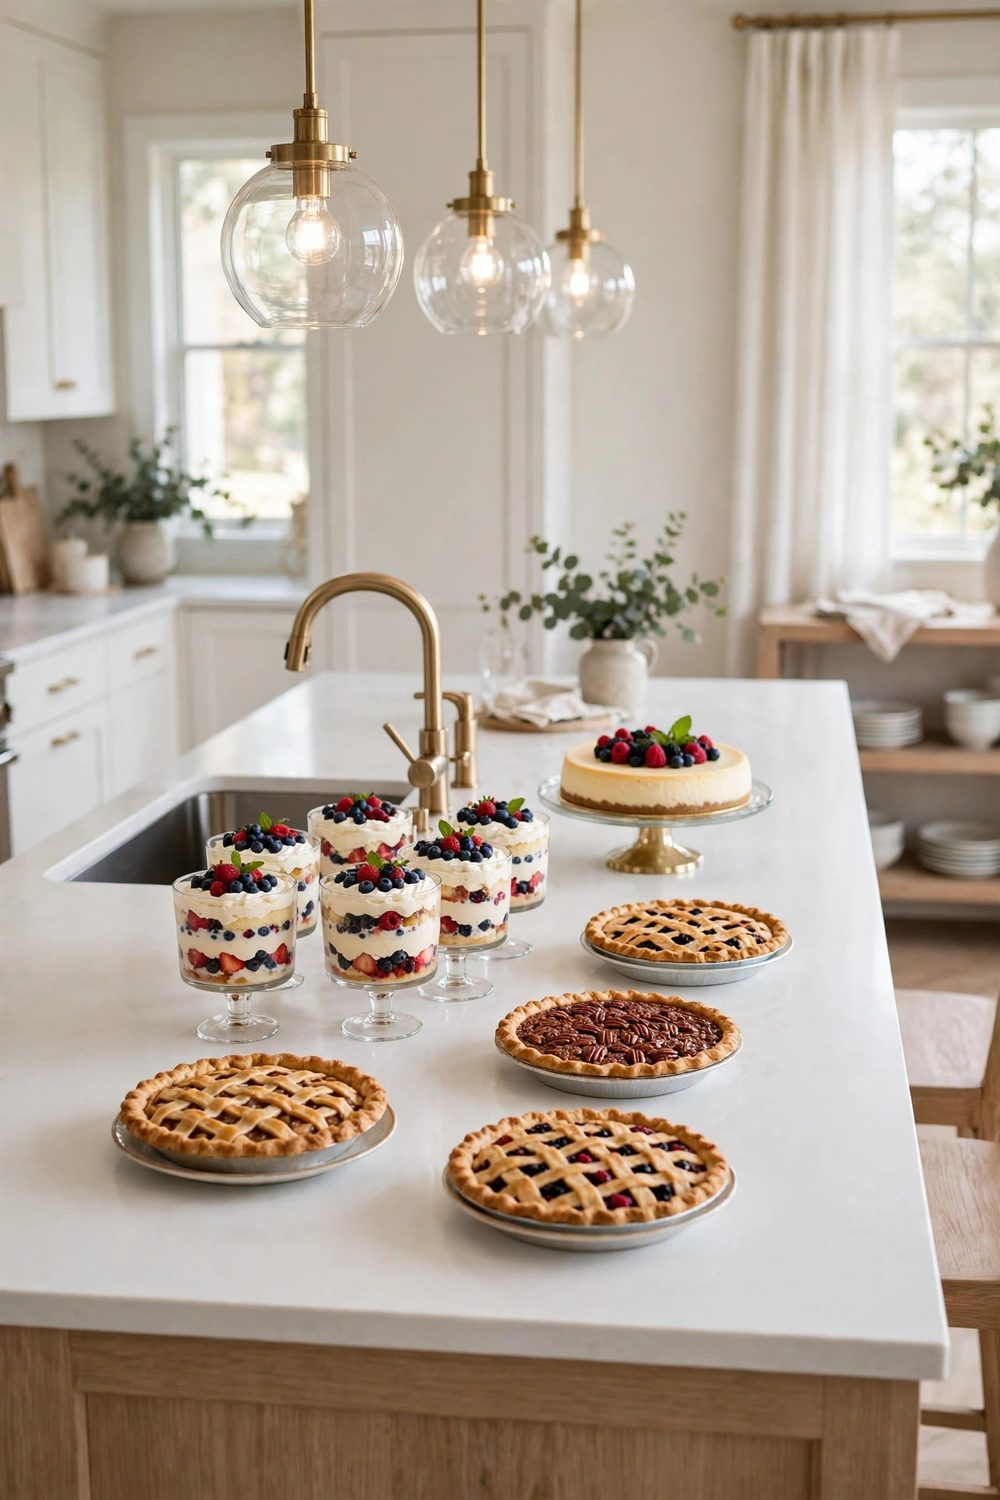
Whipped cream, custard pies, and jar desserts come out of the fridge last. Place them on the sink side of the island, the short walk from the fridge, so the trip is quick.
Nest the whipped cream bowl inside a wider bowl of ice. The cream holds its shape through the dessert hour, and the ice bowl looks like part of the styling.
Keep a clean spoon with each cold dessert from the start. Cold dishes collect condensation, and a guest hunting for a dry spoon slows the whole corner down.
This cold-end logic pairs with the prep flow in the Thanksgiving kitchen ideas for cozy hosting prep, where the fridge side does the last-minute work.
8. Lay Small Label Cards Along the Front Edge
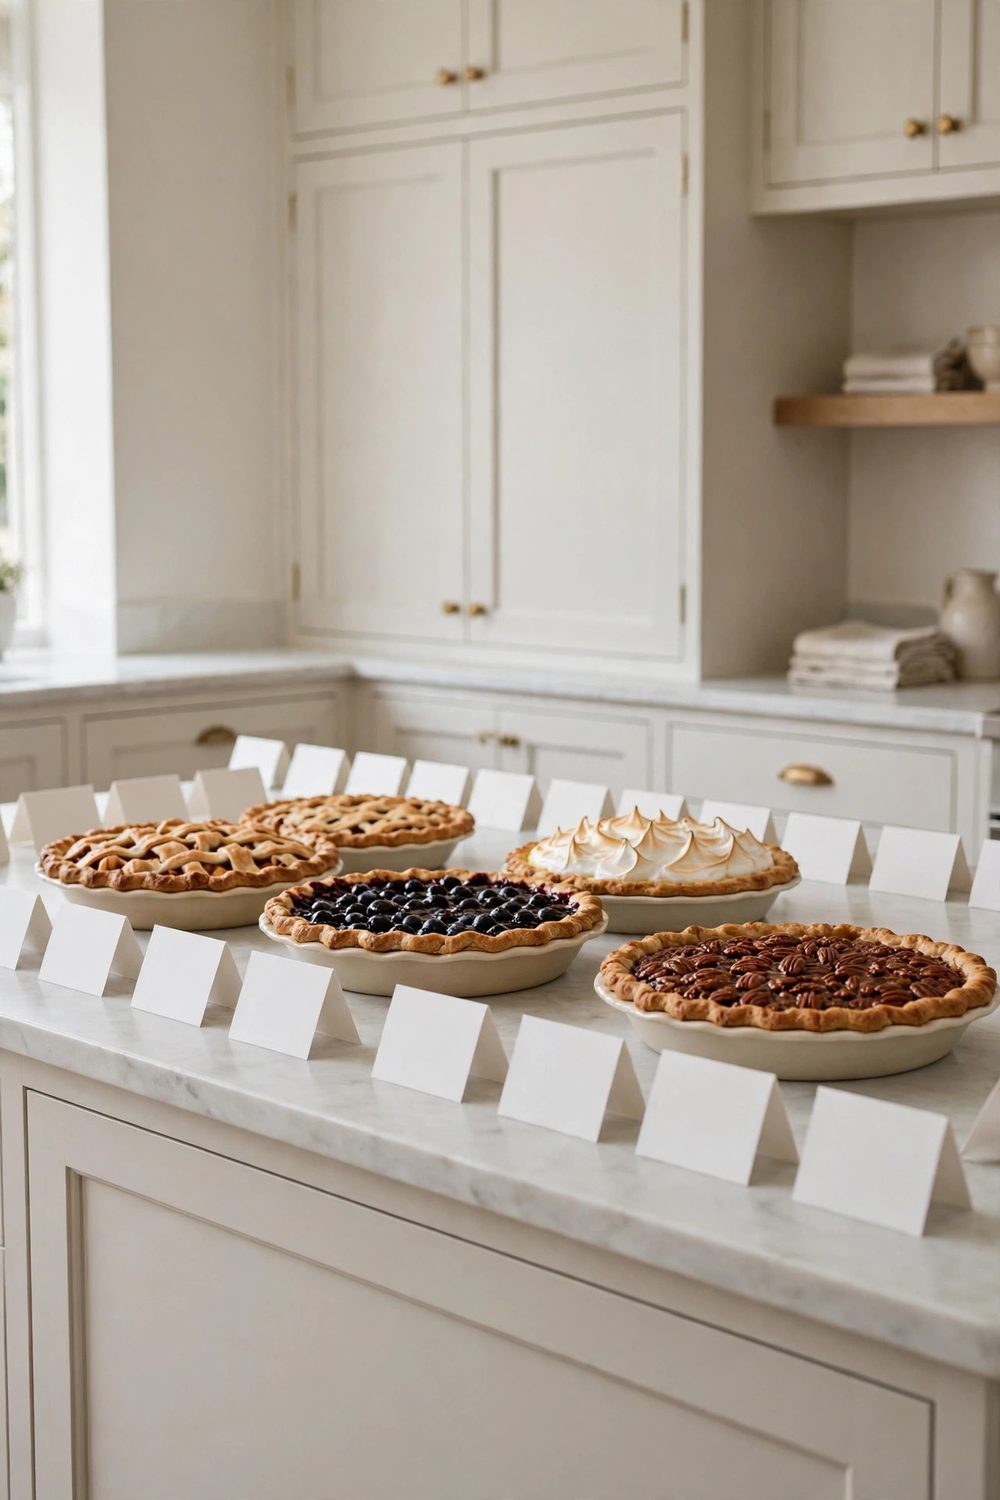
On an island, guests read from the edge they stand at. Small cards laid flat along both long edges, one set per side, name every dessert for the person facing it.
Duplicate the cards rather than making guests walk around to read. Two short sets of cards cost minutes and save a dozen trips around the island.
Write the dessert name and one line on key ingredients. Keep the print large, since cards on a wide island sit farther from the eye than cards on a table.
Weight each card with a small pumpkin or a spoon rest if the kitchen door swings nearby. A card that slides under a pie dish labels nothing.
9. Store Spares on the Island Shelves Below
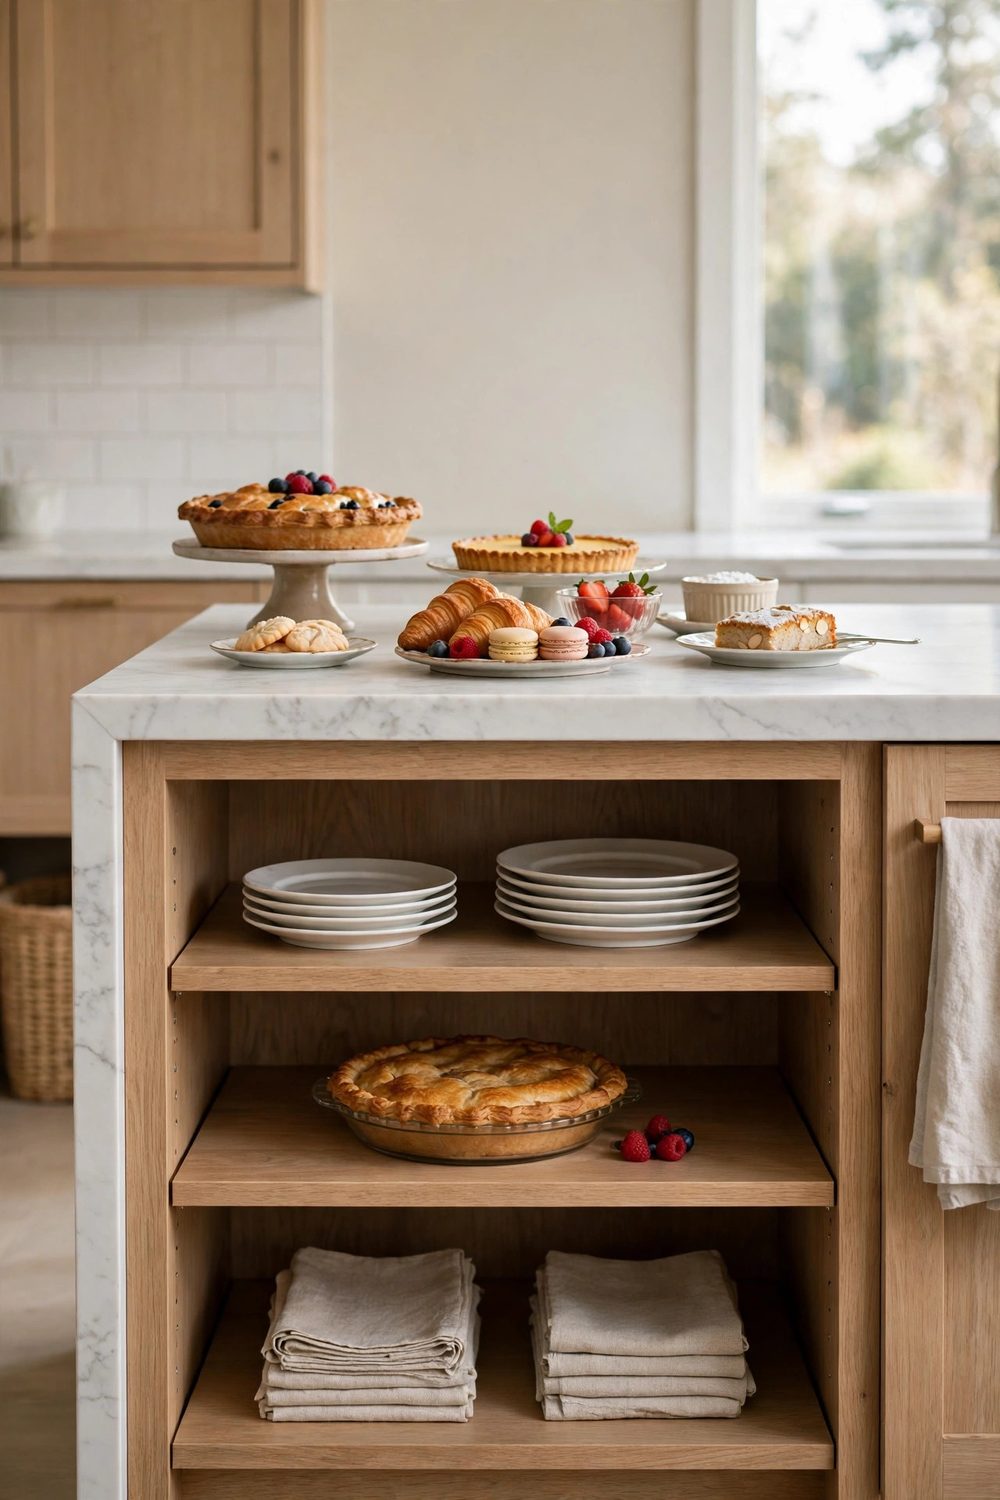
Many islands hide open shelves or deep cabinets on the seating side. Stock them before dinner with spare plates, extra forks, napkins, and the second pie still in its tin.
Restocking then takes seconds and no trip across the house. The host kneels once, lifts what is needed, and the line above never sees the scramble.
Keep the spares in one basket or tray per shelf. Loose stacks slide and rattle, and a guest who hears clattering under the counter wonders what broke.
At the end of the night, the same shelves take the stands and boards back. The island clears to bare stone faster than any table in the house.
10. Grid Mini Jars on a Tray at the Middle
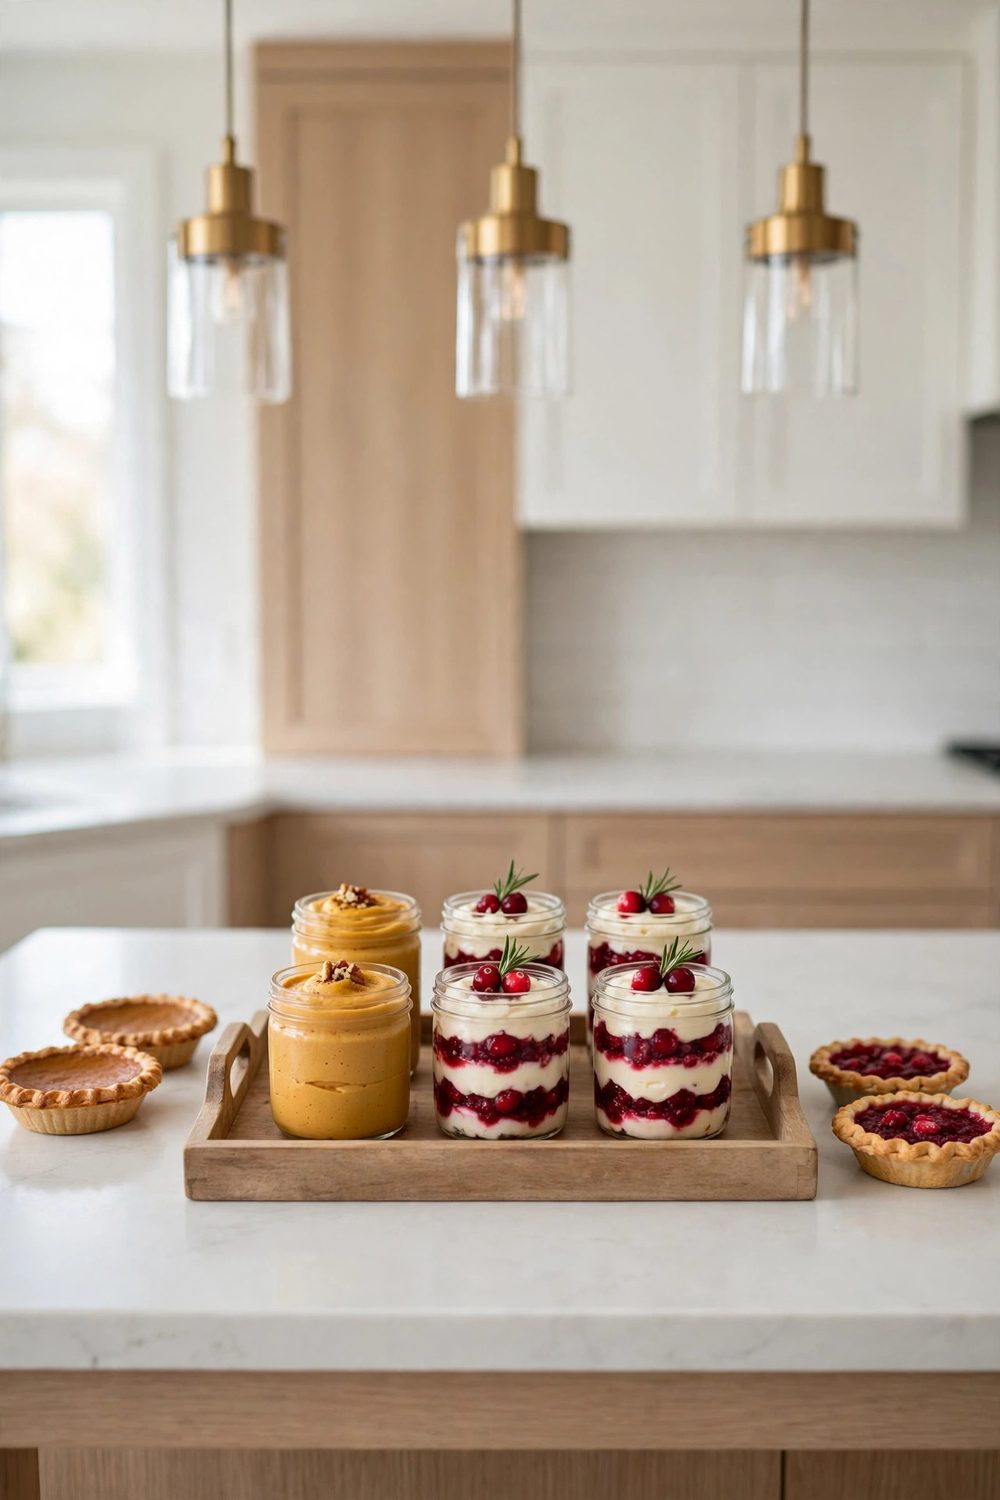
A tray of mini jars in a neat grid suits an island, which is a grid kind of surface. Rows of pumpkin mousse, apple crisp, and red trifle read clean and modern on stone.
Set the tray in the middle zone where both sides can reach it. Jars are small, so a guest can take one from either face of the island without stretching.
Alternate flavors by row so the colors stripe across the tray. From the doorway, the stripes are the first thing guests see, and they draw people in.
Carry the whole tray to the fridge when it empties. One trip clears the middle zone, and the island starts its reset while coffee is still being poured.
11. Give One Cake the Glass Dome
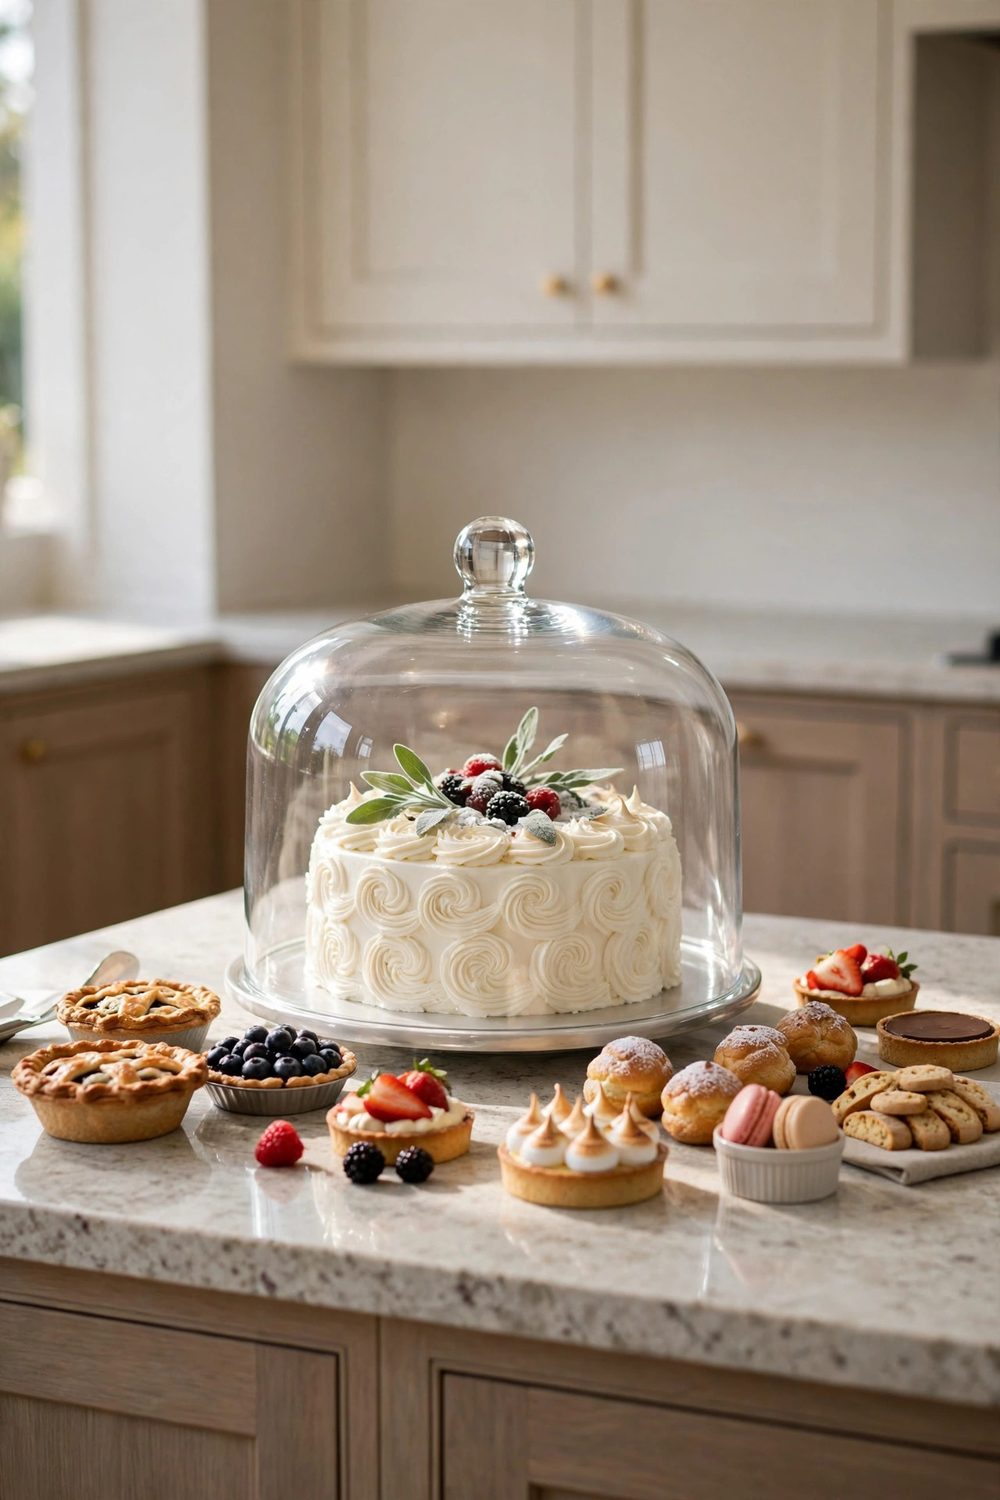
A glass dome over one cake gives the island a single clear focal point. The dome catches the pendant light, keeps the cake fresh through dinner, and lifts off in one hand.
Choose the cake guests will ask about, a tall layer cake or a spiced bundt. Under glass, it waits at the center like a bakery window while dinner happens elsewhere.
Set the dome on a low board, not straight on the stone. The board frames the cake and gives the host a way to move the whole display without touching the glass.
Lift the dome when the first plates are picked up, and set it behind the cake. The reveal is quiet, simple, and just enough of a moment for dessert.
12. End the Loop With a Fork and Napkin Caddy
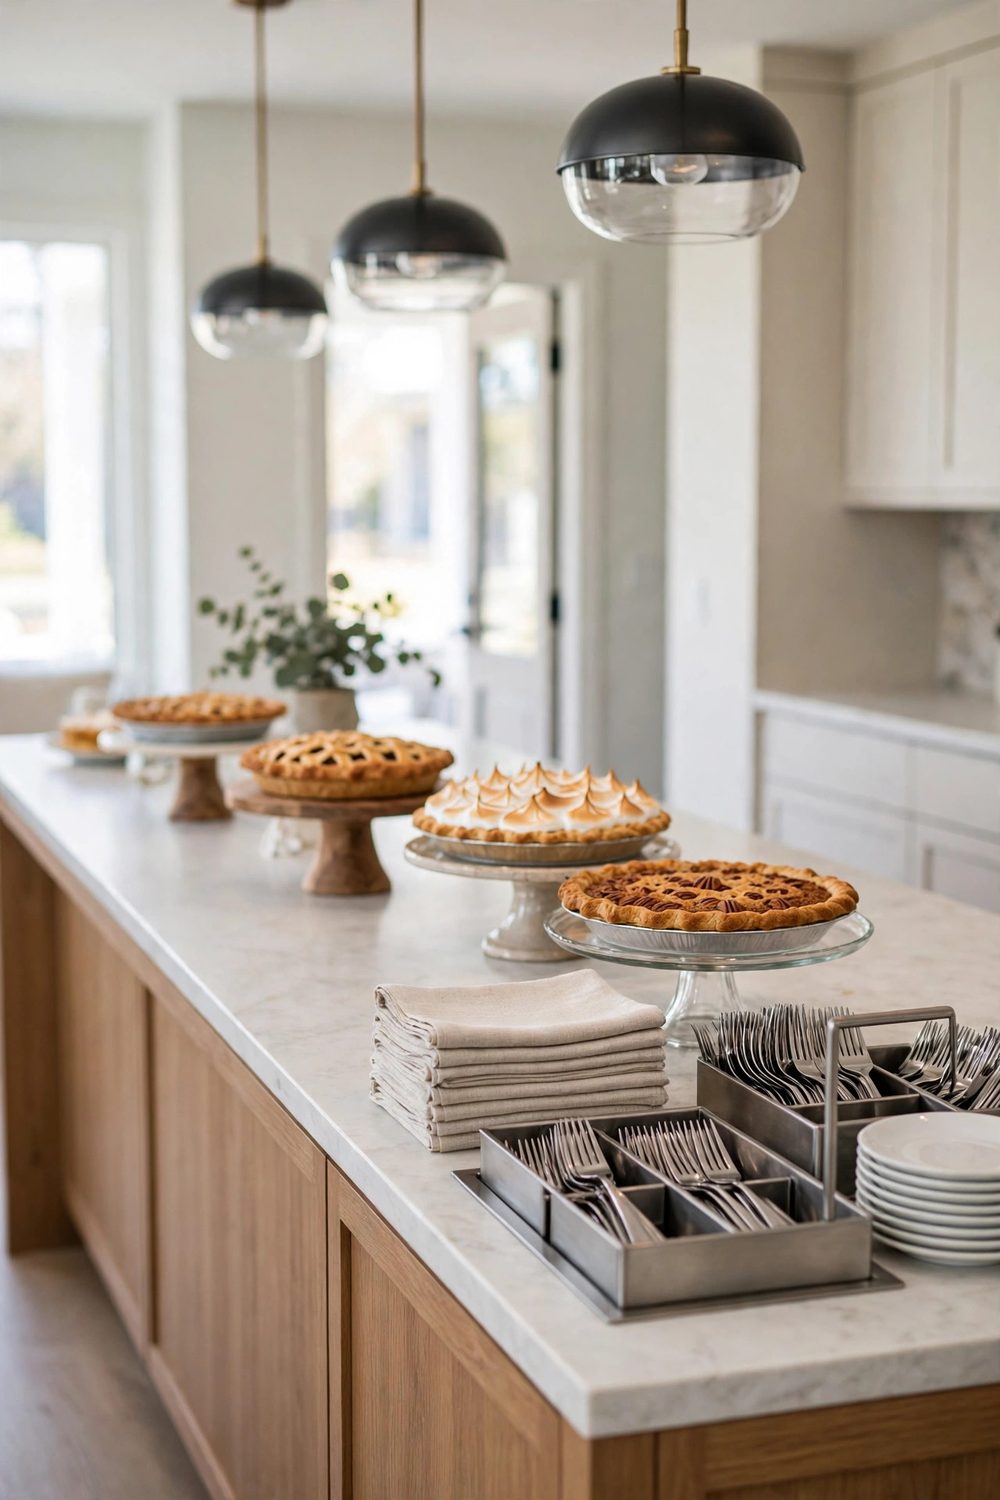
Plates wait at the start, but forks work better at the end. A guest who grabs a fork early carries it through every serving stop, and a carried fork gets dropped.
Set a divided caddy at the exit corner with forks, spoons for the jars, and folded napkins. One grab, one hand, and the guest leaves the loop fully set.
Choose a caddy with a handle so it can be carried to the table for seconds. The second trip then needs no return to the island for a clean spoon.
This end-of-line order mirrors the buffet ideas for small home hosting, where the cutlery tray also waits at the far end.
13. Lay Mats Under Stands to Protect the Stone
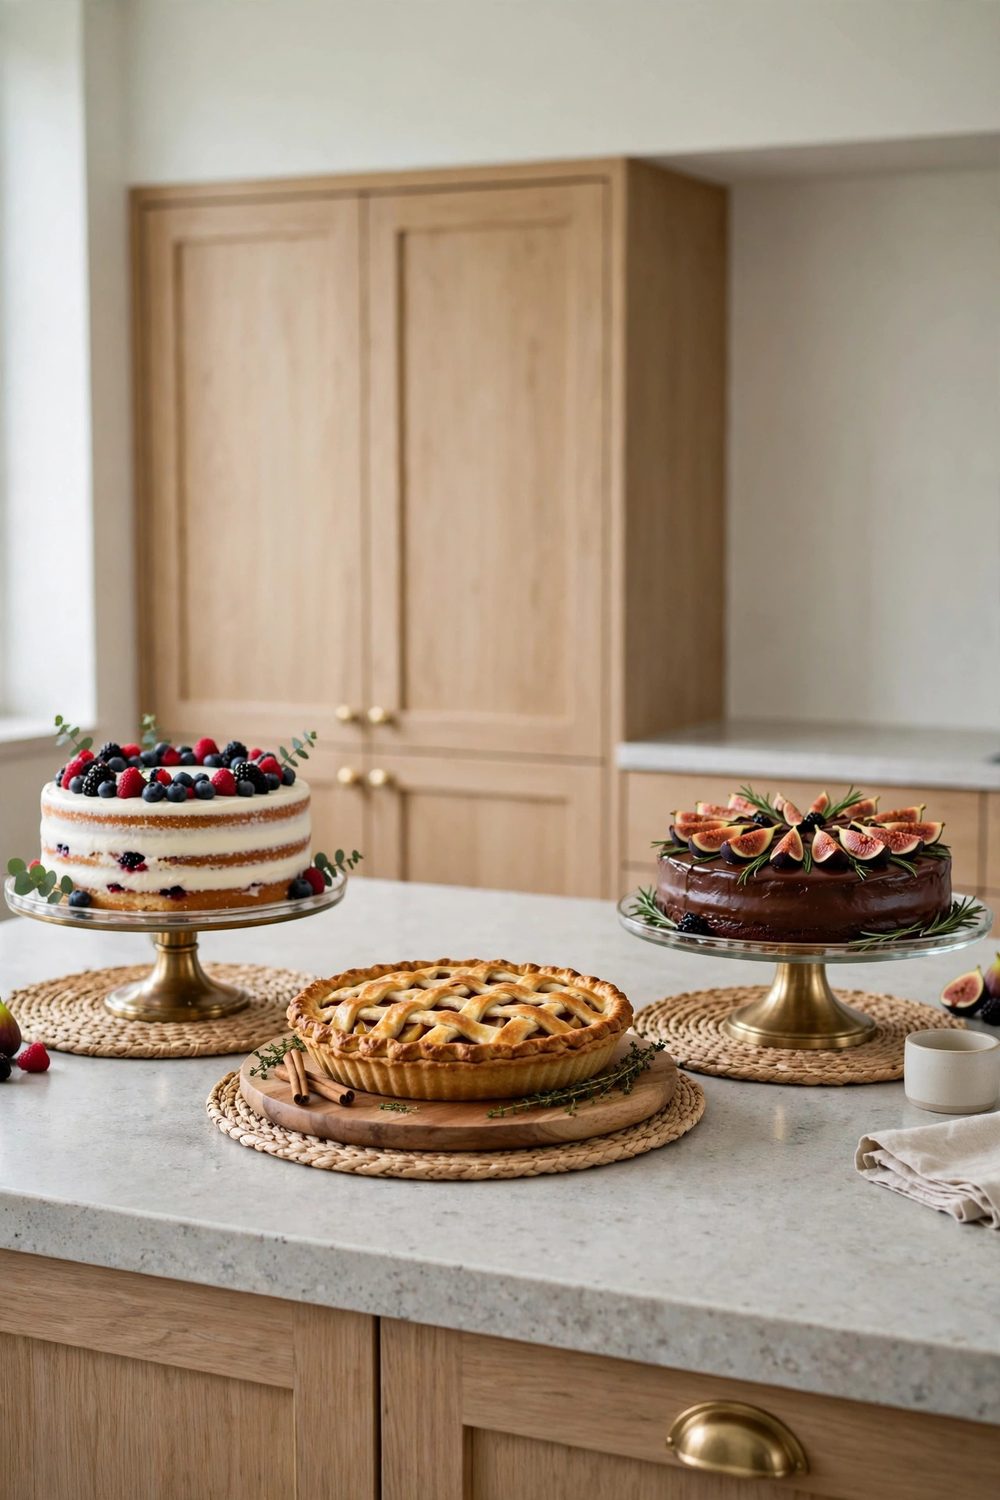
Stone and quartz counters mark and chill in ways a wooden table does not. Thin linen or cork mats under each stand protect the surface and warm the look at once.
Mats also stop stands from sliding. A tiered stand on bare stone can skate when a guest presses a server down, and a mat grips it still.
Keep the mats in one warm neutral color so they read as a set. Rust or cream mats under mixed stands tie the whole island into one display.
Cut or fold mats to sit just wider than each stand base. A mat that sprawls under three dishes looks like a spill guard, not a styling choice.
14. Cap the Far End With a Bright Fruit Bowl
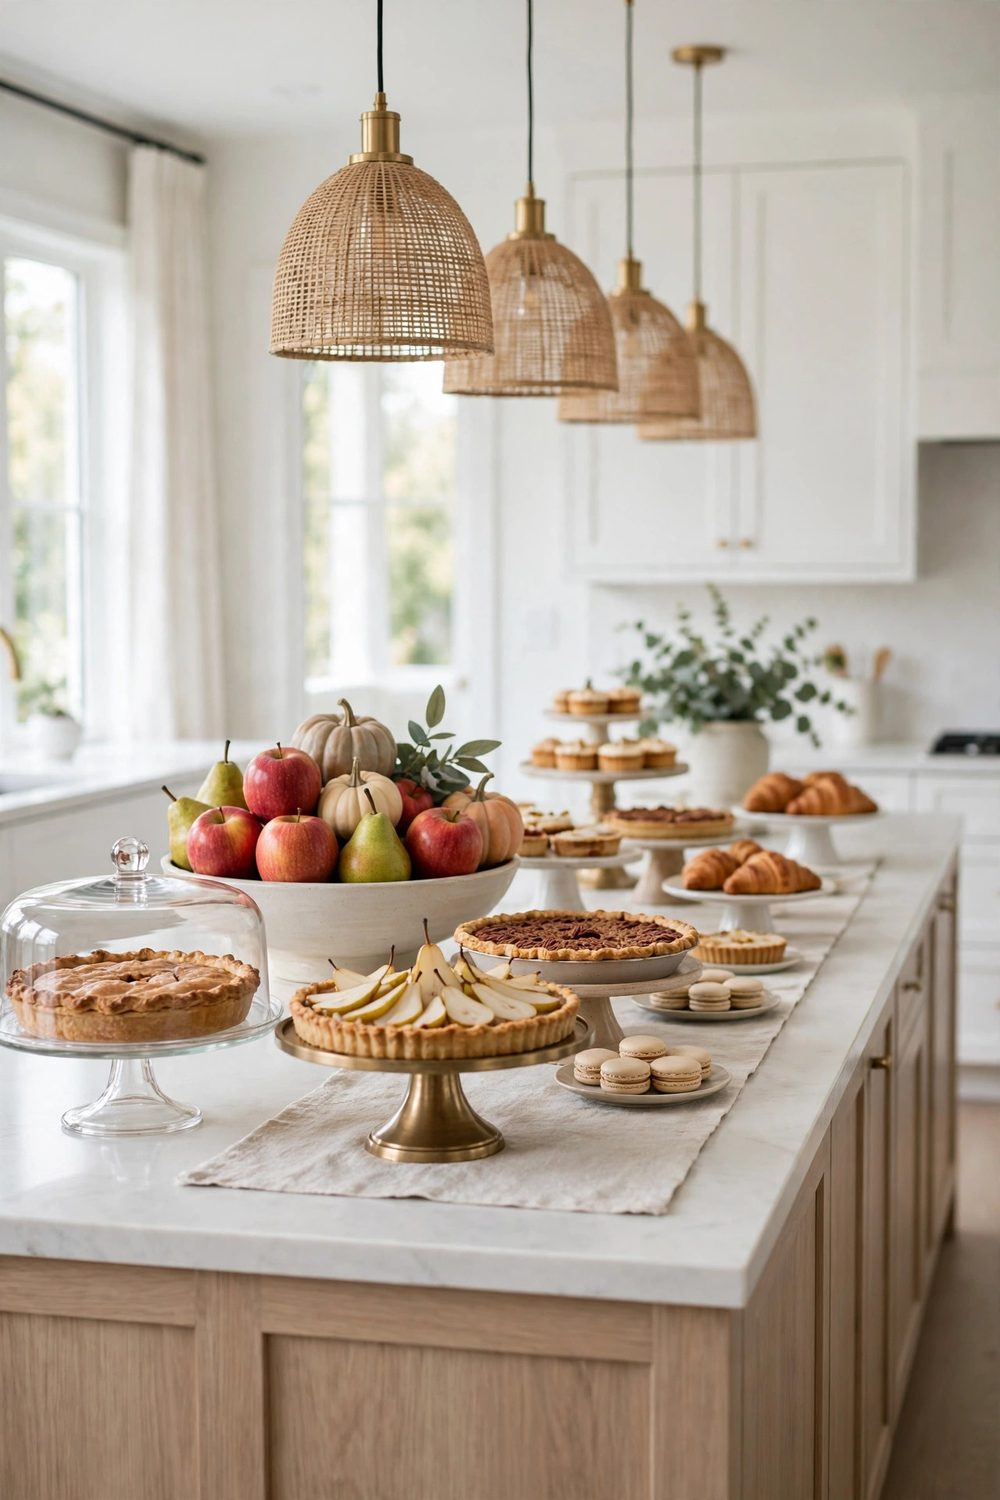
Every buffet line needs a full stop. A wide bowl of pears, apples, and cranberries at the far end of the island tells guests the line is complete.
The fruit is dessert too, for the guest too full for pie. A crisp apple or a few berries end the meal kindly, and the bowl looks generous doing it.
Set the bowl past the coffee zone, at the very end. Fruit taken last does not get carried back through the serving loop and bruised on the way.
Use the same bowl the kitchen uses all week, filled higher than usual. A working bowl filled with care reads as home, which is the note dessert should end on.
15. Reset the Island to Bare Stone in One Pass
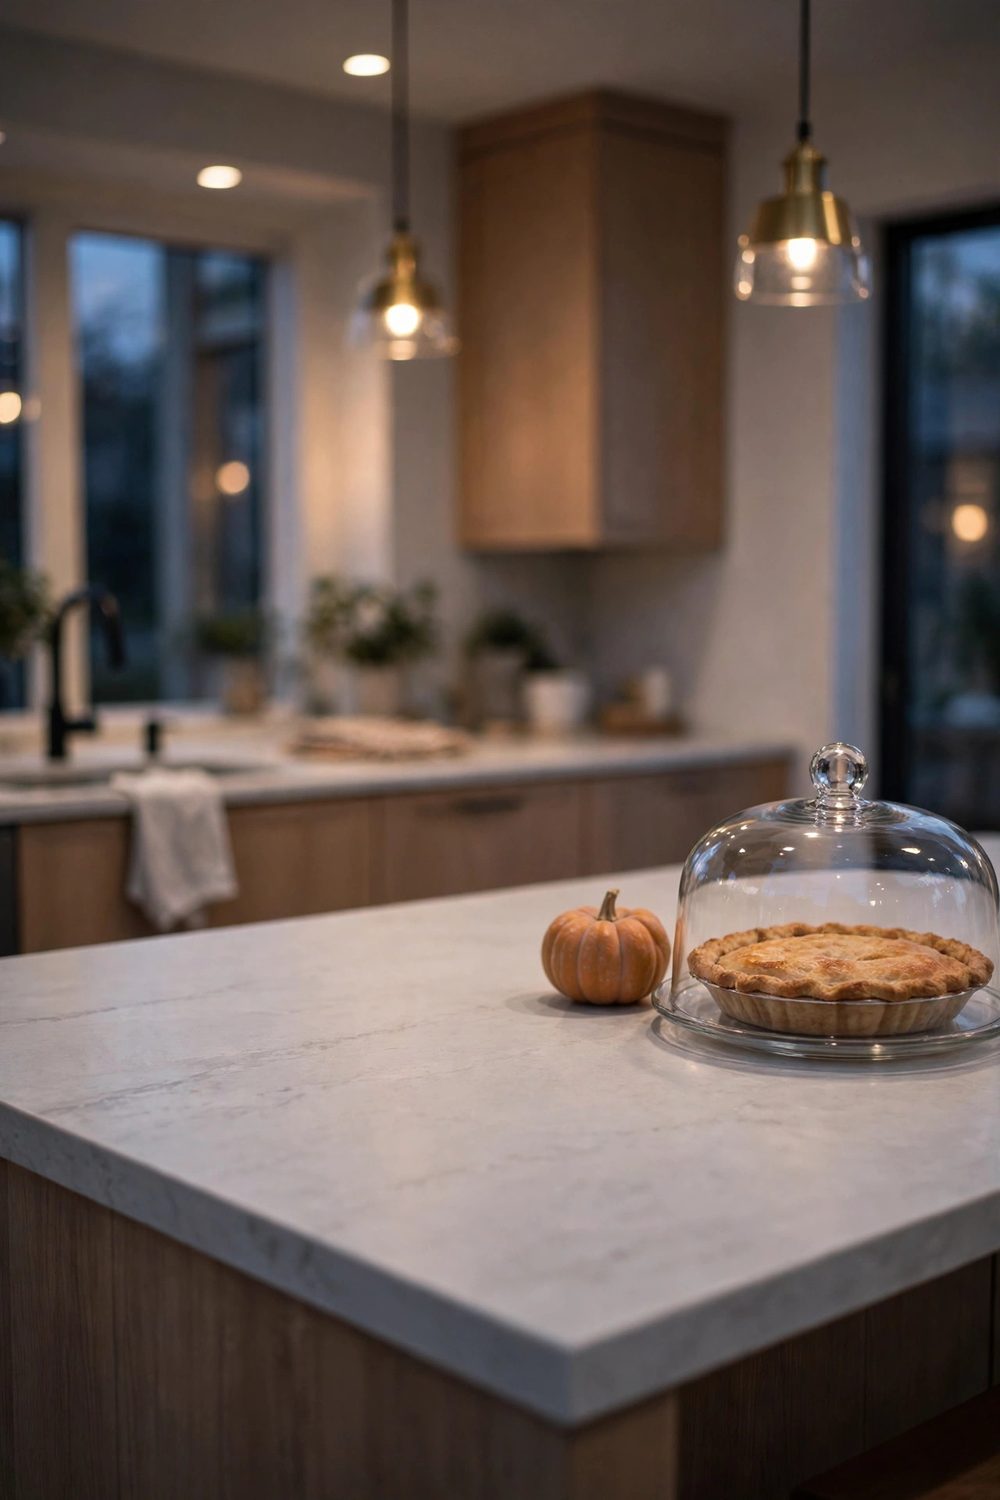
Plan the clear-down before the first slice is cut. Trays carry the jars, boards carry the pies, and stands fold or stack, so the island can return to bare stone in one pass per zone.
Move in the same order as the loop, entry to exit. One direction, no crossing trips, and the counter wipes down behind you as each zone empties.
Leave the fruit bowl and the coffee pot until the last guest sits down. A mostly clear island with coffee still warm tells people the night is winding down, not over.
The table versions of this reset live in the dessert table ideas for a folding table in the living room and the dessert ideas for hosting twelve guests in a small space, with sweets styling from the autumn sweets display.
An island buffet asks the kitchen to do one more job, and in return it gives dessert the best light, the clearest loop, and the fastest reset in the house.
Clear the stools, set the zones, and keep the cold desserts for last. The counter does the rest, the way it has done every course before it.
With the loop in place, thanksgiving dessert table ideas for a kitchen island buffet feel less like a backup surface and more like the way the house was built to host.
Save this list to your Thanksgiving Decor Ideas board on Pinterest, and the island plan will be set before the next holiday crowd arrives.


