
15 Christmas Kitchen Ideas for Festive Baking Season Cheer
Baking season turns the kitchen into the warmest room in the house, even before the oven goes on. Mugs stack by the kettle, jars line the shelf, and a little greenery makes the work feel festive.
These christmas kitchen ideas for festive baking season cheer style the room for that busy season, while keeping counters clear enough to actually bake in.
The rule for a baking kitchen is simple: decorate upward and to the edges, never across the middle of the counter. Walls, cabinet doors, shelves, and windows carry the festive color, while the main prep space stays open.
A kitchen that looks festive but cannot be used will frustrate the baker by the second day.
Start with textiles and light, since those change the room fastest. Then add one display tray and one garland, and stop before the counters fill up.
For a dedicated baking workspace within the same room, see these kitchen baking station ideas to plan your zones first.
This post contains affiliate links. If you buy through them, we may earn a small commission at no extra cost to you. See our Affiliate Disclosure.
1. Hang Festive Tea Towels on the Oven Handle
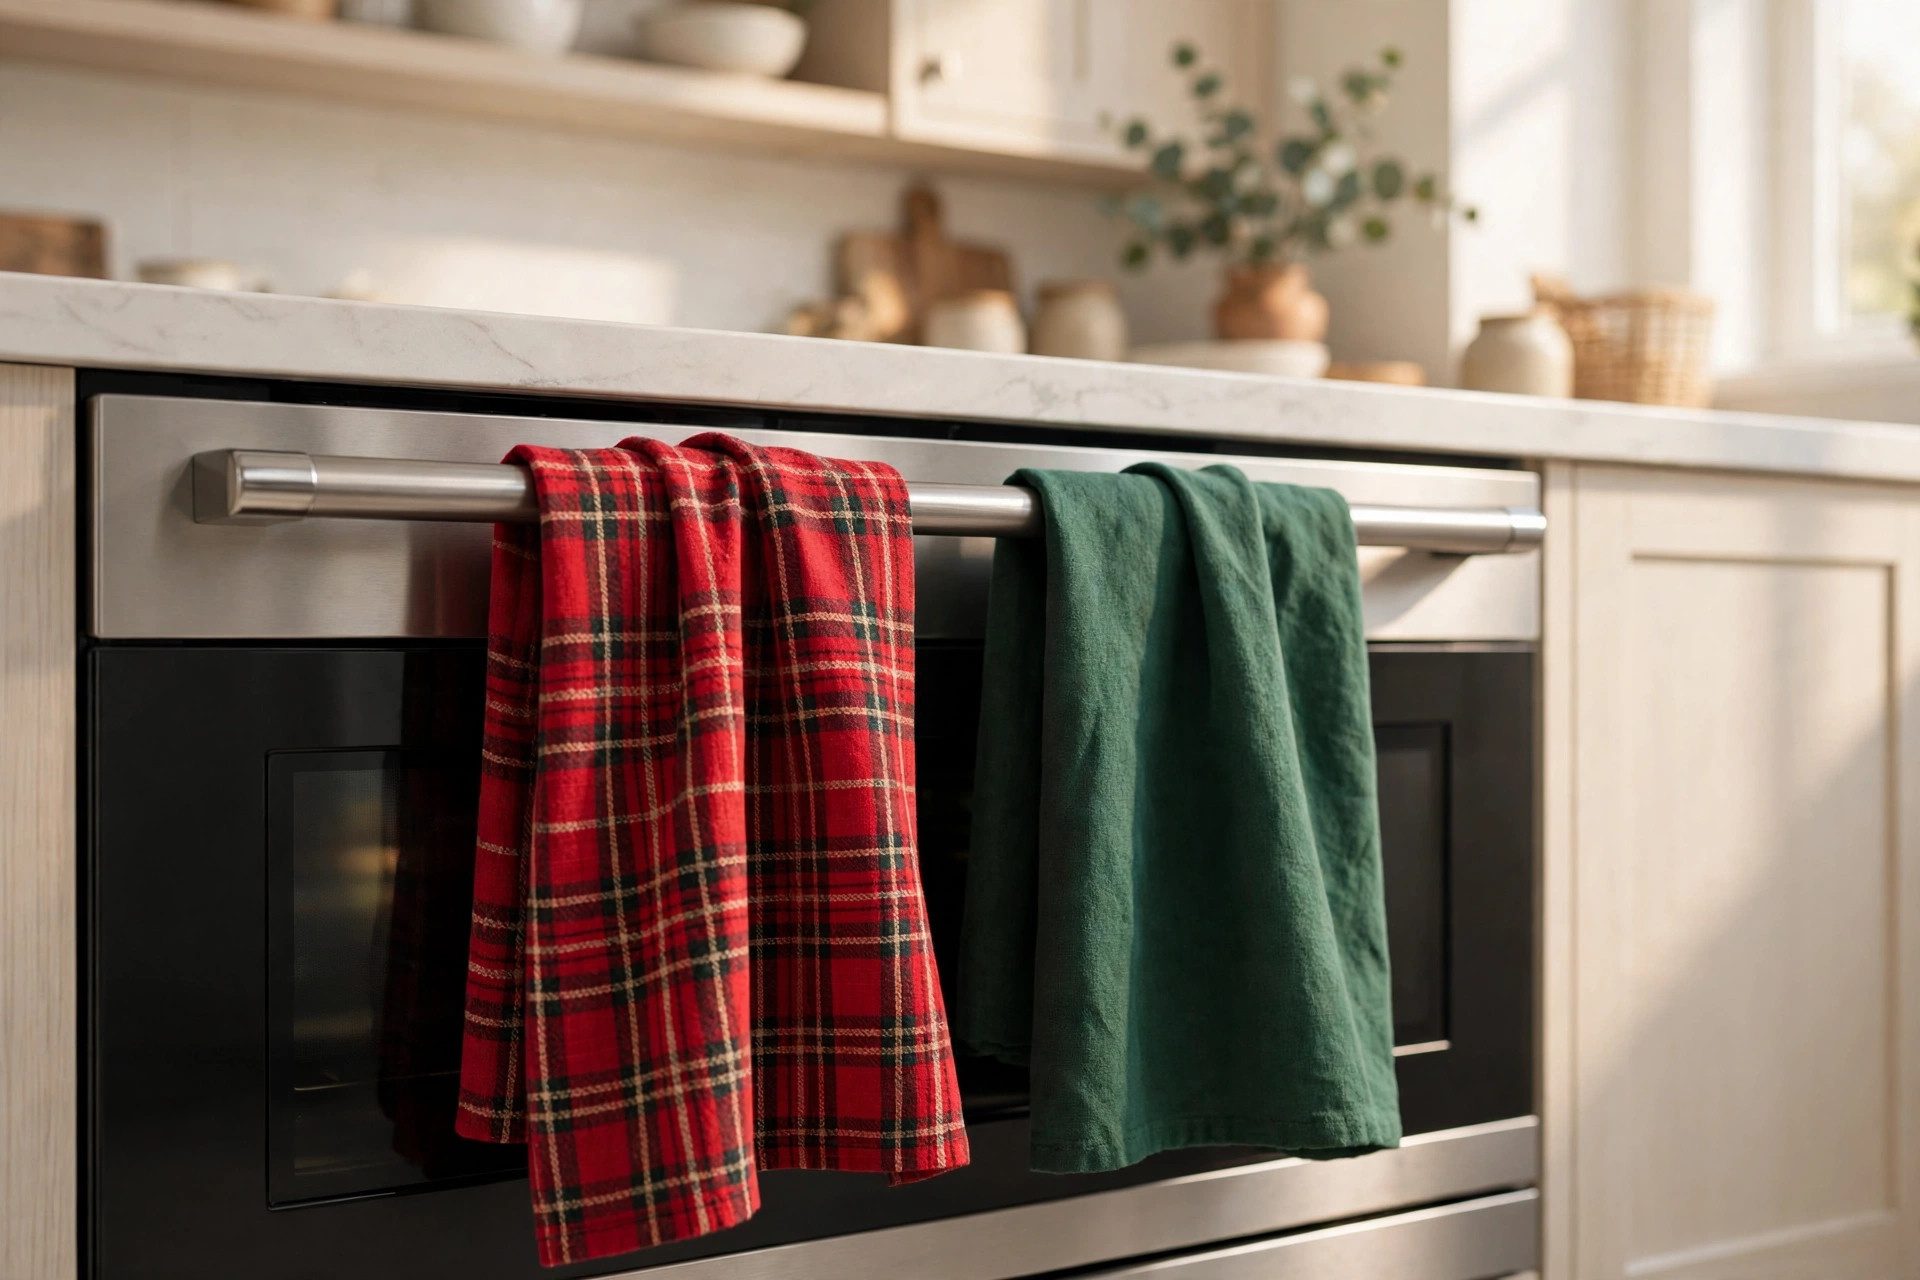
Festive tea towels on the oven handle are the fastest Christmas change in a kitchen. Choose towels in red plaid, green stripes, or a small tree pattern, and hang two, one over the other, so the pattern shows without bunching.
Guests and bakers both notice towels, since they reach for them constantly.
Keep one towel for drying hands and one for show, swapping them as needed through a baking day. A towel that stays clean all day looks unused, while a towel in use proves the kitchen is alive.
Wash the pair the night before a big baking day, so they start fresh.
Match the towels to one other red or green item in the room, such as a mug or a jar lid, so the color feels planned. Two matching colors beat five scattered ones in a working kitchen.
Fold the towels neatly over the handle, with even ends, for a tidy first impression.
2. Set a Mini Tree on a Counter Corner
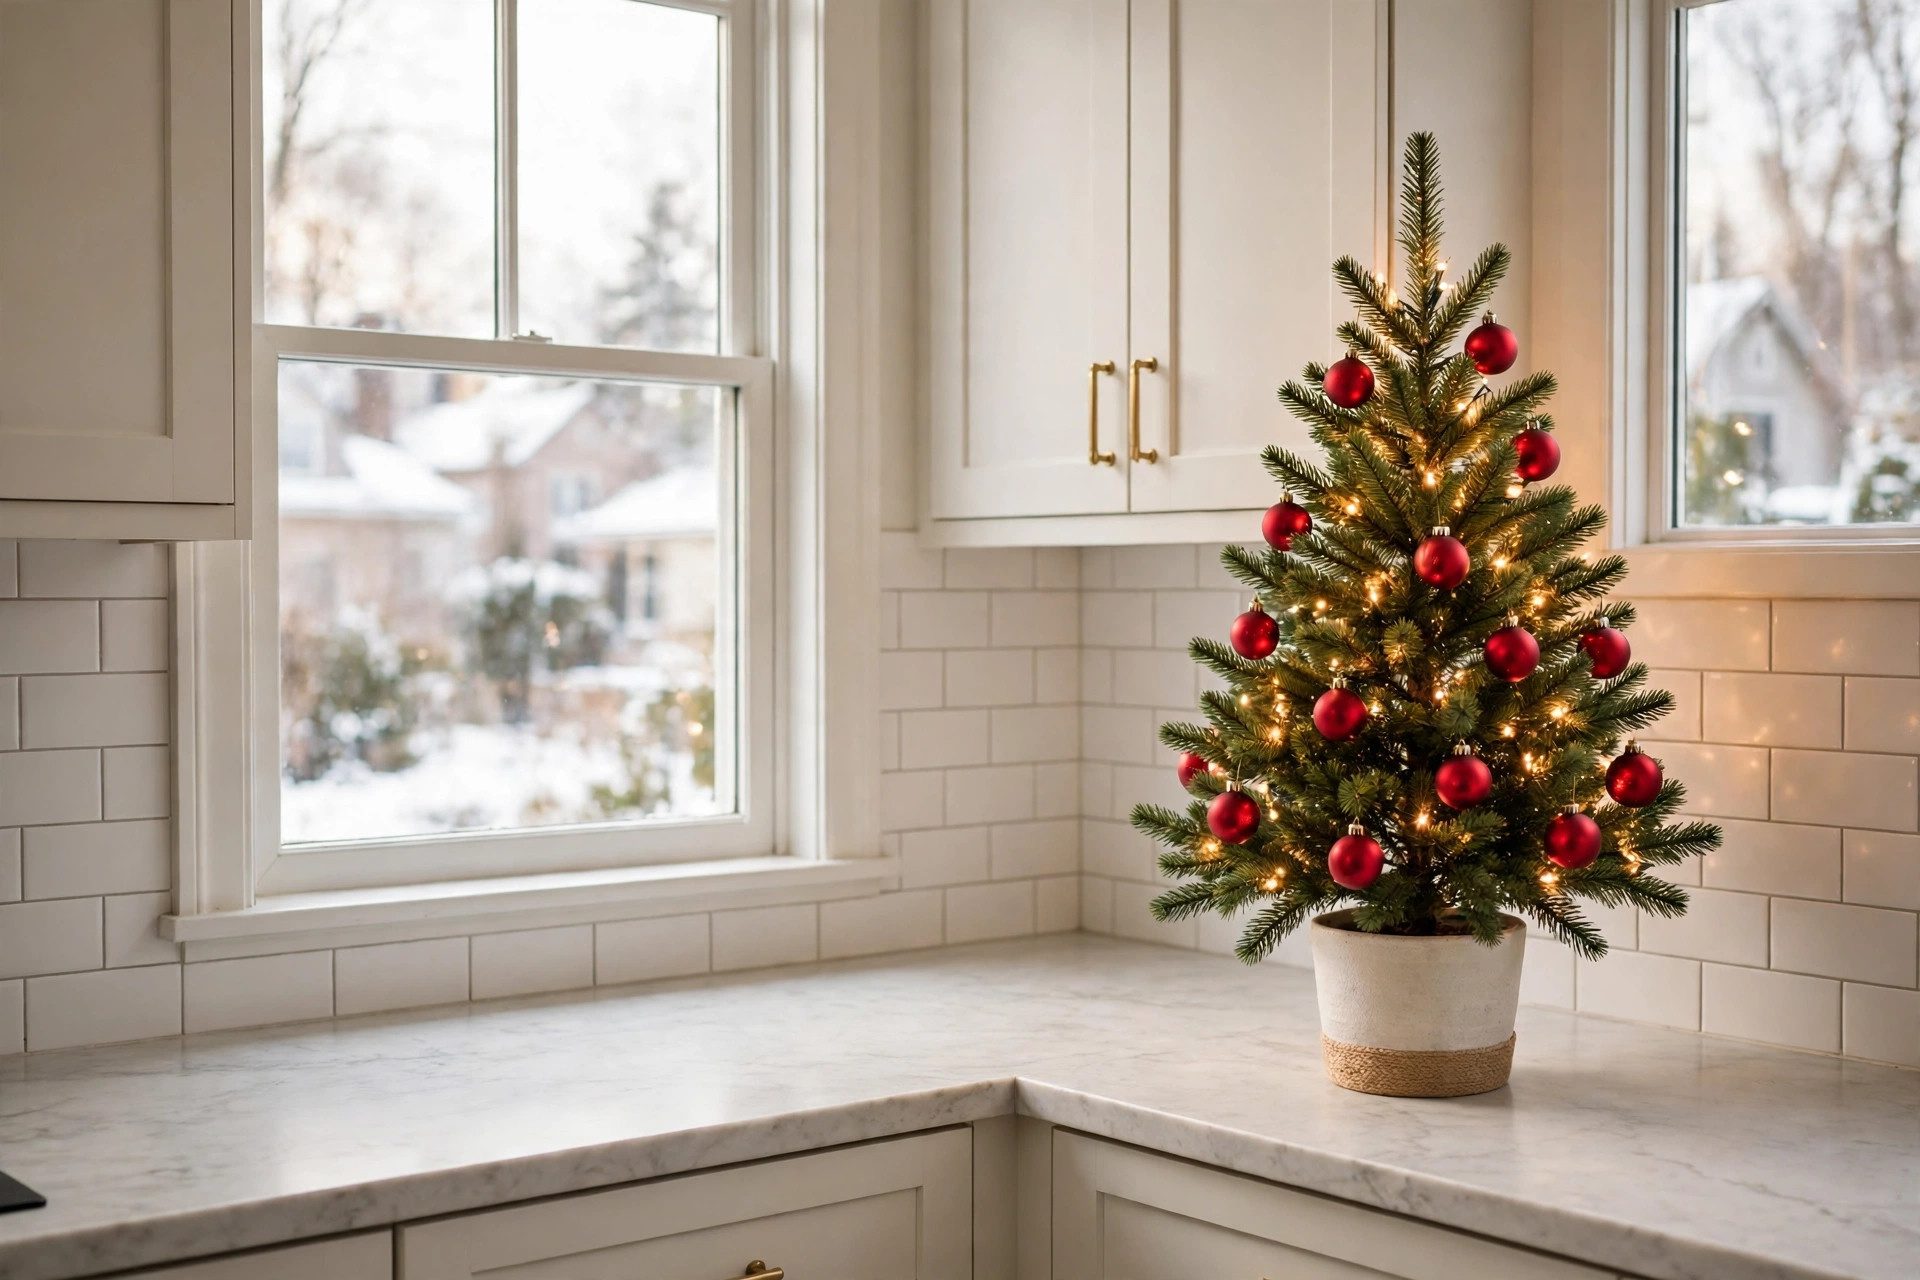
A mini tree on a counter corner gives the kitchen its own festive focal point at a scale that suits a working room.
Choose a small potted evergreen, dressed with a few tiny ornaments and a short string of warm lights, and set it where it will not block prep space.
Place the tree in a corner that is rarely used for chopping or mixing, such as beside the kettle or at the far end of the counter. Keep the tree low, so it does not block the window or the shelf above it.
A tree that blocks light will be moved, and then it helps no one.
Water a real mini tree lightly and check the pot for drips, since a wet ring on the counter spreads quickly. A faux mini tree avoids watering entirely and survives flour dust with a quick wipe.
Either way, one mini tree is enough, since two crowd a counter fast.
3. Drape Garland Along Open Shelves
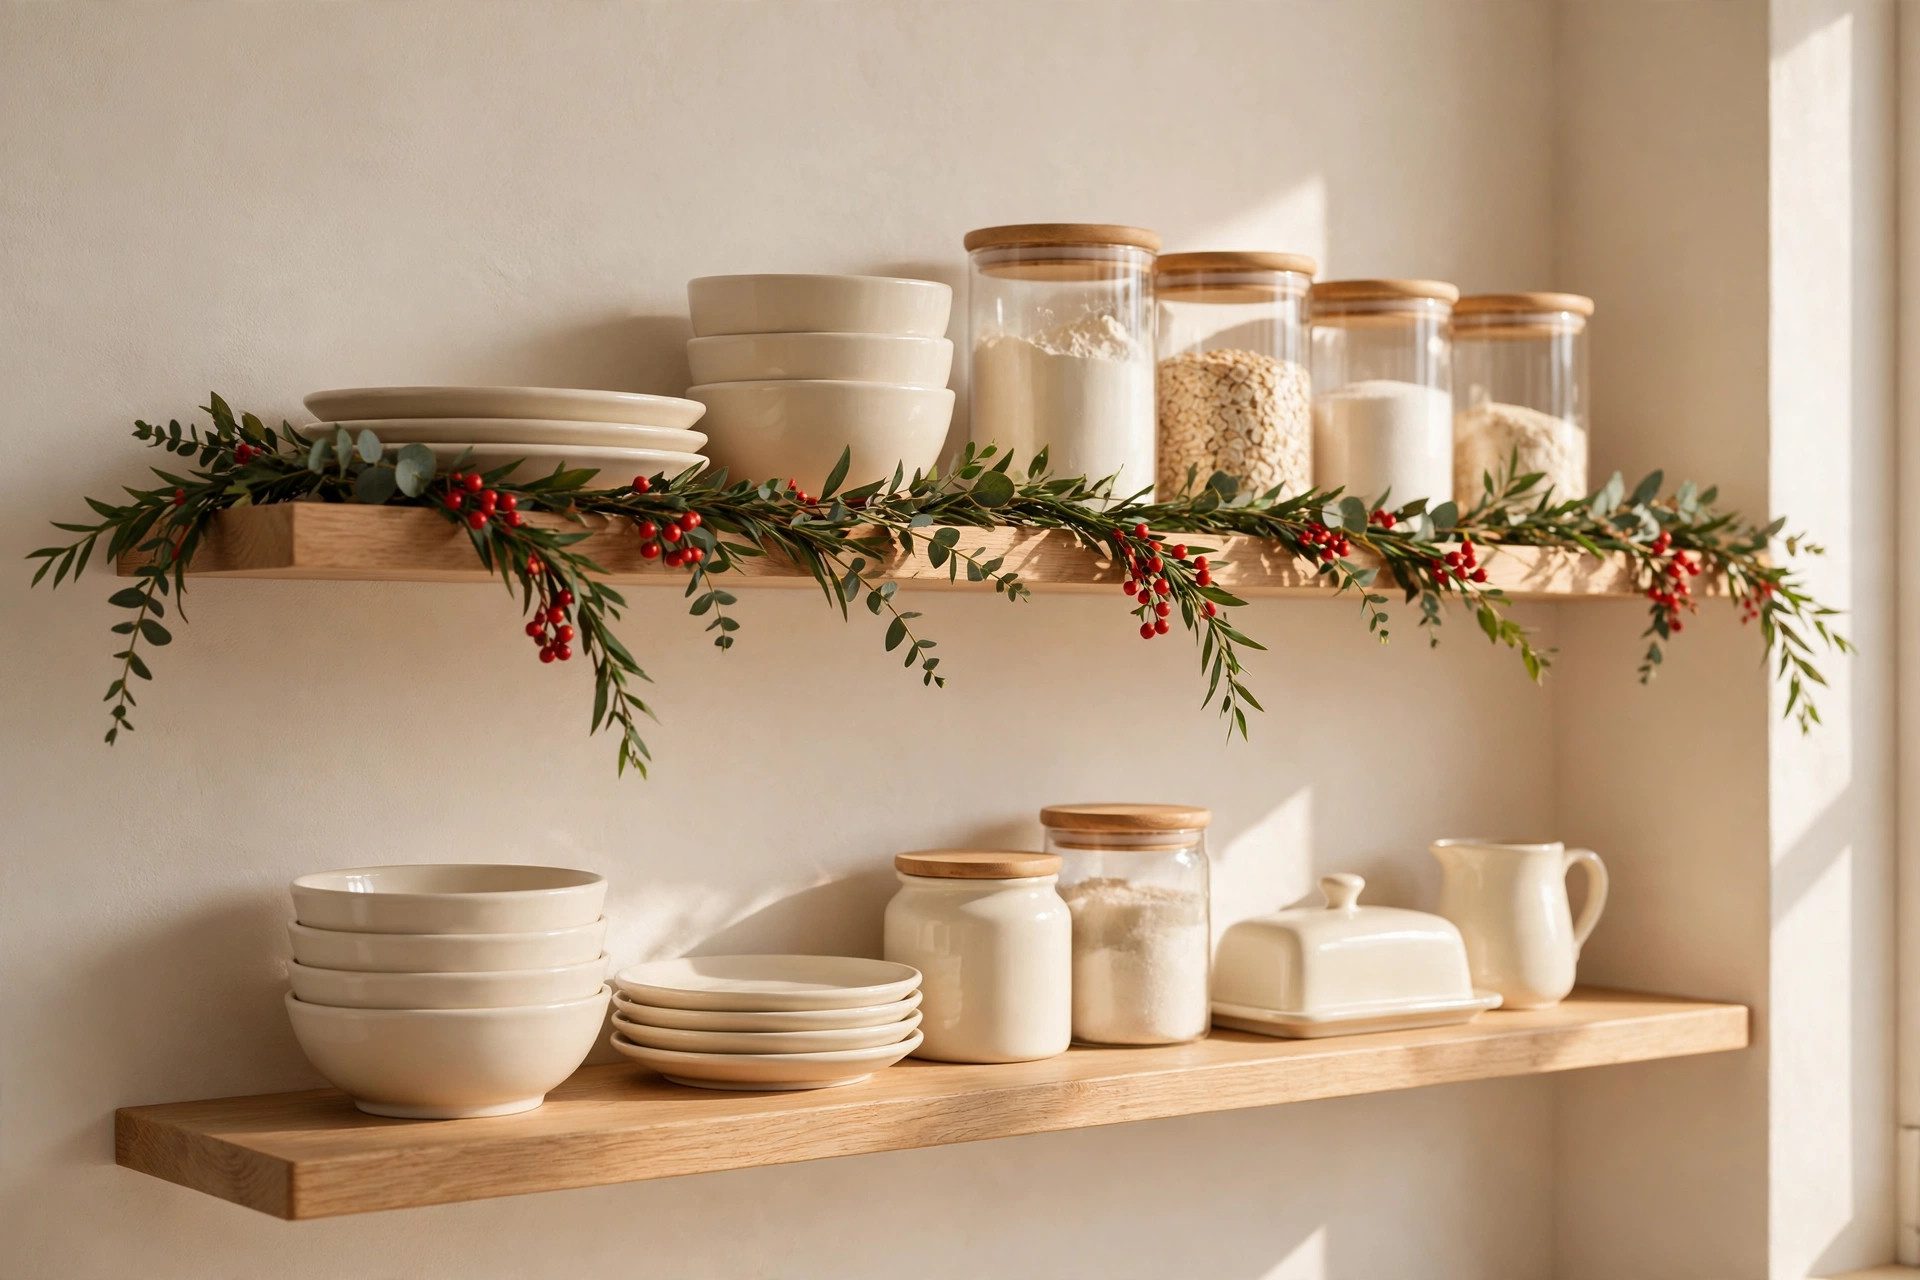
Garland along the front edge of open shelves adds Christmas color at eye level without taking a single inch of counter space. Drape a short evergreen garland in gentle swags between shelf brackets, tucking a few pinecones into the dips.
The everyday dishes behind it do the rest.
Keep the garland slim, so it does not hide the mugs and plates guests reach for. A thick garland that blocks shelf access will be pushed aside during baking, and then it looks messy.
Pin the garland at each bracket, so it cannot slide down mid-season.
Choose faux garland for shelves above the stove or kettle, since steam and heat dry out real greenery fast. Faux garland also wipes clean of flour dust, which settles on every shelf during baking season. One shelf of garland beats three shelves crowded with green.
4. Hang Small Wreaths on Cabinet Doors
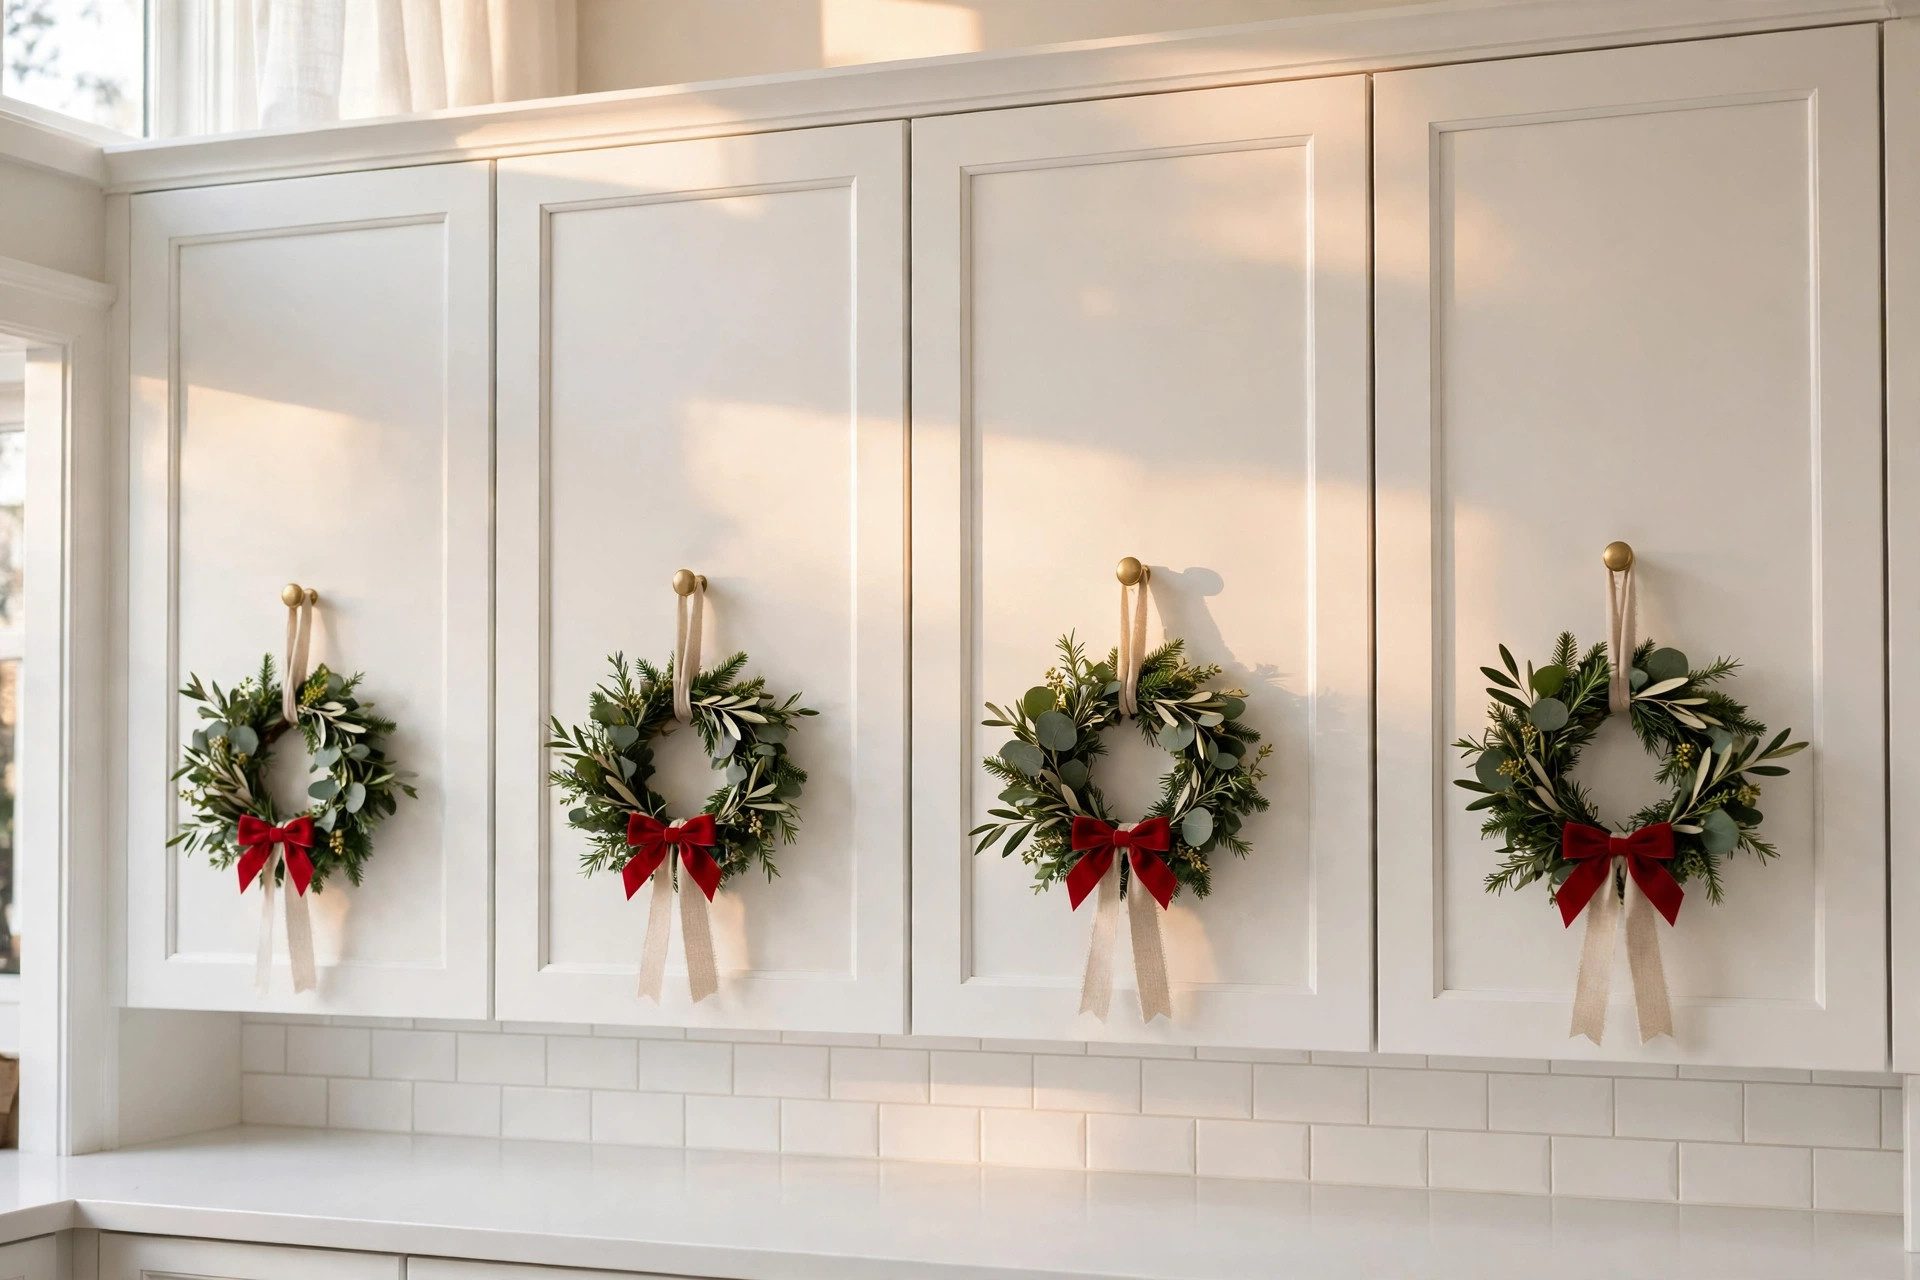
Small wreaths hung on cabinet doors, with wide ribbon looped over the top, dress the kitchen without nails or screws. Hang wreaths on two or three doors only, such as the doors flanking the stove, so the effect reads as intentional rather than scattered.
Use ribbon wide enough to hold the wreath steady, and tape the ribbon end inside the door so it cannot slip. Check that each door still opens and closes cleanly with the wreath in place.
A wreath that swings when the door opens will annoy the baker daily.
Choose wreaths in the same green as the shelf garland, with a small red bow, so the kitchen reads as one room. Mixed wreath styles, such as one pine, one berry, and one plaid, can look like leftovers.
Matching wreaths, in small sizes, look calm and planned.
5. Line Glass Jars of Baking Supplies on a Shelf
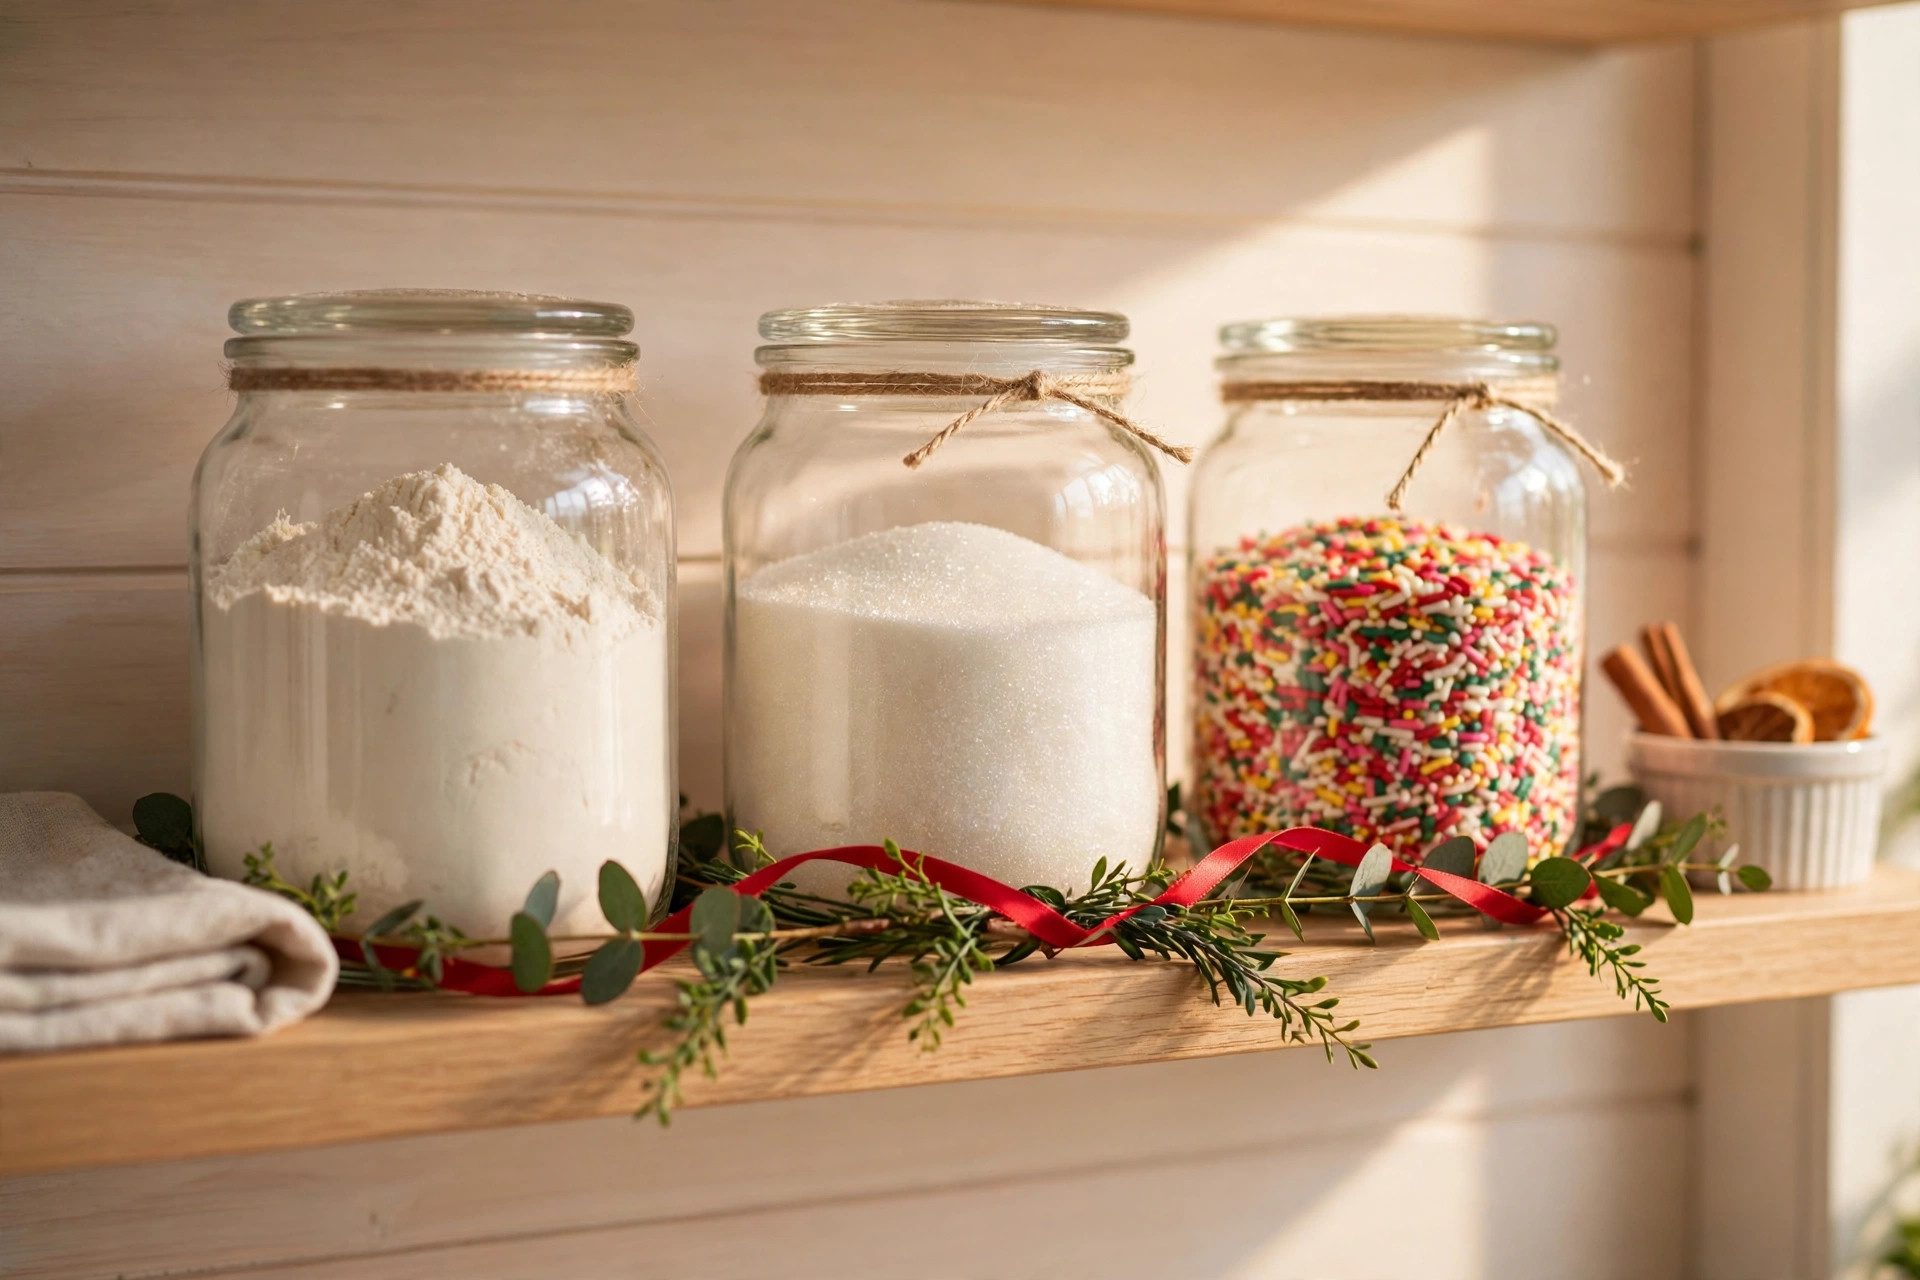
Glass jars of baking supplies, lined up on a shelf, turn everyday ingredients into decor. Fill clear jars with flour, sugar, cinnamon sticks, and dried orange slices, and line them in a neat row with labels facing forward.
The jars look like a pantry display and stay useful.
Keep the jars sealed, since open jars collect flour dust and moisture in a busy kitchen. Label each jar clearly, so bakers grab the right one without opening three jars first.
Place the row on a shelf away from the stove, where heat cannot affect the contents.
Group the jars by height, with taller jars at the back and shorter ones in front, so every label shows. A row that hides half its labels looks like storage, not styling.
Refill the jars as baking season goes on, so the display never looks half empty.
6. Style a Tiered Tray With Ornaments and Cookie Cutters
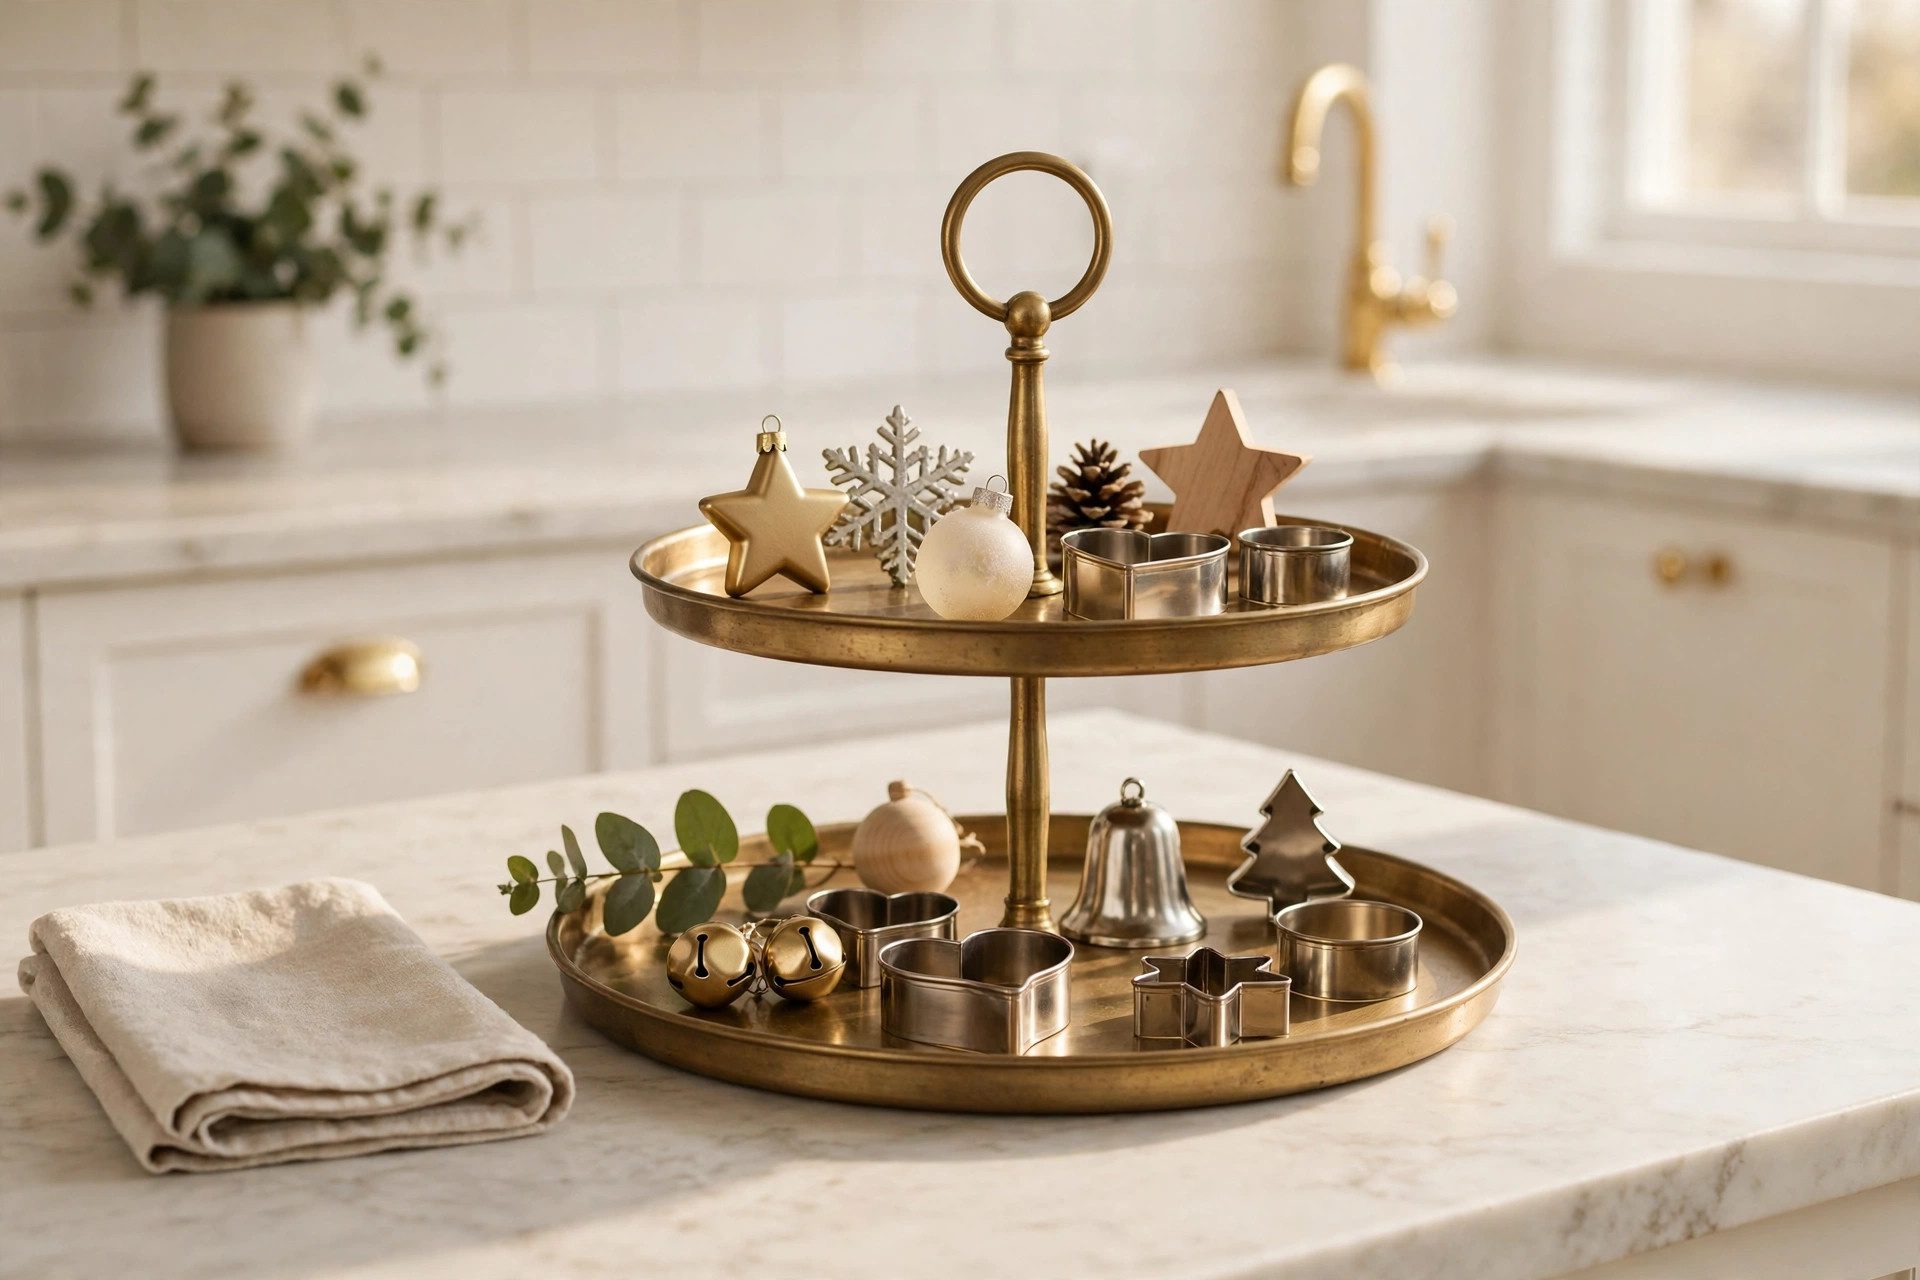
A two-tiered tray on the counter or island gathers festive bits into one tidy display. On the lower tier, set a few small ornaments and a pine sprig, and on the upper tier, tie a set of cookie cutters with ribbon.
The tray reads as one piece, not as scattered clutter.
Keep the tray small, so it fits on a counter corner without blocking prep space. A tray that spreads across the island will be moved during baking, and then it loses its purpose.
Choose a tray with a handle, so the whole display lifts away in seconds when flour comes out.
Change one item on the tray mid-season, such as swapping the cookie cutters for a small candle, so the display feels fresh in late December. A tray that never changes fades into the background by Christmas week. One small swap renews it without redecorating.
7. Build a Cocoa Station on a Wooden Tray
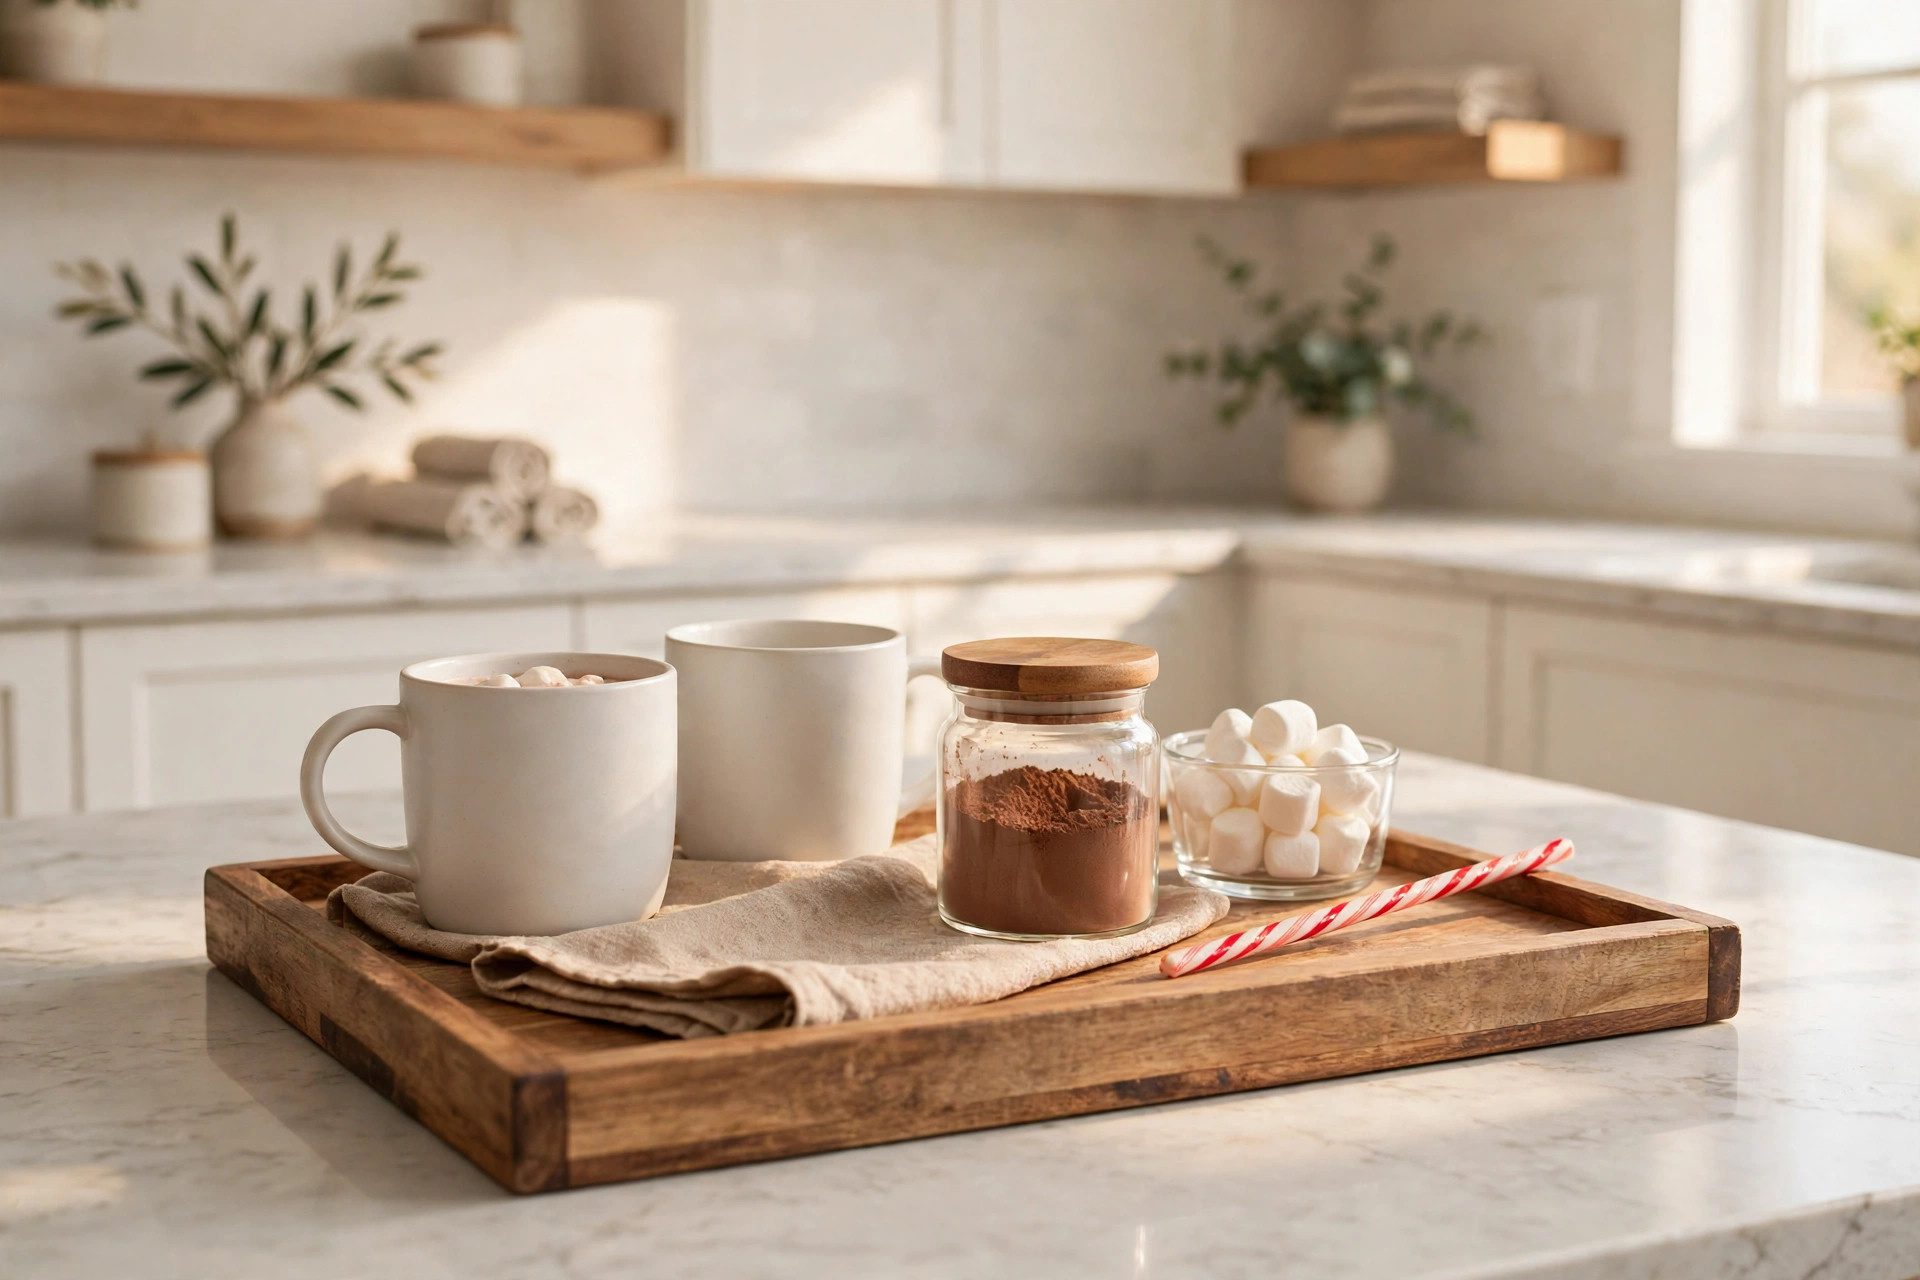
A cocoa station on a wooden tray turns one counter corner into a warm gathering spot. On the tray, set mugs, a jar of cocoa mix, marshmallows, and cinnamon sticks, with a small spoon for each mug.
Guests help themselves, and bakers keep working without interruption.
Place the tray away from the main prep zone, such as on a side counter or a small table, so cocoa guests do not crowd the baker. Keep the tray stocked each morning, since an empty cocoa station disappoints more than no station at all.
Wipe the tray nightly, as cocoa dust spreads fast.
Choose mugs in red, green, and cream, mixed rather than matched, so the station looks collected over time. Matching mugs look like a set, while mixed mugs look like a home.
For kitchens that must serve guests and cooking at once, see these small kitchen ideas for holiday cooking with guests.
8. Frame the Sink Window With Fairy Lights and a Wreath
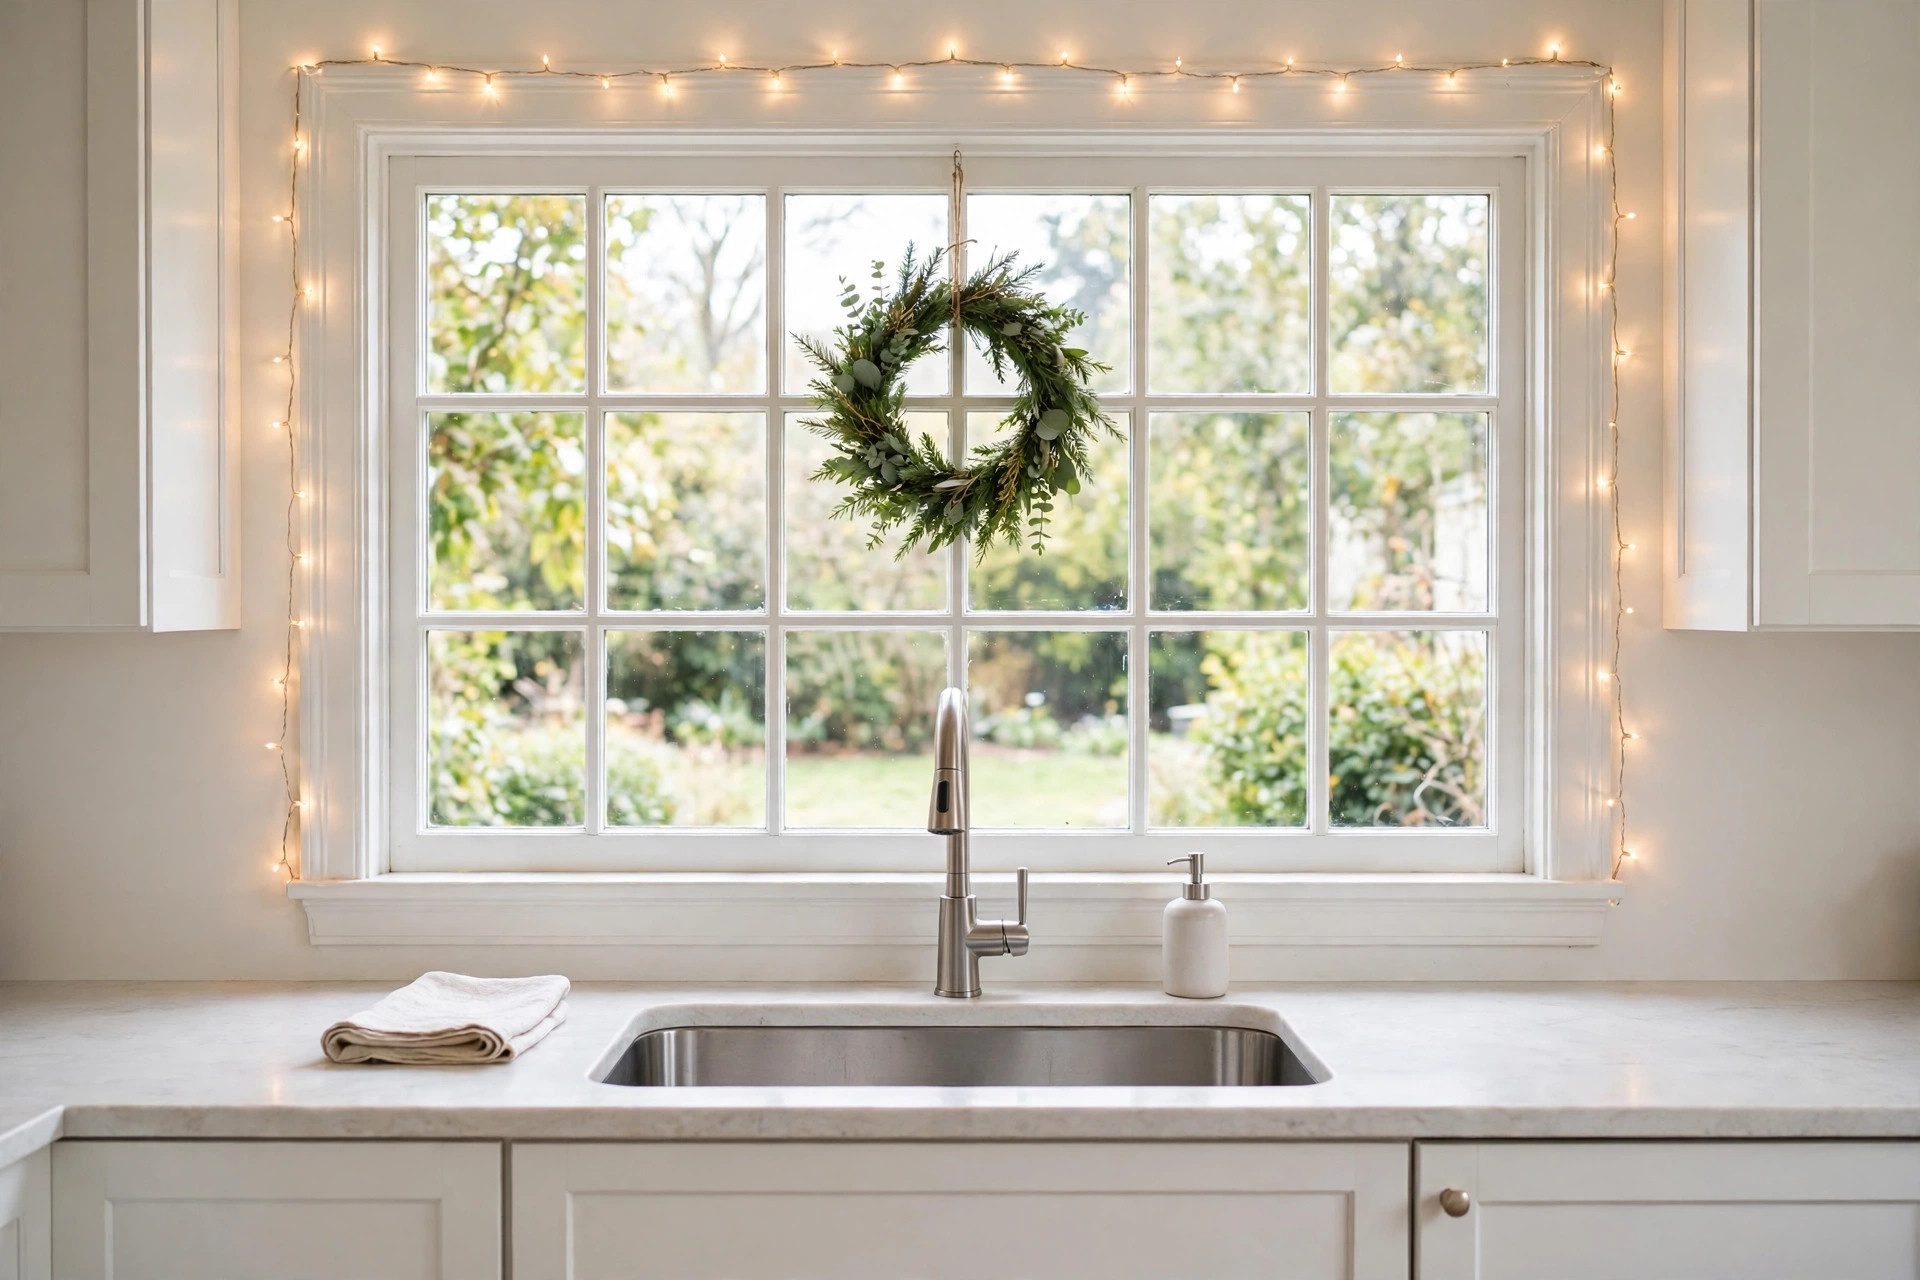
The sink window is where bakers stand longest, so it deserves the best light in the kitchen. Frame it with warm white fairy lights, and hang a small wreath centered over the glass, where it catches daylight and glows at dusk.
Washing up feels festive under that frame.
Weave the lights around the window frame, tucking the wire behind the trim so only the glow shows. Keep the wreath small, so it does not block daylight or the view.
A wreath that fills the window darkens the sink, which is the opposite of helpful.
Use battery lights if no outlet sits near the window, and check the batteries weekly through December. Dim fairy lights are worse than no lights, since they draw attention to the wire.
For more window ideas, see these kitchen window decor ideas for bright, practical frames.
9. Lean Cutting Boards With Ribbon Against the Backsplash
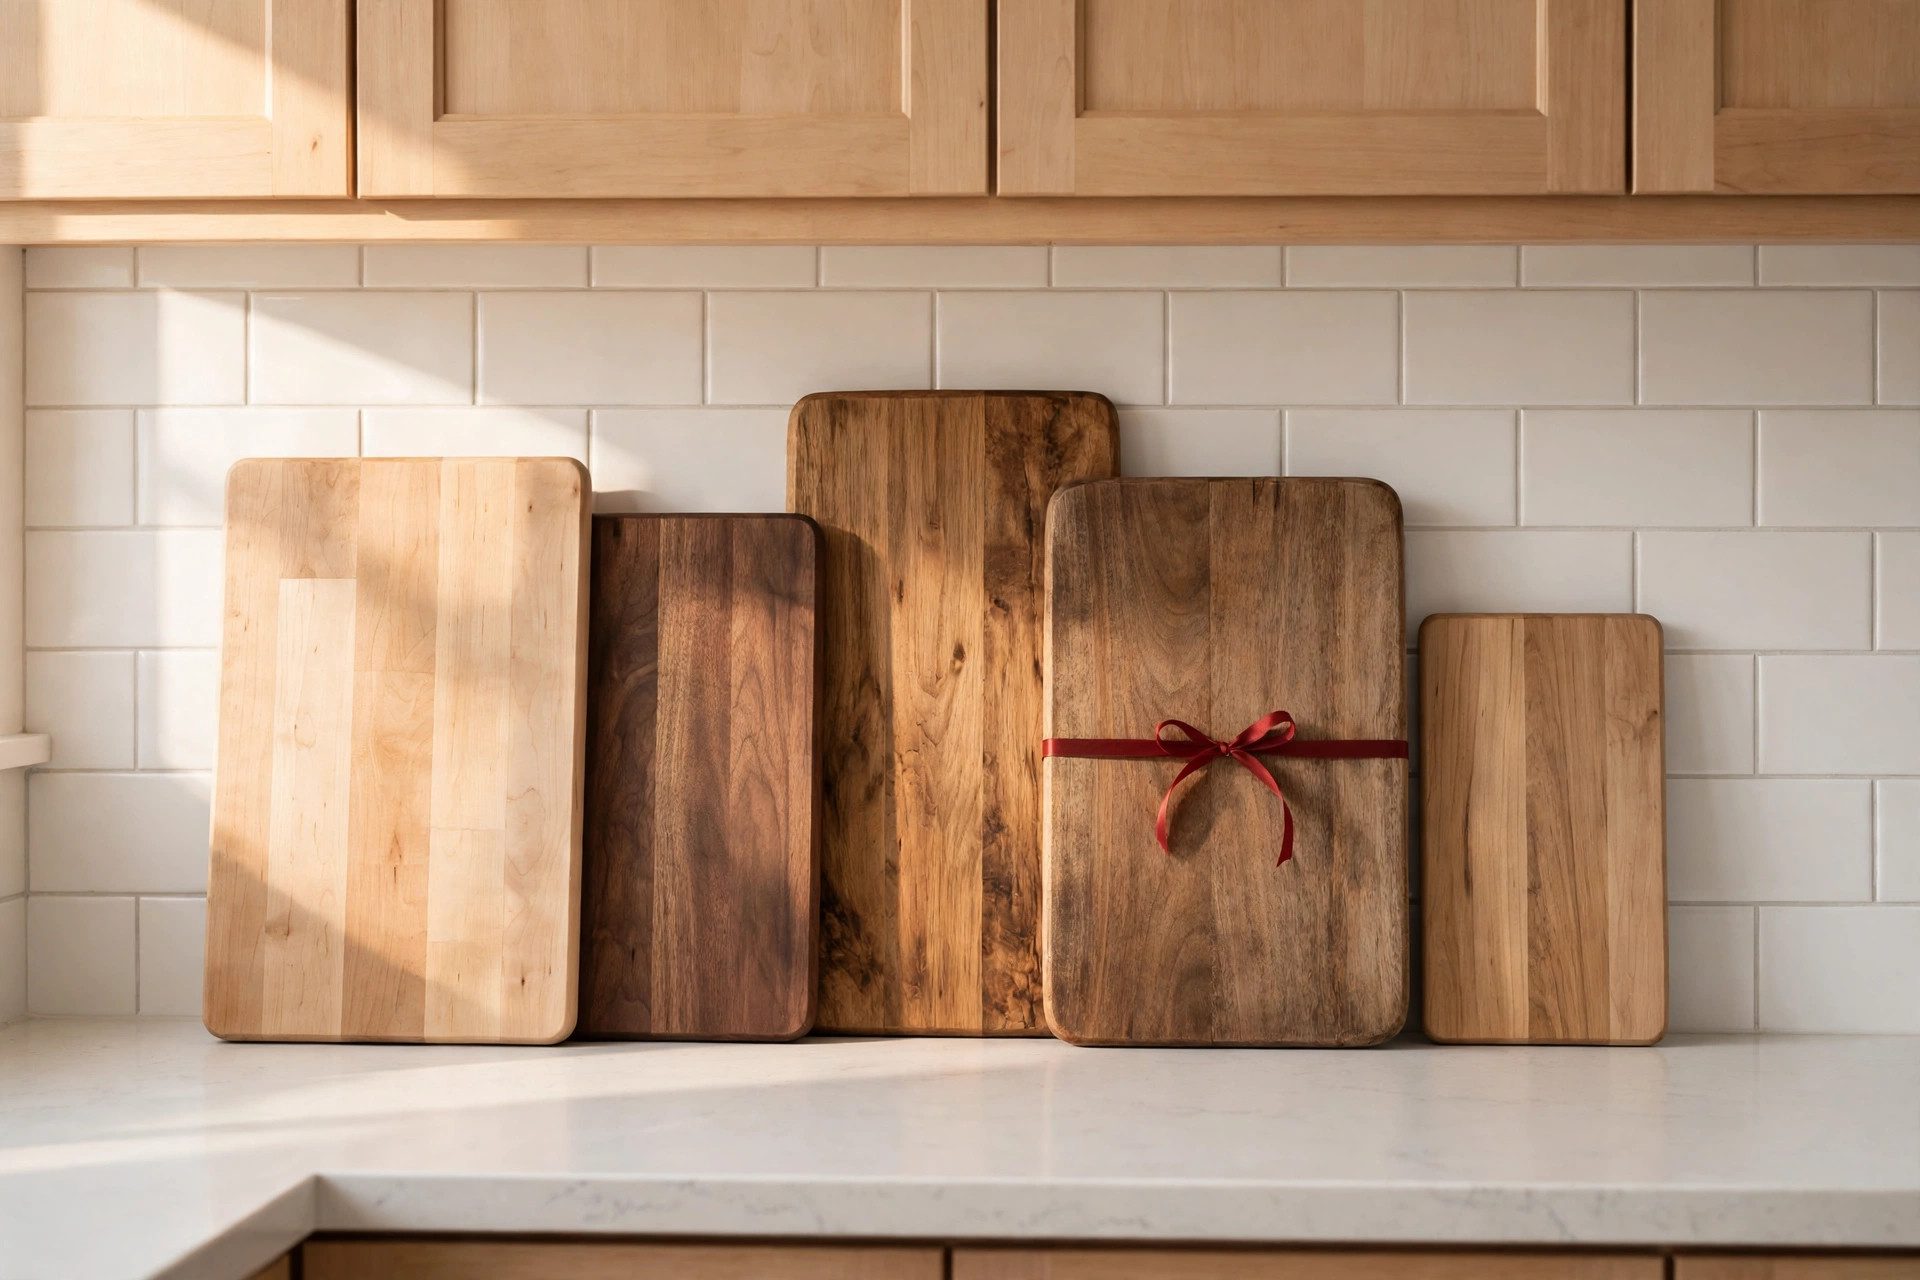
Wooden cutting boards leaned against the backsplash, with a deep red ribbon tied around the tallest one, turn tools you already own into decor.
Lean two boards, one tall and one short, at the back of the counter, where they do not block the stove or the sink.
Choose boards with warm wood tones, since wood softens the red and green around it. Tie the ribbon in a simple bow, and keep the boards clean, since a stained board leaned for display looks careless.
Wash and dry the boards before leaning them, and rotate them back into use as needed.
Keep the boards at the counter back, not in the middle, so prep space stays clear. A board that must be moved for every baking task will end up in a drawer, not on display.
Boards at the back stay put and stay pretty through the whole season.
10. Hang Red and Green Mugs on a Rail
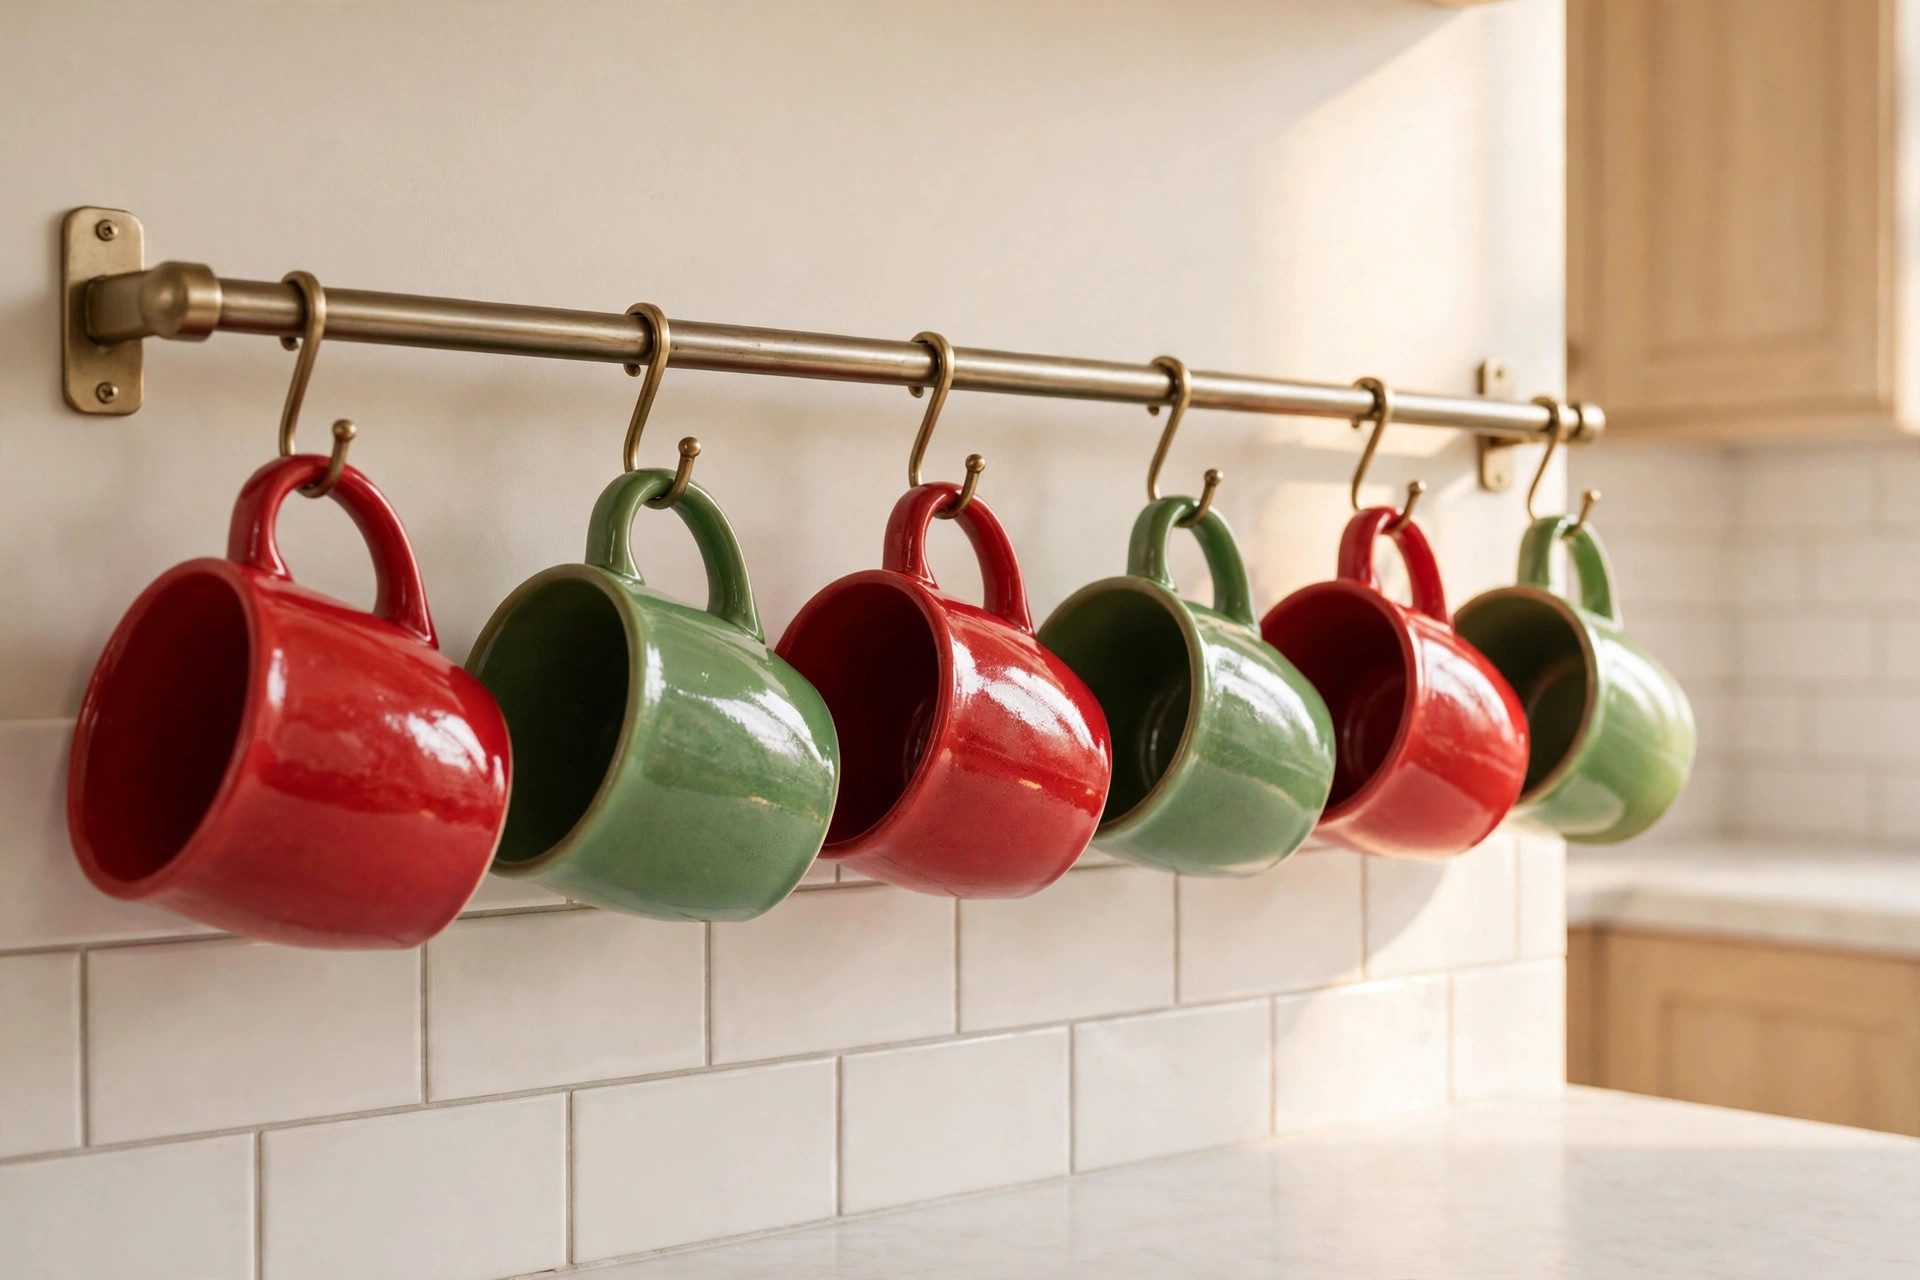
Red and green mugs hung on a wall rail or on hooks under a shelf add festive color at eye level and free up cabinet space.
Hang four to six mugs, alternating colors, with handles facing the same way, so the rail looks neat rather than jumbled.
Choose sturdy hooks rated for mug weight, since a mug that falls breaks and startles everyone. Hang the rail away from the stove, where steam and heat can crack glaze over time.
Keep everyday mugs on the rail and fancy ones in the cabinet, so the rail stays useful.
Wash the mugs before hanging them, and wipe the rail weekly, since kitchen rails collect grease and dust. A clean rail of colorful mugs looks like a cafe wall, while a dusty rail looks neglected.
Guests will reach for a rail mug first, which is exactly the point.
11. Center the Island With a Moveable Greenery Tray
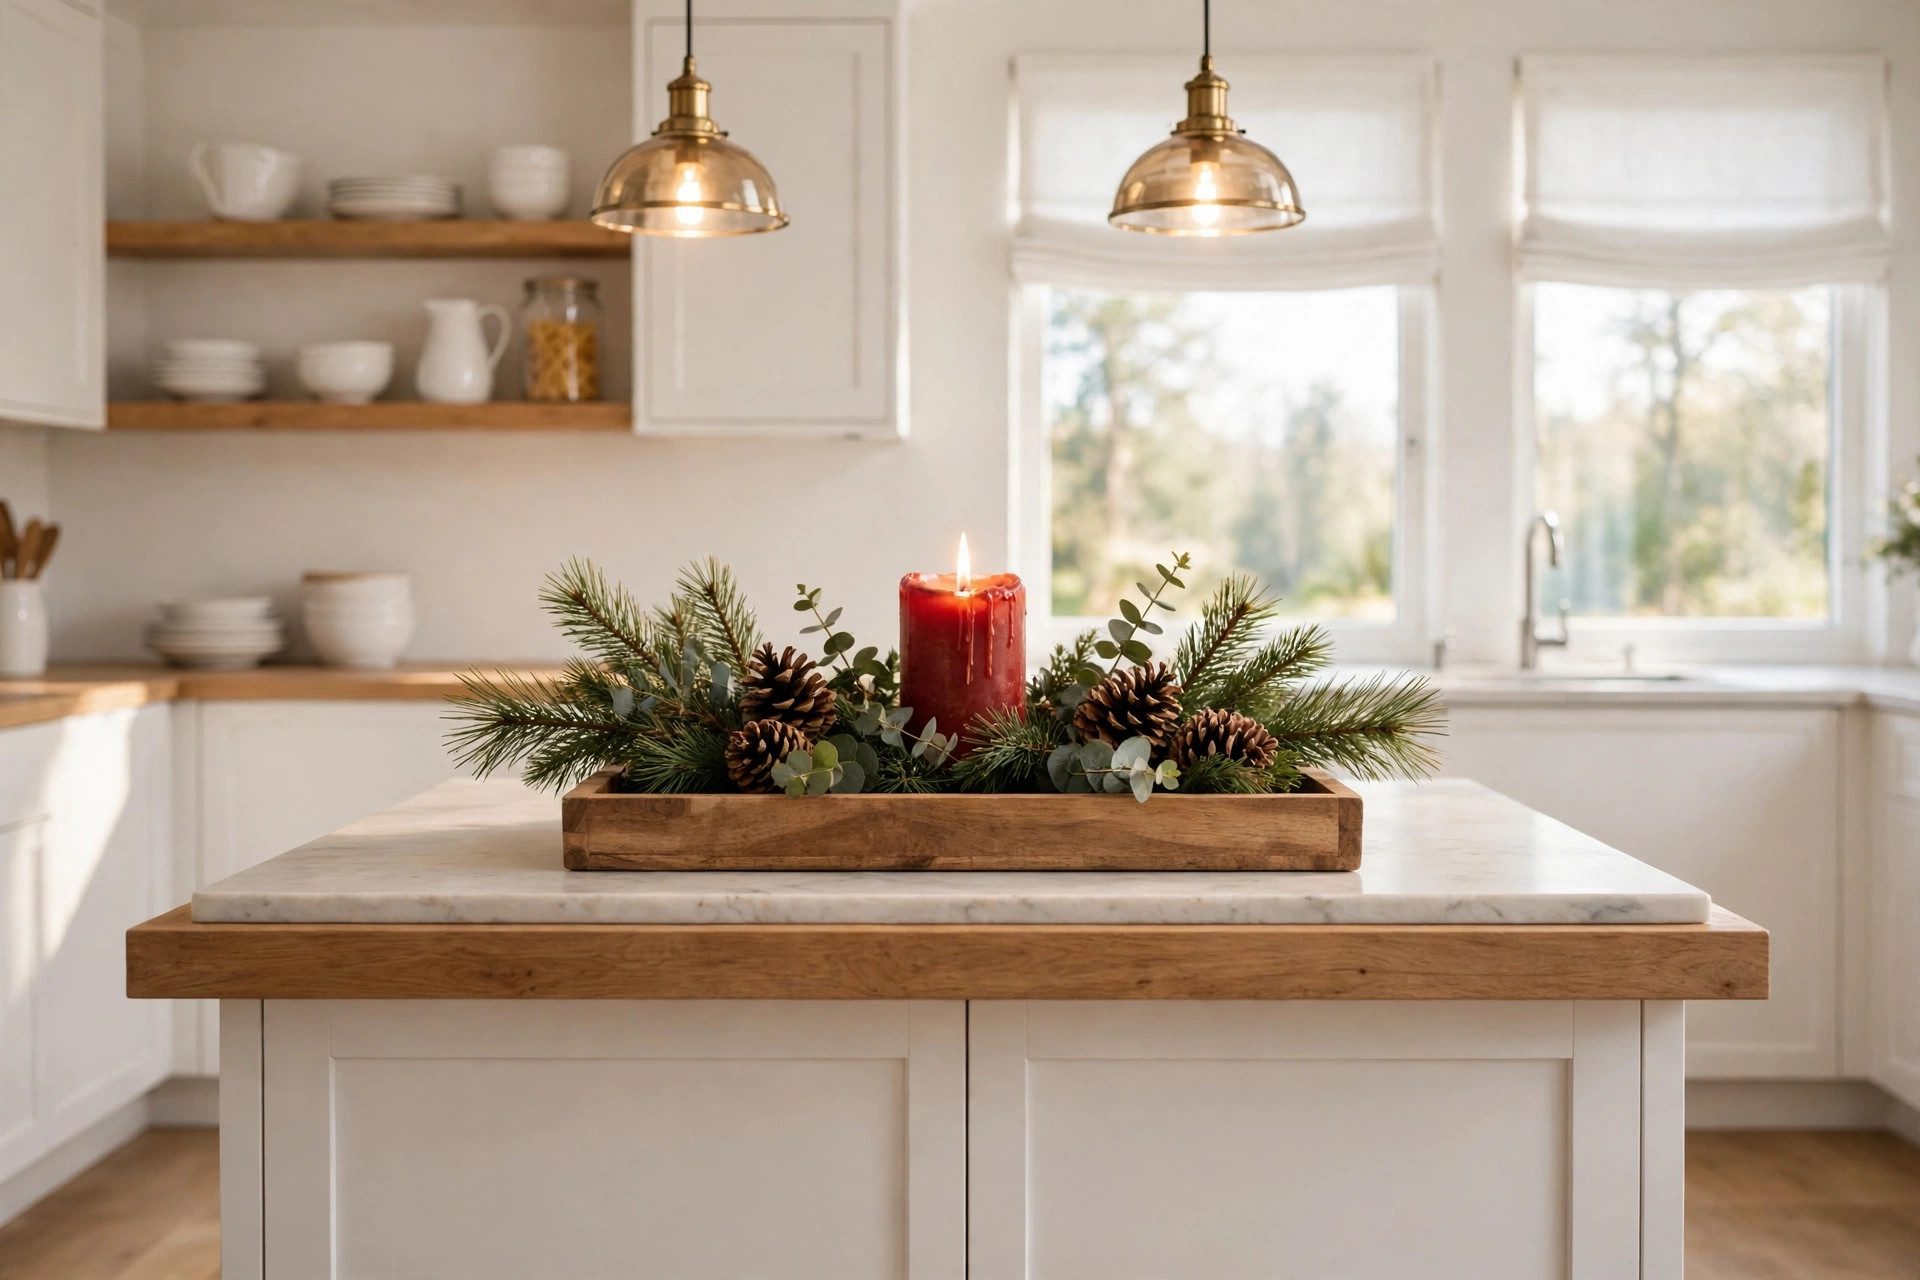
An island centerpiece must be moveable, since the island is a work surface first. On a low wooden tray, set a short garland loop, two battery candles, and a pinecone, and center the tray on the island.
When baking starts, the whole tray lifts away in one motion.
Keep the tray items low, so the island still feels open and guests can talk across it. Tall items on an island block sightlines and get knocked over during busy baking days.
A low tray with candles and green reads as festive without getting in the way.
Choose battery candles for the island tray, since real flames near flour, towels, and moving bakers need constant watching. Battery candles give the same glow with no worry, and they can stay lit through a long baking afternoon. Safety, here, is part of the cheer.
12. Display One Gingerbread House on a Cake Stand
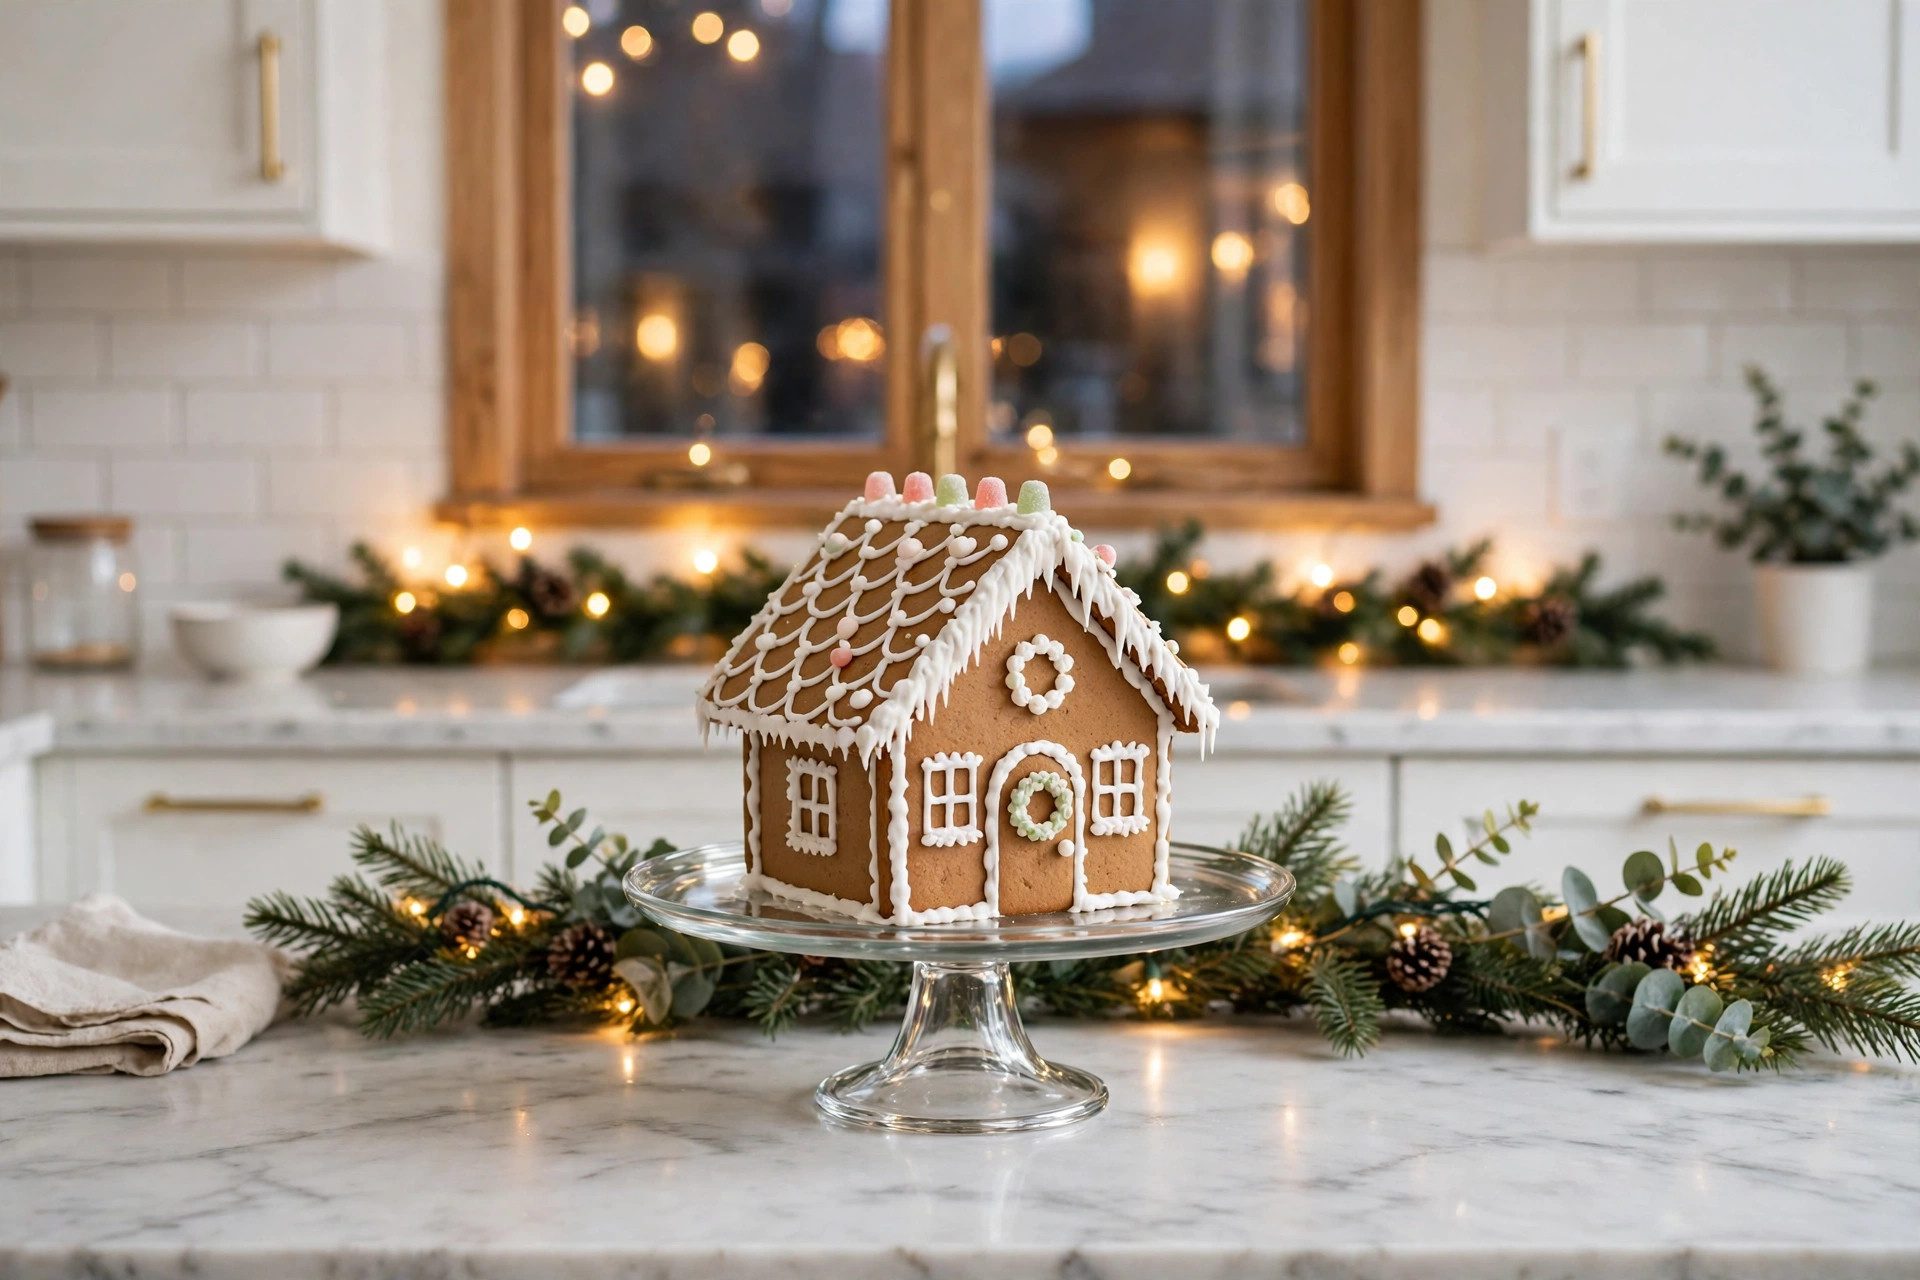
One gingerbread house on a cake stand, set in an island corner, gives the kitchen a sweet focal point without taking over the surface.
Raising the house on a stand gives it presence, while the rest of the island stays open for wrapping, serving, or spreading out a baking project.
Keep the house away from the stove and sink, where steam and splashes soften it quickly. A corner of the island, or a side counter, suits it best. Dust the stand lightly each week, since a dusty display looks tired by Christmas week.
One house is the rule here, since a village of houses spreads across the counter and blocks work. A single house, well placed, draws the eye and starts conversation, while a village becomes a project to manage.
Let the house be the star, not the crowd.
13. Hang a Festive Apron on a Wall Hook
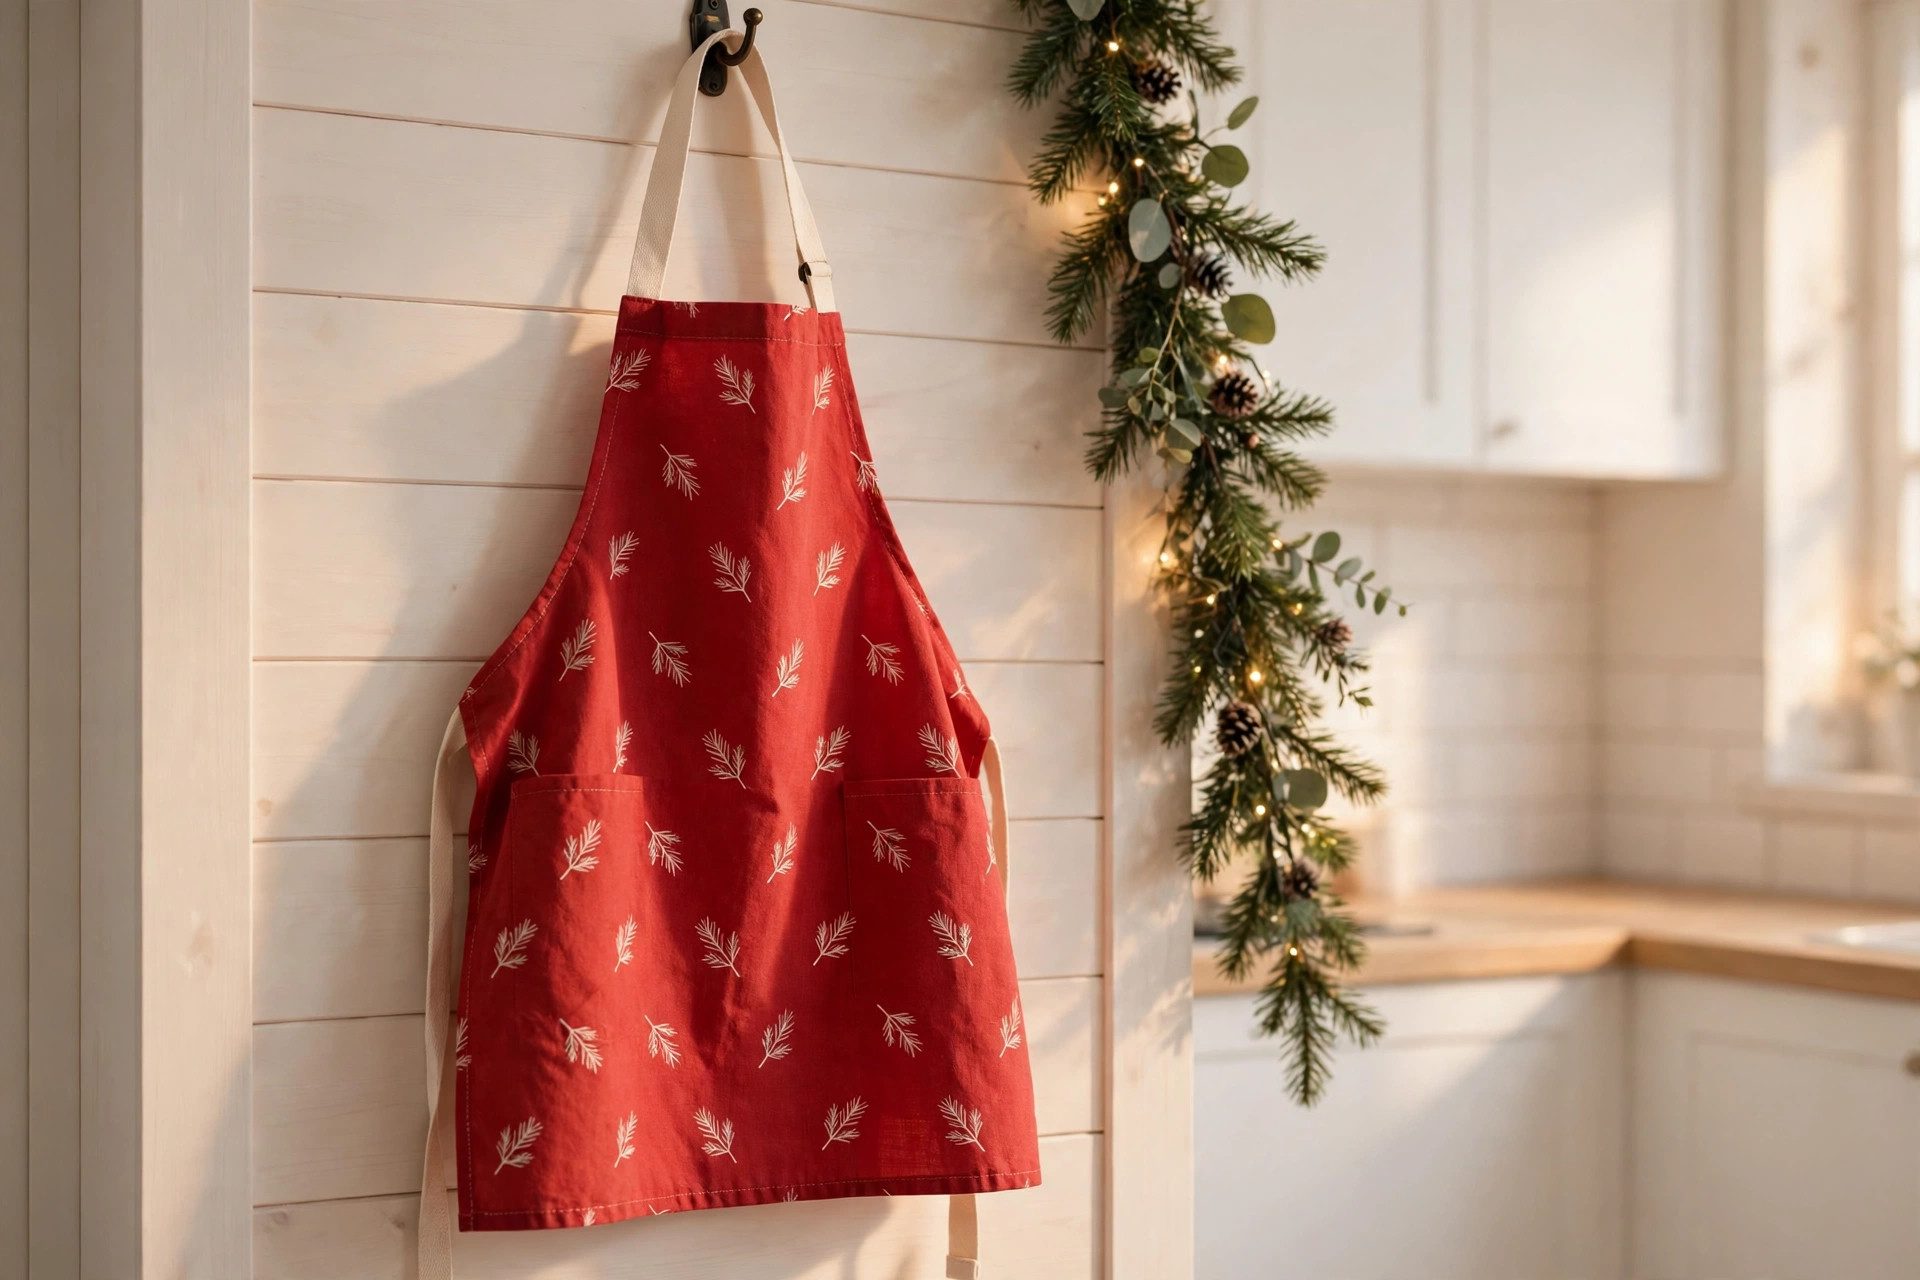
A festive apron hung on a wall hook by the pantry or the stove turns a work tool into decor.
Choose an apron in red plaid or deep green, hang it neatly by its neck loop, and let it be the one strong pattern in that corner. Bakers reach for it without thinking.
Keep the hook sturdy and at a height the baker can reach without stretching. A hook too high means the apron stays hung and unused, while a hook at shoulder height gets daily use.
Wash the apron before the season starts, so it hangs fresh and crisp.
One apron is enough, since two aprons on one hook tangle and look messy. If guests bake too, keep a second apron folded on a shelf nearby, ready to hand out.
The hung apron signals that baking is welcome here, which is the heart of the season.
14. Run Garland Along the Tops of the Cabinets
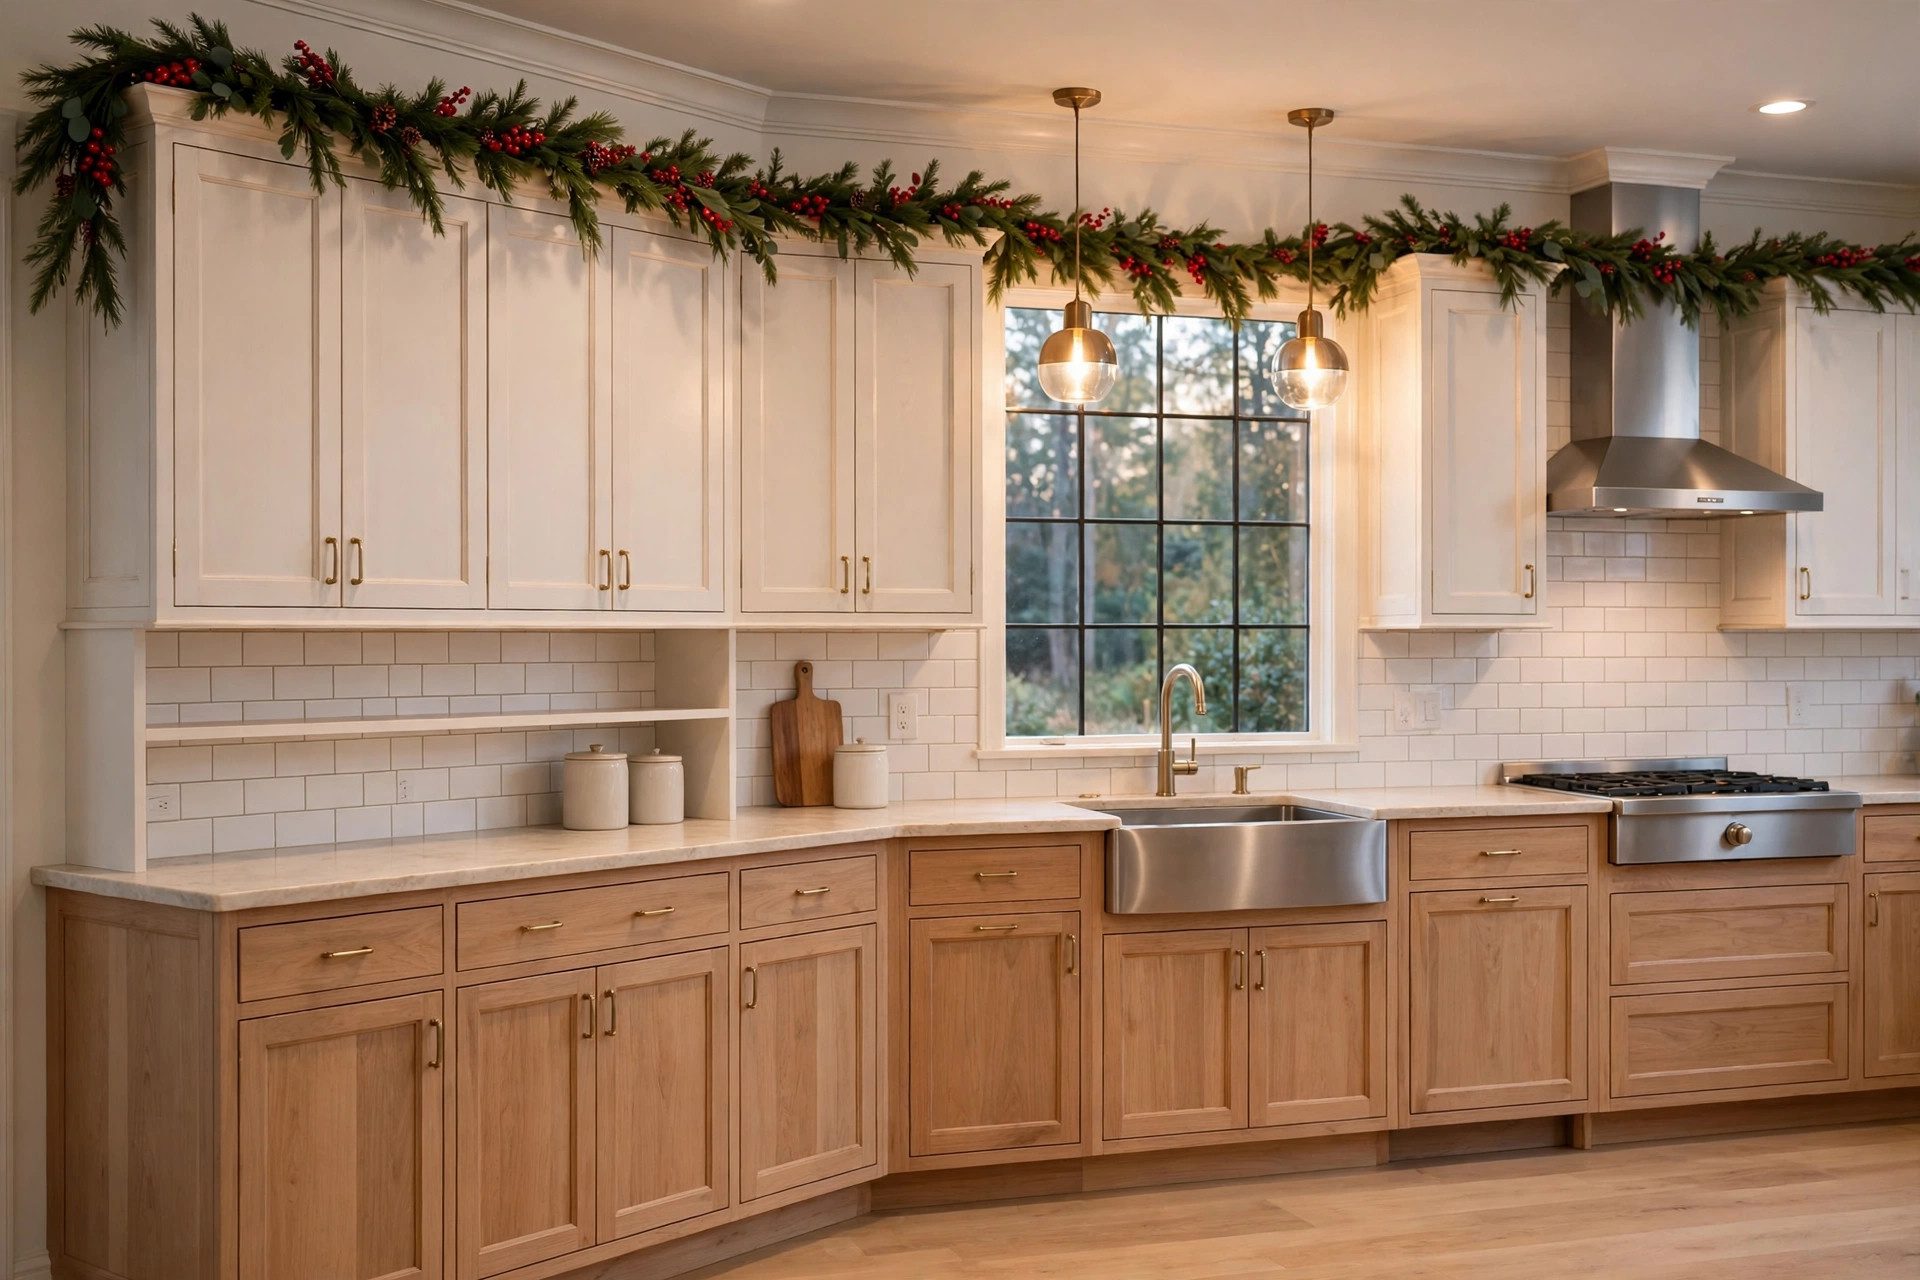
Garland along the tops of the wall cabinets dresses the whole kitchen from above, where it never touches a work surface.
Lay a long evergreen garland along the cabinet tops, letting it spill slightly over the front edge, with a few ornaments tucked in for color.
Keep the garland clear of the range hood and any heat source, since dry greenery near heat is unsafe. Use faux garland up high, where dust settles and real branches dry out fast.
Wipe the garland lightly before guests arrive, so it looks fresh from below.
This high garland pairs with the mantel greenery in the next room, where guests gather after baking. Our Christmas mantel ideas with pine, candles and stockings carry the same green into the living room.
One high garland unifies the kitchen without a single counter inch lost.
15. End Each Baking Day With a Clear Counter Reset
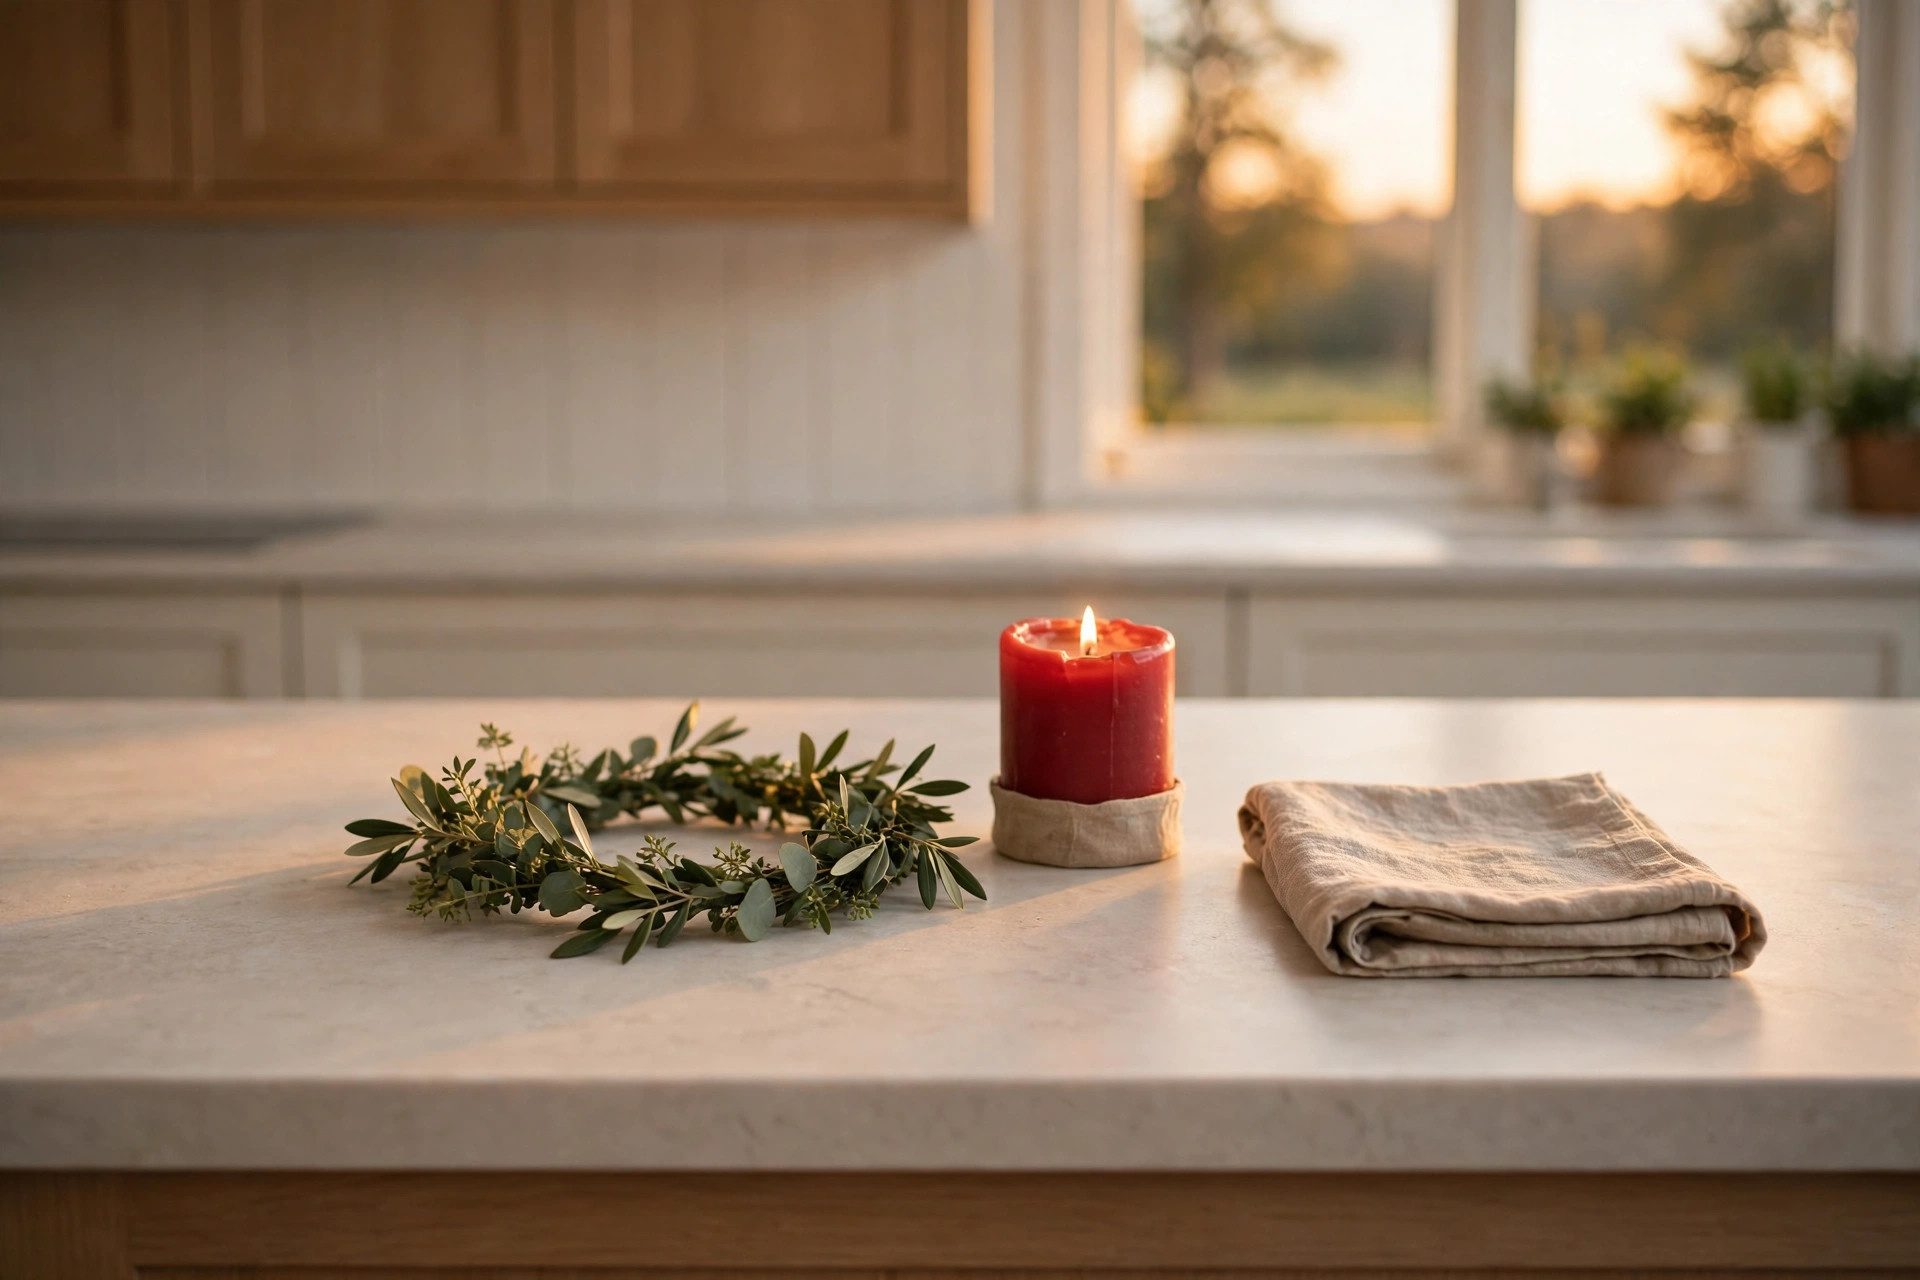
The final idea is a habit, not a decoration. At the end of each baking day, clear the counters, return trays to their corners, wipe the surfaces, and straighten the towels.
A kitchen that resets nightly starts each morning festive, not tired, through the whole season.
Keep a basket by the pantry for baking tools that wander, such as cutters, measures, and piping tips, so they have a home between uses. A basket that catches strays keeps counters clear without constant tidying. Empty the basket back into drawers once a week.
When baking season ends, the garlands and wreaths come down, but the reset habit stays. A kitchen that resets well in December resets well all year, which is a gift beyond the holidays.
The porch, where guests first arrive, carries the same welcome outside, as in our Christmas porch ideas with winter lanterns for a welcome.
Start with the towels, the window lights, and one tray, since those three change the kitchen fastest. Add the garland and wreaths next, then the cocoa station only if a counter corner stays free.
A baking kitchen should feel festive while it works, not instead of working.
When the season ends, pack the wreaths and garlands away carefully, and keep the jars and mugs in rotation through winter. The kitchen will ease out of Christmas without feeling bare. Save this list to your Christmas Decor Ideas board for your next baking season.


