

15 Kitchen Baking Station Ideas for Home Bakers
Baking is much more enjoyable when everything you need is already in one place.
Instead of hunting for flour in one cupboard, measuring cups in another and a baking sheet buried under roasting tins, a dedicated baking station keeps your mixer, ingredients and tools together, ready when you want to bake.
The best kitchen baking station ideas work in ordinary kitchens, not just large renovated ones.
A single run of counter, a deep drawer, a rolling cart or one well-planned cabinet can hold a complete setup if you think in zones: storing, mixing, rolling, baking and cooling.
If you buy staples in larger quantities, these pantry organization ideas for bulk shoppers pair well with a station, because everyday amounts can live there while the rest stays stored.
Below is a simple step-by-step guide first, then fifteen practical ideas you can copy one at a time. Start with the one that solves your biggest frustration — a heavy mixer, cluttered counters or nowhere to cool a tray.
This post contains affiliate links. If you buy through them, we may earn a small commission at no extra cost to you. See our Affiliate Disclosure.
How to Set Up a Kitchen Baking Station, Step by Step
Start by choosing the spot, not the accessories. Look for a surface near a power socket and reasonably close to the oven and sink, with enough room to open the oven door fully and set down a hot tray safely.
Measure the counter depth, the height under any wall cabinets and the space your mixer needs with its head tilted back.
Then gather everything you bake with regularly and be honest about what earns a place: mixer, bowls, measuring tools, scales, rolling pin, your most-used tins and everyday ingredients. Anything used once a year can live elsewhere.
If storage is tight overall, these kitchen storage ideas for apartments with no pantry can help you free a cabinet or drawer before you begin.
Next, arrange the station in the order you actually bake. Ingredients and scales go where you weigh out, bowls and the mixer where you mix, and a clear stretch of counter where you roll, shape and fill tins.
Store heavy items low and light, awkward items, such as trays, upright where you can see them. Keep a small container for utensils in use so floury spoons never wander across the whole kitchen.
Finally, live with the setup through two or three bakes before fixing anything permanently. You will quickly learn what needs to move closer and what can go.
1. Hide the Mixer on a Lift Inside a Cabinet

A stand mixer is the engine of most baking stations, but it is also heavy, tall and awkward to drag out of a low cupboard.
A cabinet fitted with a spring-assisted mixer lift solves that in one move: open the door, pull the shelf up until it locks level with the counter, and the mixer is ready to use.
When you finish, it lowers back inside and the counter is clear again. Keep attachments in a basket beside it, leave clearance for the mixer head, and this cabinet can anchor the whole station.
2. Create a Clear Canister Zone for Everyday Staples
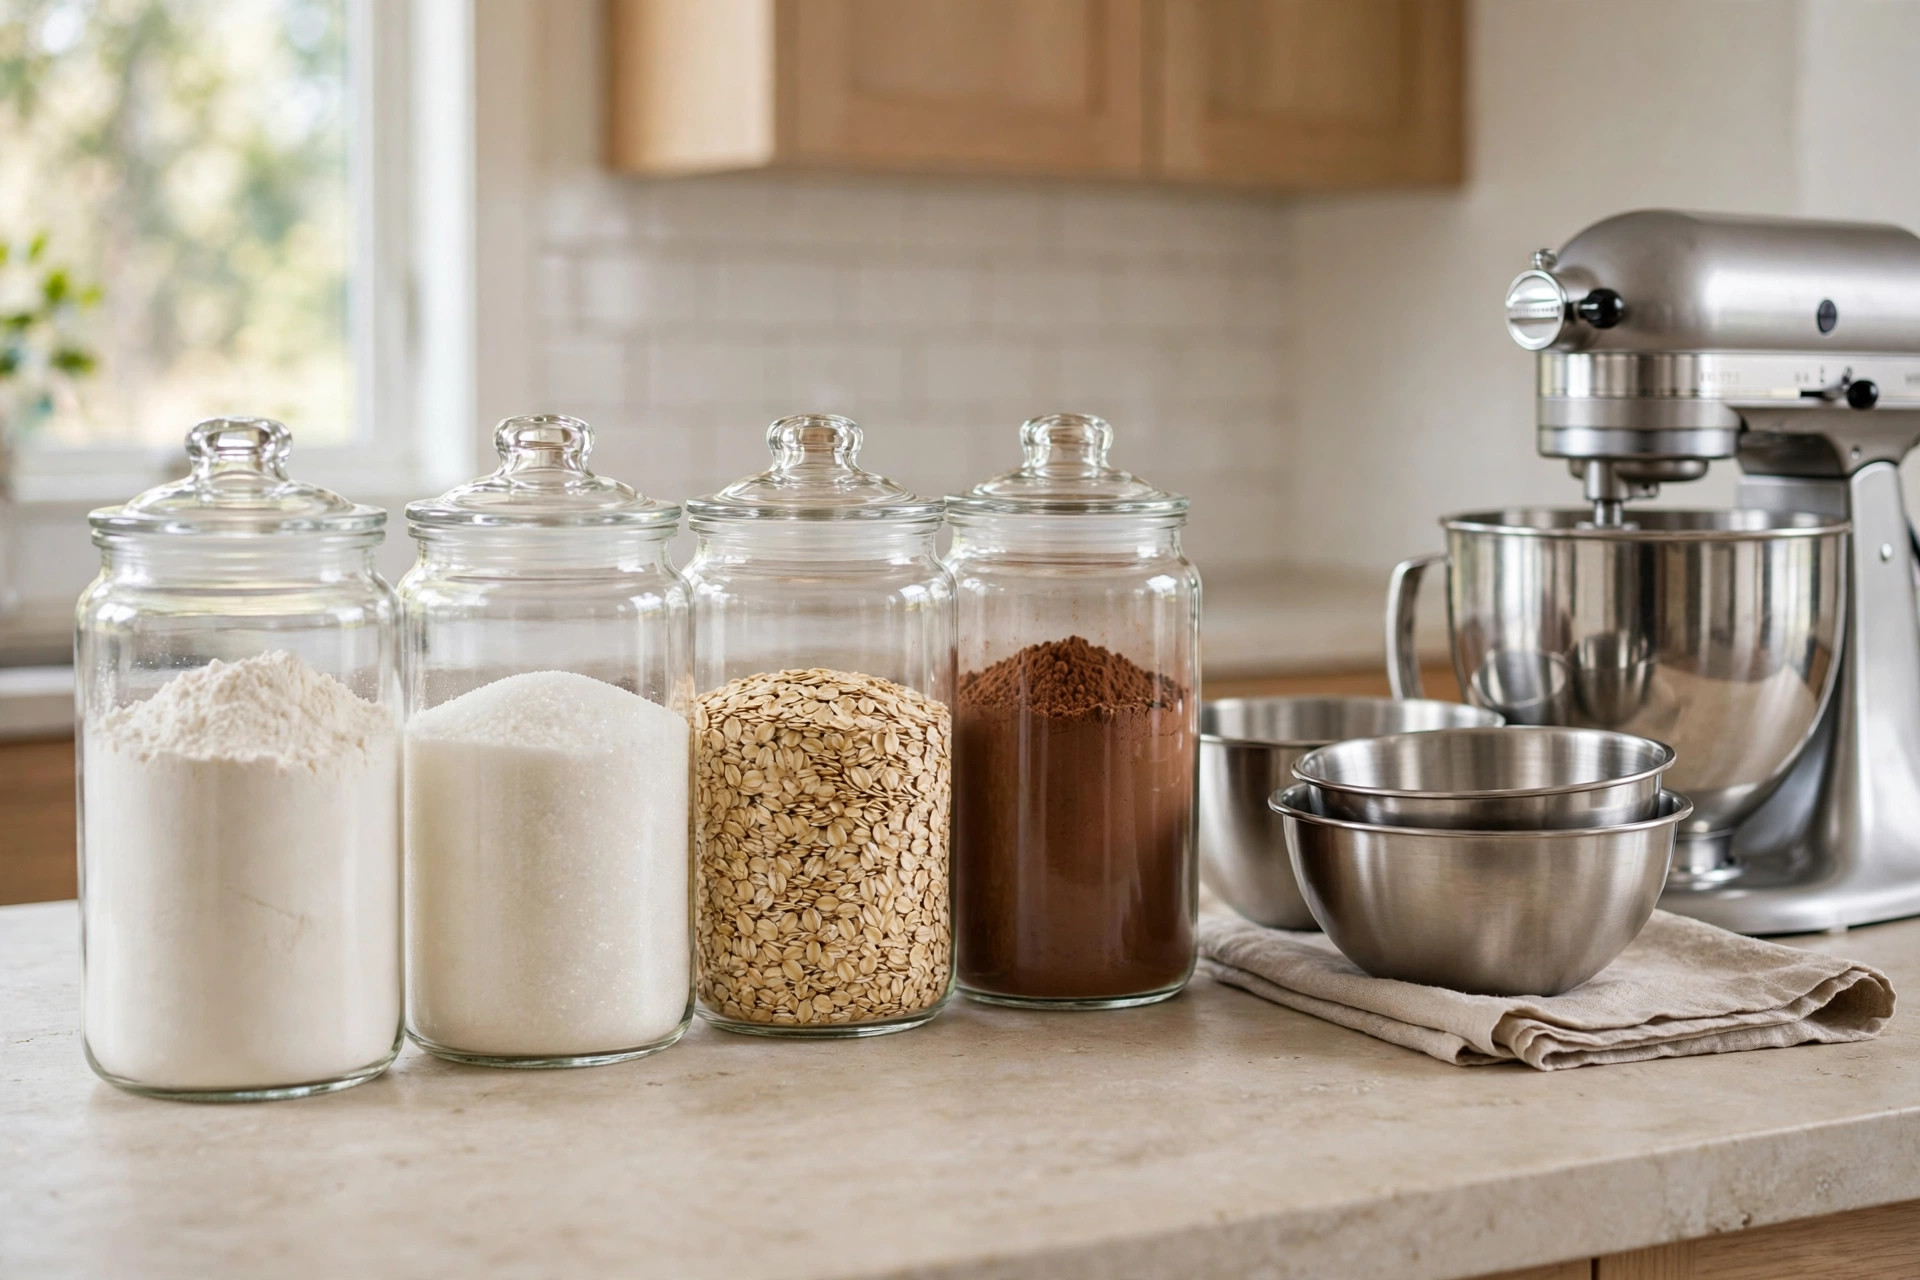
Flour, sugar, oats, cocoa and baking powder are easier to use from clear, wide-mouthed canisters than from torn paper bags.
Line up a small row on the counter or a shallow shelf directly above your mixing area, choosing containers you can open and scoop from easily. Label each one clearly, including plain and self-raising flour, which look identical at a glance.
Keep only everyday amounts at the station and refill from larger storage, so the canisters stay fresh, light and easy to move when you wipe the counter.
3. Store Baking Sheets and Trays Upright

Baking sheets, muffin tins, cooling racks and chopping boards are much easier to reach when they stand upright like files in a cabinet, a deep drawer or a narrow gap beside the oven.
Use simple dividers, tension rods or a vertical rack to stop them sliding into a heavy stack. You can see every tray at once and pull out the one you need without unloading the rest. This removes a surprising amount of baking-day clatter.
4. Roll In a Cart When Counter Space Is Short
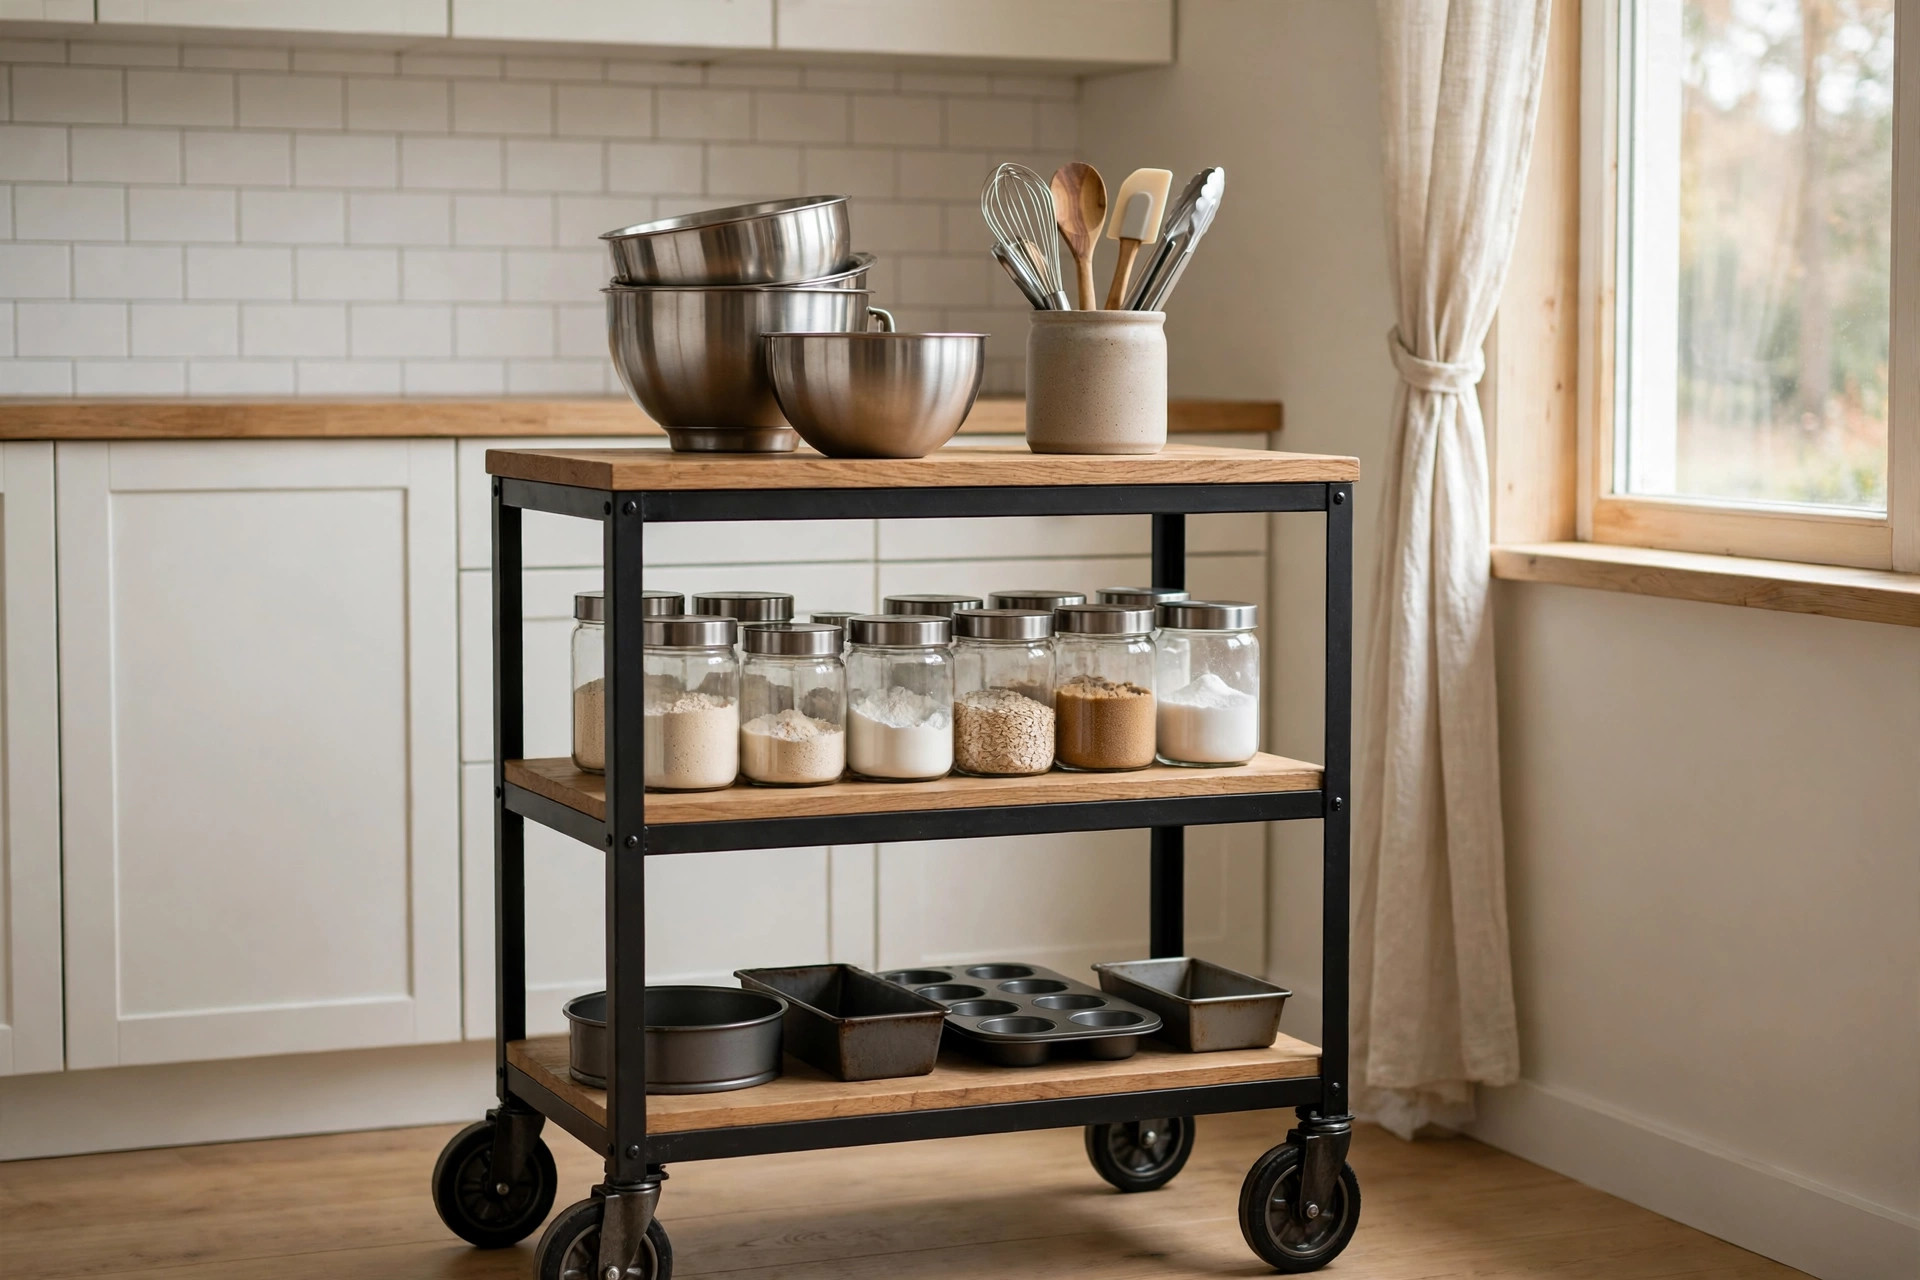
A sturdy rolling cart can become a complete baking station in a small kitchen. Put the mixer or your mixing bowls on top, ingredients and tins on the shelves below, and utensils in a container at one end.
Roll it to the counter when you bake, then park it against a wall afterwards. Choose locking wheels and a comfortable working height.
The same flexible thinking behind these small kitchen coffee station ideas for apartments applies here: one mobile station beats scattered supplies every time.
5. Claim a Countertop Corner as Your Command Centre
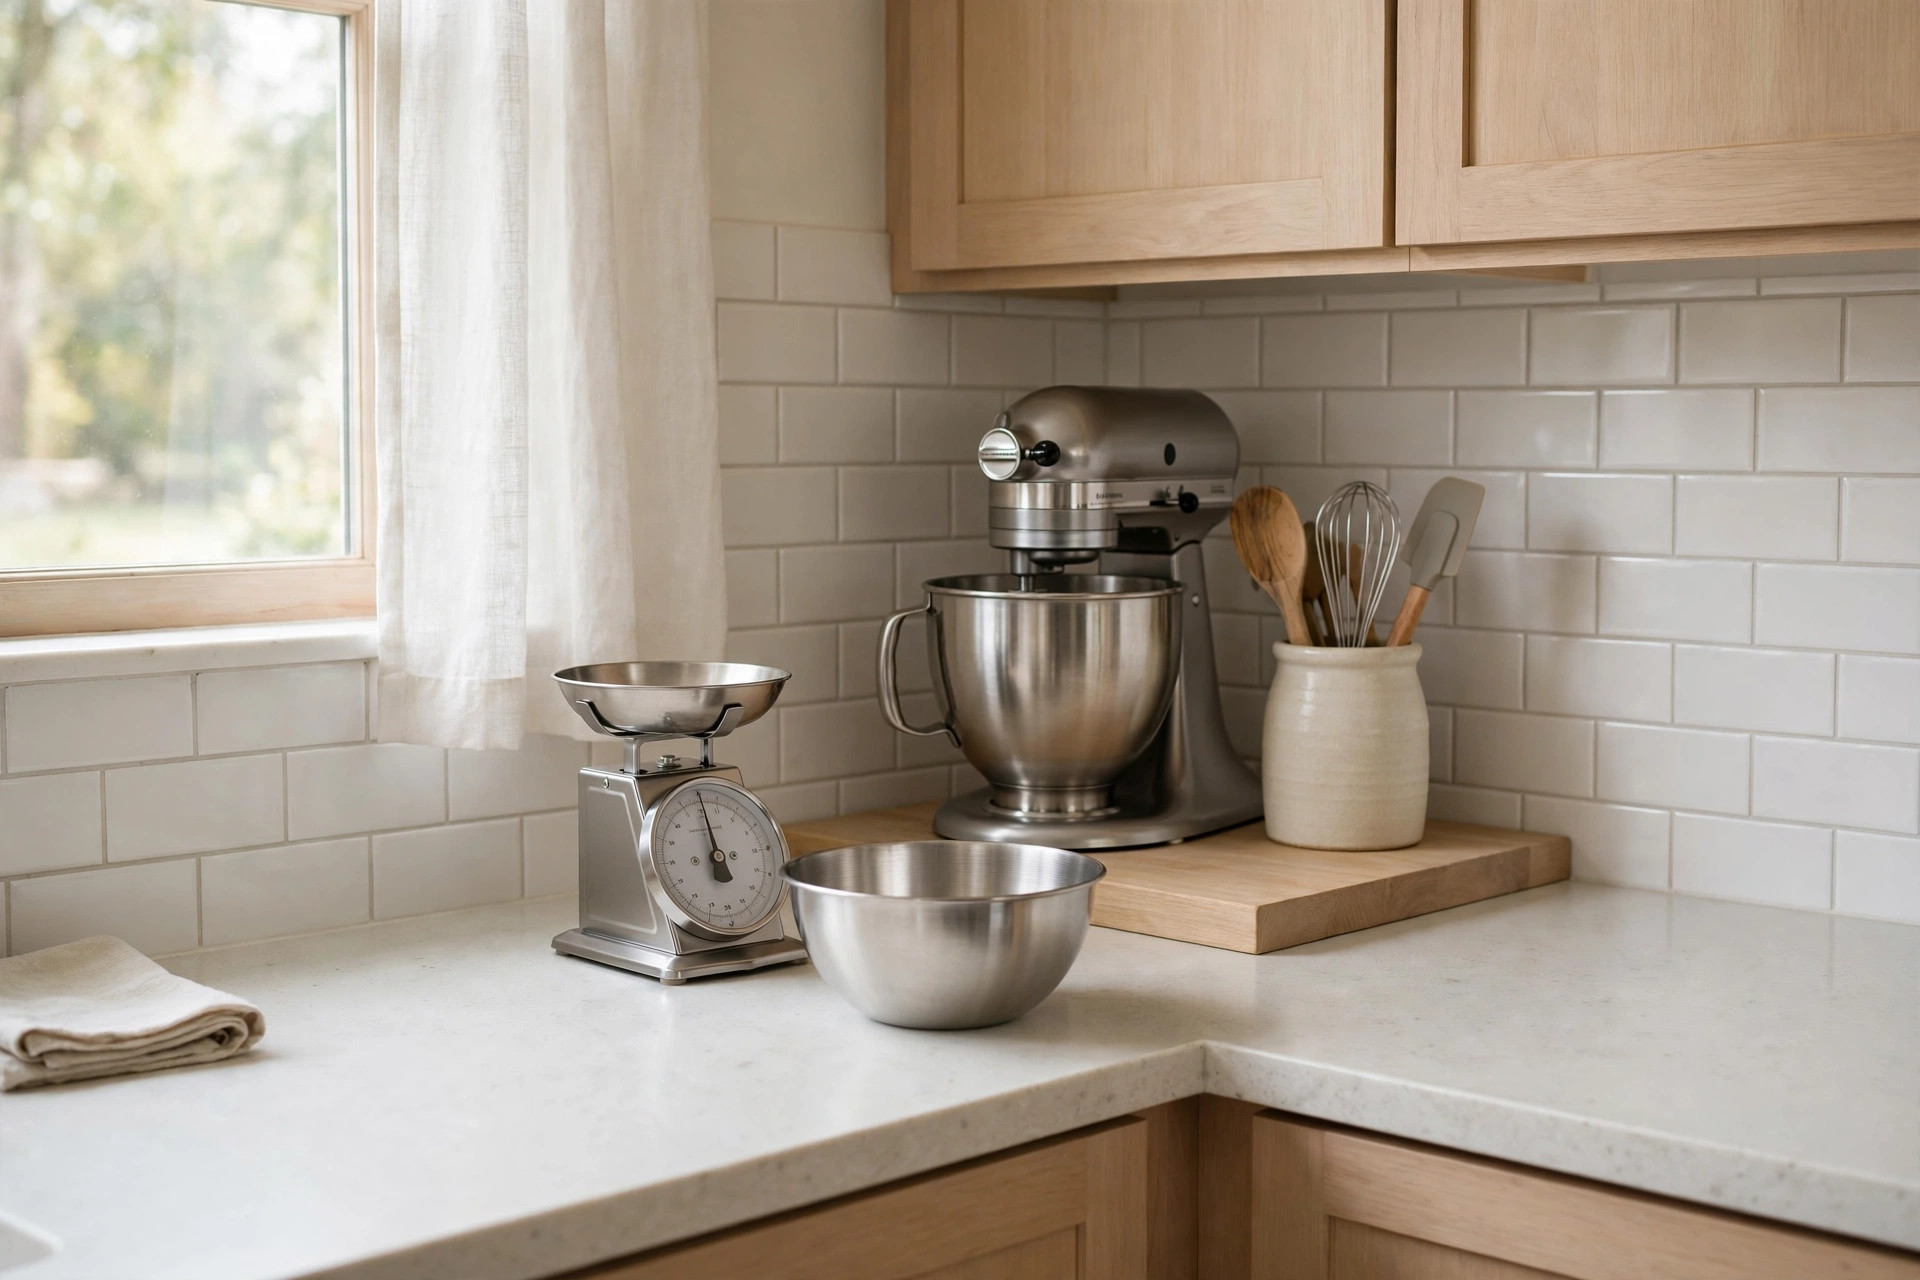
An unused countertop corner is often the simplest station of all. Corners suit a mixer perfectly: the machine sits back while the counter in front stays free for bowls and weighing.
Add a tray underneath to slide it forward, utensils in a crock beside it, and a shelf or rail on the wall above. Defined by a board or mat, the corner reads as one tidy zone rather than spreading clutter.
6. Add a Pull-Out Worktop for Rolling and Kneading

If your counters are crowded, a pull-out worktop hidden in a drawer slot gives you extra surface exactly when you need it. Slide it out for rolling pastry, kneading dough or cutting biscuits, then push it away.
A smooth surface slightly lower than the main counter is especially comfortable for kneading, because you can use your body weight properly. Keep flour and a bench scraper in the drawer directly beneath it.
7. Divide Deep Drawers for Ingredients and Tools

Deep drawers beside the oven make excellent baking storage because you can see everything from above instead of reaching into a dark cupboard. Use dividers or snug containers to create sections for ingredient jars, measuring tools, piping nozzles, liners and small tins.
Store heavier items in the lowest drawer and everyday tools in the top one. A drawer station keeps counters completely clear, which is ideal if your baking has to share space with everyday family cooking.
8. Tuck Everything Behind an Appliance Garage Door

An appliance garage — a countertop cabinet with a lift-up or roll-down door — hides the mixer and everyday tools while keeping them plugged in and ready. Behind the door the station can look busy; closed, the kitchen looks calm.
This suits open-plan kitchens especially well. If a built-in is not possible, a lidded crate or fabric mixer cover gives a lighter version, and these renter-friendly kitchen makeover ideas offer more no-drill ways to make a kitchen feel finished.
9. Use Open Shelves for Bowls, Jars and Cookbooks

One or two open shelves above the station keep mixing bowls, ingredient jars, scales and your most-used cookbooks visible and easy to grab mid-recipe. Baking involves floury hands, so storage you can reach without opening cupboard doors is genuinely useful.
Keep shelves shallow, group similar items together and leave breathing room so the display feels calm. Reserve the lowest shelf for daily items.
10. Give Cooling and Decorating Their Own Zone

Hot trays often cause the biggest scramble. Plan a cooling zone instead: a clear, heat-safe stretch of counter or sturdy rack near the oven where trays can go without a search.
Once things cool, the same spot becomes your decorating area, with a turntable, palette knives and sprinkles. Keeping decorating separate from mixing stops finished bakes sitting in a cloud of flour.
11. Build the Station at the End of an Island

The short end of a kitchen island is a natural baking station. It offers counter on three sides for rolling and shaping, and lets someone else keep cooking without crossing your workspace.
Fit the end cabinets for baking storage — trays upright, ingredients in drawers — and keep the surface mostly clear. Good task lighting over the end makes evening baking and decorating easier.
12. Set Up Beside the Pantry So Refills Take Seconds

Placing the station next to the pantry or main food cupboard makes the whole routine smoother. Backup supplies live a step away, canisters refill without a trip across the kitchen, and putting away a big shop is faster.
For overflow dry goods or seasonal tins you only use occasionally, the approach in these garage laundry room ideas can help you turn an adjoining utility space into useful, organised backup storage.
13. Use a Freestanding Worktable When You Cannot Renovate

A small freestanding worktable, butcher’s block or sturdy desk-height table can hold a complete station without changing the kitchen at all. Add a lower shelf or crates for tins and ingredients, and hooks on the side for measuring cups.
This suits renters and kitchens where counters are the wrong height for kneading. When you move, the whole station moves with you.
14. Hang Pans and Tools on a Wall Grid or Peg Rail

Wall space above or beside the station can hold more than you expect. A peg rail or grid panel keeps whisks, spatulas, measuring cups, scissors and even loaf tins visible, reachable and off the counter.
Arrange tools in the order you use them and leave gaps so nothing feels crammed. Everything has a visible home, so tidying takes a minute. Choose fixings suited to your wall, and keep the heaviest pans on lower hooks.
15. Keep a Decorating Caddy Ready to Lift Out

Decorating supplies are small, numerous and easy to scatter through three different drawers. Gather them into one handled caddy or divided box instead: piping tips and bags, food colouring, sprinkles, palette knives, brushes and a small offset spatula.
Lift it out when a cake is cool, carry it to your decorating spot, then put the whole kit away in one trip. It can live in a cupboard without wasting counter space, and nothing essential goes missing mid-cake.
Common Mistakes to Avoid
Mistake 1: Storing ingredients too far from where you mix. If flour, sugar and scales live across the kitchen from the mixer, every bake involves repeated trips with messy hands.
Keep everyday amounts within one step of your mixing spot and store only backups further away.
Mistake 2: Letting the station spread across every counter. A baking station should have a clear edge — one counter run, cart or cabinet. When supplies creep everywhere, cooking and baking start competing for the same space and both become stressful.
Contain the station, even if that means editing what lives in it.
Mistake 3: Forgetting a landing spot for hot trays. Many stations plan storage and mixing carefully but leave nowhere safe for a tray coming out of the oven.
Always keep a heat-safe surface or rack clear near the oven before you start baking, not after the timer sounds.
Frequently Asked Questions
How much counter space does a baking station need? Less than most people expect.
A single counter run or corner wide enough for your mixer, a bowl and a set of scales can work well, especially if ingredients and trays are stored in drawers or on shelves nearby. Carts and pull-out worktops can add surface only when you bake.
Where should I store flour and sugar at a baking station? Keep everyday amounts in clearly labelled, airtight canisters close to your mixing area, at counter height or in a shallow drawer or shelf.
Store larger backup bags in a cool, dry pantry or cupboard and refill the canisters as needed.
Can I create a baking station in a rented kitchen? Yes. A rolling cart, a freestanding table, countertop canisters, drawer dividers and a decorating caddy all work without drilling or renovation.
Open shelves can be replaced with over-door racks or a wall rail using removable fixings where your agreement allows.
What should I buy first if I am starting from scratch? Start with storage and workflow, not gadgets: containers for staples, a way to store trays upright, and one defined surface for mixing and rolling.
Add items such as a cart, turntable or extra racks only after a few bakes show you what your kitchen actually needs.
Final Thoughts
A good baking station is not really about having more — it is about having the right things together.
When your mixer, ingredients, trays and tools share one planned home, baking stops feeling like a kitchen-wide project and starts feeling like something you can begin on a whim, even on a weekday evening.
Choose one idea from this list, set it up properly and bake with it a few times. Then add the next improvement your experience points to, whether that is upright tray storage, a canister zone or a simple caddy for decorating.
Small, well-chosen changes, made in the order you actually need them, are how an ordinary kitchen quietly becomes a home baker’s favourite place to be.


