

15 Best Small Countertop Compost Bins With Charcoal Filters
A countertop compost bin does not have to smell, and a sealed plastic tub is not the same thing as a filtered bin. The smell most people blame on compost is really the smell of scraps trapped with no filter at all.
The best small countertop compost bins with charcoal filters fix that one problem at the source. A charcoal filter in the lid traps odors as air moves, so peelings and coffee grounds can wait on the counter without taking over the room.
Size is the other half of the choice. A bin should hold two or three days of scraps for your household, and still leave room to chop, stir and work beside it.
The fifteen styles below split by material, shape and filter setup, so you can match the bin to your counter and your cooking.
None of them asks for power, plumbing or a big footprint. A lidded bin, a fresh filter and a steady emptying rhythm are the whole system, and it fits almost any kitchen.
This post contains affiliate links. If you buy through them, we may earn a small commission at no extra cost to you. See our Affiliate Disclosure.
1. A Stainless Steel Bin With a Charcoal Filter in the Lid

Stainless steel is the classic countertop choice: it does not hold stains, it wipes clean, and it sits calmly next to steel appliances. The filter lives in the lid, held in a small frame or pocket.
A one piece steel body has no seams inside where liquid can hide, which makes the weekly wash simple. Hot water, a drop of dish soap and a soft cloth are all the care it asks for.
Fingerprint marks are the one trade off on a shiny finish. A brushed finish hides them far better than a mirror polish, so choose brushed if the bin will live in bright light.
Empty the bin before it is packed tight, because a lid that cannot close cannot filter at all.
2. A Small Ceramic Bin That Looks Like a Counter Canister
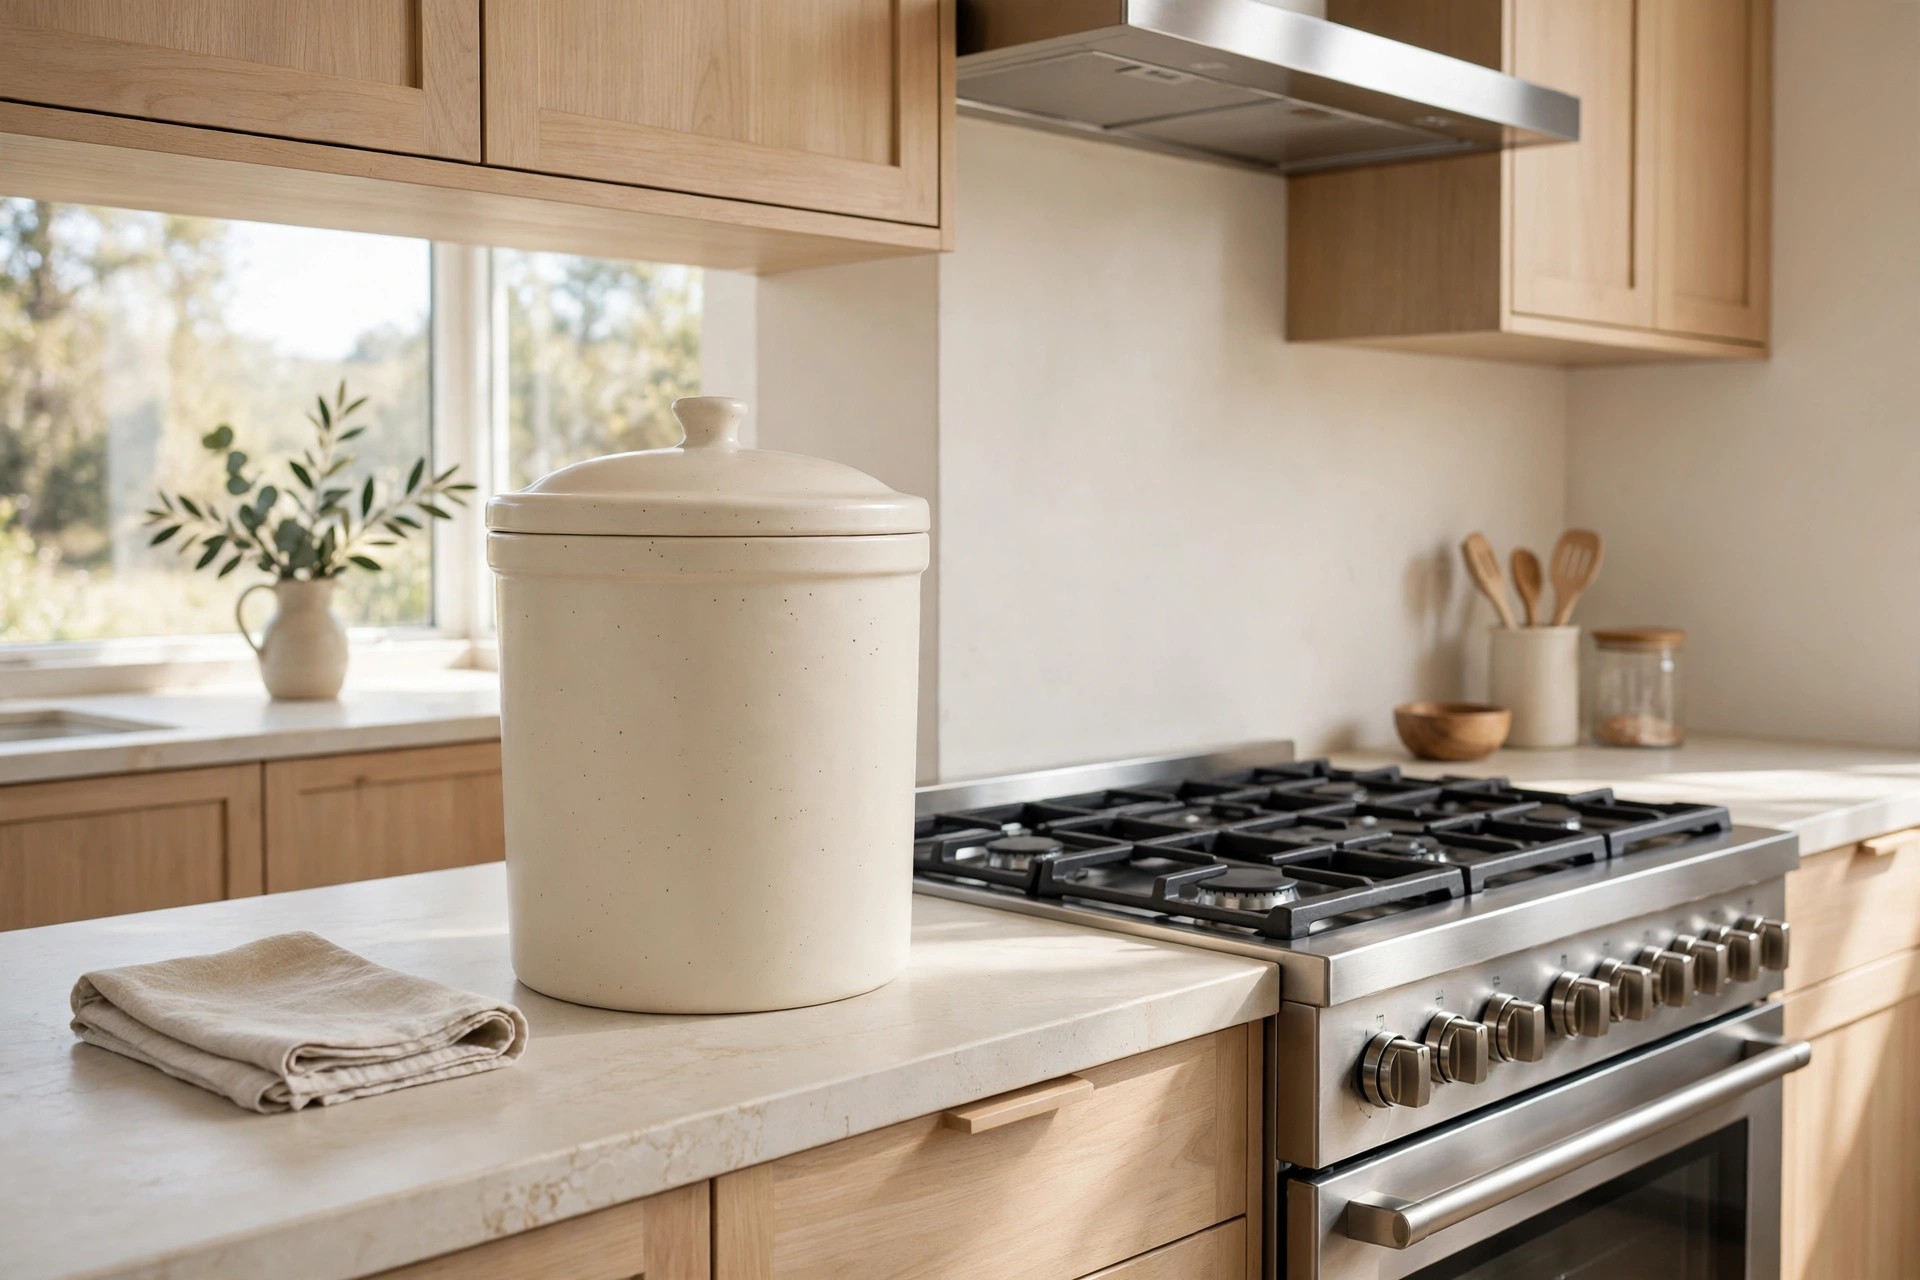
A ceramic bin reads as a canister, not a waste bin, which helps in an open kitchen where the counter is always on show. Guests see a lidded pot beside the stove, and that is the end of it.
Ceramic is heavy for its size, so it stays put when you lift the lid with one hand. That weight also means it is not the bin to carry far when full, so empty it more often.
Check that the filter housing sits inside the lid and that spare filters are easy to find for that shape. A lovely bin with filters you cannot replace becomes a plain pot within a year.
Rinse the bin on emptying day and dry it fully, and the next fill starts fresh every time.
3. A Slim Bin That Fits Between the Sink and the Wall
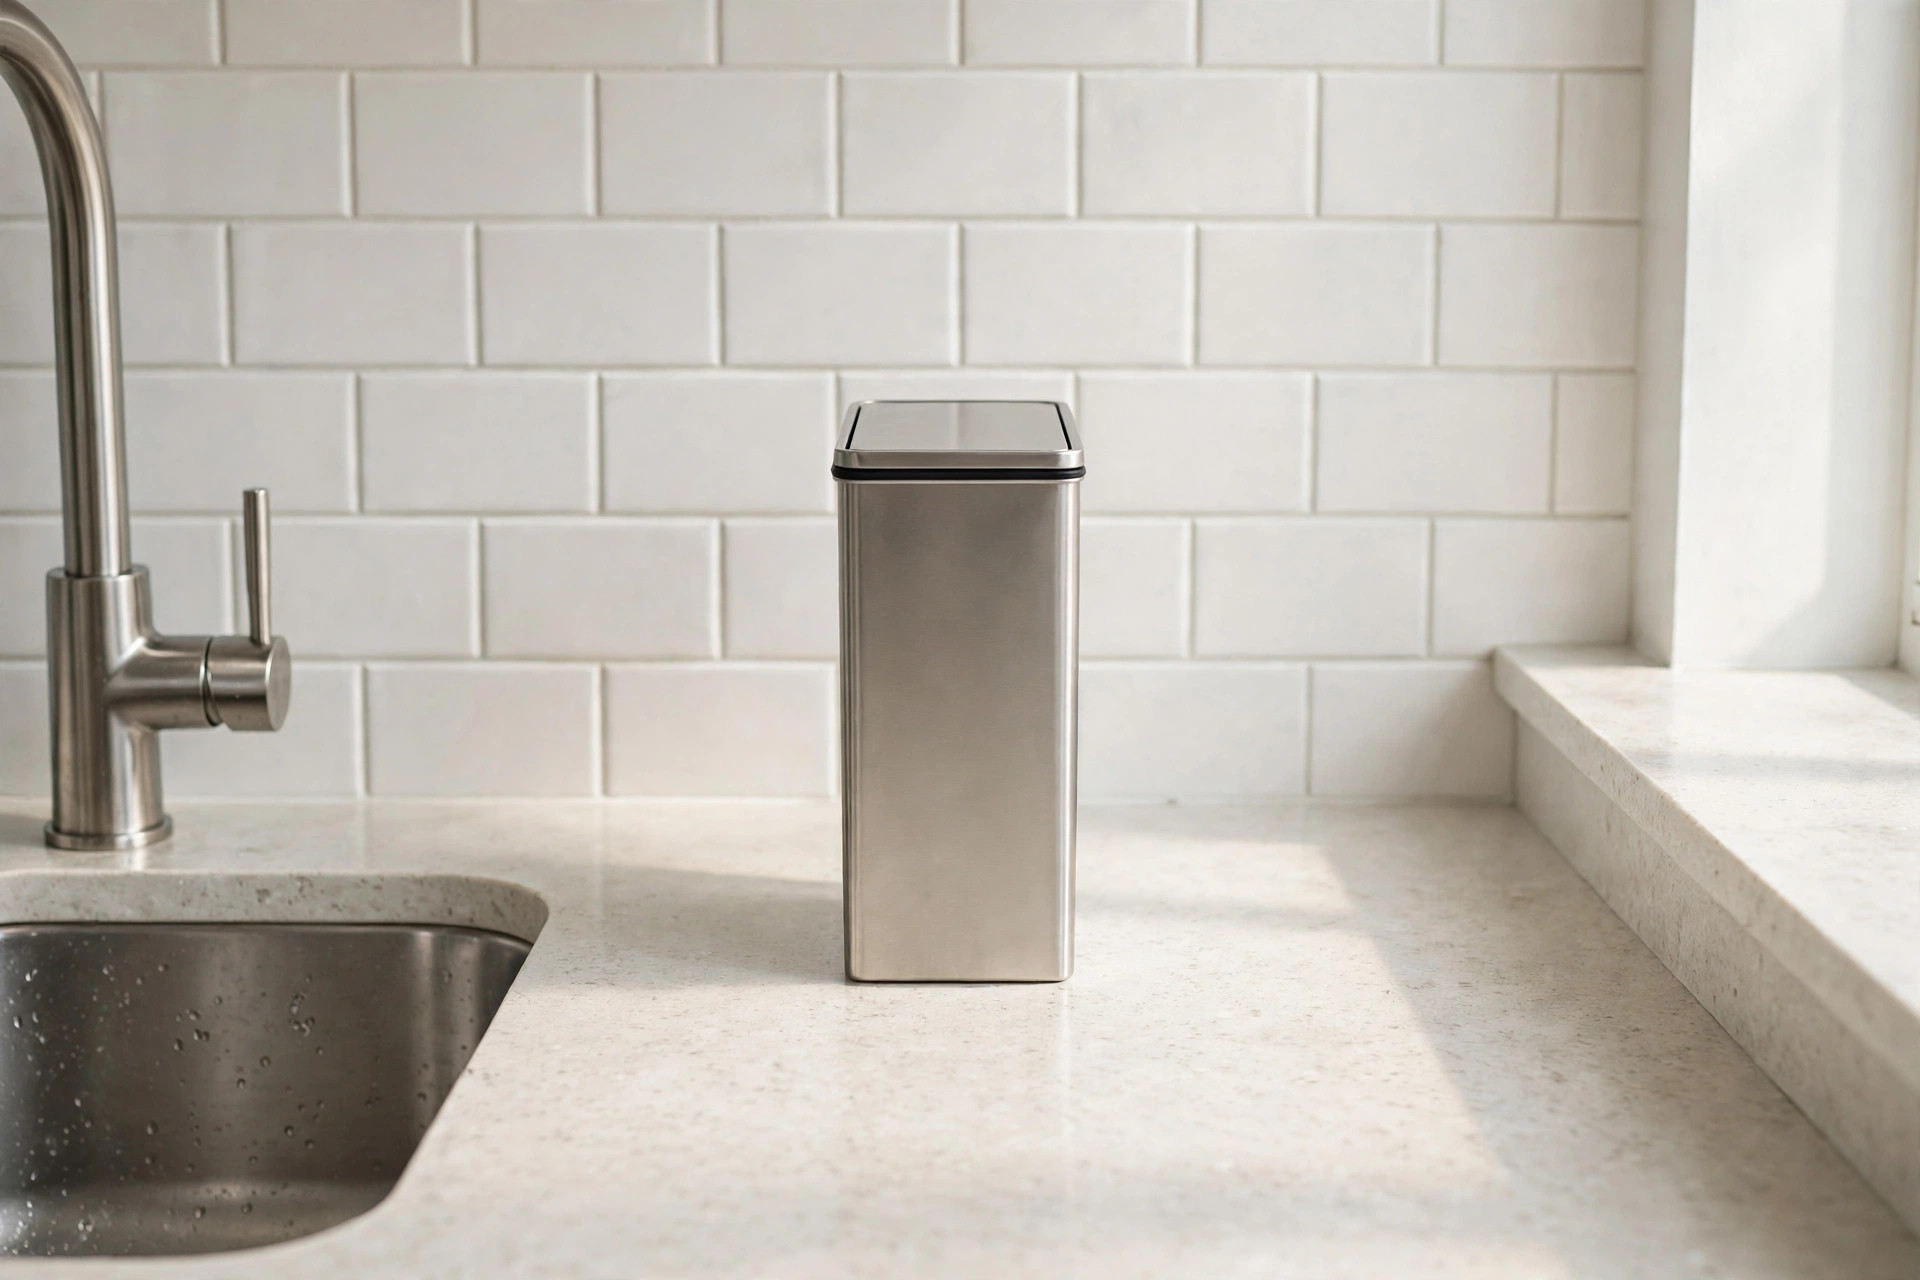
Counter depth, not counter length, is what most small kitchens lack. A slim bin with a narrow footprint tucks into the strip between the sink and the backsplash, a space few other tools can use.
Slim bins hold less, so they suit one or two people, or cooks who empty scraps into a freezer bowl or outdoor bin daily. In return, your main prep area stays fully clear for boards and pans.
Measure that back strip before you order, taps and soap bottles included. A bin that forces the soap into the sink bowl has traded one clutter problem for another, smaller one.
Keep coffee grounds on top of wet scraps when you can, because dry grounds help the top layer stay mild.
4. A Bin With an Inner Bucket You Can Lift Out
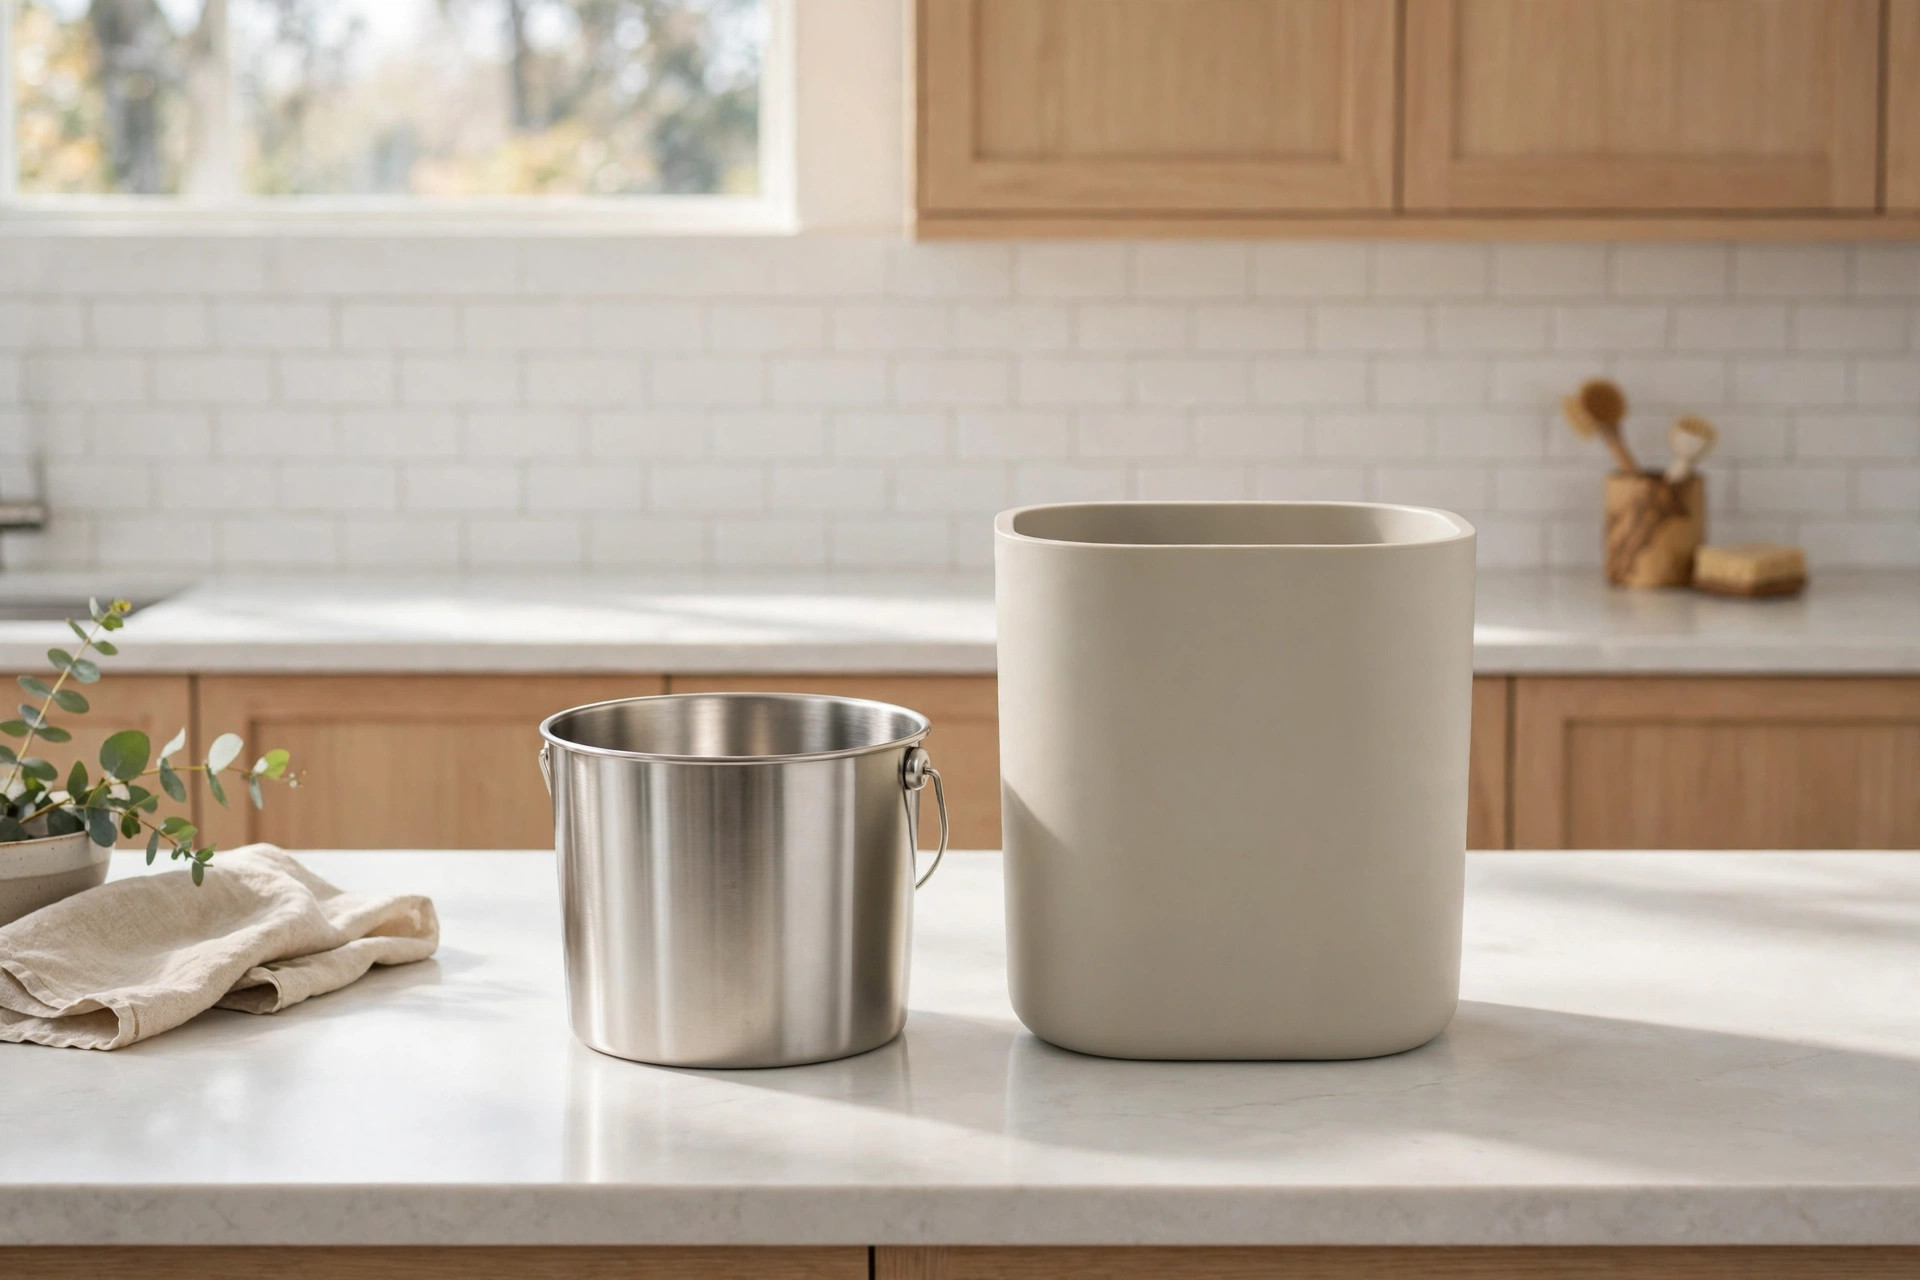
An inner bucket changes emptying day. You lift the bucket by its handle, carry it to the outdoor bin or collection caddy, tip, rinse and slot it back, while the outer bin stays clean on the counter.
Liners fit inner buckets better than shaped outer bins, so a compostable liner stays neat instead of slipping down. The bucket also catches leaks before they reach the counter or the bin base.
Wash the outer bin now and then anyway, because drips find the gap between bucket and shell. A monthly rinse keeps the whole setup as fresh as the filter promises it will be.
Mark the filter change month on a small sticker inside the lid, where you will see it weekly.
5. A Bin With Two Filters for a Warm Kitchen

Heat speeds up smells, so a warm kitchen or a sunny counter asks more of a filter. Bins with two filters, or one larger filter panel in the lid, give odors more charcoal to pass through.
Keep a warm kitchen bin away from the stove side of the counter if you can. Even a foot of distance from the heat makes the filter’s job easier and the scraps slower to turn.
Change filters in a warm home on the early side of the maker’s guide, not the late side. A tired filter fails quietly, and the first sign is a smell you had forgotten about.
Carry the bucket, not the whole bin, on wet days, and the counter unit stays clean for longer.
6. A Matte Black Bin That Hides Daily Marks

Matte black hides the small marks a countertop bin collects: water spots, flour dust and the faint print of wet fingers on the lid. It also matches black taps, rails and small appliances well.
A black bin shows its fill level less clearly from outside, which is fine, because you judge that by the lid and the weight. Open it before big prep sessions so a full bin never surprises you mid recipe.
Keep the black bin out of the hardest sun spot on the counter if you can. Dark surfaces warm up in direct sun, and warm scraps ask more of the filter than cool ones do.
Set a spare filter beside the bin liners, and a change never waits on a delivery again.
7. A White Bin That Matches Small Appliances

A white bin blends with the kettle, toaster and mixer in many small kitchens, so the counter reads as one calm set. That matched look is a real gain in a kitchen you can see from the sofa.
White shows splashes sooner, which sounds like a flaw and works like a reminder. A quick wipe at the end of cooking keeps a white bin looking like an appliance instead of a bin.
Choose a smooth finish you can wipe in one pass, inside and out. Textured finishes trap onion skins and coffee grounds in their grain, and cleaning slows down within the first week.
Keep the bin out of the sunniest counter spot, and the filter will hold its strength far longer.
8. A Bin With a Flip Lid for Hands Full Moments

A flip lid opens with the back of a hand, a wrist or the edge of a board, which matters when your hands are covered in peelings. The lid falls shut on its own, keeping the filter working.
Flip lids suit the spot right beside the chopping board, where scraps are made. The shorter the trip from board to bin, the fewer peelings end up on the floor or in the main trash.
Check the lid closes fully and softly, not with a snap that rocks the bin. This is also the natural partner to folding kitchen carts with drop leaf tops when prep space has to grow for a big cooking day.
Wipe the lid rim weekly, because the seal line is where smells first learn to escape.
9. A Hanging Bin on a Cabinet Door to Free the Counter

A hanging compost bin hooks over a cabinet door under the sink or under the main prep counter, with the lid at hand height. Scraps sweep straight off the board, across the counter edge and in.
This style keeps a charcoal filter in its lid like the countertop models, but gives the counter back entirely. For the smallest kitchens, that trade is often the one that makes composting stick.
Use removable hooks and pads only, so the cabinet door stays unmarked. A hanging bin that needs screws is a poor fit for a rental, and plenty of hook on styles exist.
Lift the flip lid fully when you wash it, so the hinge area dries and stays fresh.
10. A Bin With a Sturdy Handle for Trips Outside
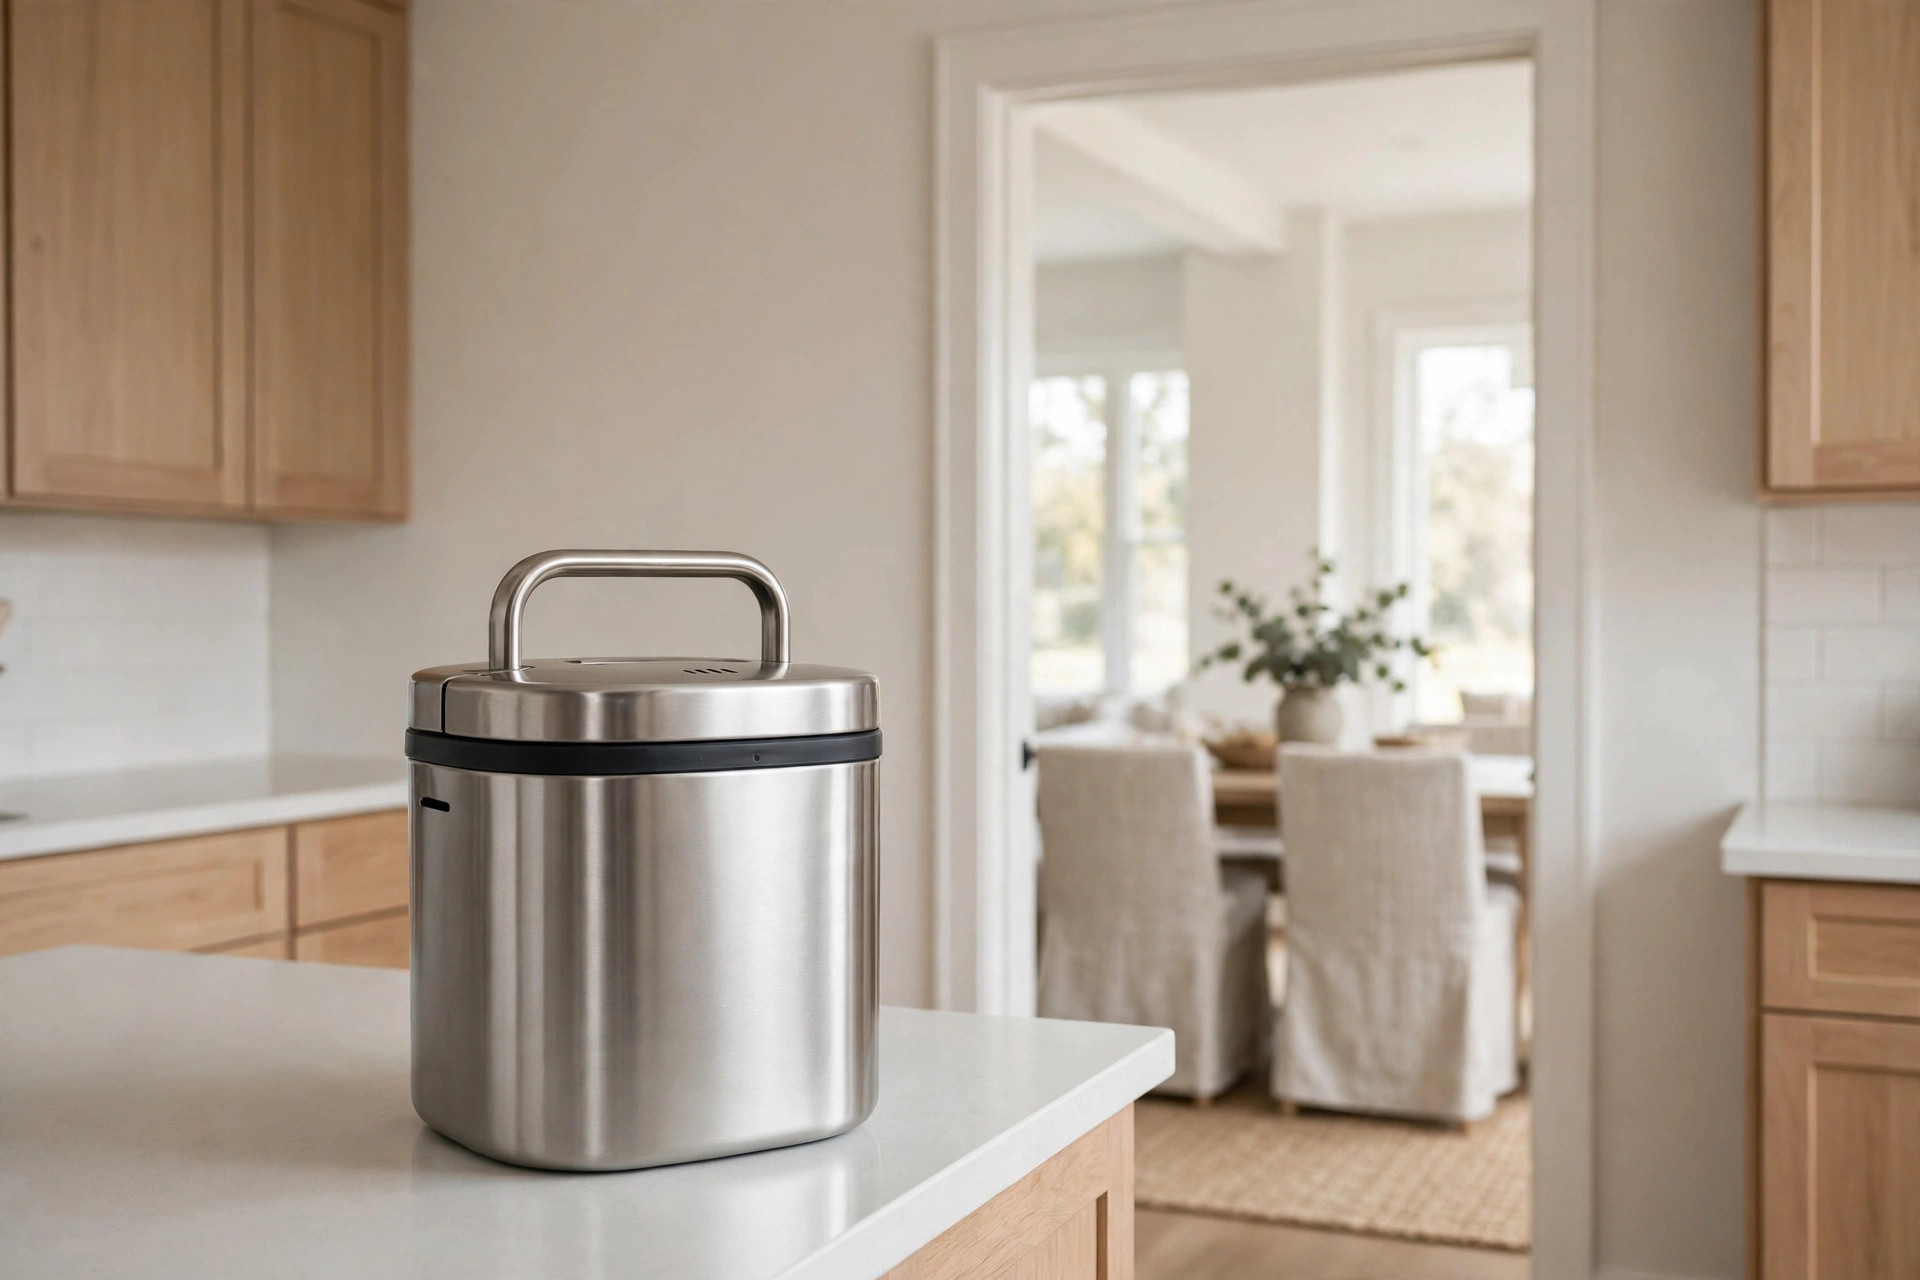
If your scraps travel to a garden pile, a shared courtyard bin or a collection point, the carry matters. A strong top handle that folds flat gives you a one hand carry with a full, heavy load.
Test the handle with the bin full of wet scraps, not empty in the shop photos in your head. Wet scraps are the heaviest load this bin will ever carry, and weak handles fail then.
A handle also helps at the sink, because you can hold the bin steady with one hand while you rinse it with the other. Small handling wins like this decide if a bin lasts for years.
Hold the handle over the sink the first time you carry a full load, just to test it.
11. A Bin Sized for One or Two People Who Cook Daily

A compact bin that fills in two or three days is a feature, not a limit. Scraps leave the kitchen while they are still mild, the filter lasts longer, and the bin never becomes a storage problem.
Daily cooks for one or two make a steady, small stream of peelings, cores and grounds. A bin matched to that stream empties on a rhythm that fits bin day, wash day and shopping day.
If you cook for more people on weekends, keep a simple spare bowl in the freezer for the overflow. The counter bin keeps its rhythm, and the freezer holds the extra without any smell at all.
Note your fill rhythm for two weeks, then size any second bin to the rhythm you found.
12. A Bin With a Smooth Interior That Rinses Clean Fast

Inside shape is cleaning speed. A smooth, rounded interior with no corners, seams or ridges rinses clean in under a minute, because there is nowhere for wet scraps to lodge and dry.
Bins with sharp inside corners and textured walls take a brush and patience every wash. That extra work is where good compost habits quietly die, usually around the third busy week of use.
Run a fingertip test when the bin arrives: if the inside feels smooth all the way around, washing will stay easy. Our small kitchen ideas for renters guide makes the same easy clean case across a whole rental kitchen.
Choose smooth over textured every time you compare two bins at the same size and shape.
13. A Lidded Bin Kept Beside the Board, Not the Sink

Placement decides use. A compost bin beside the chopping board catches peelings at the moment they are made, while a bin by the sink waits for scraps that often end up in the main trash instead.
Give the bin a fixed home at the board end of the counter and defend that spot. Kettles and fruit bowls drift, and a compost bin that gets pushed to a corner gets used less each week.
Keep the fruit bowl a short distance away, because fruit flies cannot tell a banana bowl from a scrap bin at a glance. A lid that stays shut and a little space both help here.
Slide the bin back to its home spot after every wash, and the habit never has to rebuild.
14. A Compact Bin With Filters Sold in Easy Multi Packs

A bin is only as good as its next filter, so choose a model whose filters are sold in simple multi packs by the maker. Filters that are hard to find are filters that never get changed.
Store the spare pack in the cupboard with the bin liners, and write the change month on the pack with a pen. That tiny system keeps the bin working as well in month nine as in week one.
When you order filters, check they match your lid shape exactly, because near fits leak air around the edges. Air that slips past the filter carries the smell with it into the room.
Keep one spare pack only, and reorder when you open it, so filters never age in a drawer.
15. A Filtered Bin Paired With a Slim Trash Can Below

Compost works best as one half of a pair: scraps in the filtered bin on the counter, true trash in a can below it. When both have a fixed place, sorting at the board becomes automatic.
Keep the pair close together, at the end of the counter where prep ends and clearing begins. A long walk between bins is where peelings end up in the wrong one on a tired night.
Finish the pairing with a slim trash can for narrow kitchen spaces under the counter edge. Together with the storage habits in our kitchen storage for apartments with no pantry guide, the whole waste corner stays small, calm and easy to keep clean.
Place the trash can first and the compost bin second, and the clearing order will feel natural.
A filtered countertop bin turns scraps from a smell problem into a quiet routine: peel, drop, close the lid, and empty the bucket twice a week. The charcoal filter does the hard part while the bin just sits there.
Choose your size and finish from these best small countertop compost bins with charcoal filters, keep a spare filter in the cupboard, and your counter will stay fresh through the busiest cooking weeks.
Save this list to your Small Kitchen Gadget Ideas board so the sizes, finishes and filter notes are ready when you shop.


