

15 Small Kitchen Ideas With Magnetic Wall Storage Rails
The utensil crock hogs the best corner of the counter, and the knife block takes most of what is left. In a small kitchen, that lost patch is often the only real prep space you have.
Magnetic rails fix the problem by moving daily tools onto the wall in one neat line.
These small kitchen ideas with magnetic wall storage rails treat the rail as a design system, not a single gadget. Each rail gets one job, one zone, and one clear row.
Start with the wall you face most while you cook. Plan the zones first, then hang only the tools you reach for every week, and the counter below stays clear for actual cooking.
You do not need a full wall of rails to feel the change. One well placed rail clears the crock, the knife block, and the loose tools that drift across the counter by noon each day.
This post contains affiliate links. If you buy through them, we may earn a small commission at no extra cost to you. See our Affiliate Disclosure.
1. Put the Main Prep Rail Where You Chop

Mount the first rail on the backsplash right above your main chopping spot. That short stretch of wall does more work than any other, so it should hold the tools your hands look for mid-recipe.
Keep the row short and honest: two knives, a peeler, and kitchen scissors cover most prep tasks. Anything you use once a month belongs in a drawer, not on the prime rail.
Leave a hand width of empty rail at one end. The gap stops handles crowding together and gives wet tools room to dry. It is the simplest way to add counter space in a small kitchen without moving a single cabinet.
Start with this rail before you buy any others. It teaches you how much wall storage you actually use each day.
2. Set Knives Blade Up on Their Own Rail
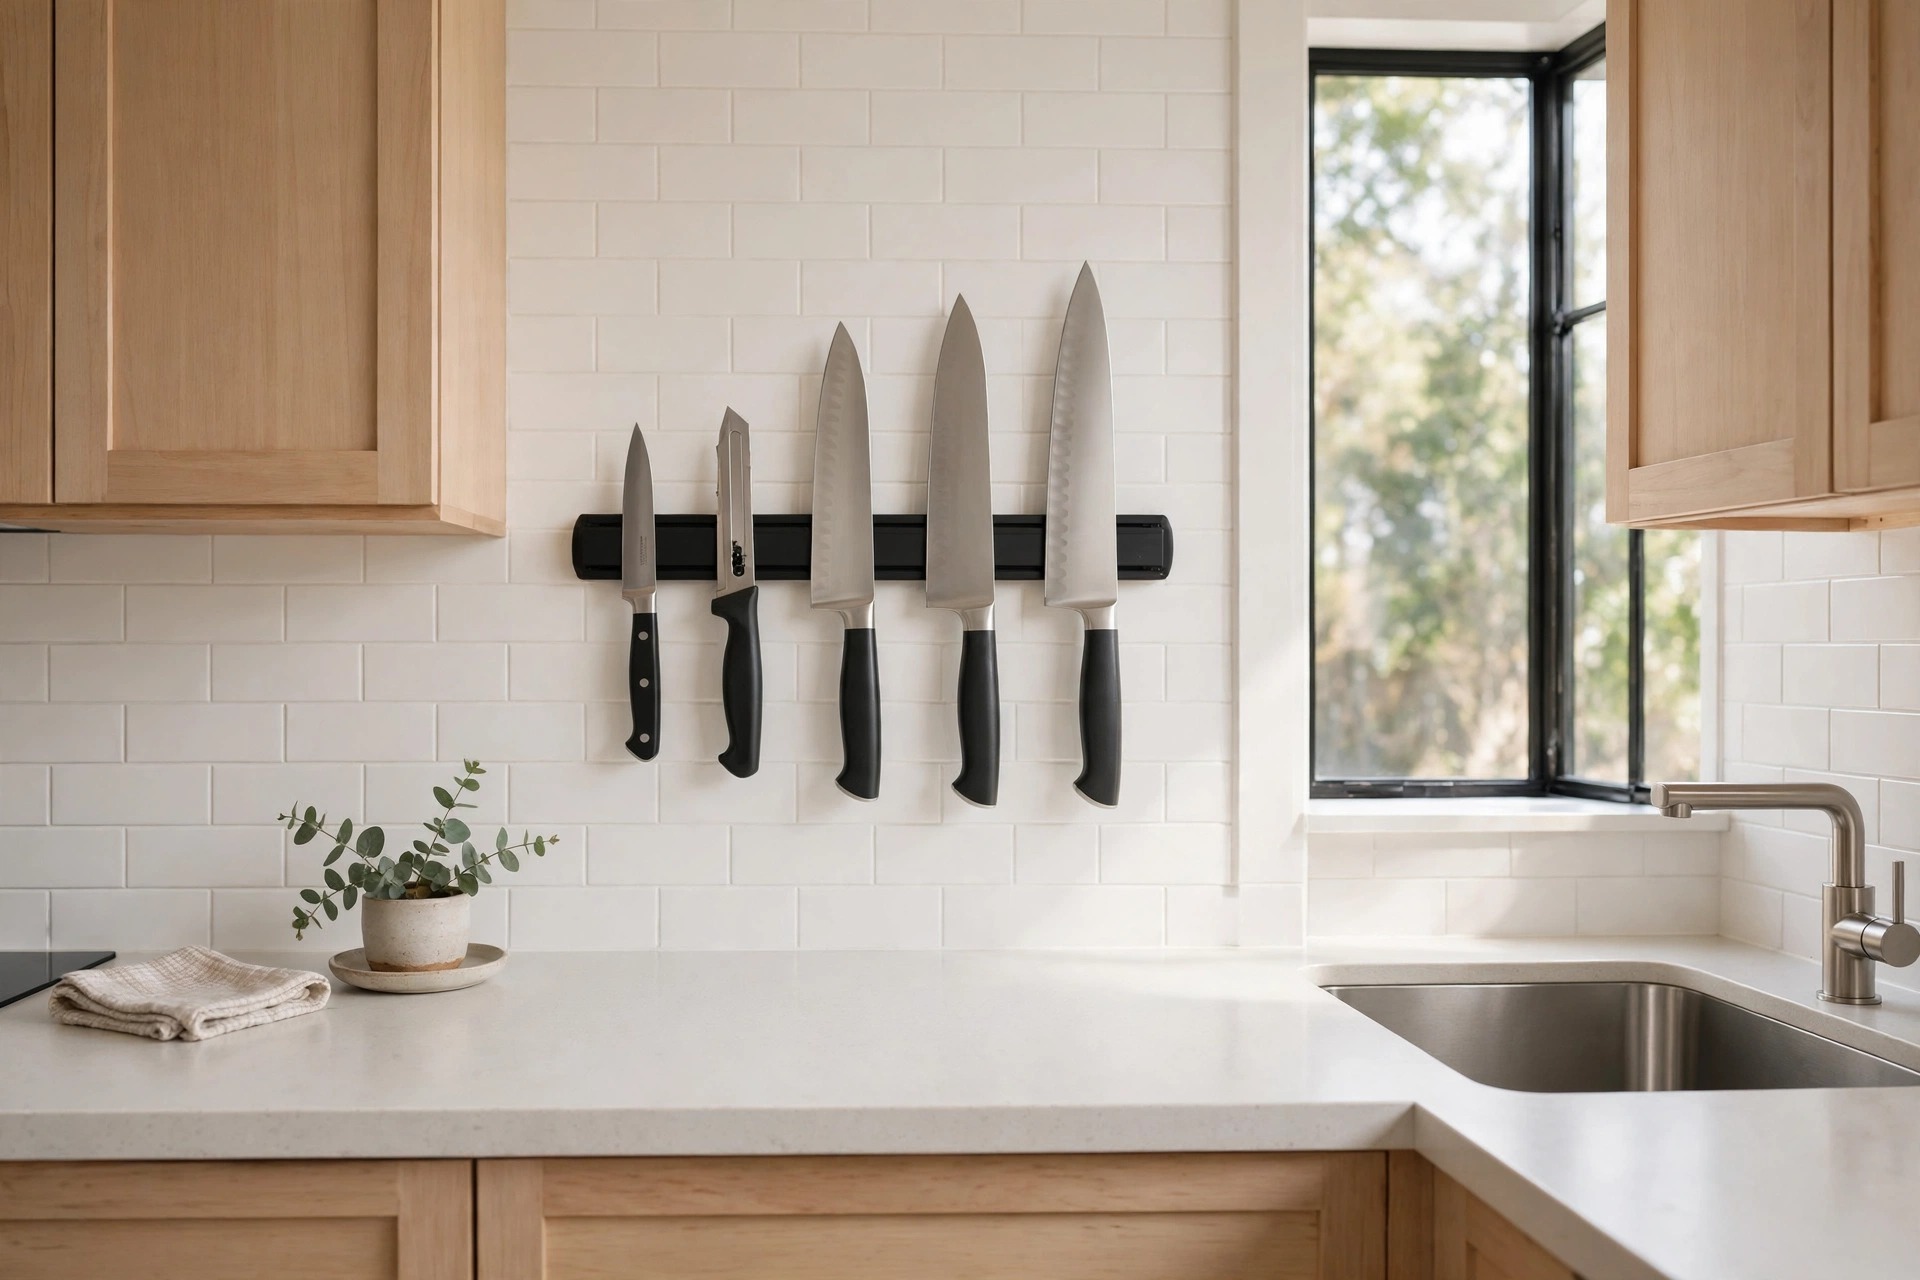
Give knives a rail of their own, away from spoons and tins. Place each blade flat against the rail with the edge pointing up, so the sharp side never drags as you lift a knife free.
Order the row by size, longest at one end and shortest at the other. Your hand learns the order fast, and you stop scanning the whole wall while holding a wet tomato.
Mount this rail beside the prep counter, not above the stove and not over the sink. Heat, steam, and splashes all work against clean blades, and a dry wall keeps the row calm and easy to wipe.
Wipe each blade dry before it goes back. Dry steel holds better, stays cleaner, and keeps the row looking sharp for guests.
3. Line Spice Tins in One Straight Row

A single row of small metal spice tins on a rail reads like a label chart at a glance. One row is the rule here. Two rows deep and the back tins hide, then the rummaging starts again.
Sort the row by how you cook, not by the alphabet. Daily spices sit in the middle at easy reach, while baking spices group at one end and hot spices at the other.
Keep the tins small and matching, with plain lids and no busy labels facing out. A matched row looks tidy even though it sits in full view, and refills take seconds over the counter.
When a tin empties, it leaves a visible gap in the row, so the shopping list writes itself before the next big cook.
4. Give the Stove Its Own Short Rail

The wall beside the stove needs different tools from the prep wall. A short rail here holds the ladle, the slotted spoon, and the tongs you grab while a pan is already hot.
Hang this rail to the side of the burners, never directly above them. Side placement keeps handles clear of rising heat and keeps your sleeve away from open flame or hot rims.
Three tools are enough for most weeknight cooking. If a fourth tool earns a spot, one of the others moves back to a drawer. The rail stays useful because it stays spare.
Wipe this rail when you wipe the stove top. Grease builds up fast this close to the pan, and a clean rail grips better.
5. Stack Two Short Rails Instead of One Long One
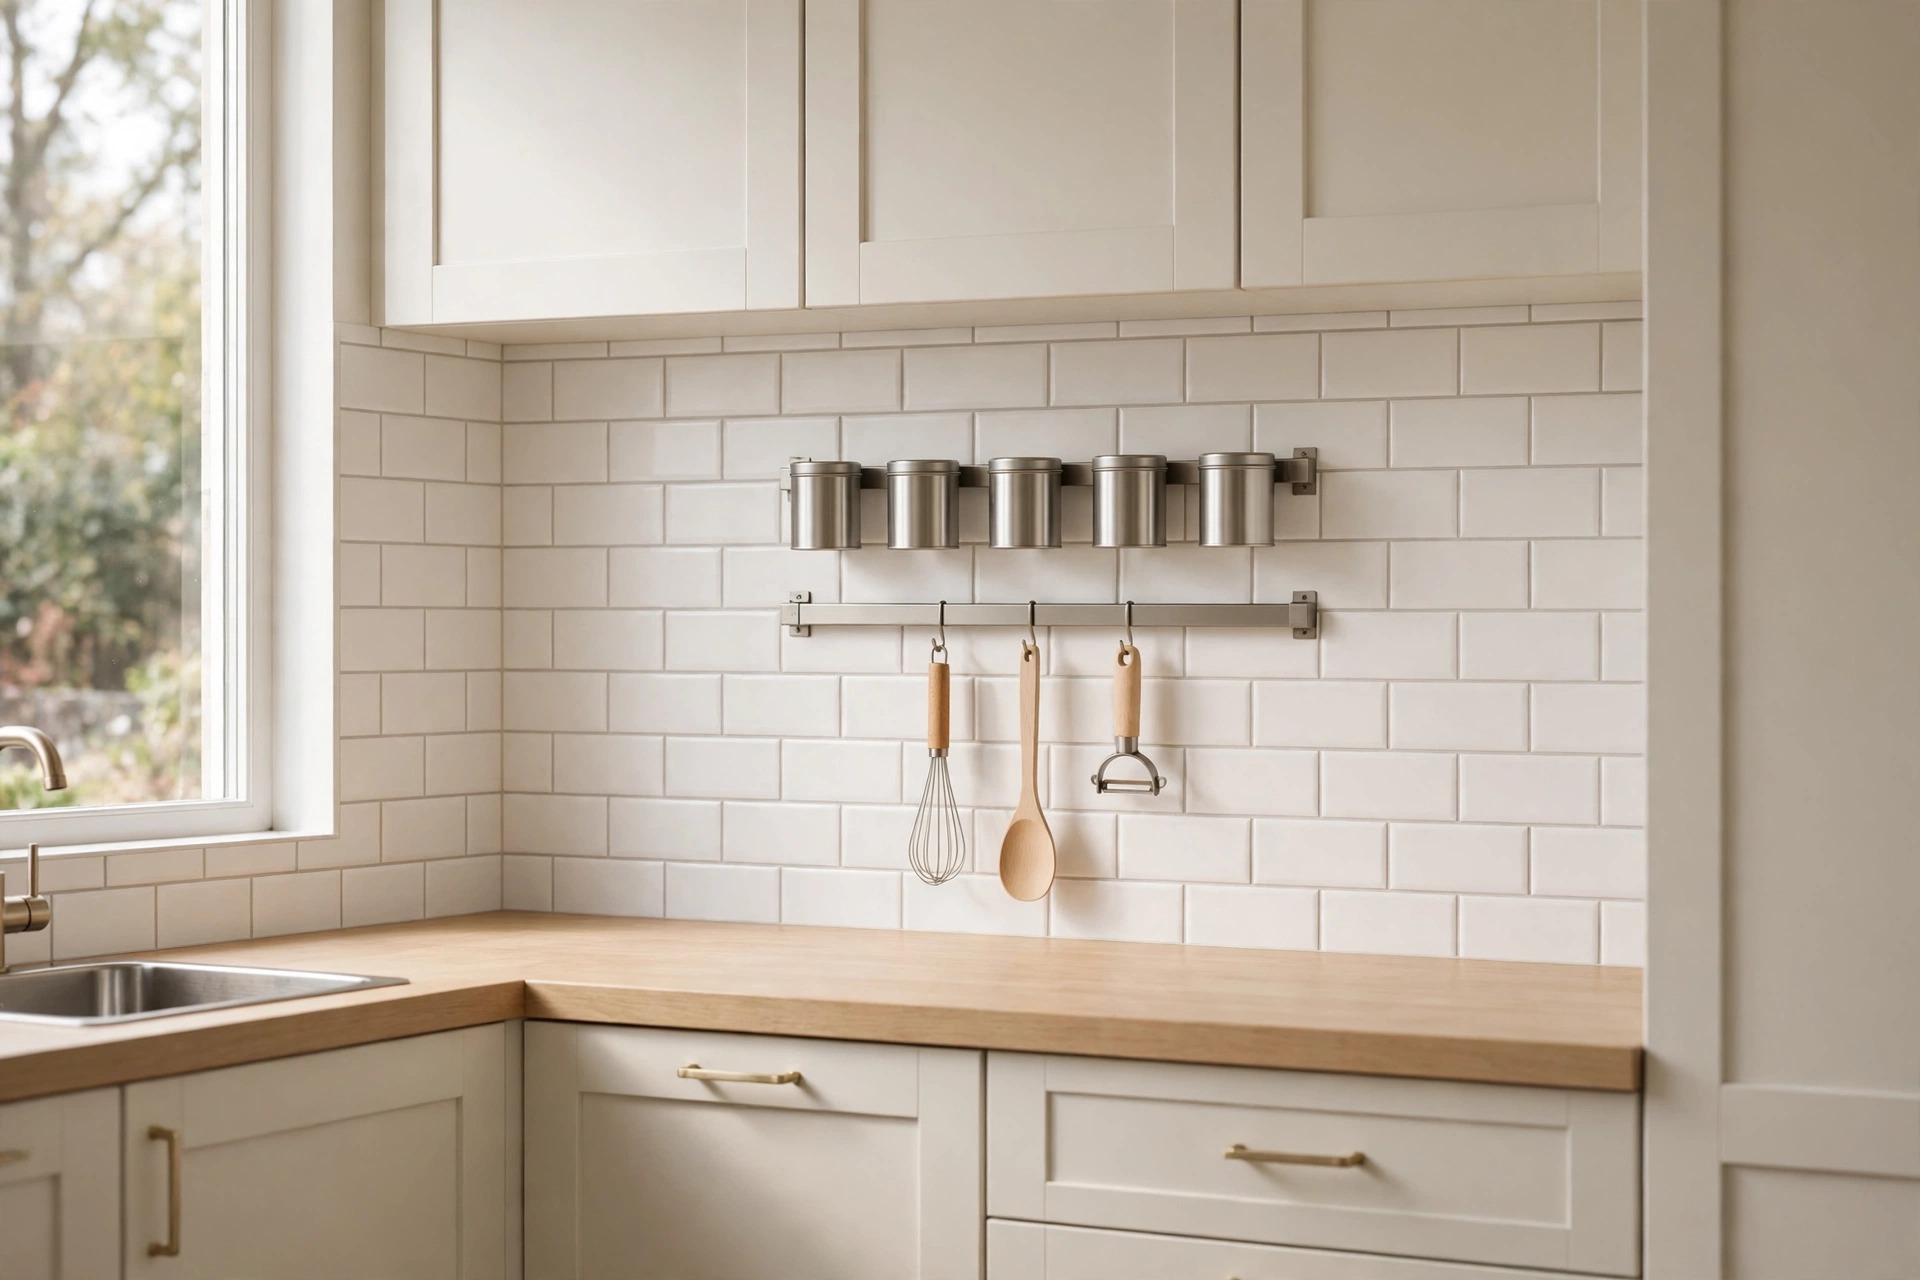
One very long rail often crosses a socket, a switch, or the edge of a cabinet. Two short rails stacked with a clear gap between them fit the same wall with far less fuss.
Put knives or tins on the upper rail and lighter tools on the lower one. The split also breaks the wall into two calm bands, which suits kitchens with kitchen storage ideas for apartments with no pantry where every wall works hard.
Keep the gap between rails wide enough for your longest spoon to hang without touching the rail below. Measure with the tool in hand, not by eye, before you fix anything.
Two short rails also let you start small. Hang one now, live with it, then add the second only where the wall still feels bare.
6. Use the Rail Ends for Hooks and Hanging Tools
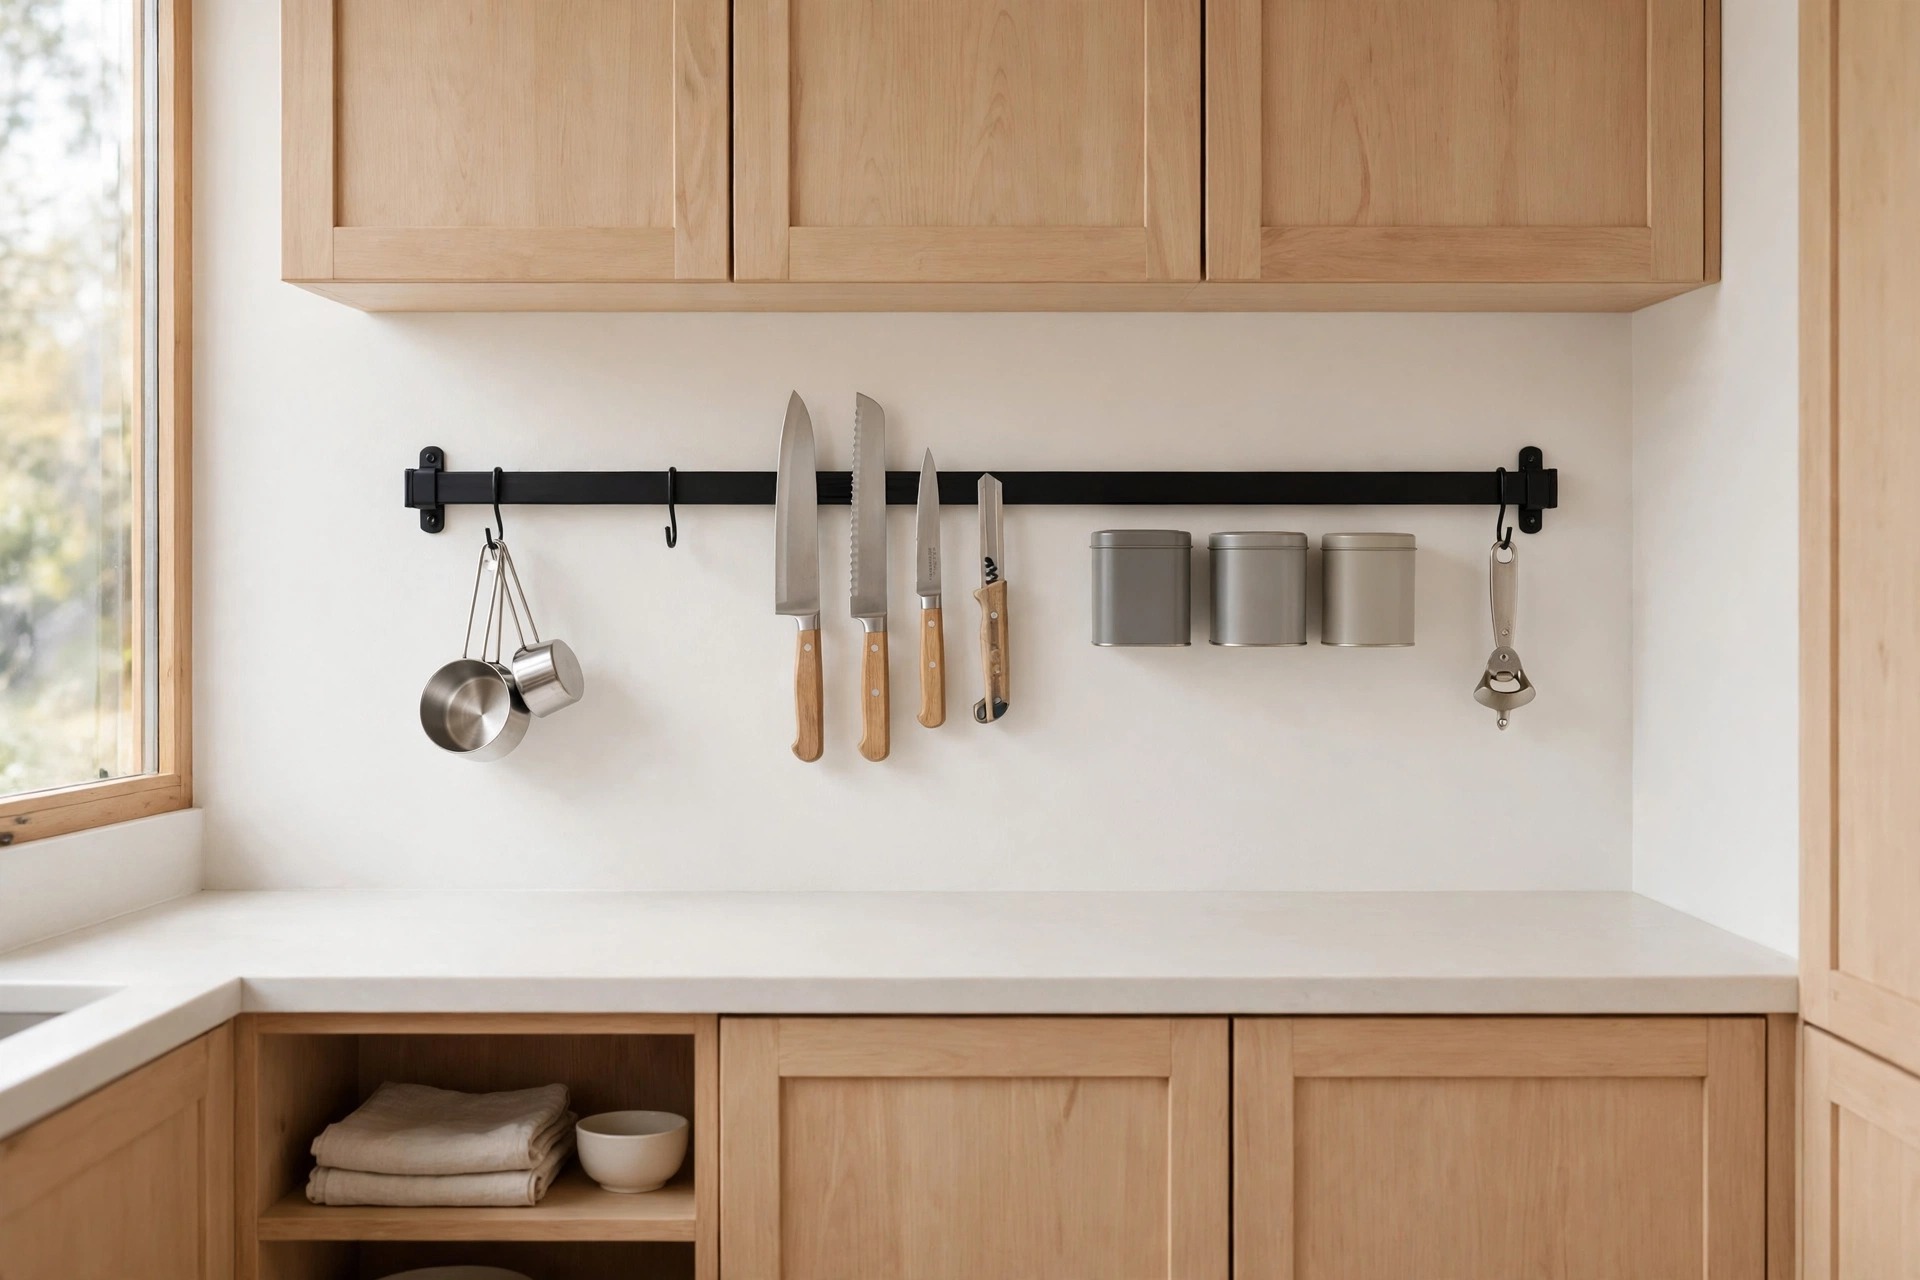
The last few inches of a rail rarely hold a knife well, but they suit small hooks. Clip or slide hooks onto both ends and hang measuring cups, a small funnel, or a bottle opener there.
End hooks keep round and awkward shapes off the flat middle section. The middle stays free for blades and tins that need full contact with the rail to sit straight and secure.
Choose one end for wet tools near the sink side and one end for dry tools near the stove side. That small habit keeps drips off the spice row and order on the wall.
Test each hook with a gentle tug before you trust it. Hooks that sit firm turn spare inches into storage you use daily.
7. Match the Rail Finish to Your Cabinet Hardware

A rail looks built in when its finish repeats a finish already in the room. Black rails echo black handles, brushed steel echoes the faucet, and warm wood tones echo wood knobs or open shelves.
Pick one finish and repeat it on every rail in the kitchen. Mixed finishes on the same wall read as clutter, even when each row of tools is neat and well spaced.
The same rule helps nearby wall pieces sit together. A rail wall and small kitchen ideas with a plate rack wall display on the next wall feel planned when the metal tones agree across both.
Take a photo of your handles in daylight before you choose. Finishes shift under kitchen light, and a near match can look off at night.
8. Add a Sink-Side Rail for Brushes and Cloths
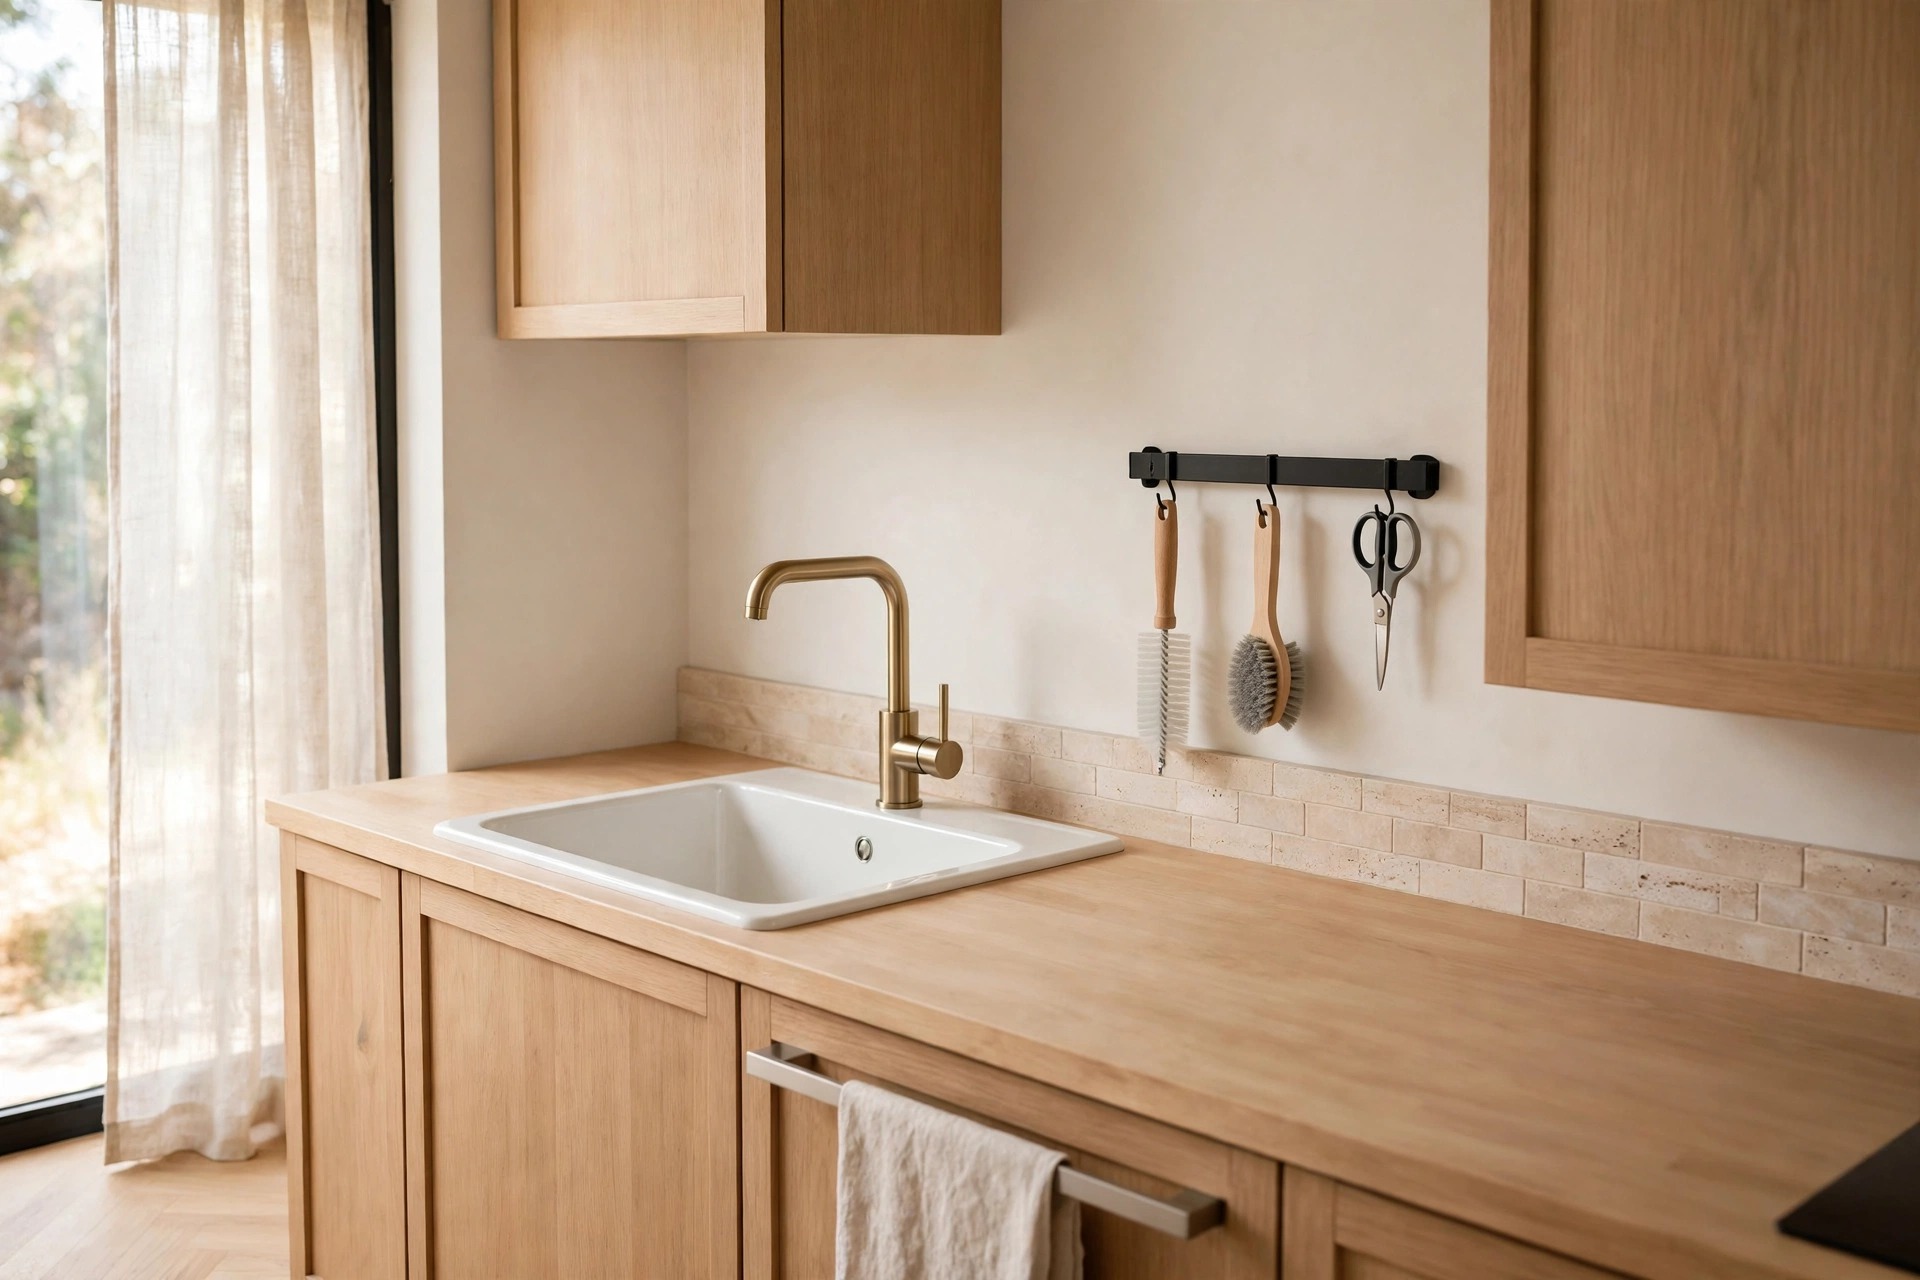
The sink wall collects loose bits fast: a bottle brush, a scrub brush, scissors for packets, and a cloth that never has a home. A short rail beside the faucet gathers them into one row.
Hang brushes head down so water runs off the bristles and onto the sink edge, not the wall. Metal handled tools stick direct, while cloths rest over a hook clipped at the rail end.
Keep this rail clear of food prep tools. Washing up gear and cooking gear in separate zones is a simple habit, and guests can read the system at once without asking where things go.
A small rail here also frees the window sill. Brushes leave the sill, the sill stays clear, and the sink area looks twice as tidy.
9. Build a Morning Rail by the Kettle Corner
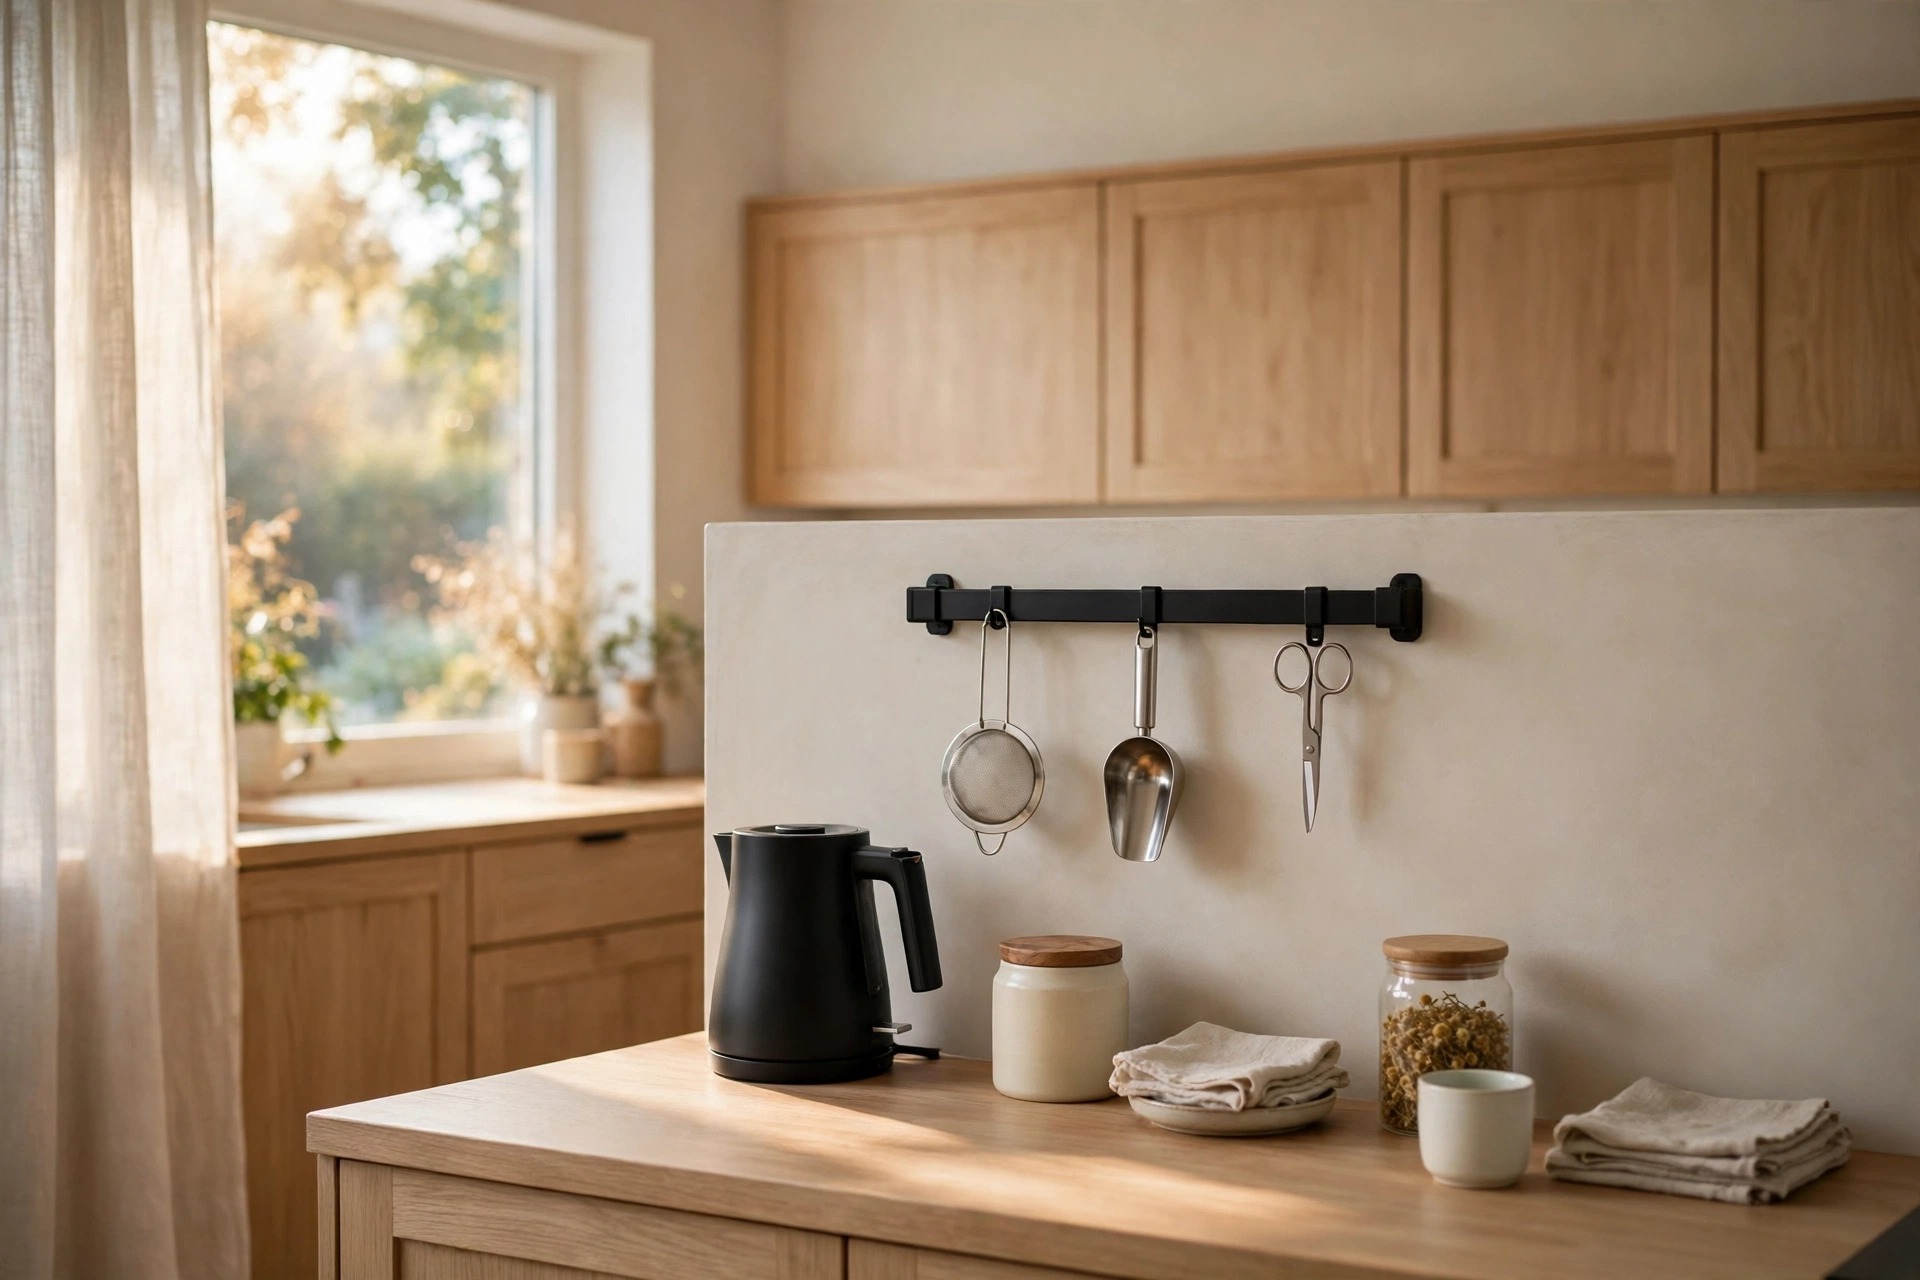
Morning tools are a small set with a fixed home. A short rail above the kettle corner holds a tea strainer, coffee scoop, and the small scissors that open packets before the day starts.
This rail earns its place because mornings run on habit. Reaching to the same spot half asleep beats opening two drawers, and the rest of the kitchen stays asleep and tidy too.
Keep mugs off this rail unless a hook sits at the very end. One hanging mug is fine. A full row of mugs turns a tool rail into a shelf and crowds the scoop.
Keep a small folded cloth on one end hook. It dries fast in the open air and stays out of the sink entirely.
10. Tuck a Rail Under the Wall Cabinets
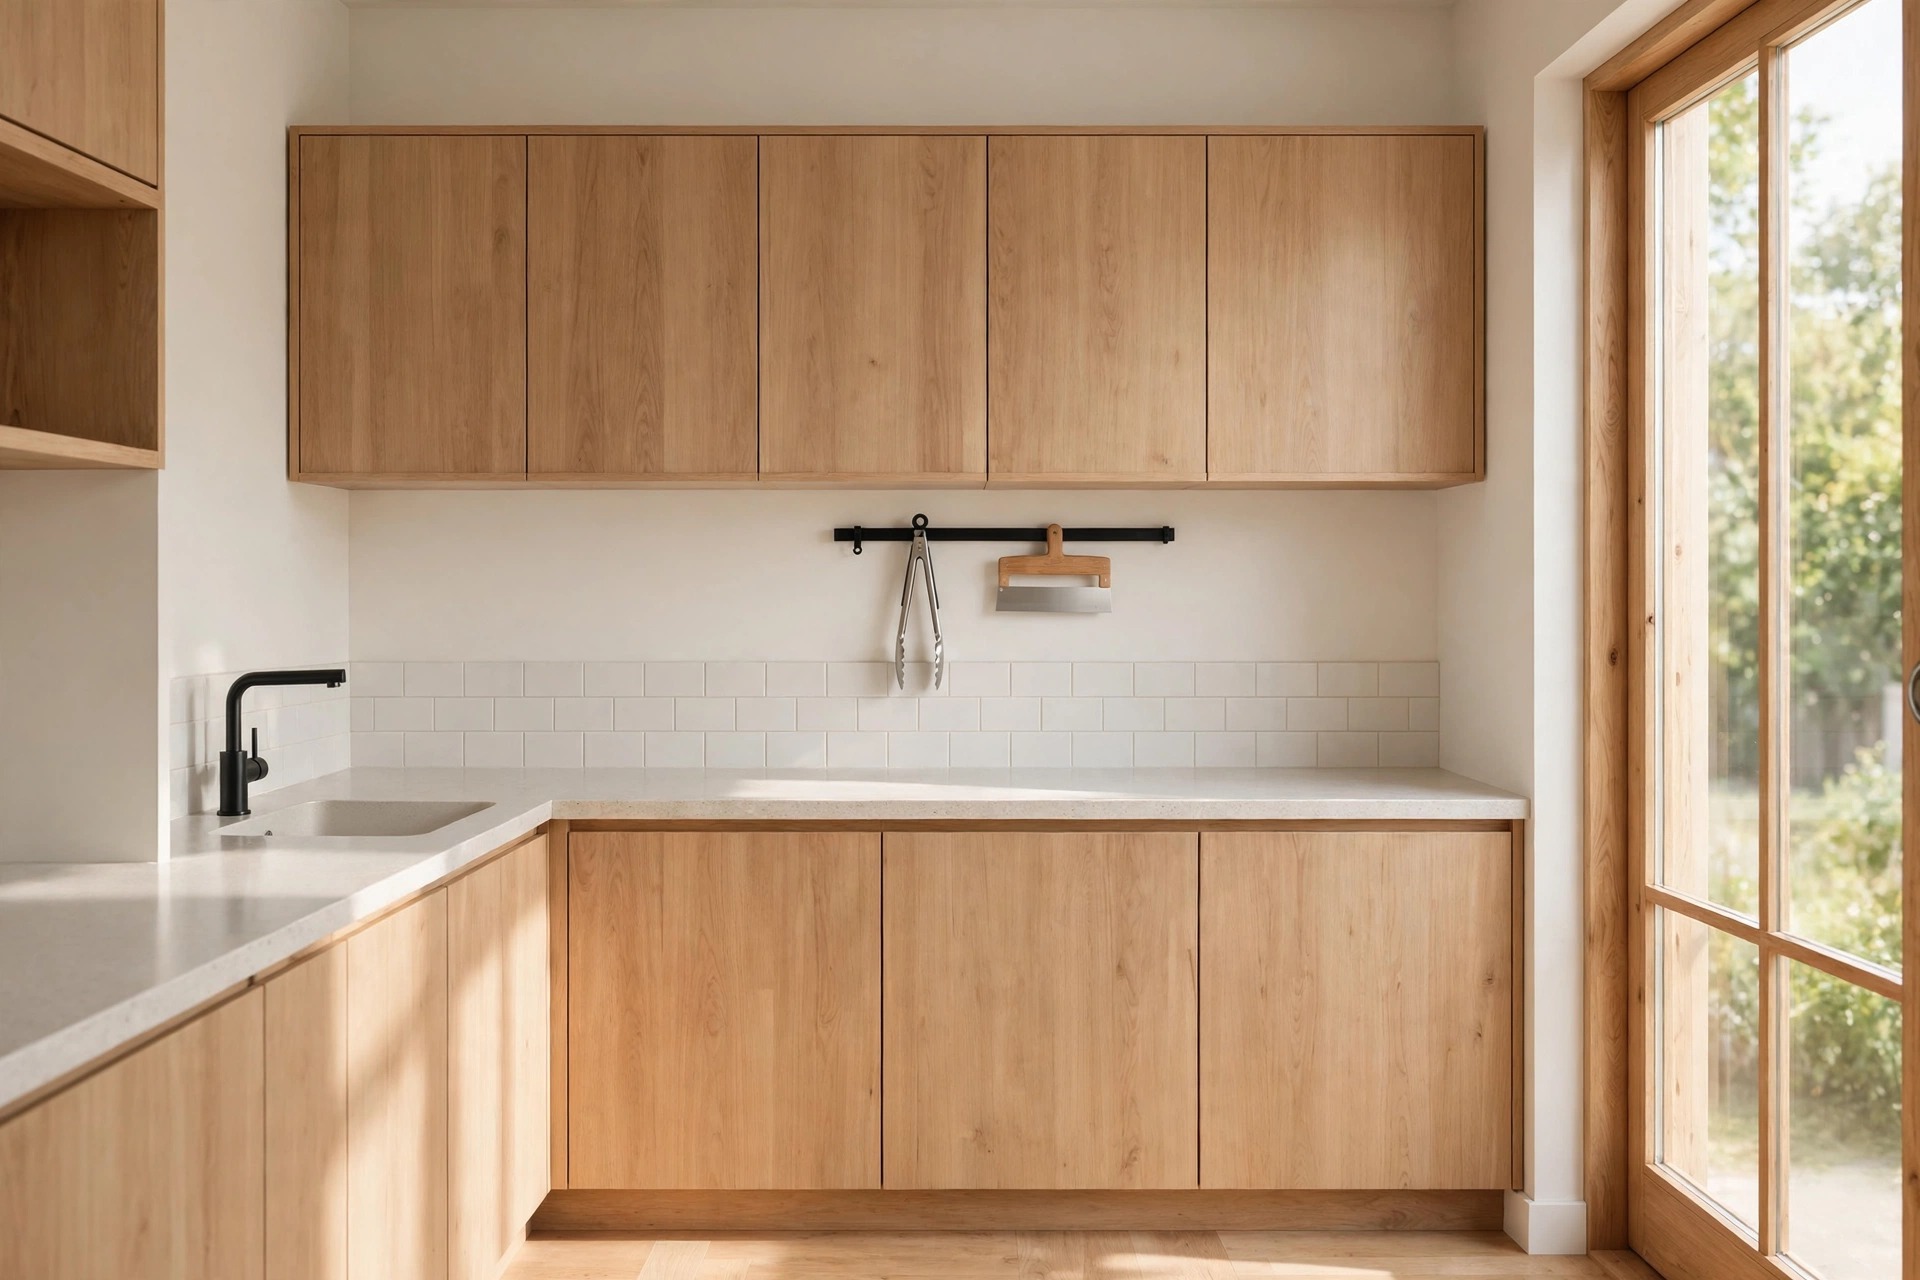
The strip of wall just under the wall cabinets is easy to miss. A slim rail fixed there sits close to the counter and holds flat tools like palette knives, tongs, and a bench scraper.
Under cabinet placement keeps tools in shadow, so the wall reads calmer from across the room. It suits cooks who want the storage but not the full display of a backsplash row.
Check head room before you commit. Stand at the counter and lean in as you would to read a recipe. If the tools clear your forehead with room to spare, the spot works.
Flat tools suit this spot best. Bulky tools hang too low here and crowd the counter, so save depth for the backsplash rails.
11. Use the Fridge Side Gap as a Rail Wall
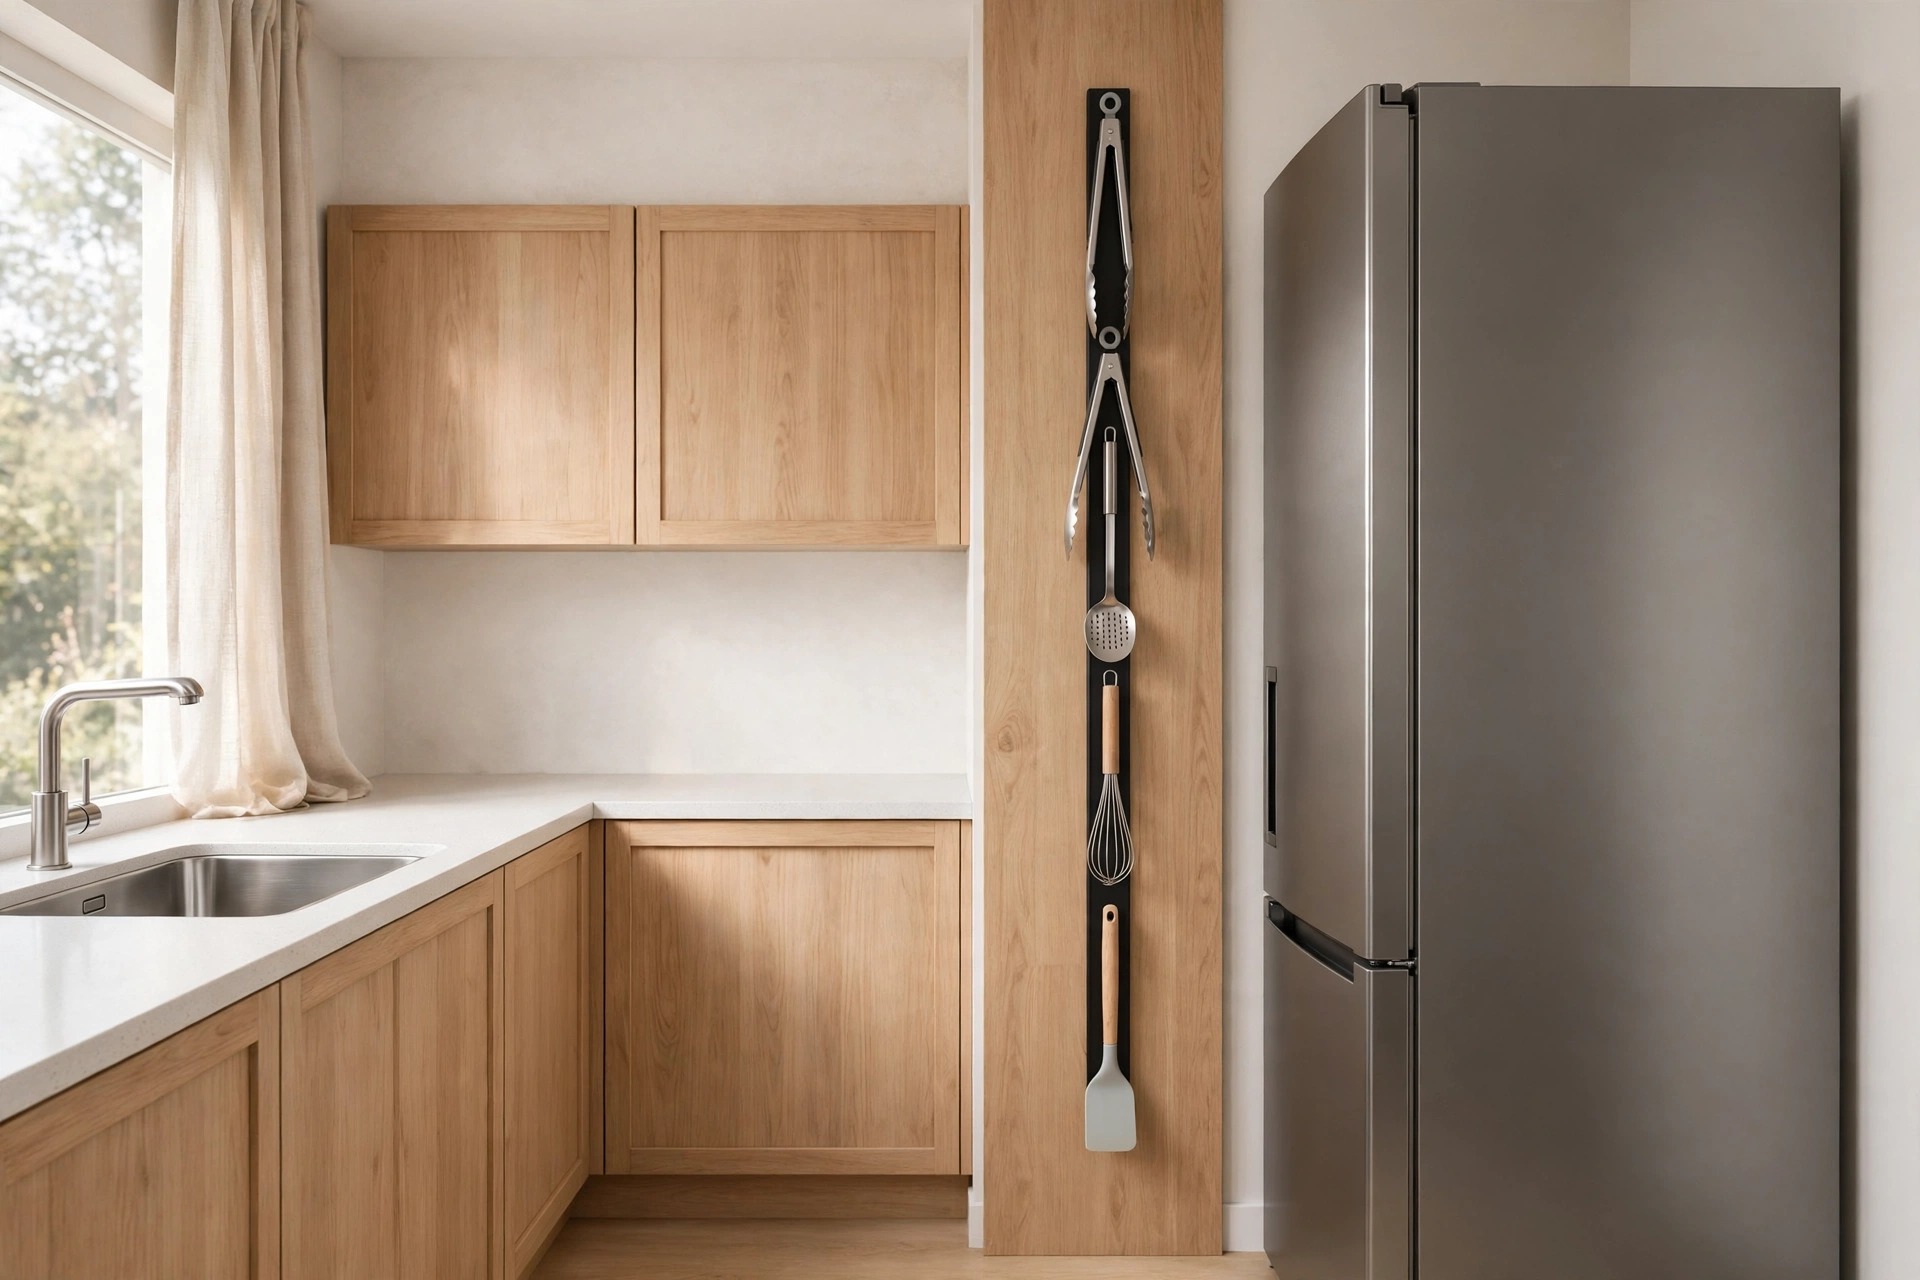
Many small kitchens have a narrow blank panel beside the fridge that holds nothing at all. A vertical rail on that panel turns the gap into storage for long, light tools.
Run the rail from counter height upward, and hang a ruler, long tongs, and a roll holder if it fits. Vertical order suits this narrow spot better than a wide horizontal row.
Leave the bottom third empty so the fridge door swing and your hip both pass cleanly. It pairs well with small kitchen ideas with a rolling island cart parked nearby, since both use space that fixed cabinets ignore.
This is also a kind spot for long skewers and a herb trimmer. Long, light, rarely used tools belong out of prime drawers.
12. Keep Scissors, Openers, and Small Metal Tools Together
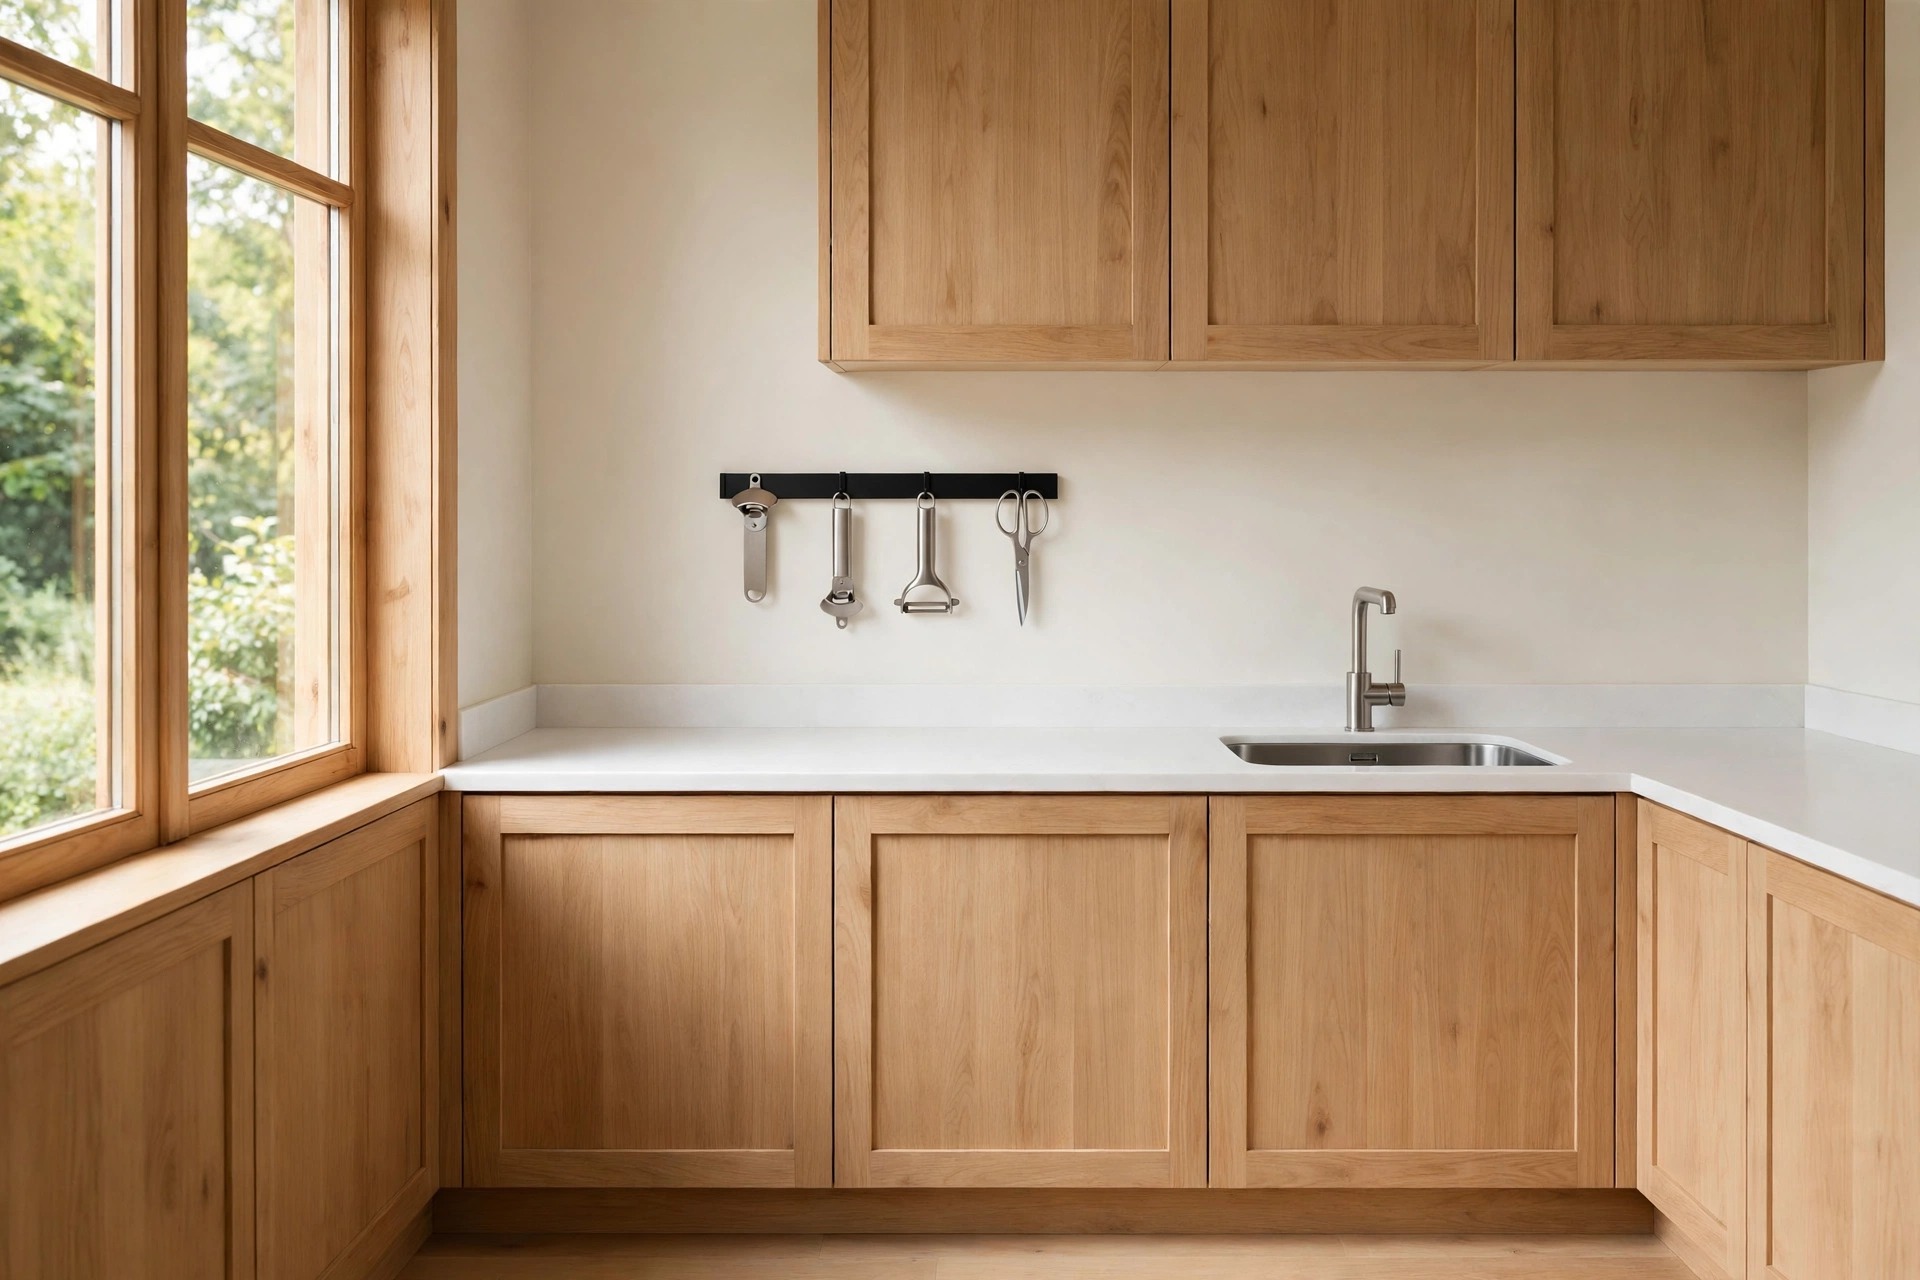
Every kitchen owns a handful of small metal tools that vanish into drawers: bottle openers, can openers, peelers, skewers, and the good scissors. One short rail gives that whole group a single home.
Place this rail near where packets and jars get opened, often between the prep counter and the fridge. Tools stored at the point of use stop wandering around the room after each meal.
Space each piece a finger width apart. Small tools packed tight knock each other loose when you grab one, while a spaced row lets each piece lift away clean on its own.
Review this row every few months. If a tool never leaves the rail, it can retire to a drawer and free space for daily pieces.
13. Set a Baking Rail Near the Mixing Bowl Spot

Baking tools have their own rhythm, and they mix badly with stove tools. A rail near your mixing bowl counter holds measuring spoons on a ring, a small whisk, and a metal bench scraper.
Measuring spoons on a ring stick to the rail as one neat bunch. You grab the whole set at once, then hang it back in one move while flour still covers your hands.
Keep this rail away from sink splash and stove steam. Dry tools matter in baking, where a wet spoon in the flour tin causes lumps and waste on a busy morning.
A small magnetic timer belongs on this rail too. It sticks flat, stays visible, and never gets buried under recipe cards or towels.
14. Choose Adhesive or Screws by How Long You Will Stay
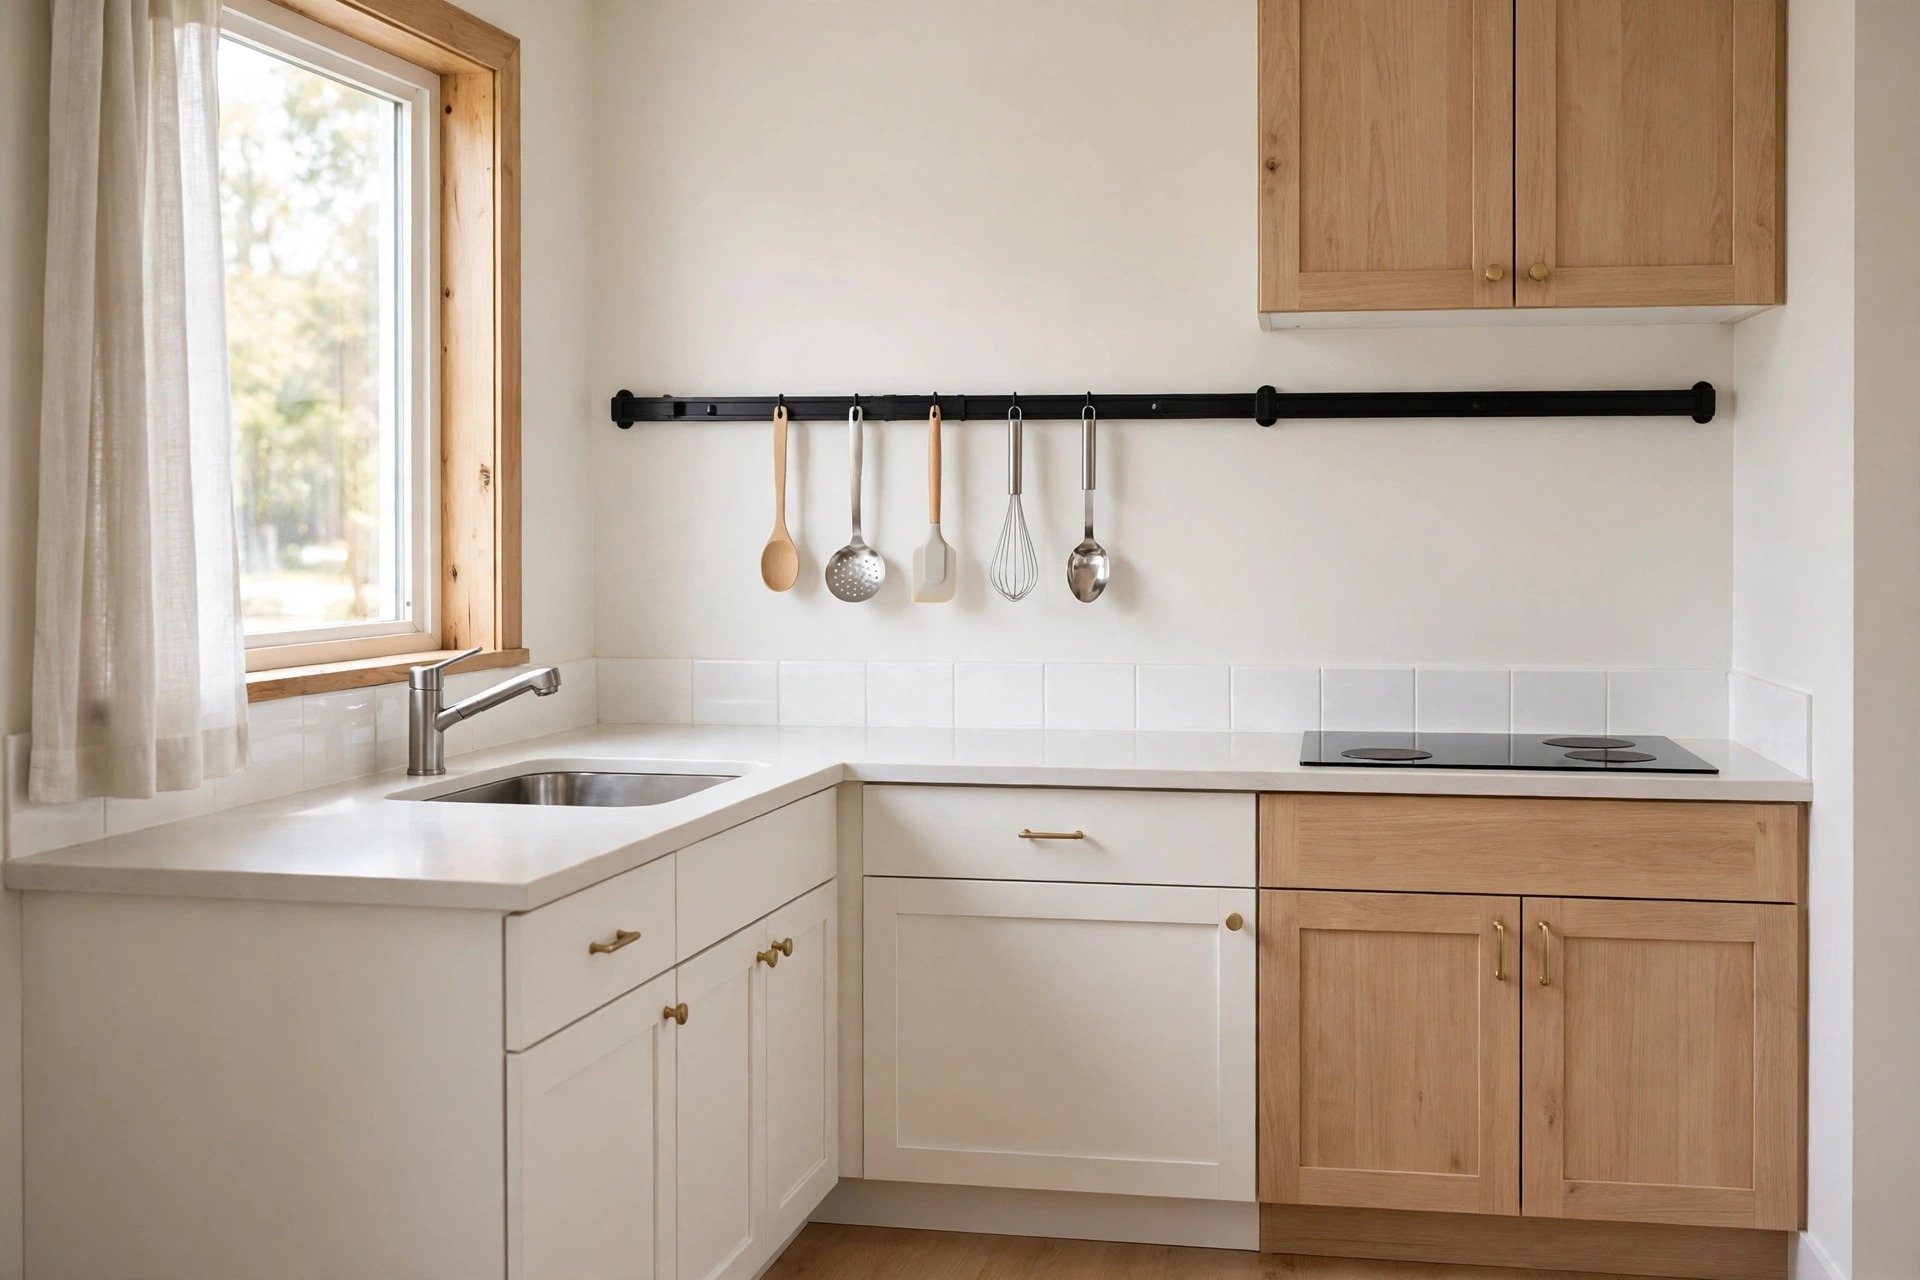
Renters and owners need different fixing choices, and both can work well. Adhesive rails suit smooth, clean walls and light tools, and they come away with far less marking when you move out.
Screws suit heavy rows like a full knife set or a long run of filled spice tins. A fixed rail also stays put through steam, heat, and daily knocks without slow creep.
Match the choice to the load, not just the lease. Light rails can follow the same logic as other small kitchen ideas for renters, while one screwed rail in a forever kitchen anchors the whole system.
Test adhesive rails with light tools for the first week. If the hold stays firm, the rail can take its full planned row.
15. Keep One Rail, One Job as the House Rule
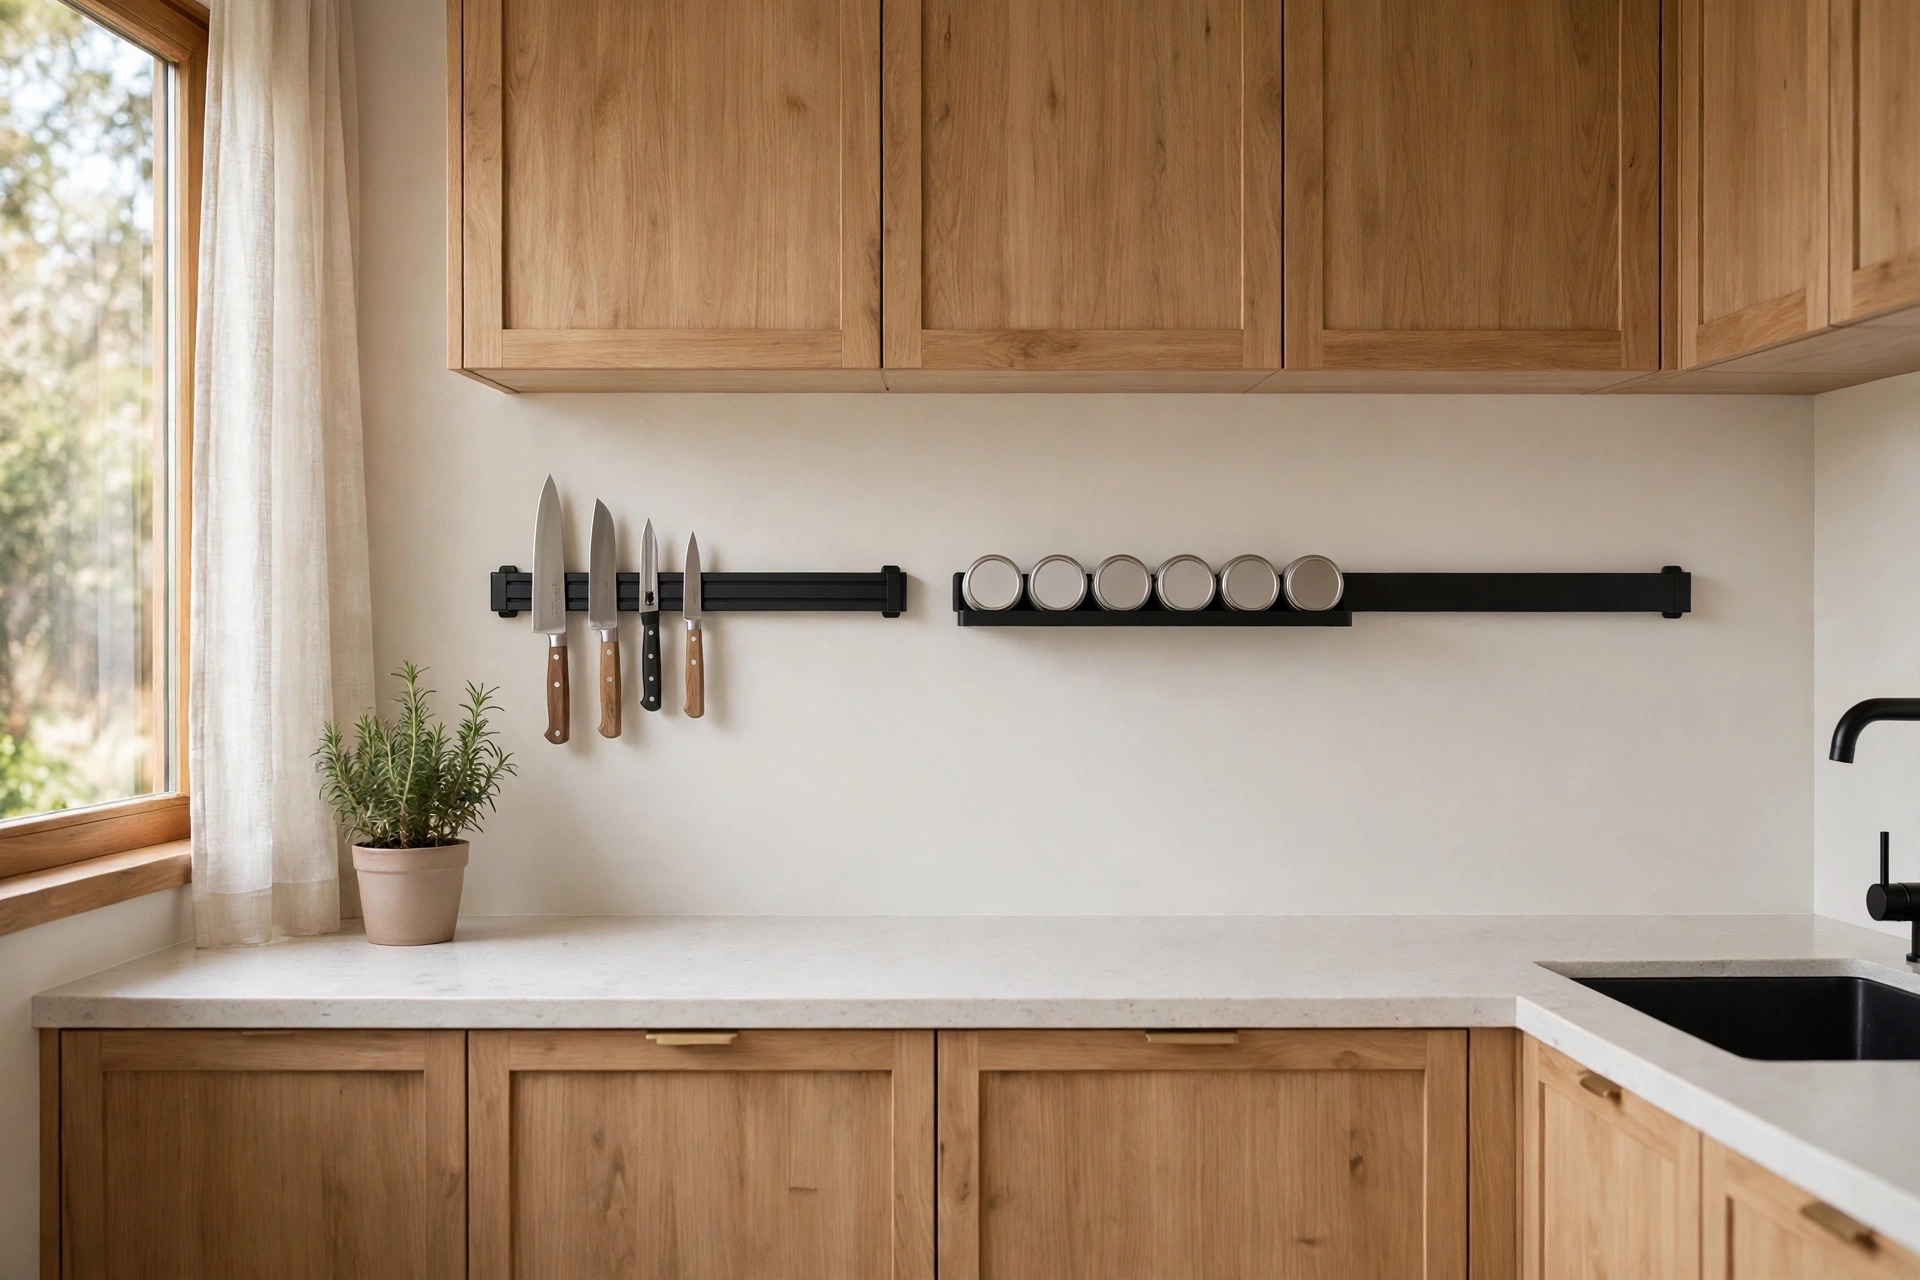
Rail walls fail slowly, one extra tool at a time. The fix is a plain house rule: each rail holds one job only. Knives stay on the knife rail, spices stay on the spice rail.
Do a ten second reset while the kettle boils. Put back the peeler that drifted to the stove rail, and move the opener home. Small resets stop the wall sliding into a jumble.
Leave some rail empty on purpose. A row at two thirds full looks calm and works better than a packed row, and new tools must earn their spot by replacing something else.
Photograph the finished wall. The photo becomes your reset guide, and anyone sharing the kitchen can put tools back the right way.
A good rail wall takes an afternoon to plan and years to wear out. Measure your zones, hang the tools you use weekly, and leave the rest of the wall alone.
Start with one rail over your prep spot and live with it for a week. Then add the next zone only if the counter still feels tight at dinner time.
Save this to your small kitchen ideas board for later, and build the wall one calm row at a time, one zone at a time.


