

15 Small Kitchen Ideas With Pull Out Pantry Gap Fillers
That strip of empty space beside the fridge collects dust, dropped lids, and nothing useful at all.
It looks too narrow to matter, yet it runs from floor to counter and holds more than most drawers.
These small kitchen ideas with pull out pantry gap fillers treat that strip as real storage, not leftover space.
Each idea below stays inside the gap itself, from measuring it well to choosing what belongs there.
You will find options for the fridge side, the stove side, and the tight spots near the sink.
Start with the gap you already have, and give every inch a clear job.
This post contains affiliate links. If you buy through them, we may earn a small commission at no extra cost to you. See our Affiliate Disclosure.
1. Measure the Gap at Floor, Middle, and Top Before You Choose

Measure the gap in three places, at the floor, at counter height, and near the top. Baseboards and trim often steal half an inch at the bottom, so the lowest reading is the one that counts.
Write all three numbers down, and also measure the full depth from the front edge to the back wall. A filler that fits the width but stops short wastes the back third of the space.
Check the floor for a slope by rolling a round can across it. If the can drifts, plan for adjustable feet or a track mount instead of loose wheels that wander.
Keep a note of the three widths on your phone while you shop. Guessing in the store is how a filler ends up half an inch too wide for the real gap.
2. Fill the Fridge Side Gap With a Tall Filler for Cans
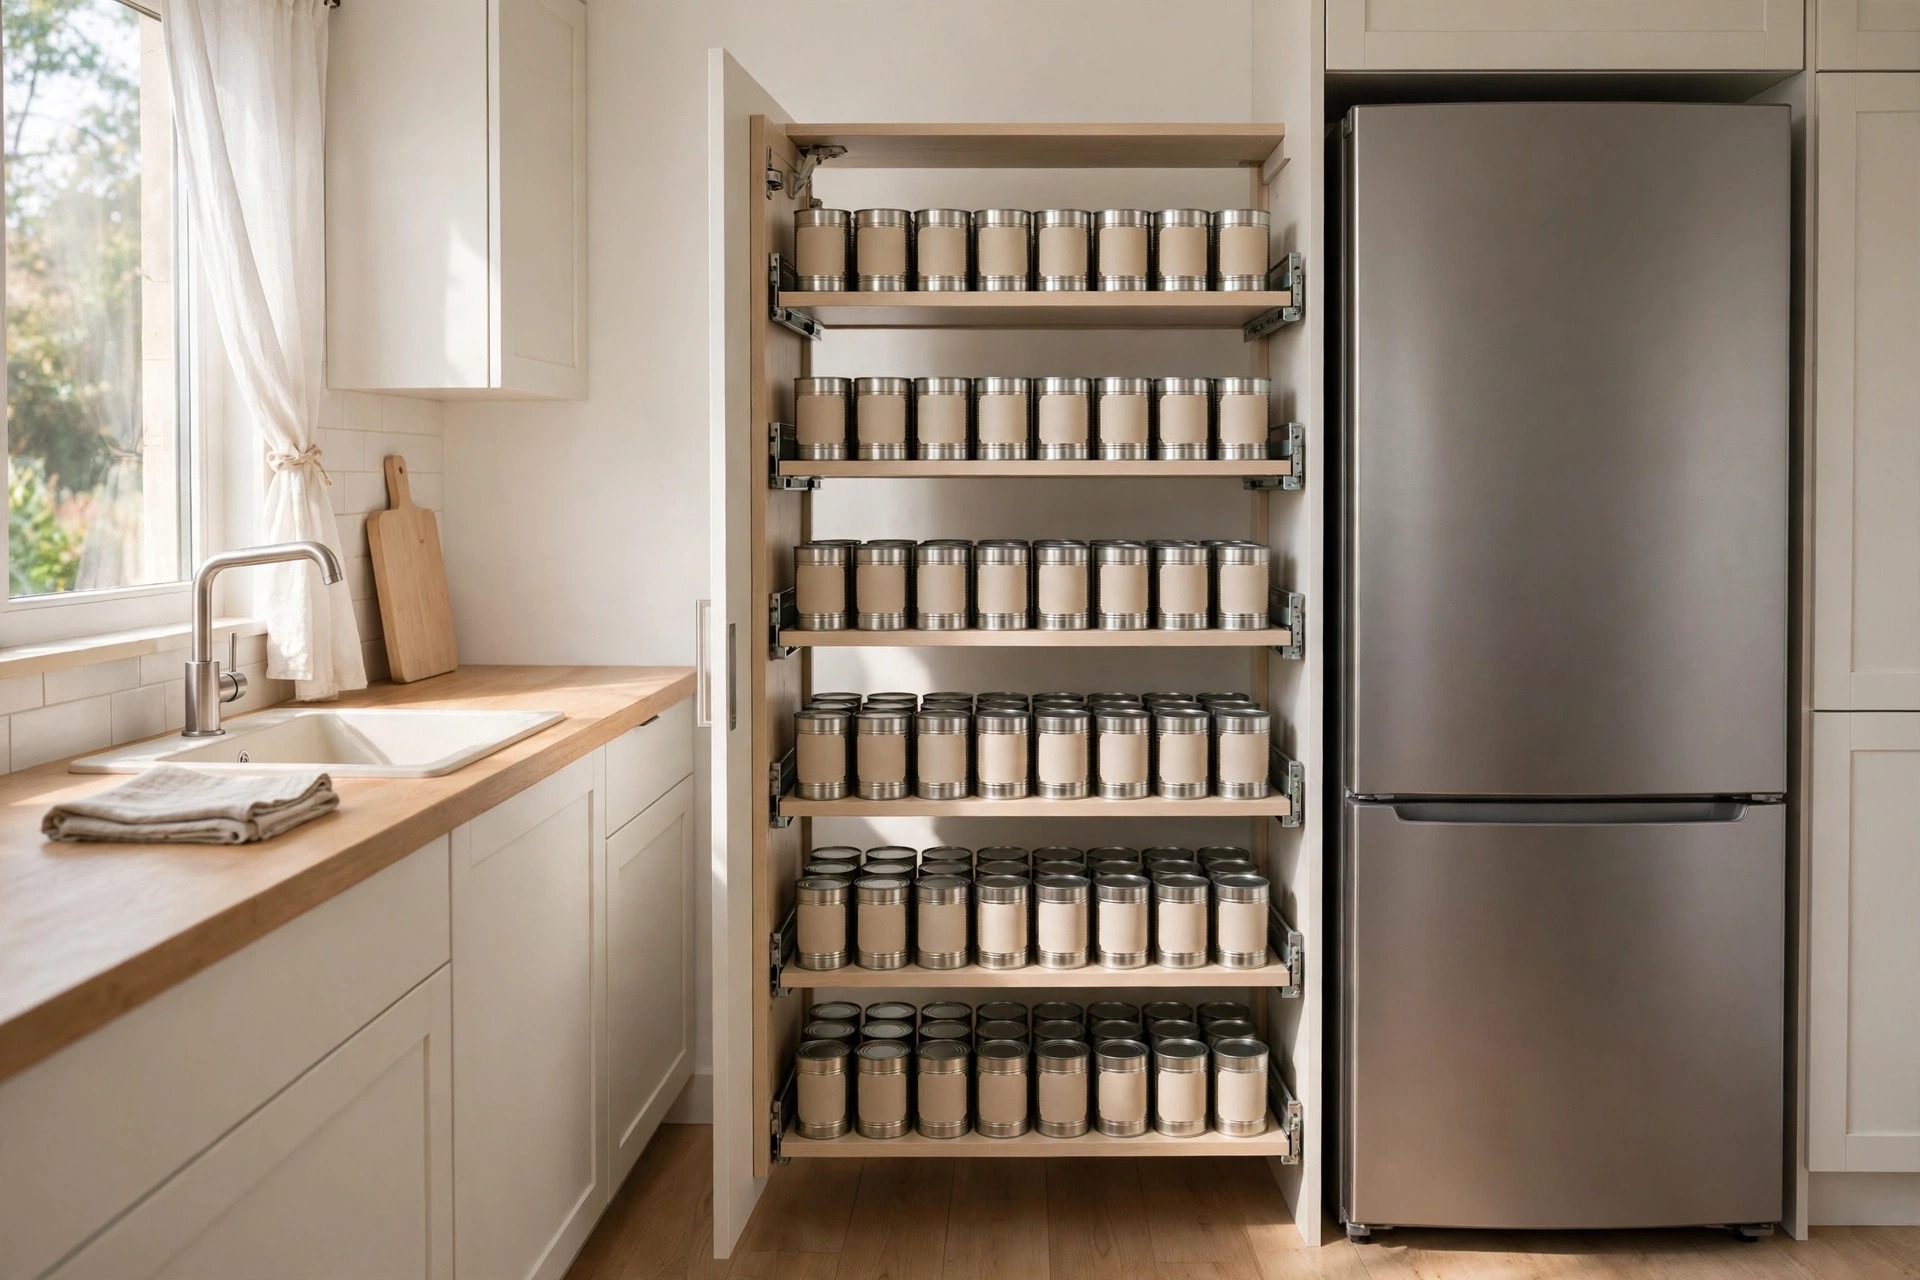
The gap beside the fridge suits cans well, because cans are short, sturdy, and happy in a single row. A tall filler with several low shelves keeps soup, beans, and tomatoes in one clear line.
Load cans by type, one shelf for vegetables, one for beans, one for soup. Nothing hides behind anything else, so you can count what you have at a glance before a shop.
Keep the heaviest cans on the lowest shelf, close to the floor. The unit stays steady when you pull it out, and your wrist does less work lifting tins from down low.
Leave a small gap at the back of each shelf for air flow near the fridge. Cans store well in cool steady air, and the back space stops tins pressing on the panel.
3. Use the Cool Fridge Side for Oils and Vinegar Bottles
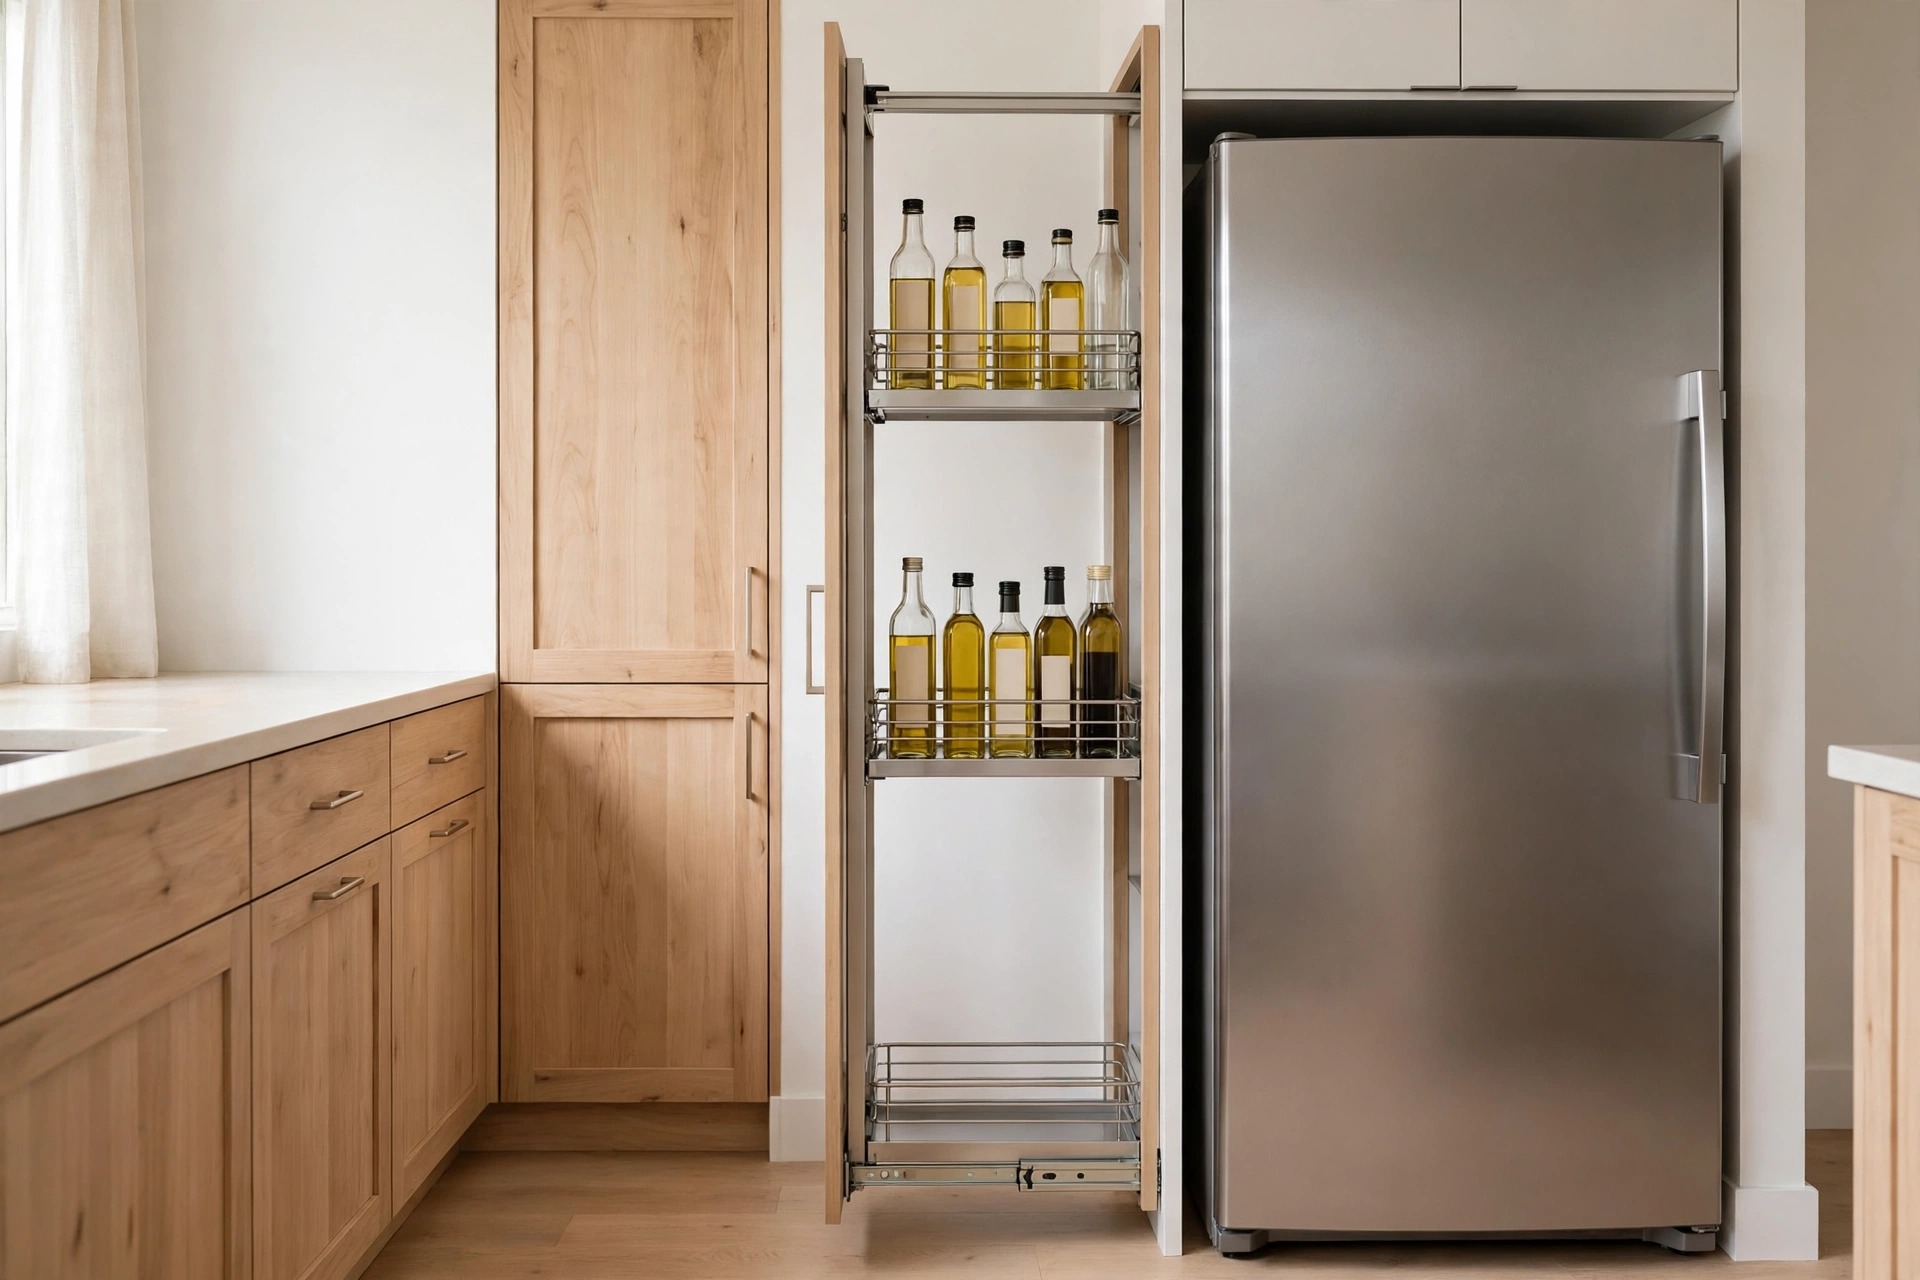
Bottles belong on the cool side of the kitchen, away from oven heat. The fridge side gap holds oil, vinegar, and sauces upright, with a rail across each shelf to stop them tipping.
Stand bottles in a single row, tallest at the back if the filler allows steps, shortest at the front. You read the whole row in seconds, instead of moving jars around a deep cupboard.
Wipe bottle bases before they go back in, every single time. One sticky ring spreads fast in a narrow unit, and a clean base keeps the shelf clean for months.
4. Keep the Stove Side Filler for Heat Safe Trays and Boards Only

The gap beside the stove gets warm, so fill it with things heat cannot harm. Flat metal trays, baking sheets, and sturdy boards slide in on edge and cope well with warm air.
Keep oils, spices, and plastic tubs out of this gap entirely. Heat dulls spice flavor and softens plastic, and both live better on the cooler fridge side of the room.
Add vertical dividers so trays stand apart and do not clang together. You can lift one sheet out with two fingers, without dragging the whole stack across the stove side panel.
5. Sort Cans, Bottles, and Trays Into Separate Gaps on Purpose
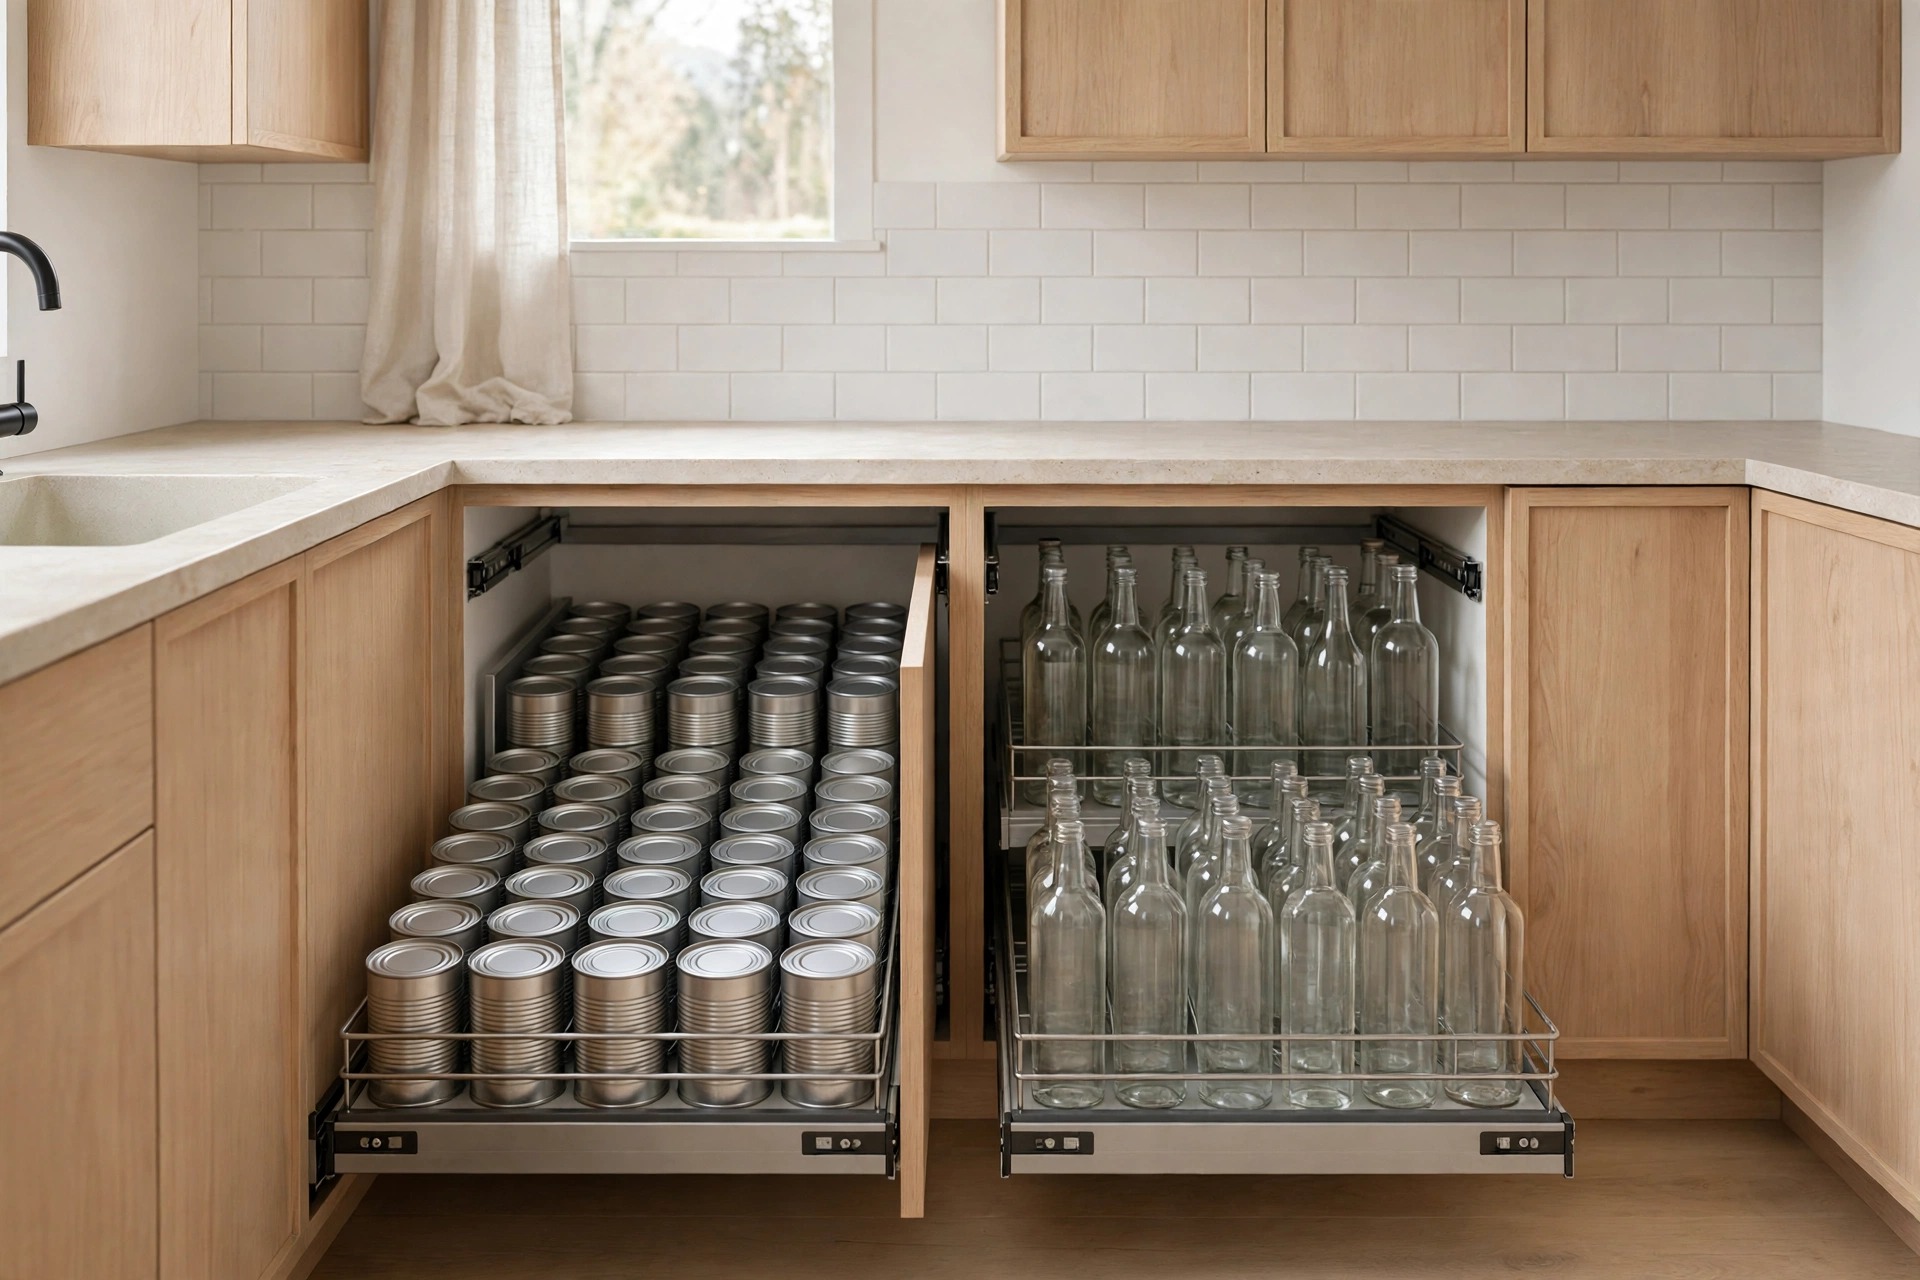
A common slip is mixing everything into one filler because it fits. Cans roll, bottles drip, and trays scrape, and the unit turns messy within a week of daily cooking.
Give each shape its own home instead, even if that means two short fillers rather than one tall one. Cans lie in rows, bottles stand behind rails, and trays stand on edge with dividers.
This sort of sorting also helps you spot the small kitchen storage mistakes that waste cabinet room elsewhere. When each gap has one job, counters and cupboards stop absorbing the overflow.
6. Fit a Front Panel That Matches Your Cabinets for a Built In Look
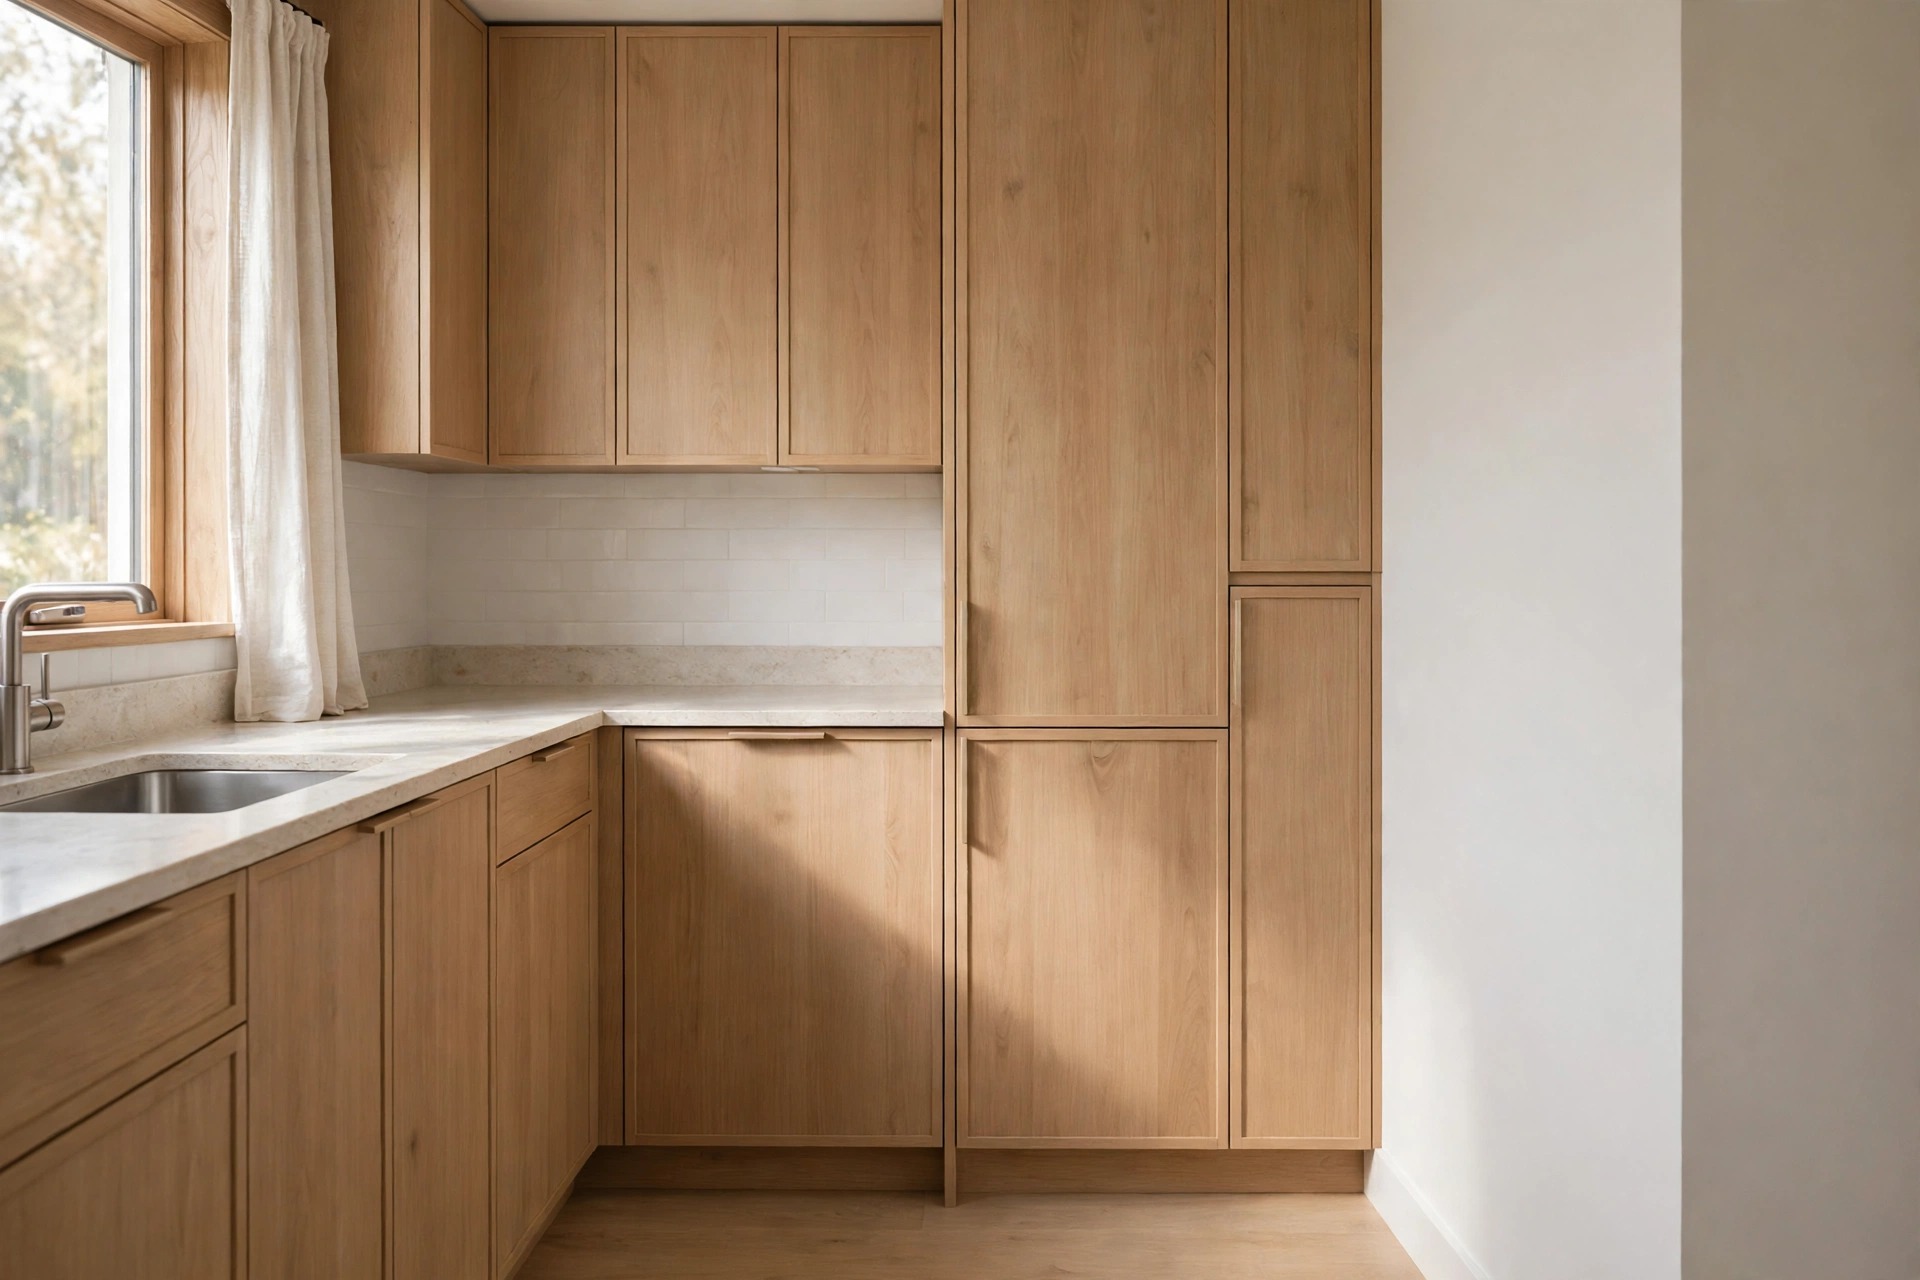
A filler looks built in when its front panel matches the cabinets around it. Match the door style first, then the color, then the handle, in that order of importance.
If an exact color match is hard, paint the panel with leftover cabinet paint or a close sample pot. Test the color on the side edge first, in daylight, before you commit to the front.
Line the top of the panel flush with the cabinet doors beside it. A panel that sits even slightly higher catches the eye every time, while a level line disappears completely.
A simple bar handle in the same finish as your cabinet handles ties the panel in further. Guests read the whole run as one fitted kitchen, not a set of add ons.
7. Claim the Narrow Side Gap Beside the Sink Cabinet
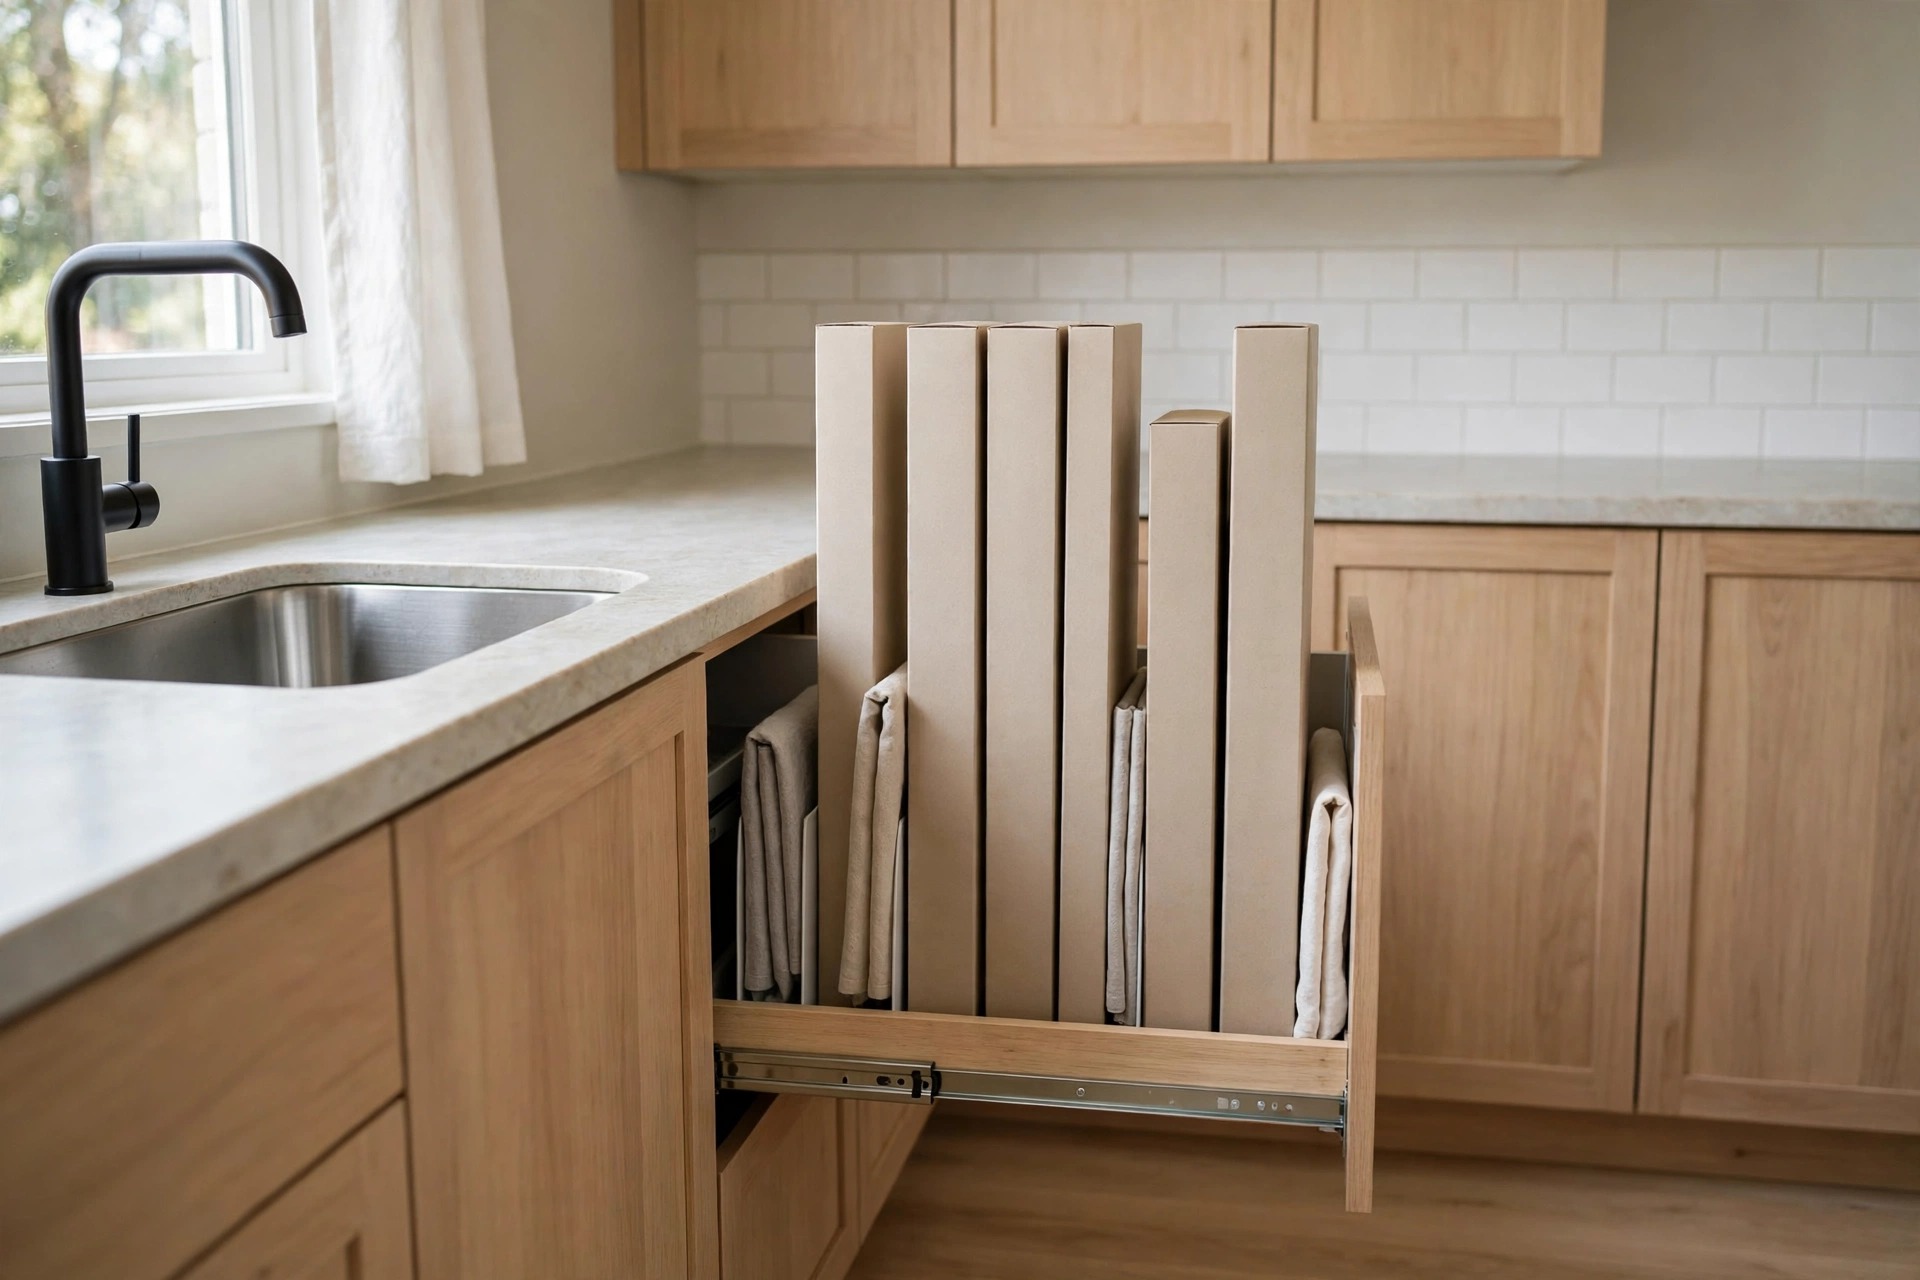
Many sink cabinets leave a slim side gap where the run meets a wall or dishwasher. That spot suits wraps, liners, and cleaning cloths, which are light, flat, and used at the sink daily.
Stand long boxes of foil and wrap upright, like files in a drawer. They pull out one at a time, and the box ends stay neat instead of crushed in a drawer.
For more sink zone help, the ideas in small kitchen under sink storage ideas pair well with this gap. One handles the pipes, the other handles the space beside them.
8. Slide a Low Rolling Filler Under the Counter Overhang Gap

Some kitchens have a low, wide gap under a counter overhang or beside a low cabinet. A short rolling filler on small wheels uses that height for trays, placemats, and flat storage boxes.
Choose wheels that lock, and keep the load flat and light. Low units tip less than tall ones, but a locked wheel still stops the slow drift across a smooth floor.
Renters often favor this style, since it needs no screws and leaves no marks. It rolls out for cleaning and rolls away again when guests arrive, with no tools involved at all.
9. Give Baking Sheets Their Own Vertical Divider Filler

Baking sheets stored flat eat a whole drawer and bury each other. Stood on edge in a narrow filler, the same sheets take a few inches and stay easy to count.
Set dividers wide enough for your thickest sheet, with a little room to spare. Sheets that fit too tight scrape on the way out, and the noise alone will stop you using it.
Keep the sheet you use most at the front of the row. Reaching past three cold trays for the daily one, with wet hands, is a small annoyance that adds up fast.
Boards can share this filler if they stand at the back in their own divider slot. Keep metal sheets in front, since you lift them more often and they wash and dry faster.
10. Store Spices in a Single Row Filler Away From Heat

Spice jars fit a narrow filler well when they stand in one single row. Every jar stays visible, and you stop buying a second cumin because the first one hid behind the oil.
Place this filler on the fridge side or beside a cool wall gap, never beside the stove. Steady cool air keeps flavor longer, and the jars stay comfortable to handle while you cook.
Group jars by how you cook, not by the alphabet. The blends you reach for on weeknights sit at chest height, while baking spices sit lower, where you need them less often.
11. Use the Cabinet to Wall End Gap for Wraps and Liners
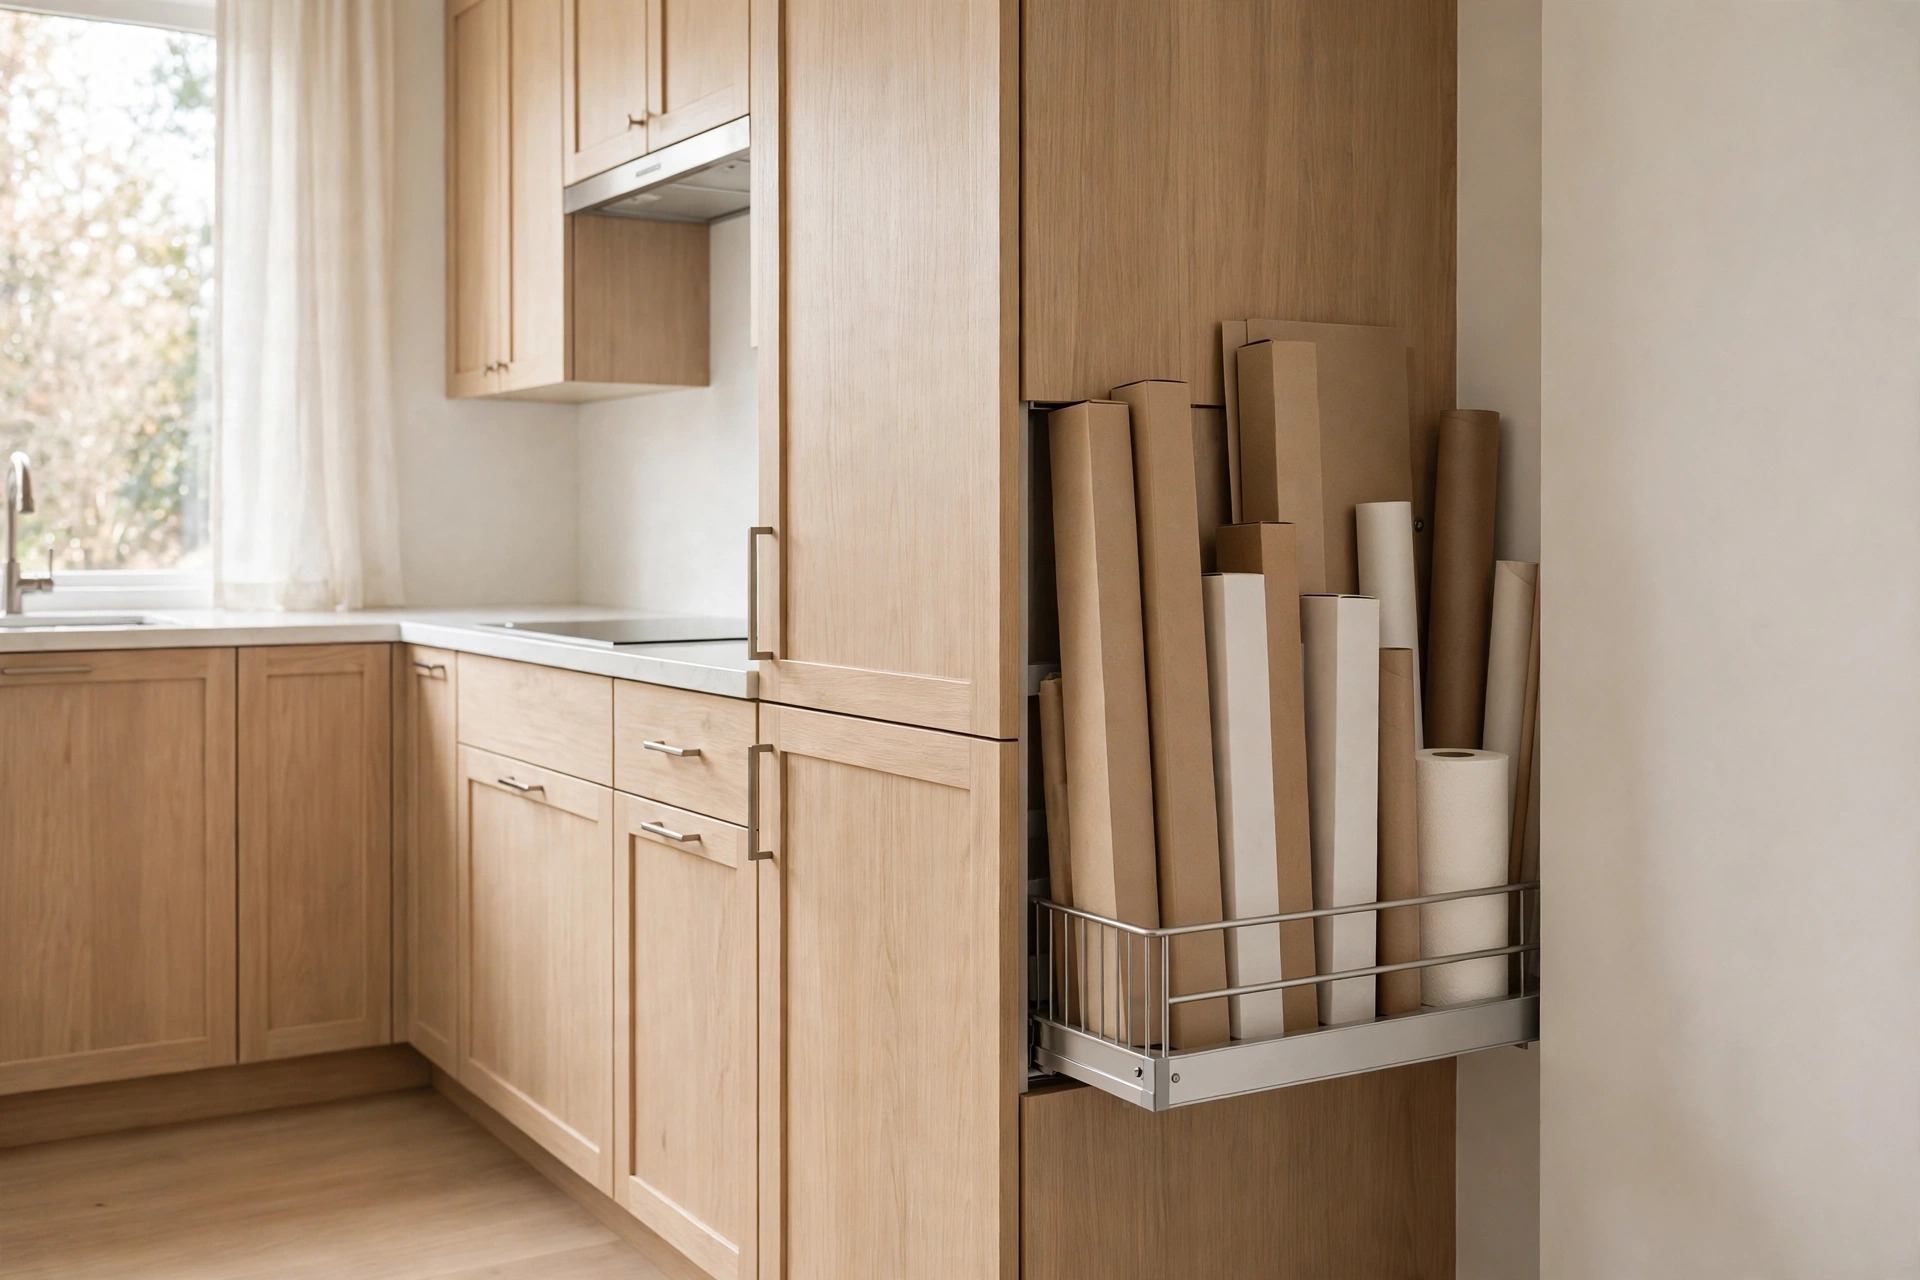
The last gap in a run, where cabinets stop short of the wall, often measures only a few inches. It is still tall and deep enough for wrap boxes, bin liners, and paper rolls stood upright.
Add a slim rail or an elastic strap across the front of each shelf. Tall thin boxes lean when the filler moves, and a simple front guard keeps them standing through every pull.
If you have no true pantry cupboard at all, combine this gap with the broader kitchen storage ideas for apartments with no pantry. The gap handles the long thin items, and frees shelf room for food.
12. Add Guard Rails and Bottom Weight So Bottles Stay Put
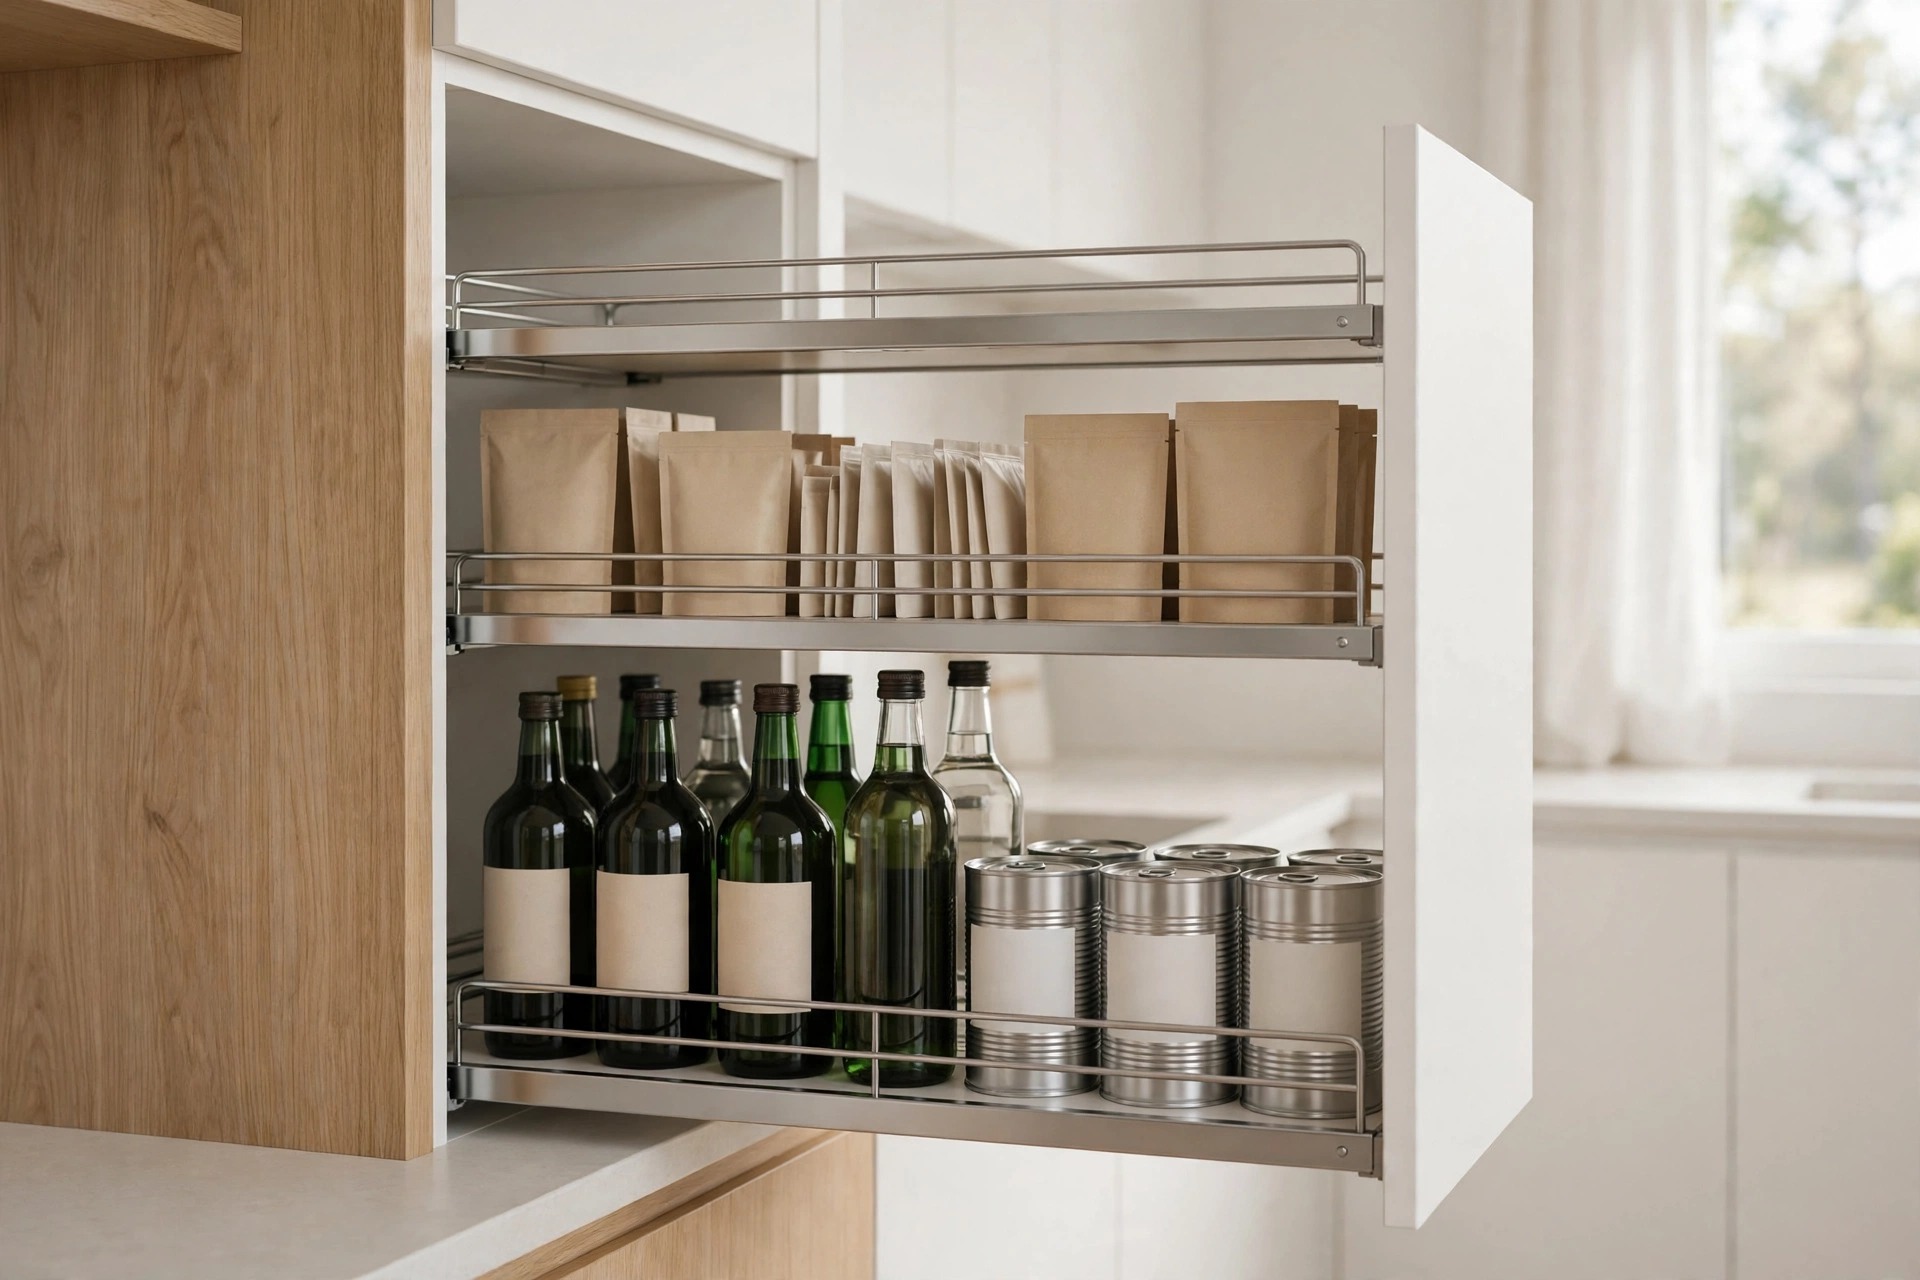
A filler moves every day, so its contents need to stay put while it rolls. Thin rails across each shelf front do most of the work, holding bottles and cans behind a clear line.
Load weight from the bottom up, always. Heavy tins and full bottles go low, light packets and wraps go high, and the whole unit feels planted rather than top heavy.
Test the loaded filler on your own floor before you call it done. Pull it out fast, then slow, and watch for wobble. A small load shift now beats a fallen bottle later.
If a shelf still rattles, line it with a thin washable mat cut to size. The mat quiets tins, catches drips early, and lifts out for a quick rinse at the sink.
13. Pick a Track Mounted Filler When the Floor Is Uneven

Loose wheels struggle on uneven tile, old boards, or a floor that slopes toward the sink. A track mounted filler fixes to the cabinet side and glides on its rail, ignoring the floor completely.
This style suits the gap beside a heavy appliance, where the floor is hard to reach and harder to level. Once fitted, the pull stays smooth even when the filler carries a full load.
Leave finger room at the front edge when you set the handle. A filler you can only open with your fingertips will stay shut, and shut storage quickly turns into dead storage.
14. Pair the Gap Filler With Wall Storage So Counters Stay Clear

A gap filler works best when the wall above it also earns its keep. Hooks or a short rail over the counter edge can hold the tools you use while you unload the filler.
For that next step, look at small kitchen ideas with magnetic wall storage rails for knives and metal tools on the wall. The filler holds food, the rail holds tools, and the counter stays free.
Keep the pairing tight and local, one gap and the wall right above it. Storage that spreads across the whole room for one task soon feels scattered and hard to tidy.
Label nothing and add nothing extra for the first week of use. Living with the setup shows you what you actually reach for, and the filler earns changes based on real habits.
15. Clean Wheels, Tracks, and the Gap Floor on a Simple Schedule

Gaps collect crumbs and grit, and grit is what makes wheels judder and tracks grind. Pull the filler fully out once a month and vacuum the gap floor with a narrow nozzle.
Wipe wheels or track rails with a damp cloth, then dry them well. Sticky dust builds up fastest beside the stove, so that gap may need a wipe every two weeks in busy weeks.
While the unit is out, check the space beside larger appliances too. Planning a small kitchen ideas with a slim dishwasher addition later is easier when you already know your exact gap widths.
A narrow gap will never hold a full pantry, and it does not need to.
Given one clear job, the right contents, and a front that matches your cabinets, it holds the items you reach for most.
Measure first, sort by shape, and keep heat away from bottles and spices.
Save this to your small kitchen ideas board for later, and start with the gap beside your fridge.


