

15 Small Kitchen Ideas With Open Shelves Done Right
Open shelves have a bad reputation in small kitchens. They get called dust collectors and clutter magnets, usually by people whose shelves were loaded like spare cabinets. In a small room, that clutter shows twice as fast.
The shelves themselves are rarely the problem. The problem is missing rules: too many objects, no spacing plan, heavy things stored too high, and nothing edited back out once it lands there.
These small kitchen ideas with open shelves done right work like a short rulebook instead of a shopping list. They cover what earns a spot, how much air to leave around it, where the weight goes, and how the dust gets handled.
Start from one simple split. The shelves carry the daily team only. Everything else belongs behind doors, and our guide to kitchen storage ideas for apartments with no pantry shows how to make that closed side work harder. The rules below keep it that way.
This post contains affiliate links. If you buy through them, we may earn a small commission at no extra cost to you. See our Affiliate Disclosure.
1. Start With One Short Run of Shelves

Here is the rule that keeps a small kitchen calm: shelves go on one short stretch of wall first. Pick the run of counter you use most, something like three or four feet, and stop there.
Two shelves in that one spot are plenty to learn on. Live with them for a month of real cooking before you even think about adding a second run somewhere else in the room.
A single styled zone reads as a decision. Shelves scattered on every wall read as storage panic, and in a small room the eye has nowhere to rest. One run, done well, always wins.
Cost: low. A short pair of boards and four brackets is a small buy, and the lesson it teaches about your own habits is worth more than the wood.
2. Let Daily Use Decide What Earns a Spot

Shelves turn messy the day the maybe items move in. The fondue pot, the gift vase, the juicer from a short health kick all sit there collecting dust and crowding out the bowls you reach for daily.
Use a one week test instead. Anything on the shelf that has not been touched in seven days of normal cooking goes back behind a door, and it has to earn its way back.
What survives is a short, honest list: plates, bowls, mugs, glasses and the one pan that never leaves the stove. That list is small, and that is exactly why the shelf stays tidy.
Keep a holding spot in one cabinet for the rejects. If a reject earns daily use for a week straight, it can come back to the shelf. Very few ever do.
3. Group Each Shelf by One Job
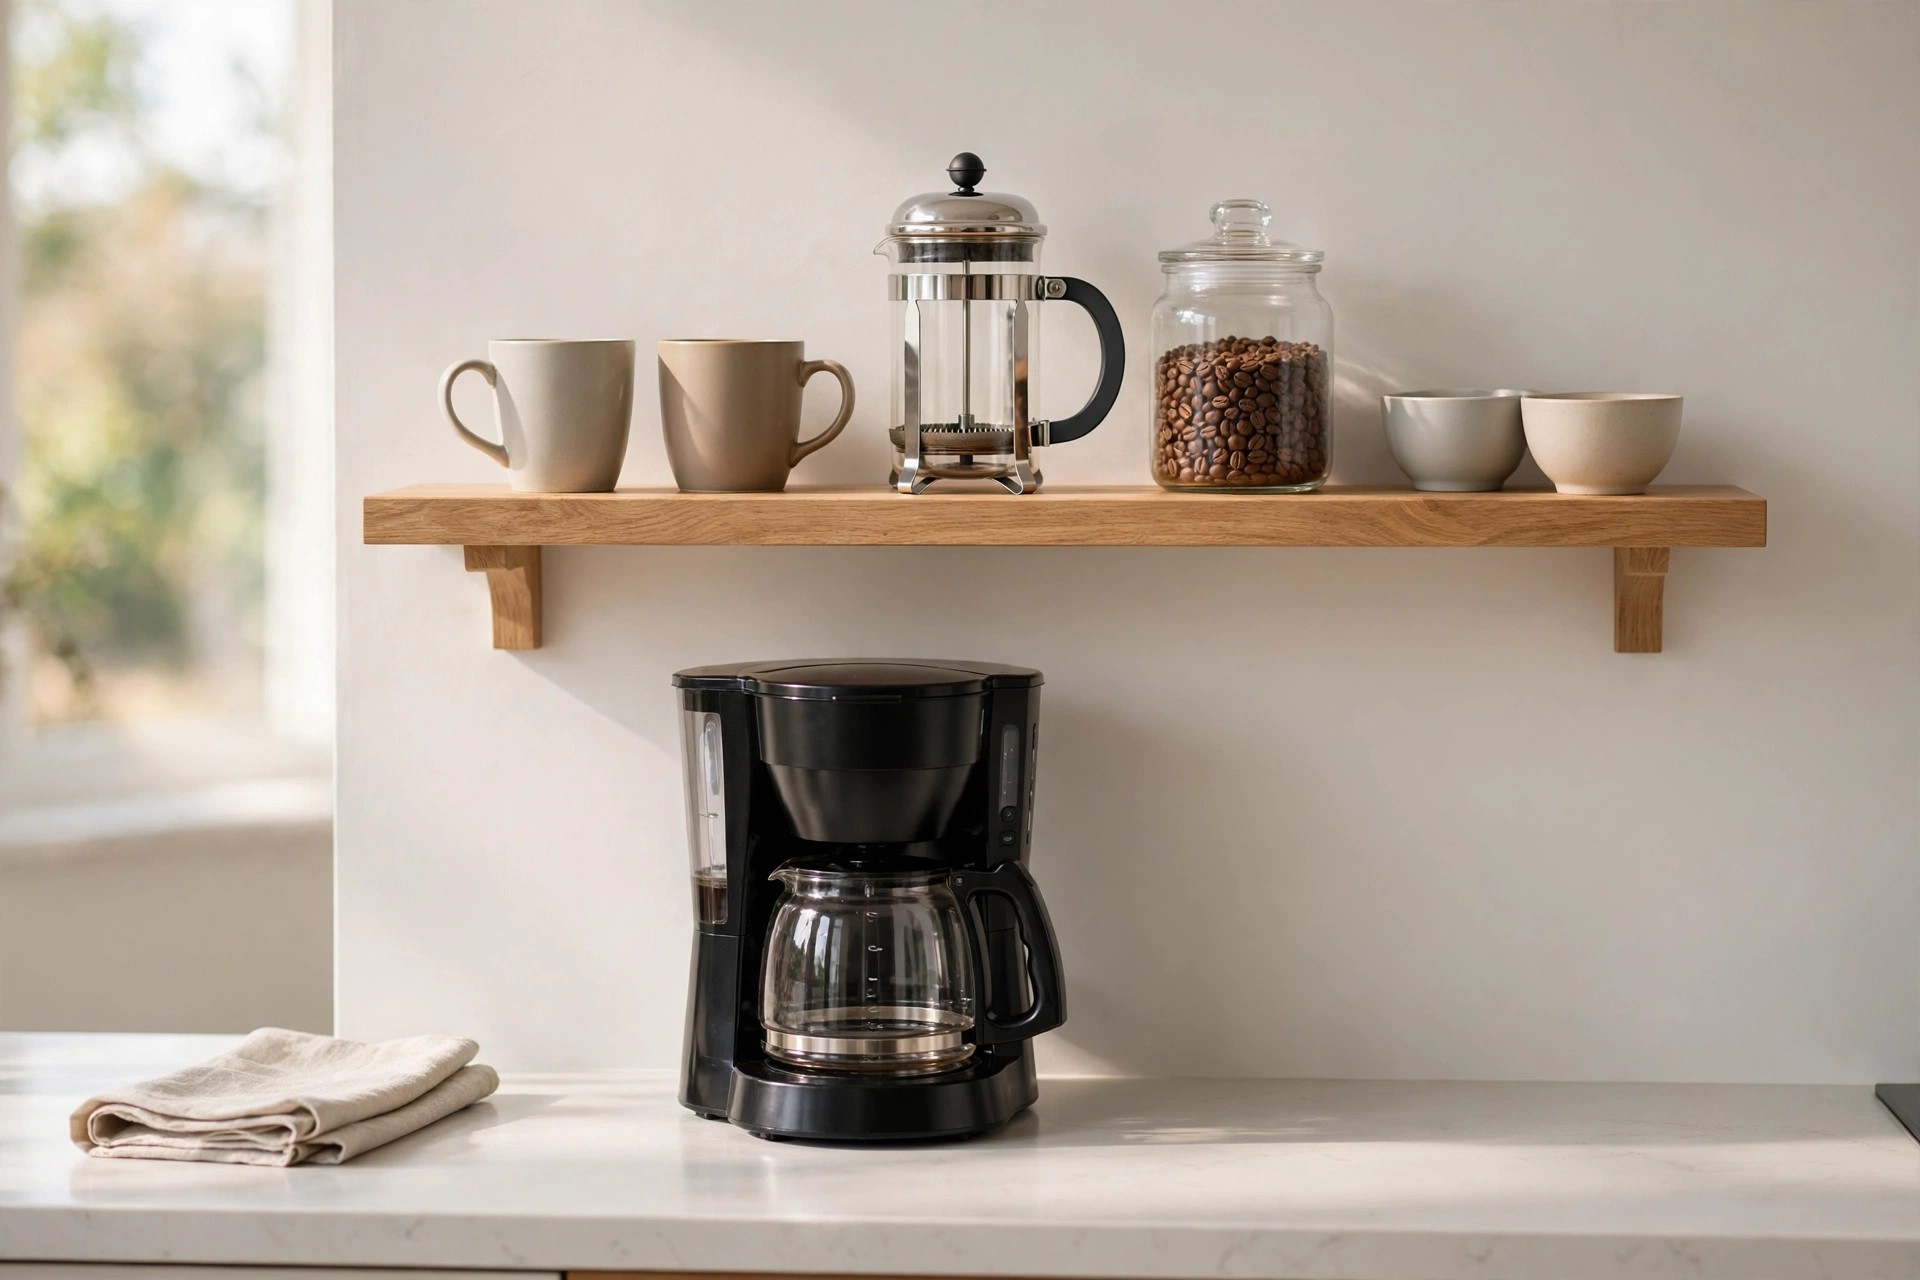
Give every shelf a single job and the morning hunt ends. The breakfast shelf holds mugs, the coffee jar, filters and small bowls, all within reach of the coffee maker on the counter below.
The cooking shelf sits near the stove with oil, salt, a pepper mill and the utensil crock. Baking things, if they earn any open space at all, share one shelf of their own.
When a stray item shows up, ask which job it belongs to. If it has no job on that shelf, it has no spot there. Zones feel strict for a week, then automatic.
Leave the shelf ends for the tallest piece of each kit, like the French press or the oil bottle, so nothing tips a stack over when you reach to the back.
4. Leave a Third of Every Shelf Empty

Look at a shelf that feels calm and you will notice the gaps. A stack of plates, then bare wood. A row of jars, then nothing. The empty parts are doing real work.
Aim for about two thirds objects and one third open shelf. In practice that means stacks of four to six plates, not twelve, and a hand width of clear space between each group.
The gaps also make daily life easier. You can lift a bowl out without the shuffle and clink of a packed shelf, and putting things back takes seconds instead of strategy.
In a small kitchen, that ease is the difference between shelves you love and shelves you quietly resent. Breathing room is not wasted space. It is the whole point.
5. Match Shelf Depth to Your Biggest Plate
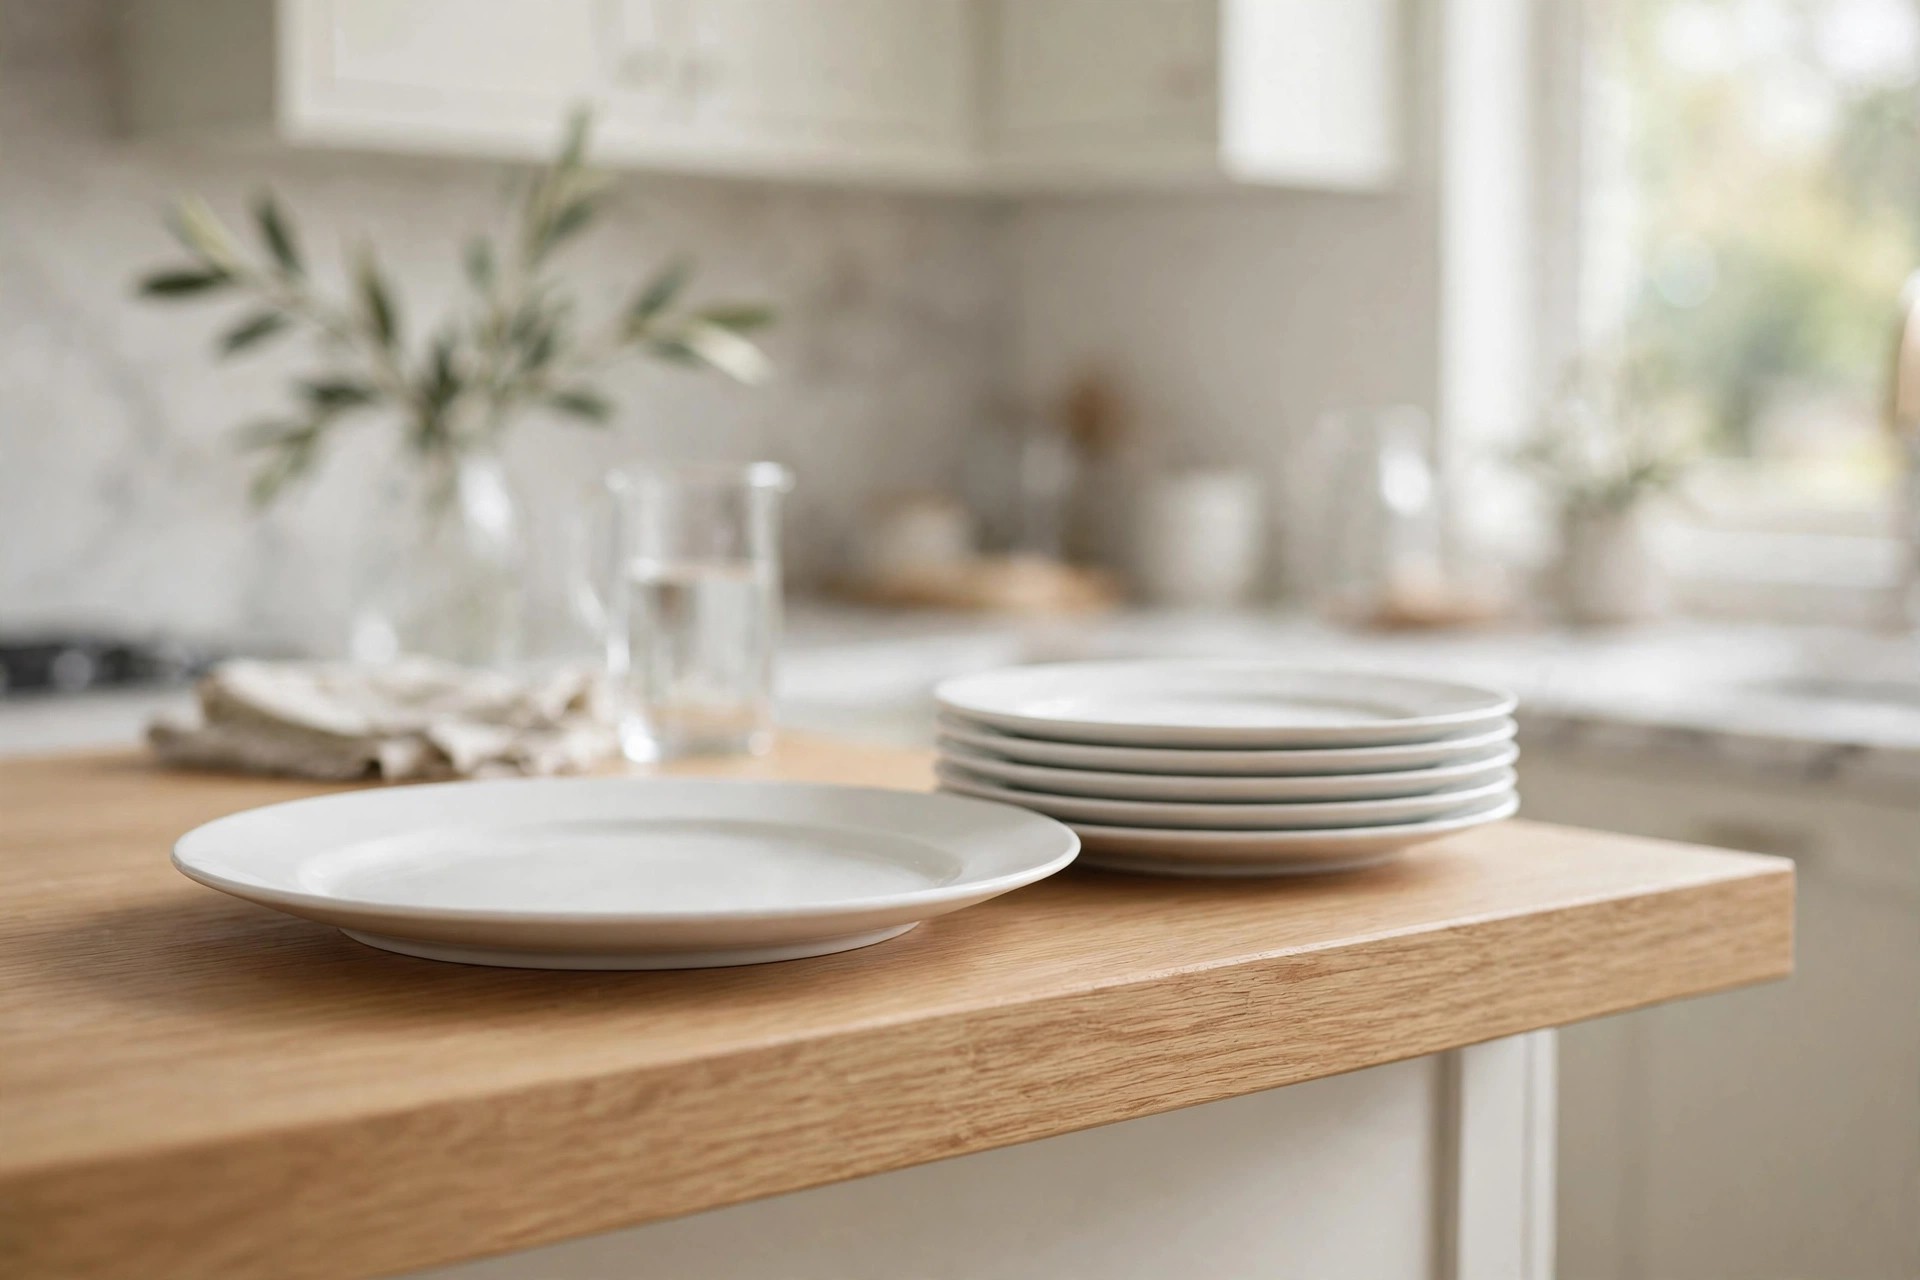
Picture a dinner plate on a shelf that is two inches too shallow. The rim hangs over the edge, it wobbles when you grab it, and one day it slides. Depth is not a detail.
Measure your biggest plate and your widest mixing bowl before any bracket goes up. Dinner plates usually need a shelf ten to twelve inches deep to sit flat with an inch to spare.
Shallower shelves still earn their keep higher up, where glasses, jars and small bowls live. Match each shelf to its load and nothing perches, overhangs or crowds the front edge again.
Write the two measurements on a sticky note before you shop. Boards come home the wrong depth more often than any other shelf supply, and returns are a chore.
6. Keep Heavy and Breakable Things Low
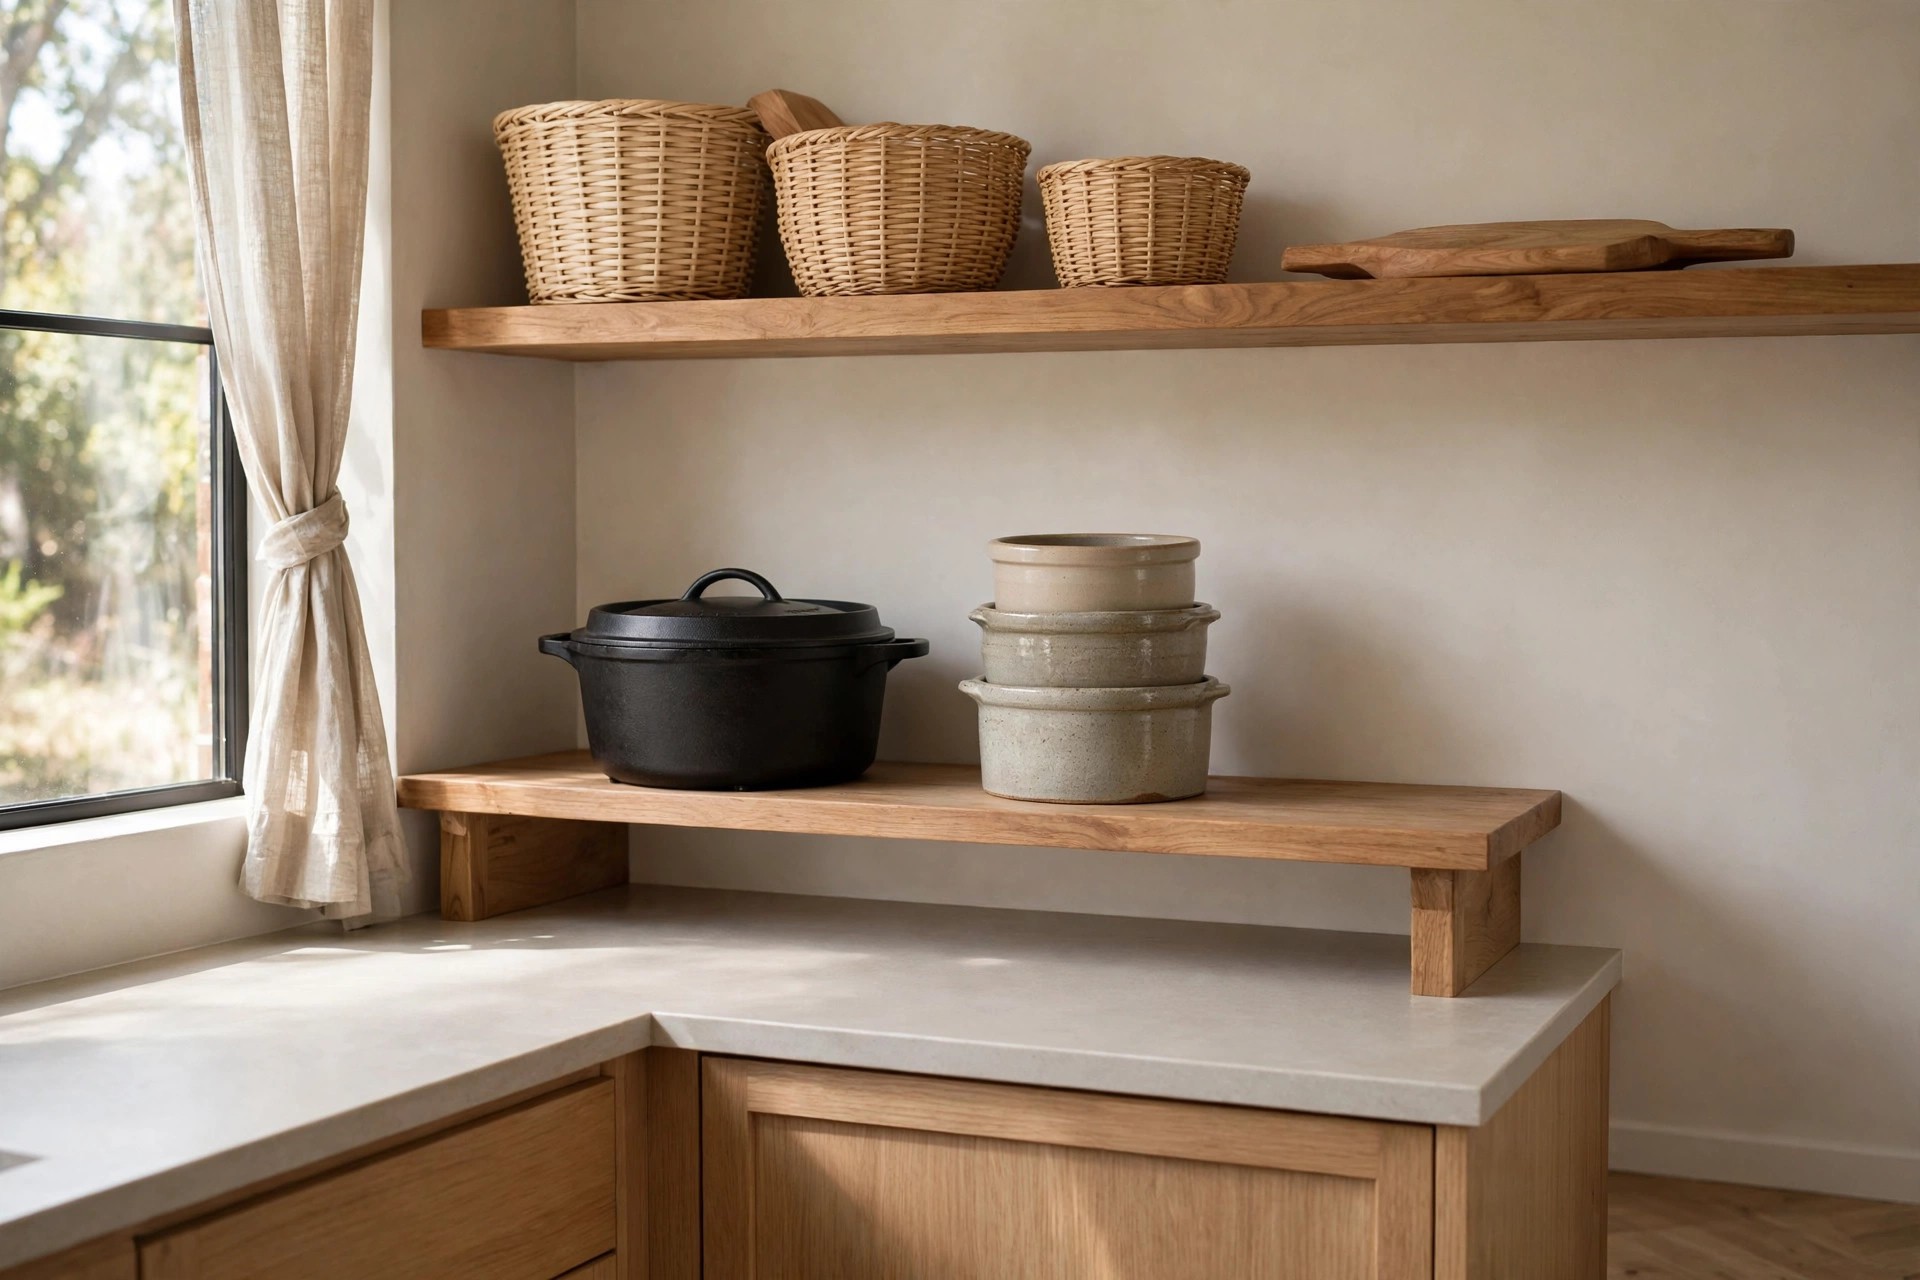
The classic open shelf mistake is parking the cast iron pot and the big stoneware crock on the top shelf. Heavy stacks belong low, near counter height, where lifting takes no reach or stretch.
Brackets and boards also work hardest under weight stored at height. Keep the top shelf for light things instead: baskets, a serving board, the pretty pitcher that weighs almost nothing at all.
A stack that starts low can be lifted with two hands and a straight back. It is the same logic behind half the small kitchen storage mistakes that waste good cabinets.
Weight down low, light and lovely up high. Follow that one split and every shelf in the room stays safer to use, every single day.
7. Decant Dry Goods Into One Jar Family

Before: half open bags of flour, rice and pasta, each in a different box, labels shouting in four colors. After: one row of clear jars, same glass, same lids, contents visible at a glance.
Pick one jar family and stick with it. Clear glass shows when the oats run low, and matching lids are the whole trick. Two sizes cover almost everything a small kitchen stores.
Decant only what you cook with weekly, like flour, rice, oats and pasta. The odd shaped packets and one time ingredients stay in a basket behind a door, out of sight.
Skip decanting anything you buy once a year. A jar earns its glass by being opened every week, washed often, and refilled before it ever gets the chance to look dusty.
8. Mix Open Shelves With Closed Cabinets on Purpose
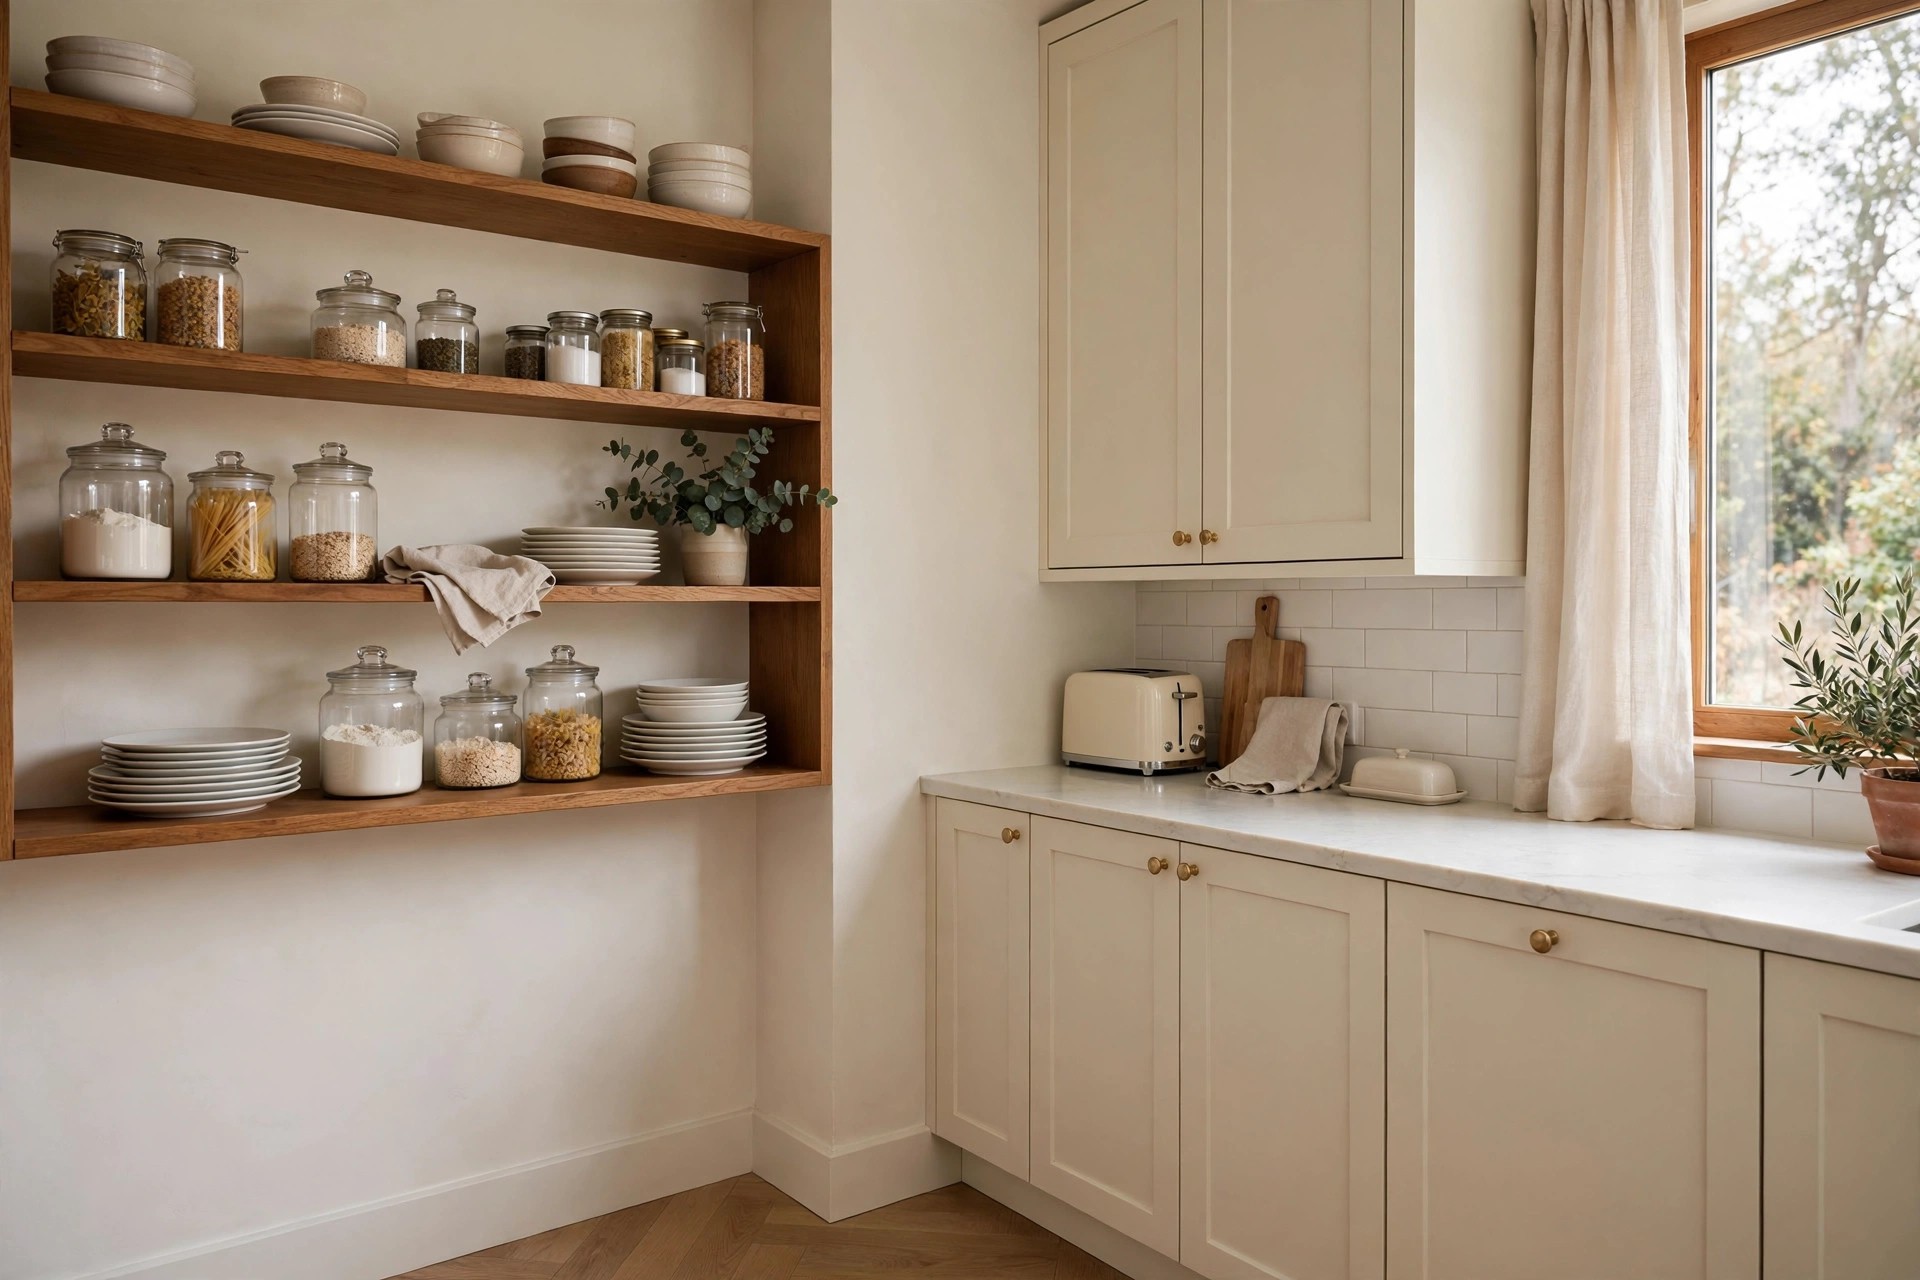
The small kitchens that work hardest are never all open or all closed. In my experience the split lands near this: shelves hold the pretty daily set, and doors hide everything with a cord.
Blenders, food processors, cleaning sprays and the pan that only fits at an angle all live better behind a door. Even the space under the sink counts, and our small kitchen under-sink storage ideas use every inch of it.
Keep shelves to one or two walls and let cabinets carry the rest. The mix is the point: open where it helps, closed where it hides, and no wall doing both jobs badly.
Decide the split before you drill anything. A wall planned as all shelves stays flexible far longer than a wall that filled up by accident over six months.
9. Store Glasses Upside Down to Beat the Dust
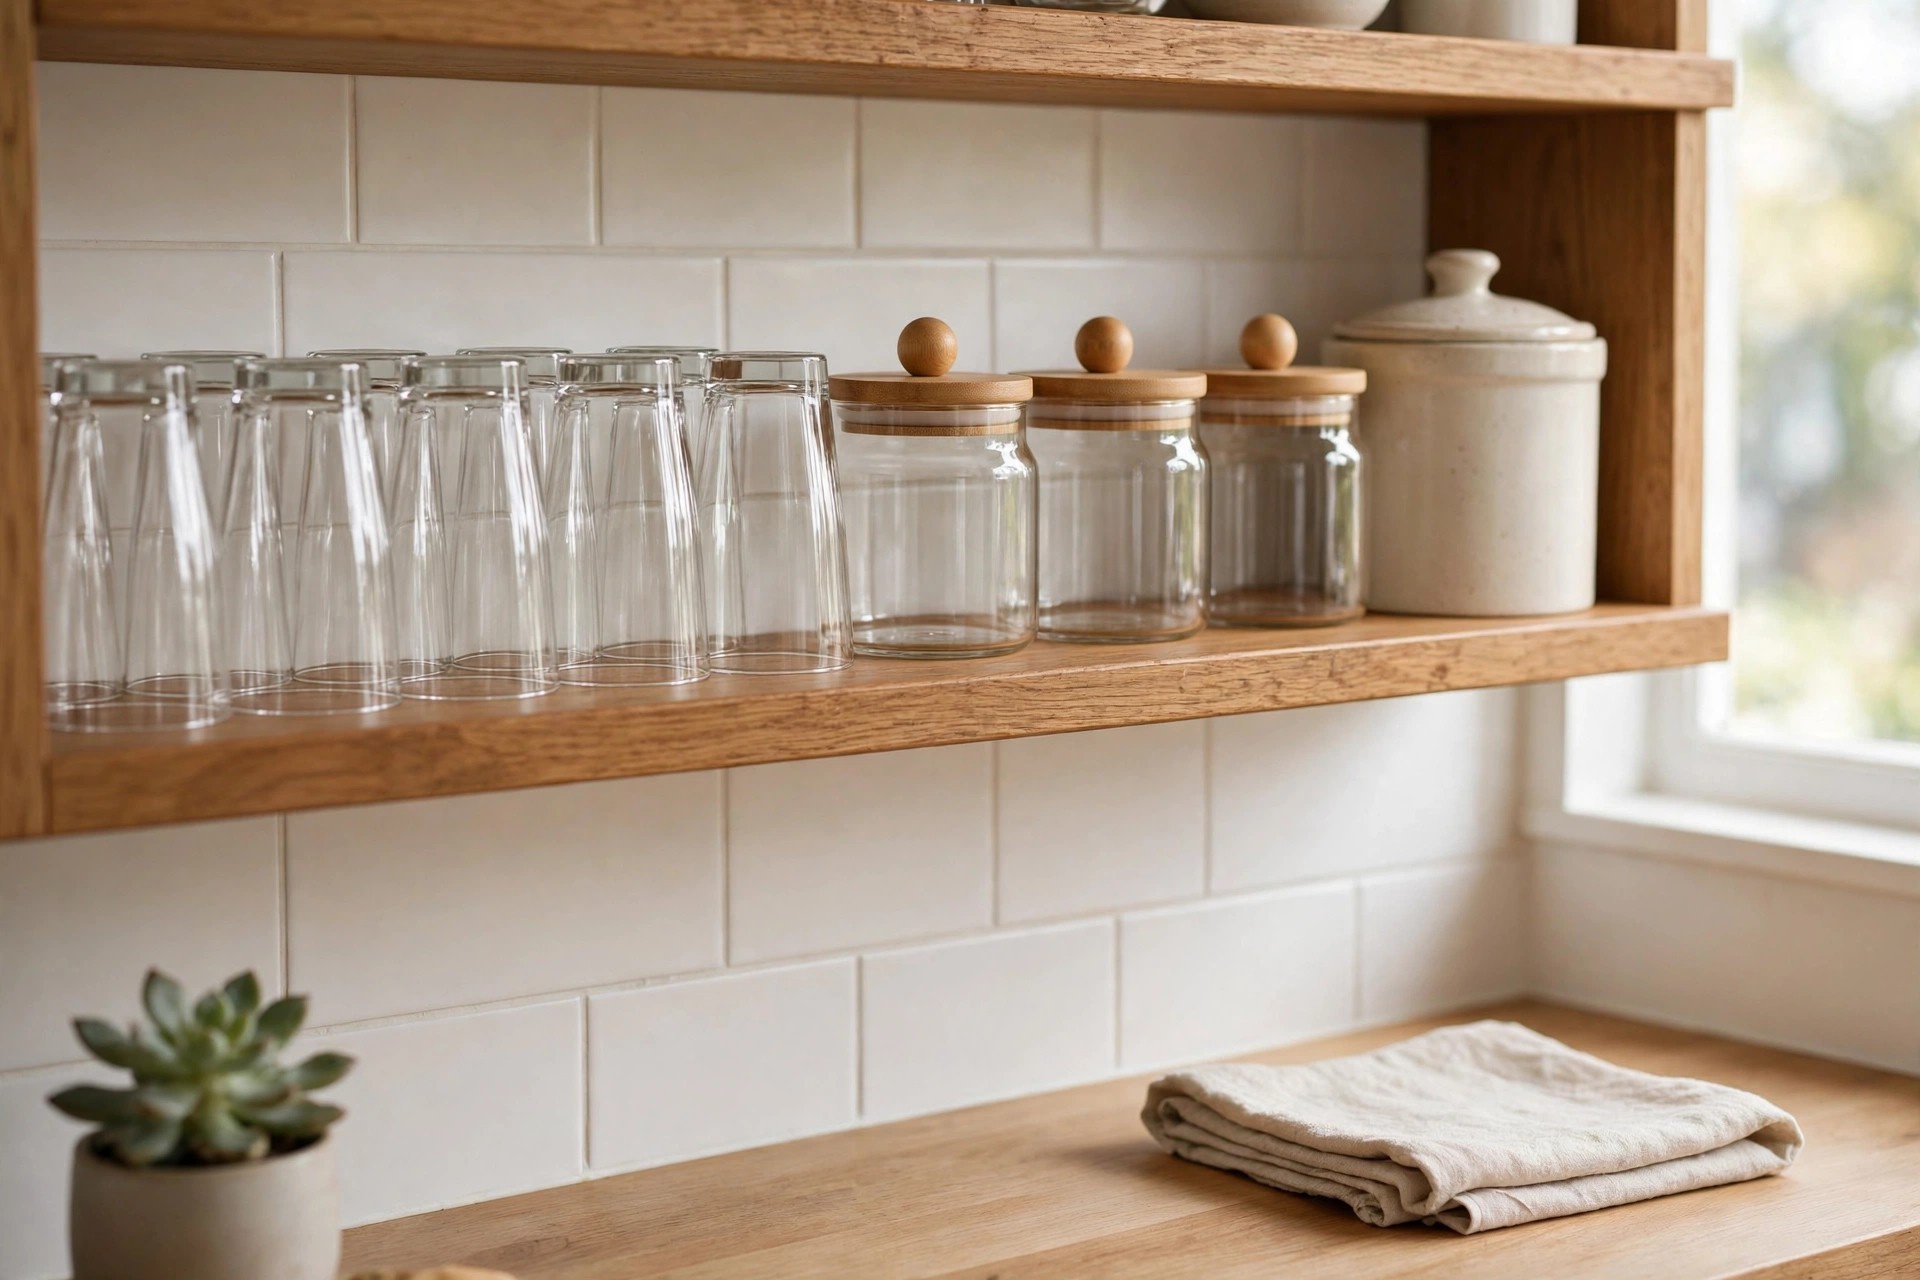
Dust settles in the one place you cannot see it: inside an upright glass. Flip glasses and tumblers rim down on the shelf and the insides stay clean between uses, ready to pour.
Lids do the same job for everything else. Jars get lids, the utensil crock gets a cover near the stove where cooking steam floats, and bowls stack nested so each one shields the next.
The real dust defense is turnover. Items used and washed daily never sit long enough to gather much, which is one more reason the daily use rule in idea two matters so much.
One caution: set glasses down gently on wood, and skip the flip for delicate stemware. Stems store safer behind a door, where nothing knocks them during the morning rush.
10. Keep Shelves Off the Window Wall

There is a stubborn myth that more shelves on more walls always means more storage. Put a shelf across the window wall and you trade that storage for the light a small kitchen can least afford to lose.
Glassware in front of a window turns into silhouettes, and jars block the sun that makes a tight room feel bigger. Keep that wall clear and let the window do the job it is good at.
Plants on the sill and a clear view do more for a small kitchen than two more feet of shelf ever will. The room reads bigger, and washing up gets the best seat in the house.
Shelves belong on the solid wall beside the window, where light falls across them from the side. Our small kitchen ideas with a window show how much that clear glass is worth.
11. Repeat One Wood Tone and One Bracket Style

One material, repeated, is the rule that makes shelves look built in. Choose a single shelf board, warm oak or painted white, and one bracket style, then repeat both everywhere without a single exception.
Mixed brackets and leftover boards read as accidents, even when each one is fine on its own. The eye spots the mismatch before it spots the dishes, and the whole wall feels unsettled.
It is the same warmth trick behind warm wood kitchen ideas: one tone carried across a room feels calm and planned. Keep the shelf color close to the counter or the floor for the full effect.
Best for: anyone buying shelves in stages. Matching later purchases stays easy when the rule is one tone, one bracket, bought the same way every time.
12. Give One Small Shelf to Pretty Things Only

One short shelf that stores nothing useful might be the hardest working shelf in the room. It holds a pitcher, a small framed print and a plant, and it makes the whole kitchen feel decorated.
Keep it short, around two feet, and hang it near eye level where it gets seen. Because it never takes daily traffic, it stays styled on its own, with no effort from you.
A thrifted pitcher or a print you already own keeps the cost at zero. Pretty does not need a budget here, just a shelf that is protected from daily duty.
That one shelf also changes how the useful shelves read. Next to something clearly decorative, plain stacks of plates look intentional instead of like storage that ran out of doors.
13. Add Baskets for the Ugly but Useful Stuff
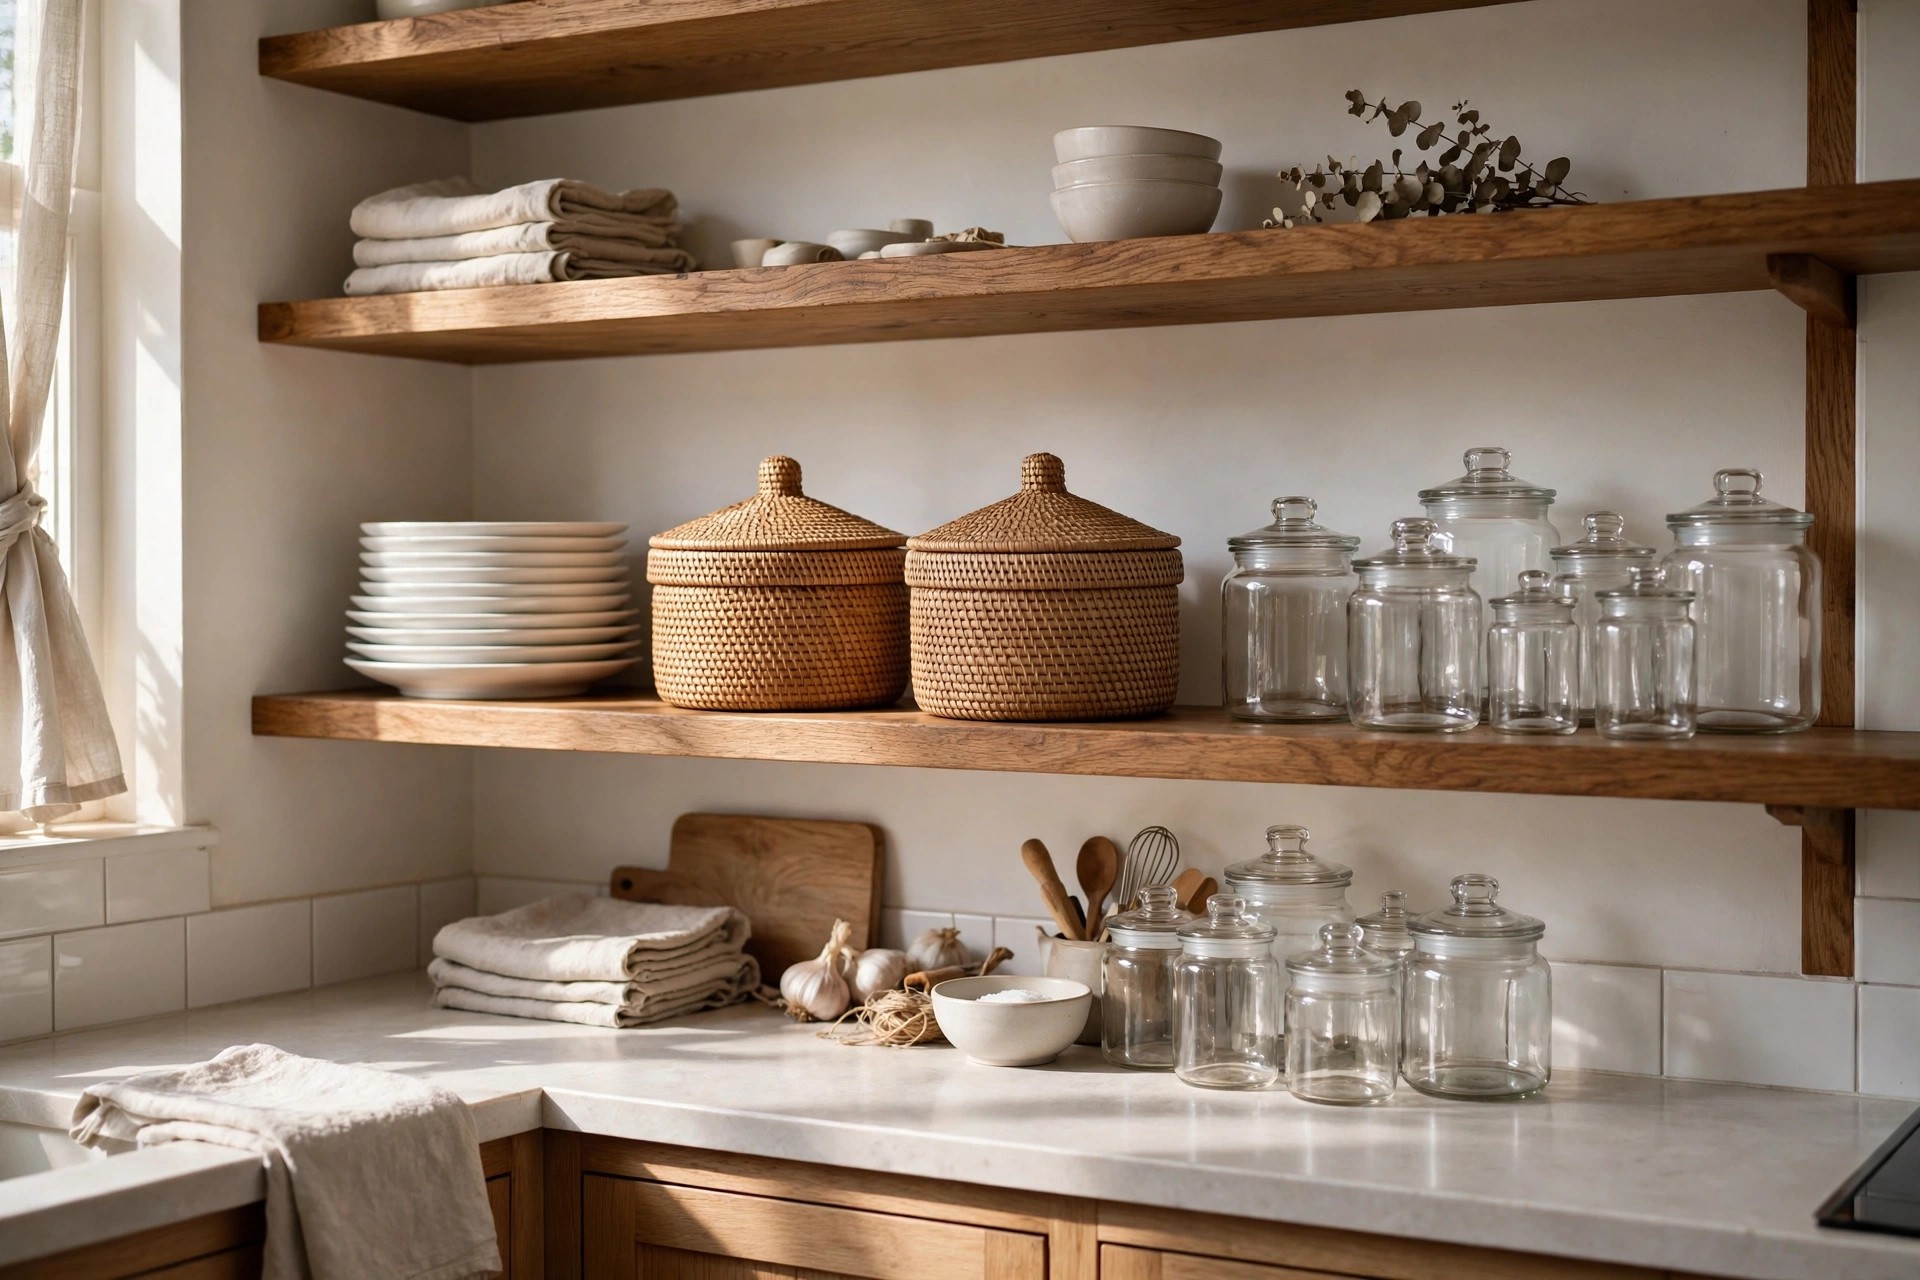
Every kitchen has a homeless category: vitamins, chip clips, tape, batteries, string, the rubber band ball. These things are useful, ugly, and they drift onto open shelves one small piece at a time.
Left alone, this is the stuff that makes tidy shelves look messy. Give the whole category one or two lidded baskets on a shelf and the drift stops the same day it starts.
The baskets read as warm texture from across the room. Inside them, the clutter can be as messy as it likes, because nobody ever sees it, including you at breakfast.
Baskets also corral the small packets: tea, sweeteners, spice refills and sauce mixes. Keep the basket count at two, so the fix never turns into a row of its own.
14. Wipe Shelves on a Weekly Rhythm

After a few months with open shelves, most people report the same surprise: the dust is a two minute problem, not a daily one. A weekly rhythm is all it takes to stay ahead of it.
While the kettle boils, run a damp cloth along each shelf, top one first, lifting stacks rather than working around them. A drop of dish soap on the cloth handles the shelf near the stove.
Tie the wipe to something you already do, like the Sunday shop or trash night. A fixed rhythm beats a big monthly clean, every single time it is tested.
Two minutes, once a week, and the dust argument against open shelves mostly disappears. The shelves stay at the level of clean that a working kitchen actually needs.
15. Put One Plant on Top and Nothing Else
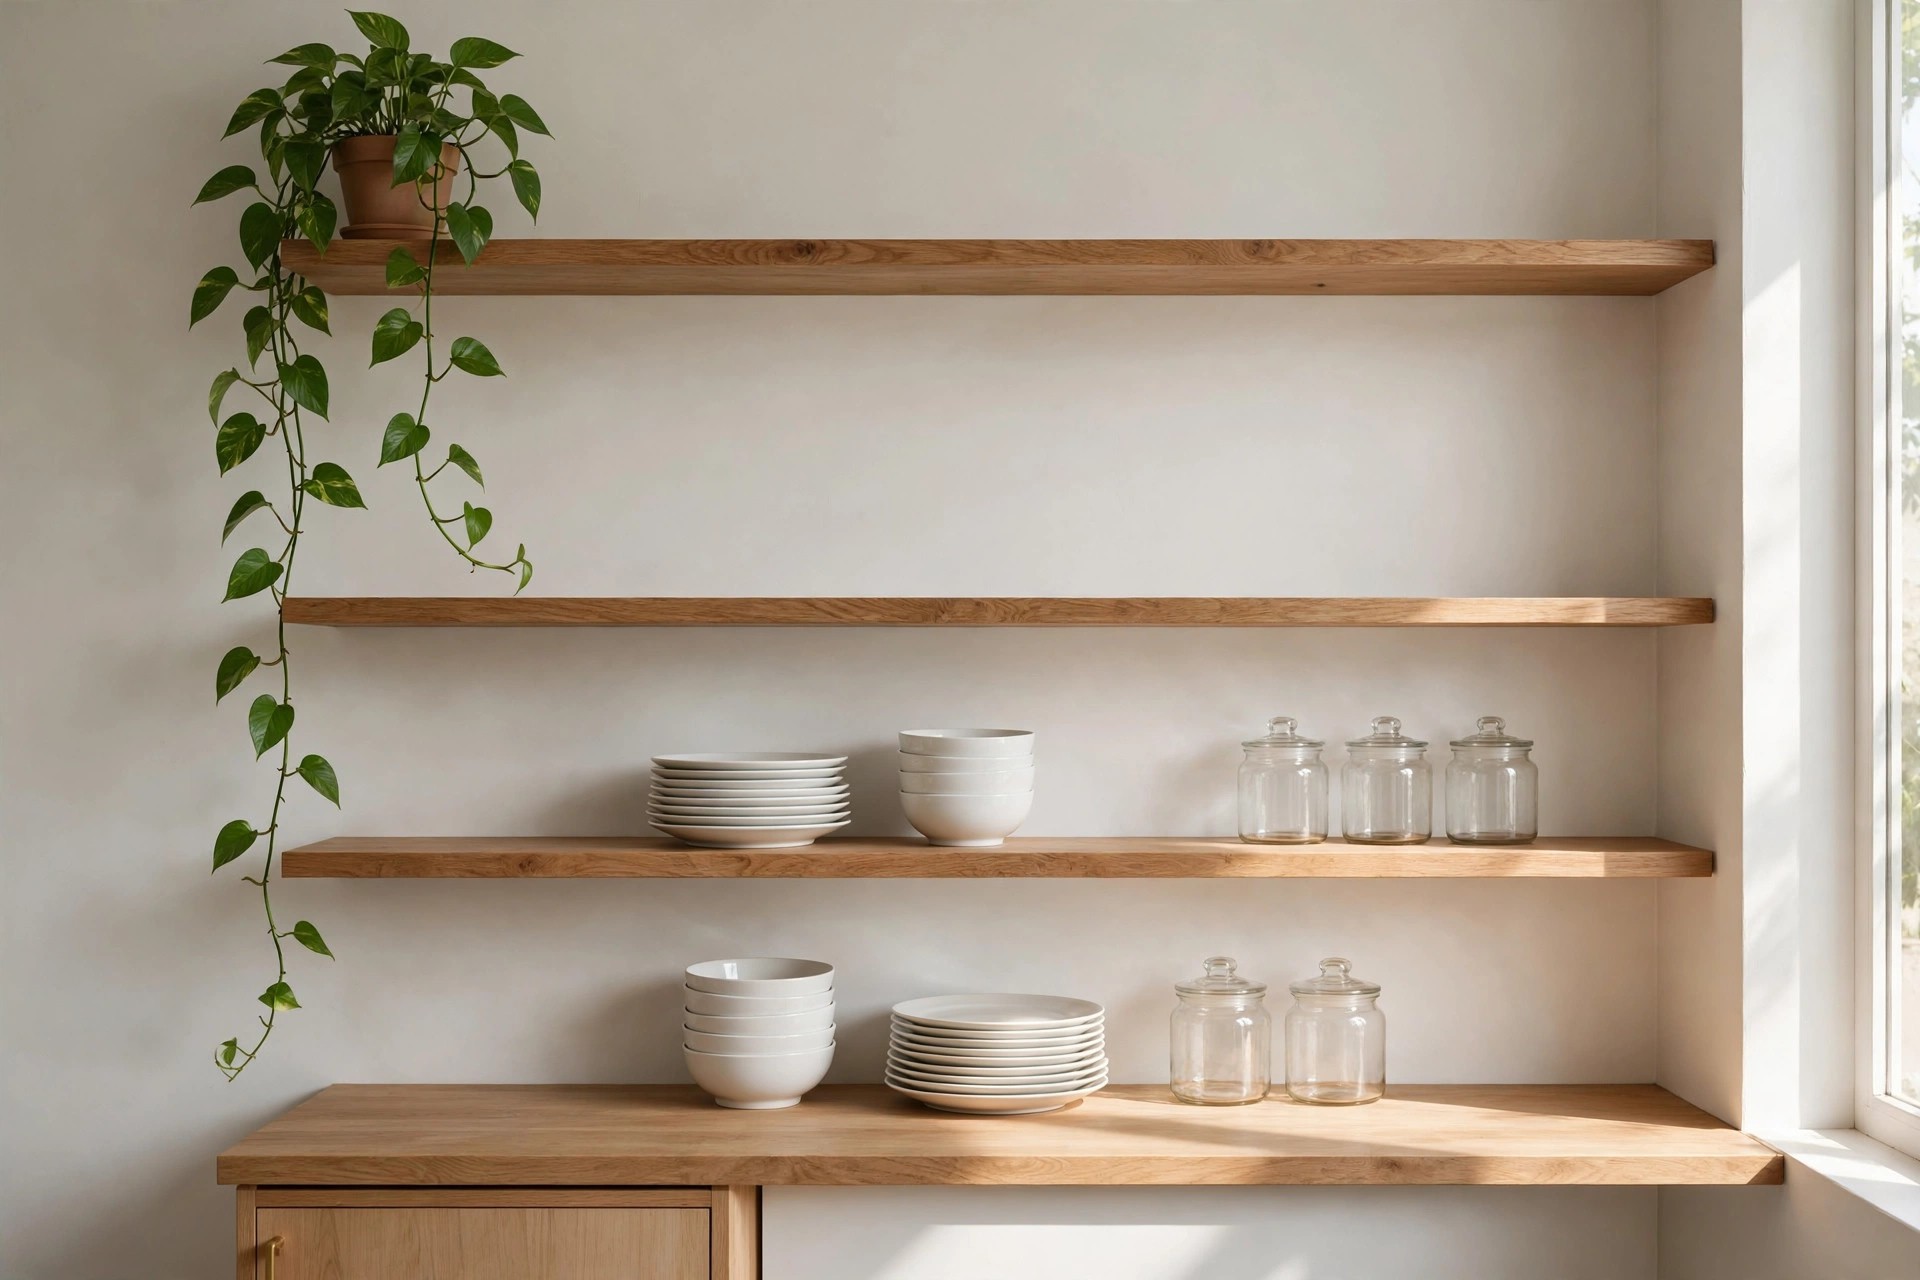
The top shelf is the hardest to reach and the easiest to see. Fill it with storage and the whole run looks top heavy. One trailing plant at one end changes the picture completely.
A pothos or similar trailer softens the hard line of the shelf, draws the eye upward, and makes the ceiling feel taller. The rest of that top shelf stays empty, on purpose.
Choose a pot that matches your shelf tone, so the top line of the kitchen feels finished. Keep the plant watered and trim the longest trail now and then.
Anything else stored up high is mostly a dust shelf with extra steps. Let the top shelf be the calm ending to the whole run of shelves below it.
None of this asks for new cabinets or a bigger kitchen. It asks for a short set of rules, followed kindly: daily items only, room to breathe, weight kept low, one material repeated.
Pick two or three ideas and start there, maybe the shelf edit this weekend and the jar swap next. Small kitchens reward small, finished changes far more than one big overhaul.
Save this list to your small kitchen board for later, and reread it in a month. These small kitchen ideas with open shelves done right get easier every time you run the rules.


