

15 Balcony Vegetable Garden Layouts by Balcony Size
Two balconies with the same pots can crop very differently, and the gap is usually layout. Tall crops steal light from short ones, thirsty pots sit far from the door, and the harvest path crosses the whole garden twice a day.
These balcony vegetable garden layout ideas by balcony size are crop layouts, not styling plans. Each one sets sun order, spacing, and succession, so plants get light in turn and something is always ready to pick through the season.
Measure your balcony first, in feet and in sun hours. Note where sun lands at morning, noon, and late afternoon for one weekend day, and the right layout below will be easy to spot.
Start with the layout closest to your size, then adjust one row at a time. A layout you can water in five minutes, without moving a single pot, is the one that lasts all season without wearing you out.
This post contains affiliate links. If you buy through them, we may earn a small commission at no extra cost to you. See our Affiliate Disclosure.
1. The 3-Foot Micro Layout: One Rail, One Floor Pot
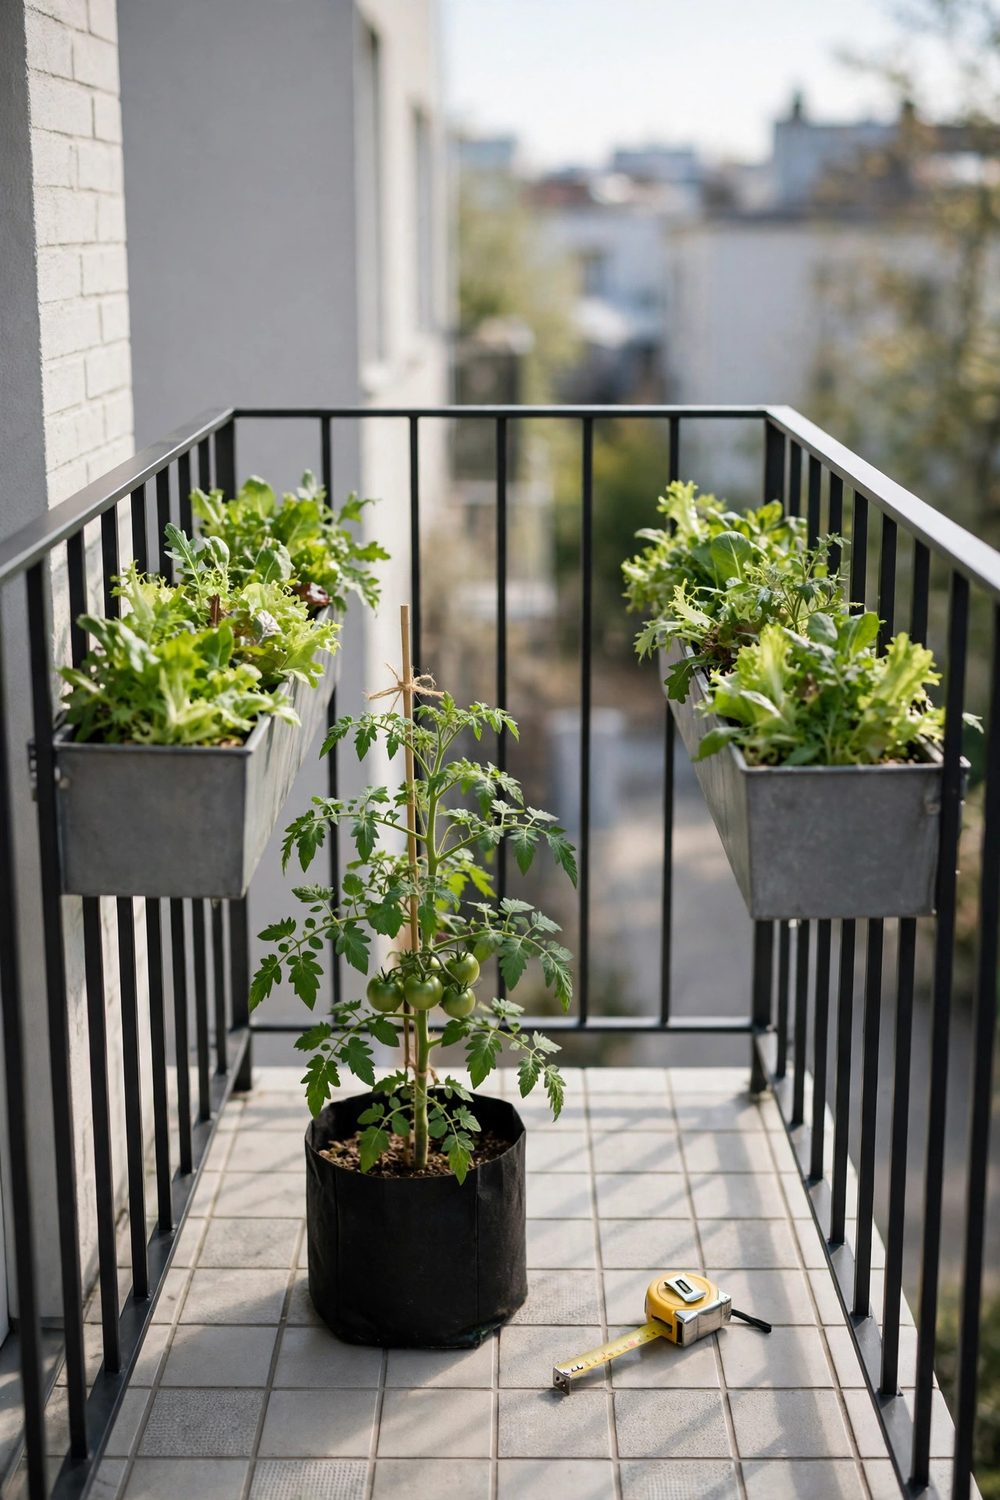
On a 3-foot (about 90 cm) balcony, floor space holds one large pot and nothing more. Put a 10-gallon (about 38-litre) bag with a determinate tomato in the sunniest corner, at floor level.
Hang the rest on the rail: one trough of lettuce and one of radishes, side by side. Rail crops get light over the tomato, and the floor crop shades nothing at this scale.
Sow the lettuce trough again two weeks after the first picking starts. Succession, not size, is what keeps a micro balcony cropping from spring through to autumn frosts.
Water from the doorway with a long-spout can, filled at the kitchen sink. A layout this small needs no path at all, which is the real gain on a 3-foot floor.
2. The 3-Foot Sunny Layout: Tomato Plus Succession Troughs
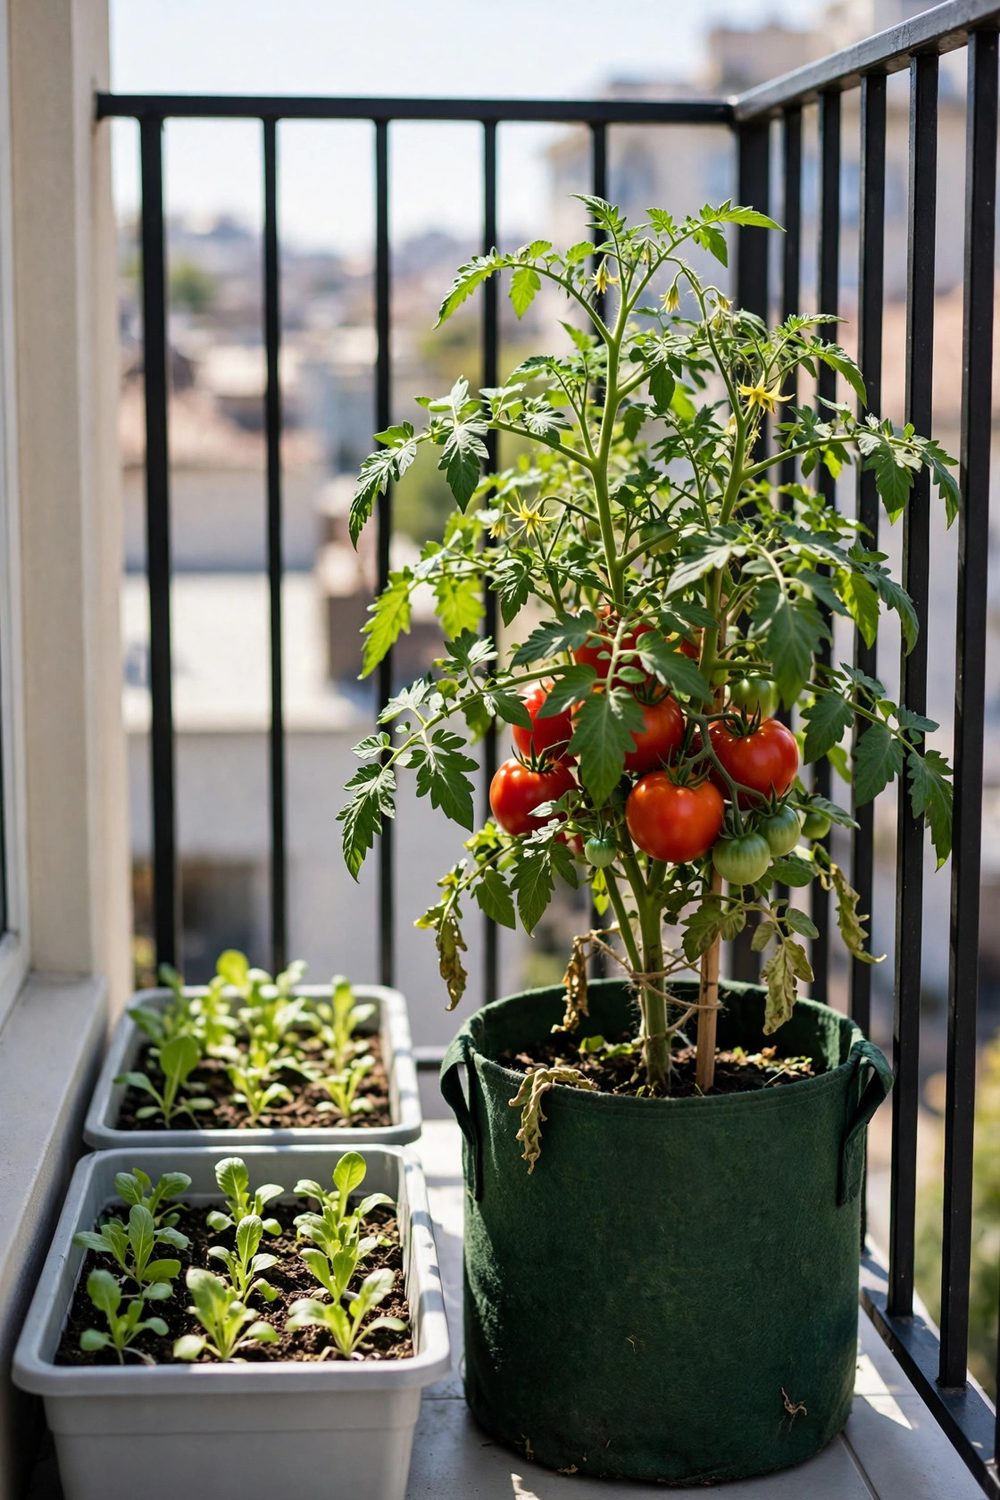
Full sun on a tiny balcony is a gift, so spend it on fruit first. Keep the tomato bag from the first layout, then swap one rail trough to dwarf peppers in summer.
Peppers in a trough need depth, so choose one at least 10 inches (25 cm) deep. Plant one pepper per 10 inches (25 cm) of trough length, and stake each plant early.
Run radishes in spring, peppers through summer, and spinach in autumn in the same trough. That three-crop rotation uses one fixing, one bag of mix top-ups, and no extra floor space.
Check trough fixings monthly, because a wet trough of peppers weighs far more than salad. Tight, well seated brackets keep the whole layout safe in gusts on upper floors.
3. The 4-Foot Starter Trio Layout
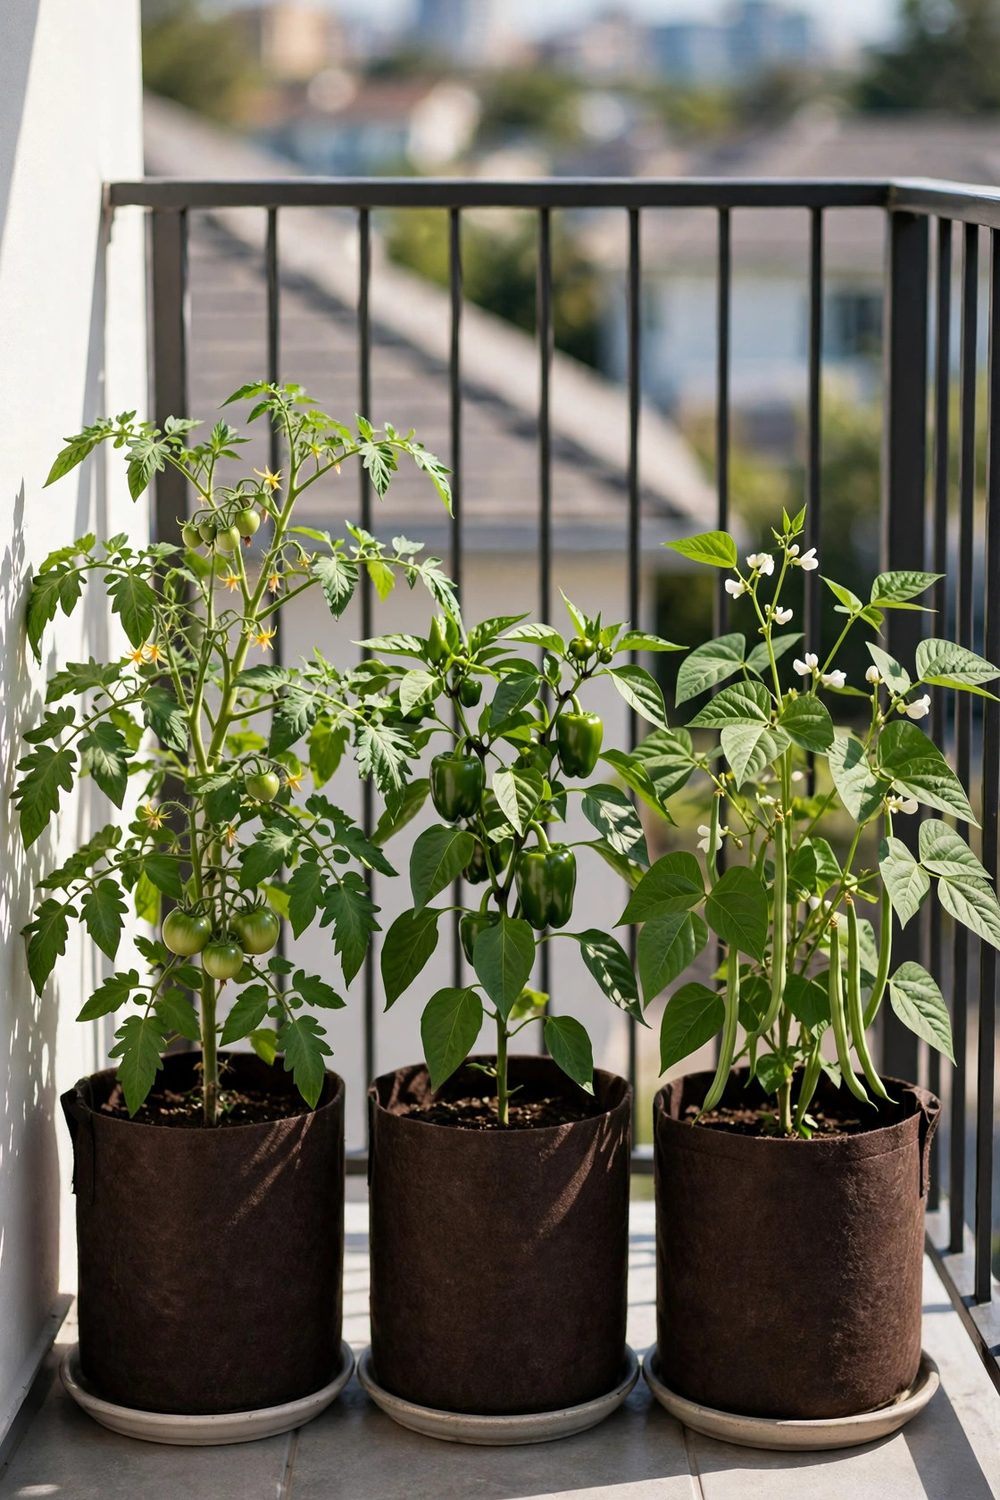
A 4-foot (about 1.2 m) balcony fits a starter trio along one wall: one tomato bag, one 5-gallon (about 19-litre) pepper pot, and one wide lettuce bowl, in that order from the sunniest end.
Sun order matters more than neat rows here. Tallest at the back wall, shortest at the rail, so the lettuce bowl never sits in the tomato shadow at midday in summer.
Space pots at least 4 inches (10 cm) apart so air can move between leaves. Packed pots share mildew and pests, and a small gap is the cheapest health care you can give.
Water the trio in one pass, tomato first, lettuce last. This exact starter shape also anchors our tiny 3-foot balcony garden plan, scaled down by one pot.
4. The 5-Foot Family Salad Layout
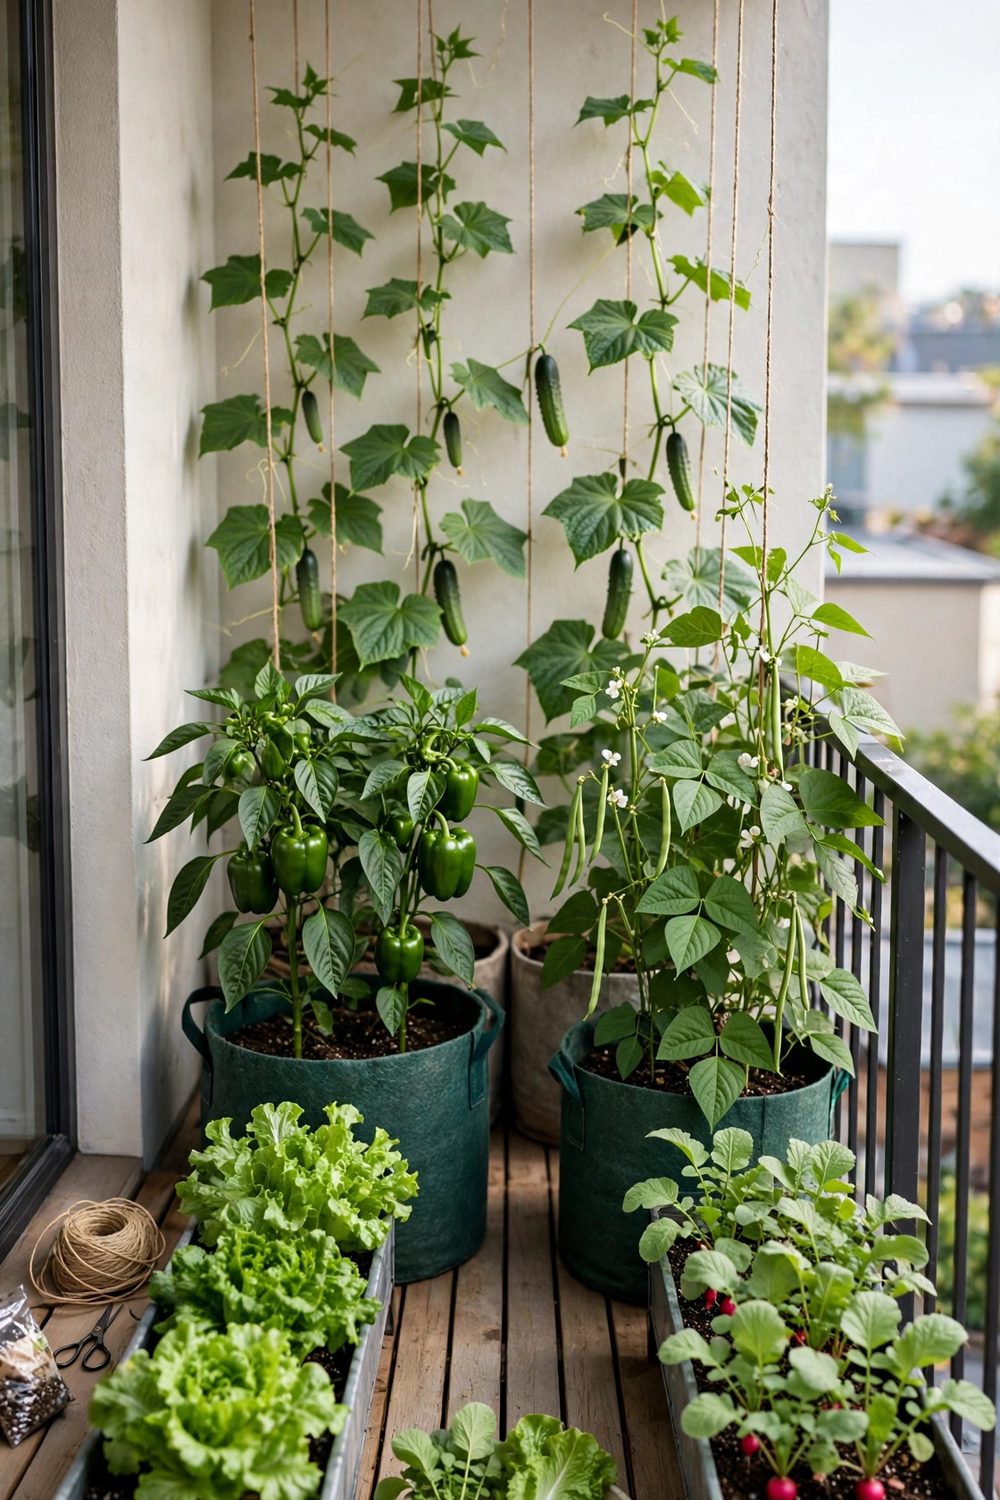
At 5 feet (about 1.5 m), a family salad bar fits along the rail. Run two long troughs end to end: lettuce and spinach in one, spring onions and radishes in the other.
Put one 5-gallon (about 19-litre) pot of Swiss chard at each end of the troughs. Chard frames the layout, crops for months, and fills the gaps when a trough is between sowings.
Sow each trough in halves, two weeks apart, never all at once. Half a trough ready while the other half grows beats a glut one week and bare mix the next.
Pick from the doorway inward, so feet stay off the small floor. A basket carried on the round holds scissors, ties, and the harvest in one trip each time.
5. The Narrow Long Layout: Tall at the Back, Short at the Rail
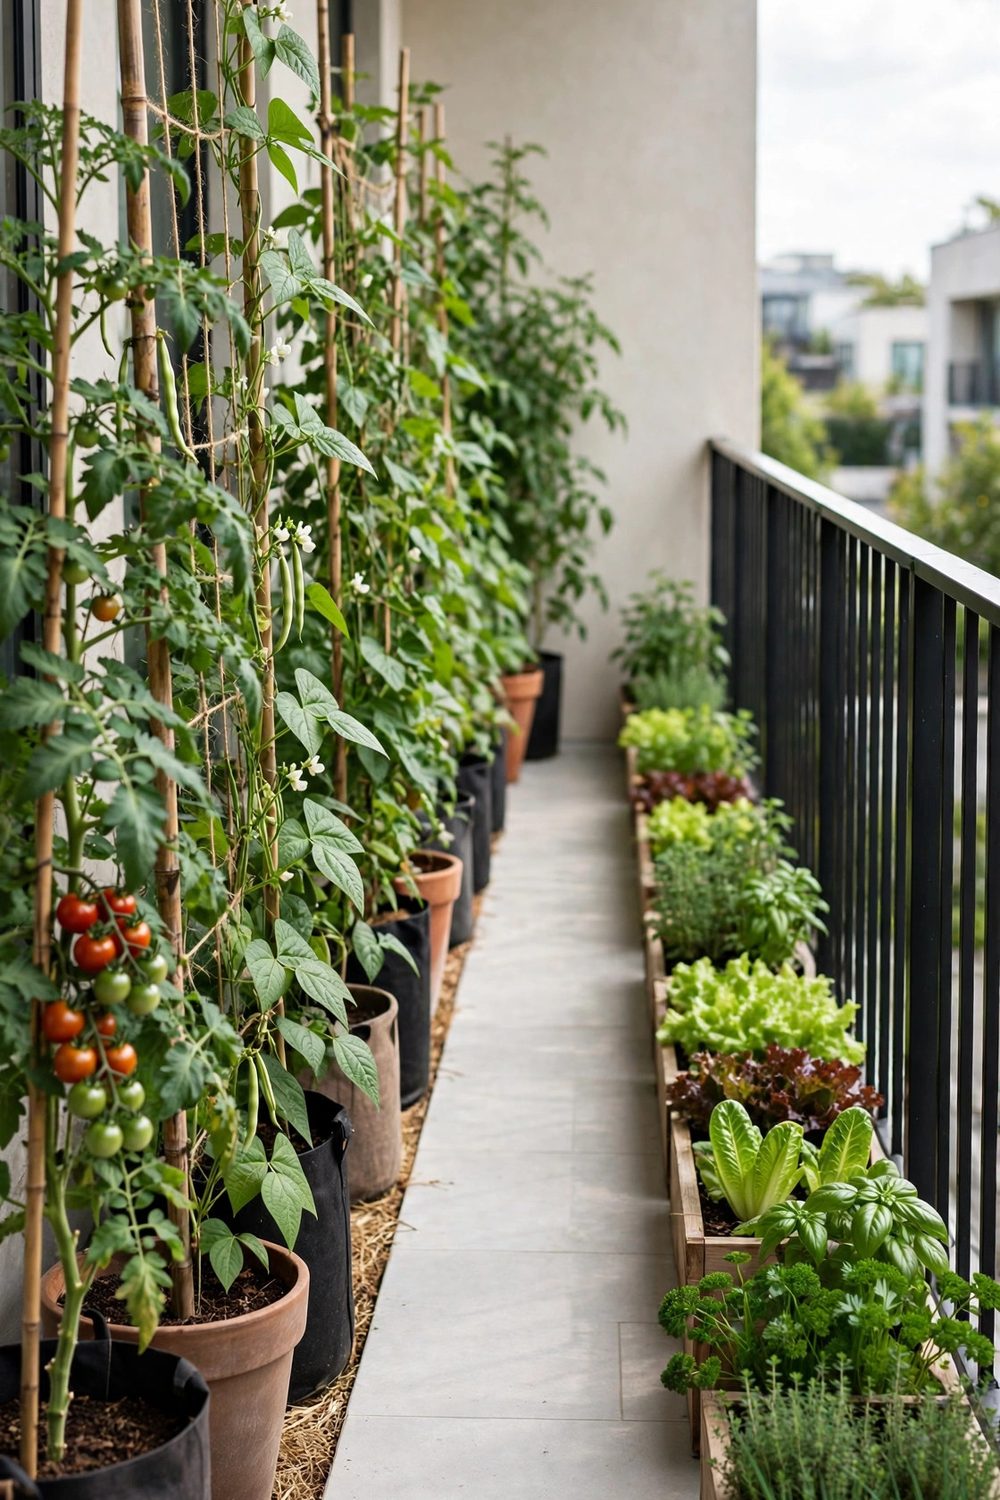
Long, narrow balconies crop best in two lines. Set tall crops, tomatoes, peas, and cucumbers on frames against the back wall, and short crops, lettuce, radishes, and herbs, in troughs on the rail.
This sun order stops the back line shading the rail line after mid-morning. Both lines get direct sun for part of the day, and neither steals the whole afternoon from the other.
Leave a walking strip of at least 18 inches (45 cm) between the lines. That strip is your harvest path, your watering path, and your route to the rail on a windy day.
Tie climbers in weekly so the back line stays a wall, not a lean. One loose stem in a gust can pull a frame sideways across the whole narrow floor overnight.
6. The L-Shaped Corner Layout
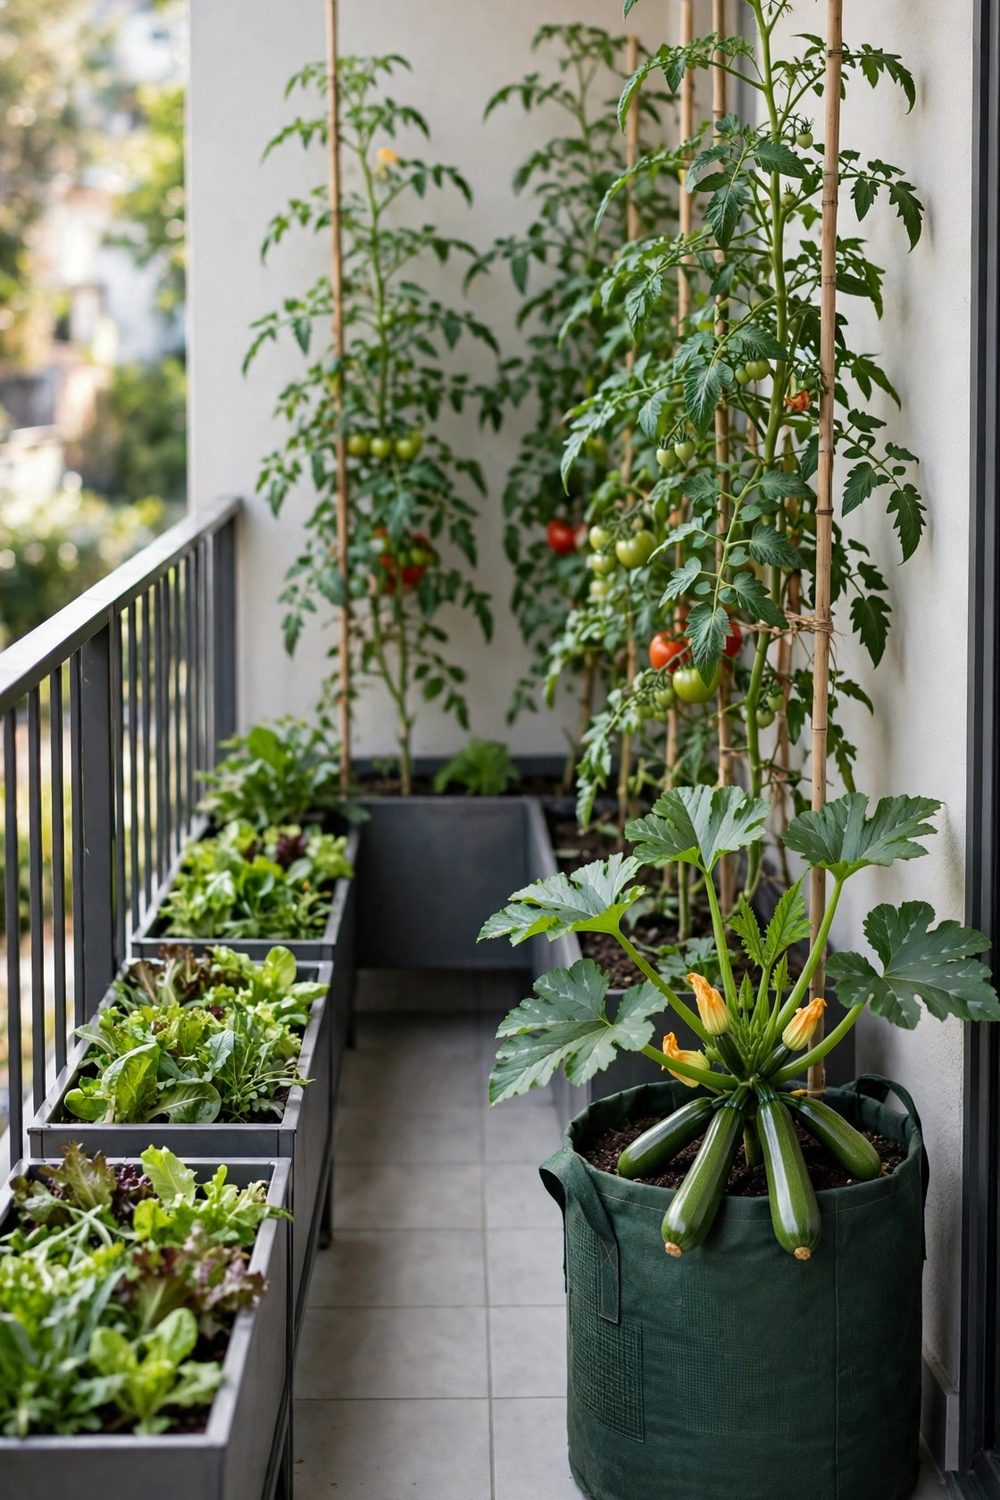
An L-shaped balcony has a corner that most people waste. Put the biggest crop there: a 10-gallon (about 38-litre) zucchini (courgette) bag or a potato bag, which spreads without blocking either arm of the L.
Run fruiting crops, peppers and a tomato, down the sunny arm in size order. Run leafy crops and herbs down the shadier arm, where 3 to 4 hours of sun is enough for them.
The corner crop acts as a windbreak for both arms. On exposed upper floors, that shelter alone can save pepper flowers in a gusty week at the start of summer.
Keep the inside of the L clear as a turning space. Watering cans, a crate of feed, and a chair all need that square, and crops creep into it if you let them.
7. The Square Balcony Zone Layout
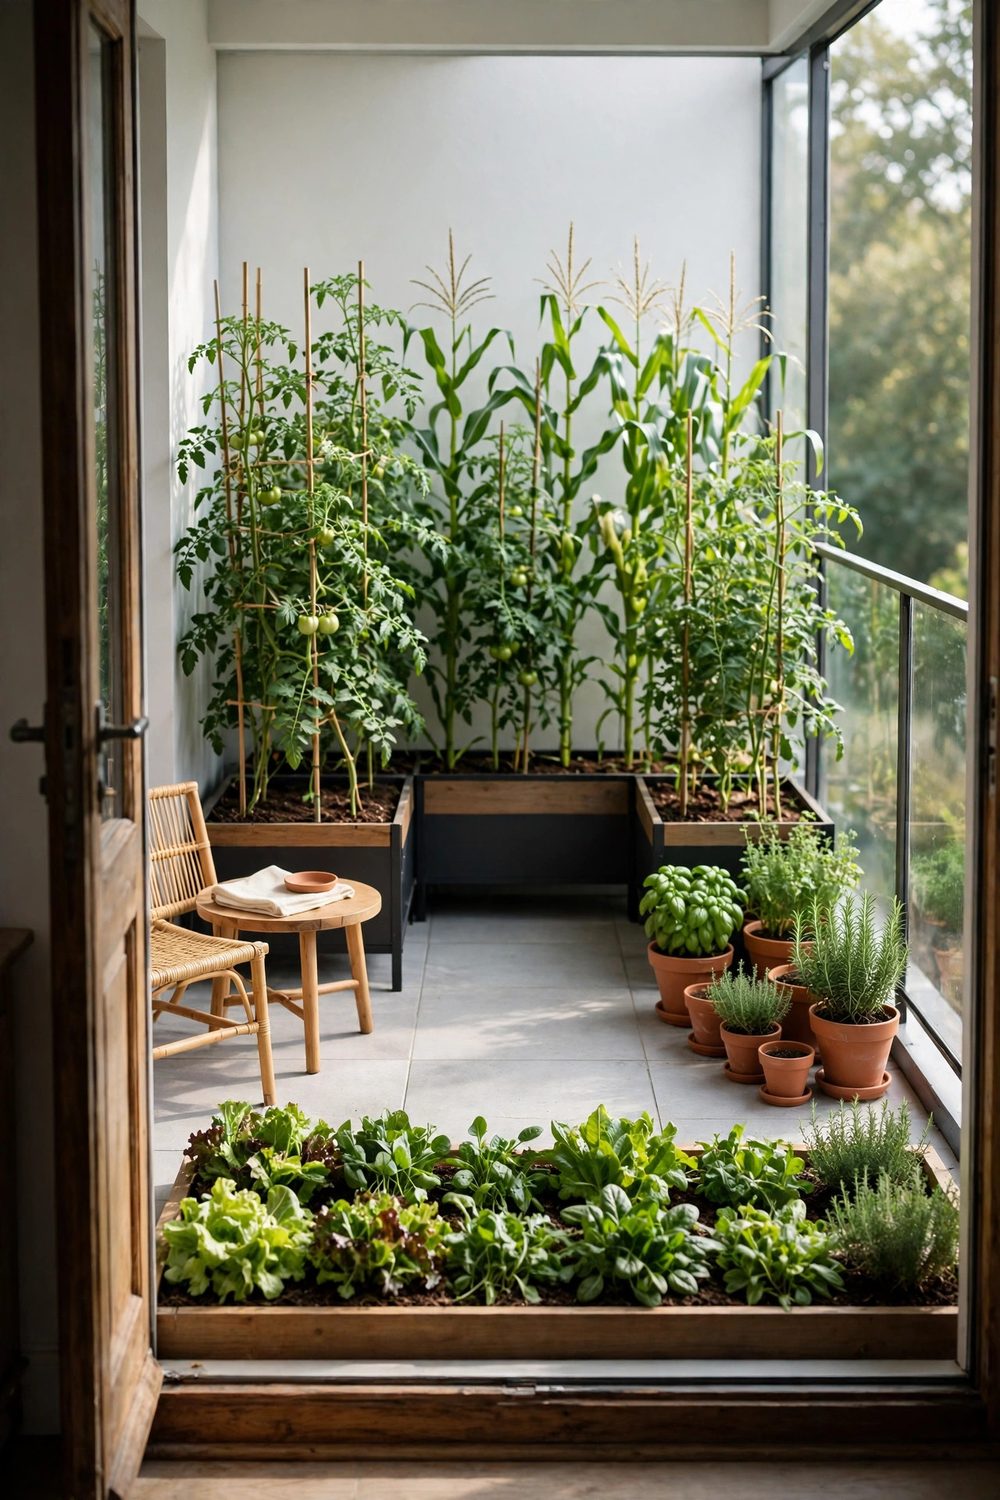
A square balcony crops best in three zones, not rows. Zone one, the sunny wall, holds fruiting crops. Zone two, the rail, holds climbers and troughs. Zone three, the shaded corner, holds leafy pots.
Match each crop to its zone by sun need, not by how the pots look. Tomatoes and peppers need 6 to 8 hours, climbers need 6, and leafy crops crop well on 3 to 4 hours.
Rotate pots within a zone as the season turns, not between zones. Spring peas on the rail give way to summer cucumbers in the same troughs, with the same ties and fixings.
A zone plan survives a busy month better than a row plan. Miss a week, and each zone still has something picking, something growing, and something just sown for later.
8. The Shady Balcony Layout: Leafy Crops First
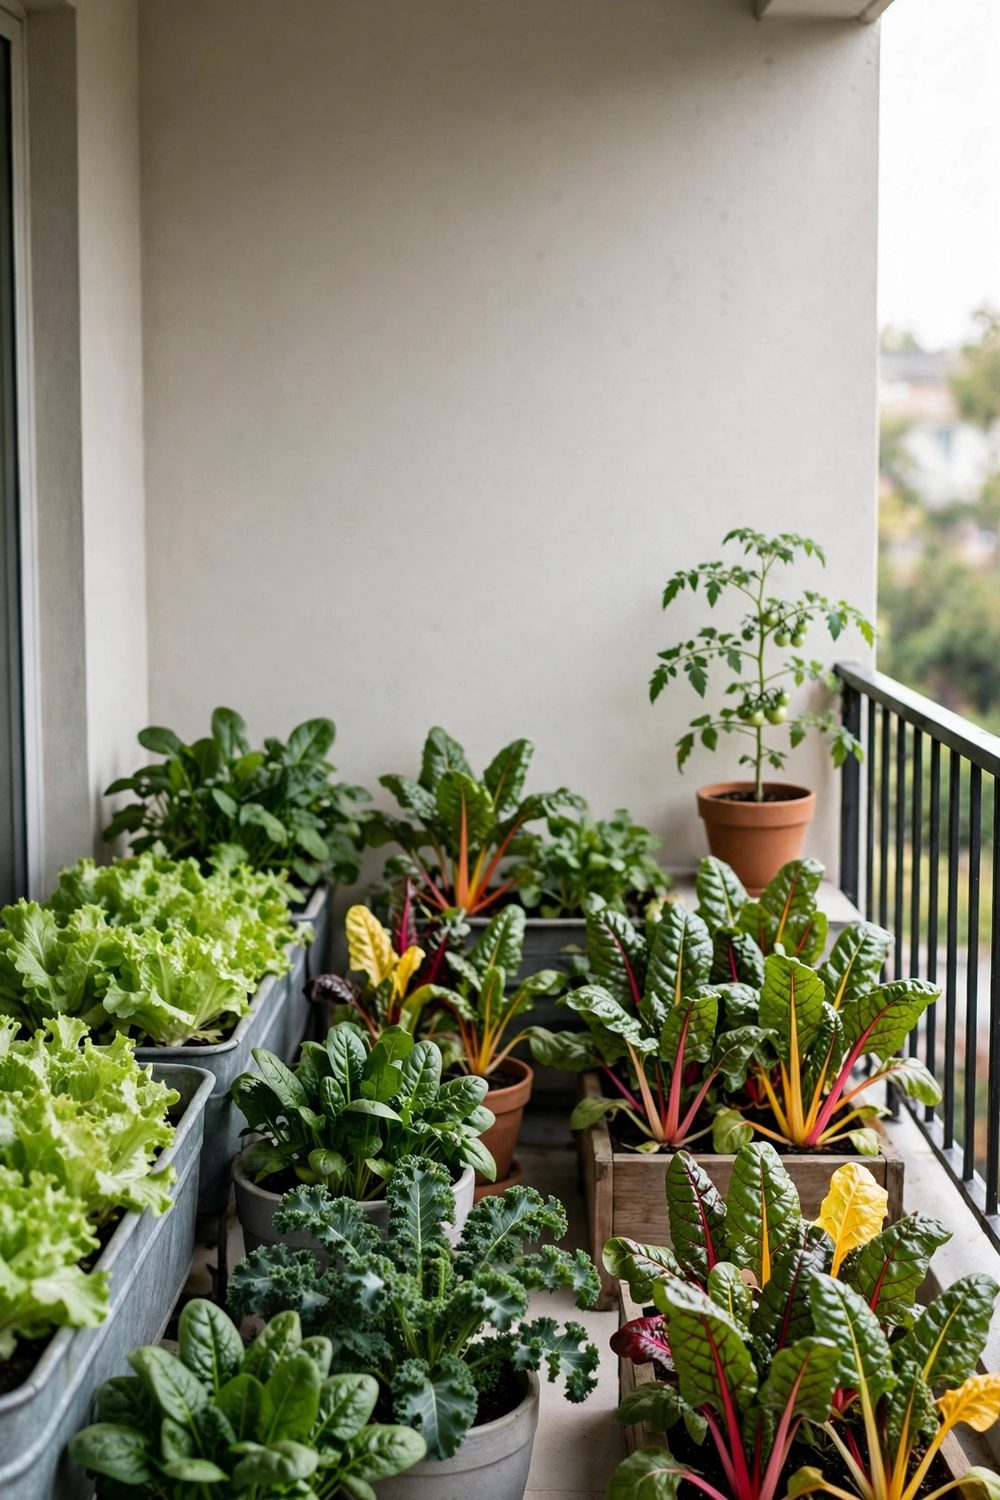
Shade is a layout fact, not a failure. On a balcony with 3 to 4 hours of sun, build the whole plan around lettuce, spinach, kale, chard, spring onions, and radishes in wide pots.
Put the widest pots on the rail, where light is strongest, and deeper pots for kale against the wall. Leafy crops in shade grow slower, so sow a little more and pick a little less each time.
Succession matters most in shade, because each crop takes longer to size up. Sow a small pot every two weeks, so slow growth still gives a steady, rolling harvest all season.
Skip tomatoes and peppers here, or grow one pot as a trial by the door where light lasts longest. Honest crop matching beats a full layout of sulking fruit plants every year.
9. The Hot Sun-Trap Layout: Fruiting Crops in Sun Order
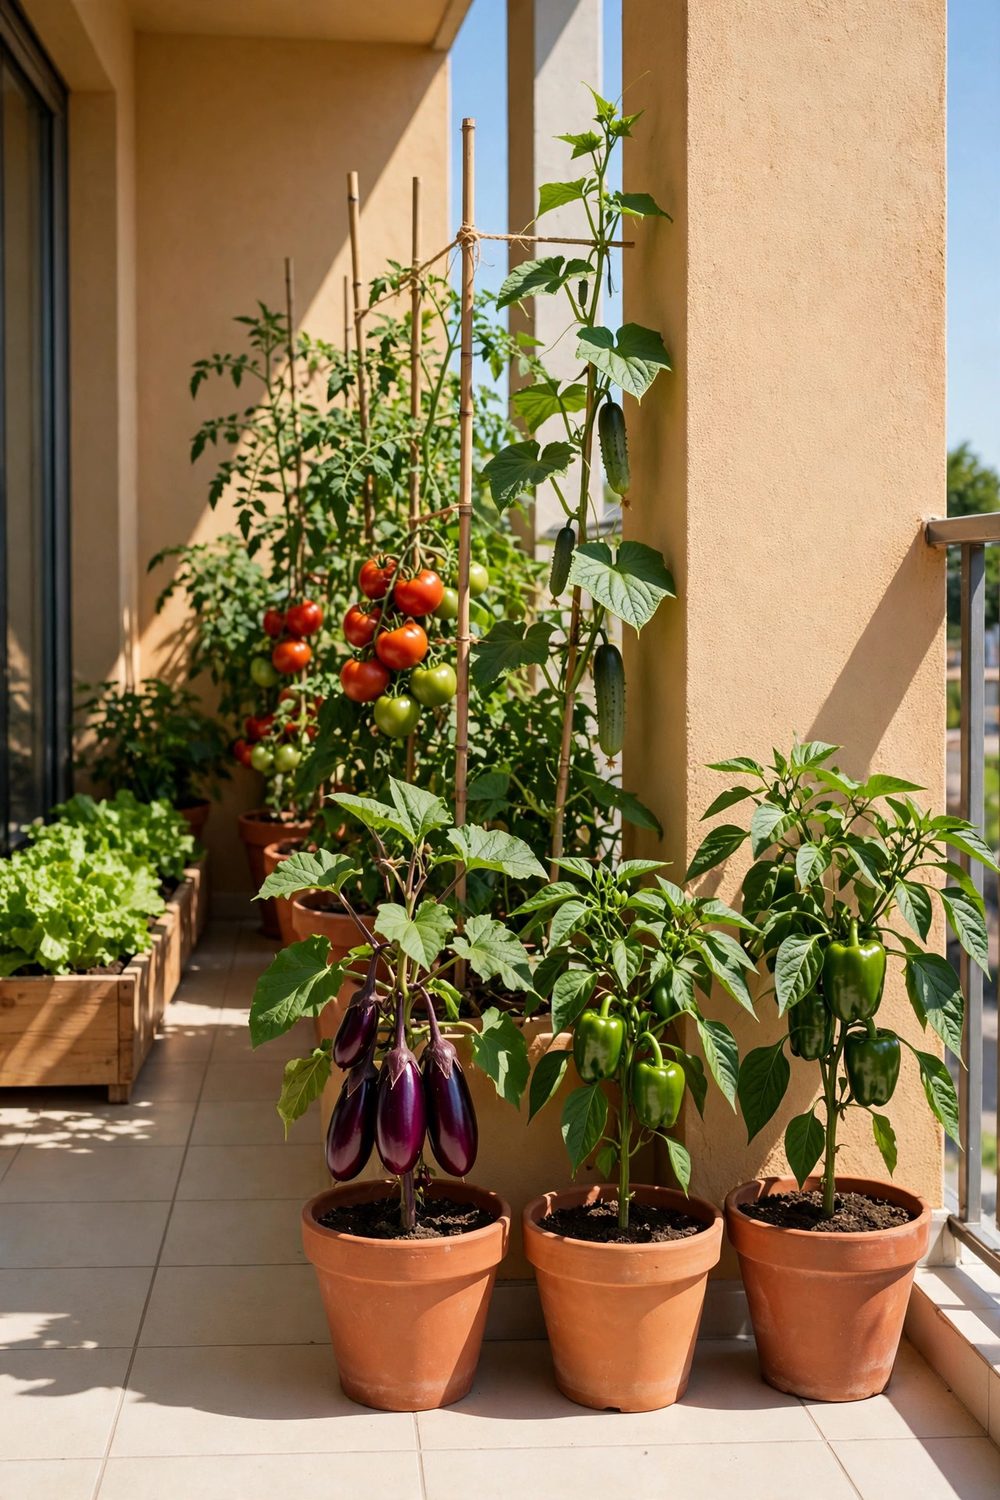
A sun-trap balcony with 8 or more hours of sun should run fruit in strict height order. Tallest tomatoes at the back, peppers in the middle row, and low basil and lettuce at the front edge.
Heat, not light, is the limit here, so group the thirstiest pots together in the middle row. Cucumbers and peppers then share one deep watering round, morning and evening in heat waves.
Mulch every pot surface with straw or bark to slow drying. Bare mix in a sun trap can dry in hours, and mulch is the layout feature that saves the whole plan.
Give lettuce afternoon shade behind the pepper row, or it bolts in the first hot week. Placed there on purpose, salad crops last weeks longer than in full glare. For winner crops by pot, see the small-space winner vegetables list.
10. The North-Facing Layout: Light Pockets Only
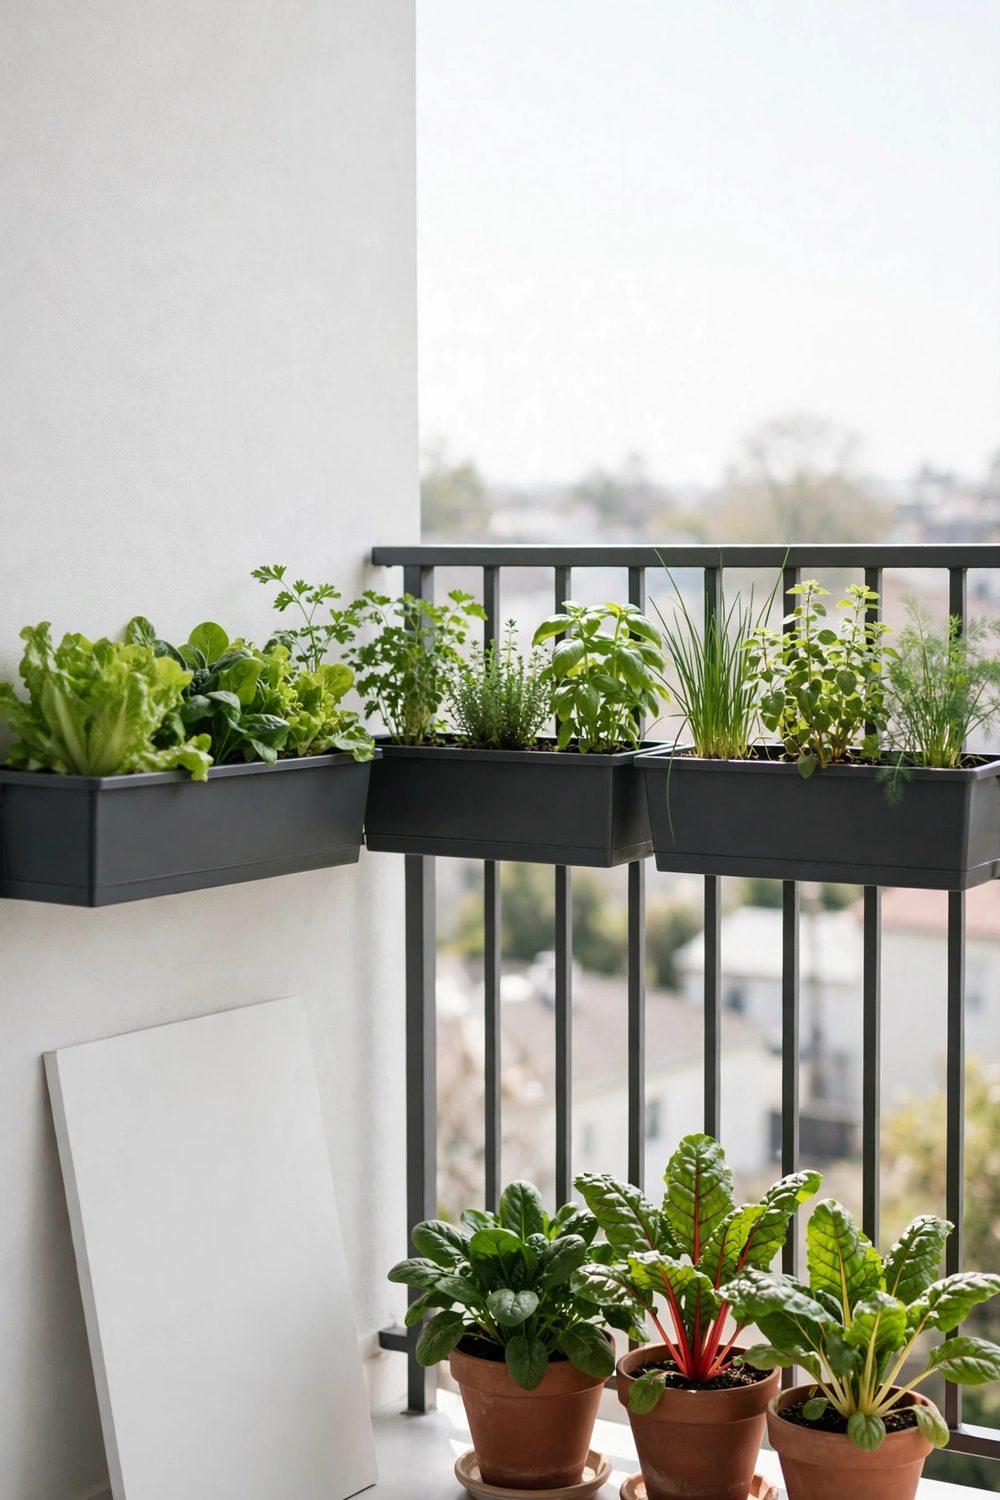
North-facing balconies get bright light without long direct sun. Build the layout around the two light pockets most such balconies have: the rail top and the corner nearest the open end.
Rail troughs of lettuce, radishes, and spring onions crop best in this layout. Herbs such as parsley and chives, in 8-inch (20 cm) pots, fill the corner pocket well through the year.
Kale and chard in deep pots against the wall give the layout its lasting greens. They grow slowly in low light, so plant them first, in early spring, for summer picking.
Paint nothing and drill nothing for this layout; light is managed by placement alone. Pale walls bounce some light, and pots on stands near the rail catch more than floor pots.
11. The Two-Rail Layout: Climbers One Side, Roots the Other
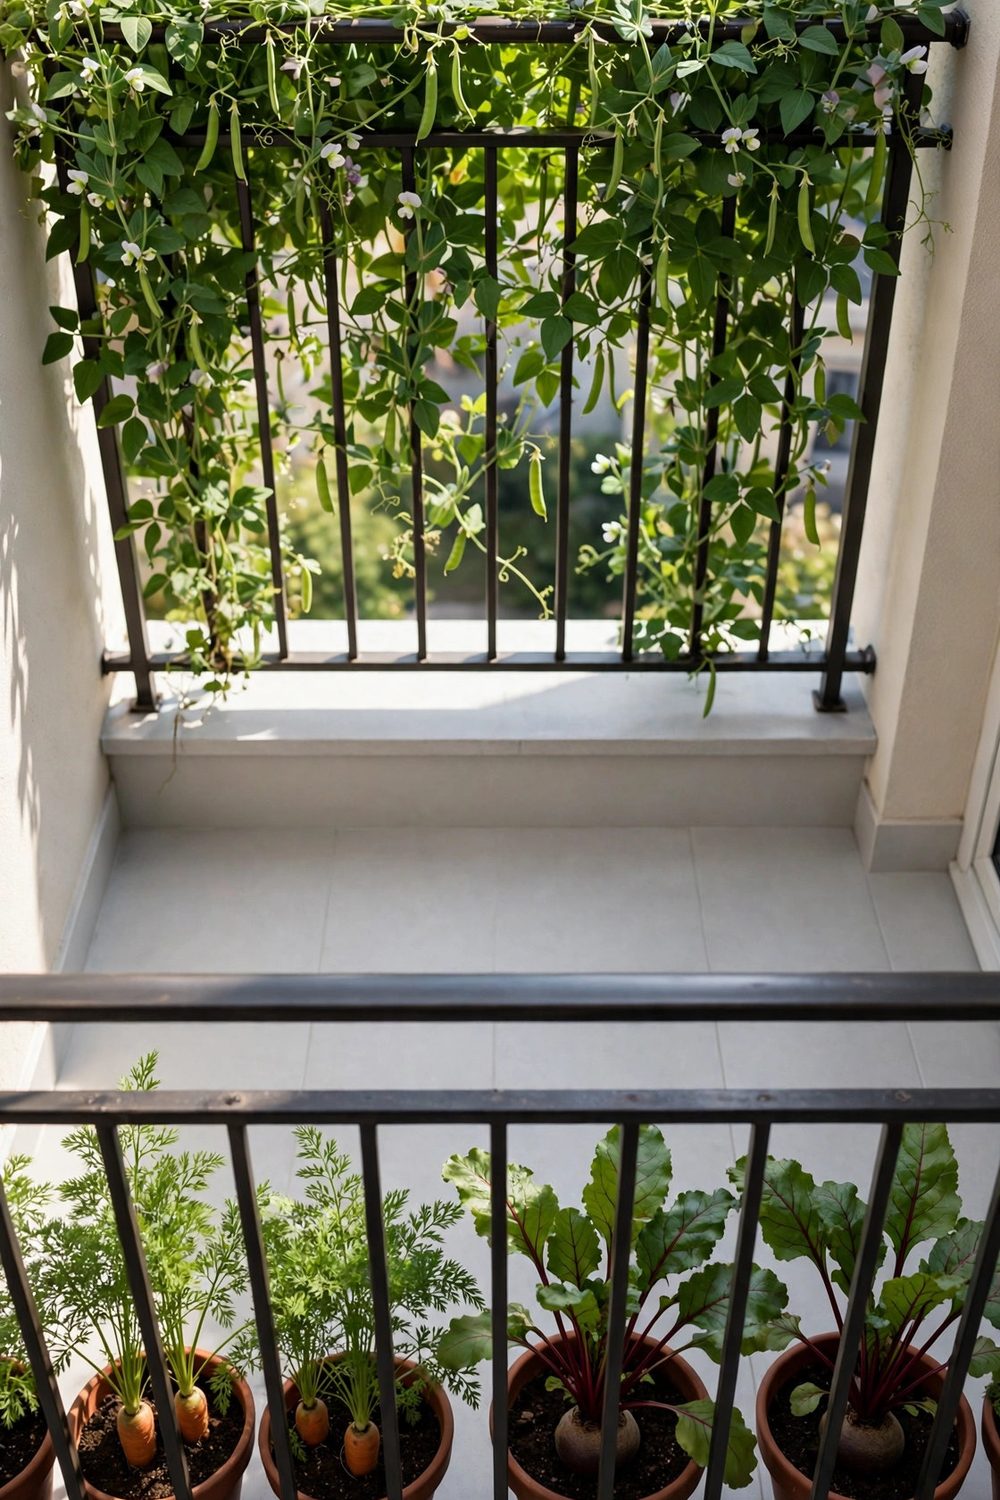
Balconies with two open rails split well by crop type. Climbers, peas in spring and beans and cucumbers in summer, take the sunnier rail on a freestanding frame or tied netting.
The second rail holds troughs of roots and salads: carrots in a deep trough, radishes and lettuce in shallow ones. Root troughs need depth, at least 10 inches (25 cm) for short carrot types.
Floor pots sit under the climber rail, where falling shade suits chard and kale. Almost no floor space is wasted, because each level of light is used by a crop that wants it.
Water rail by rail, climbers first while you check ties. That order turns watering into an inspection round, and loose ties or dry troughs get spotted before they cost a crop.
12. The Tier-and-Floor Layout for Any Mid-Size Balcony
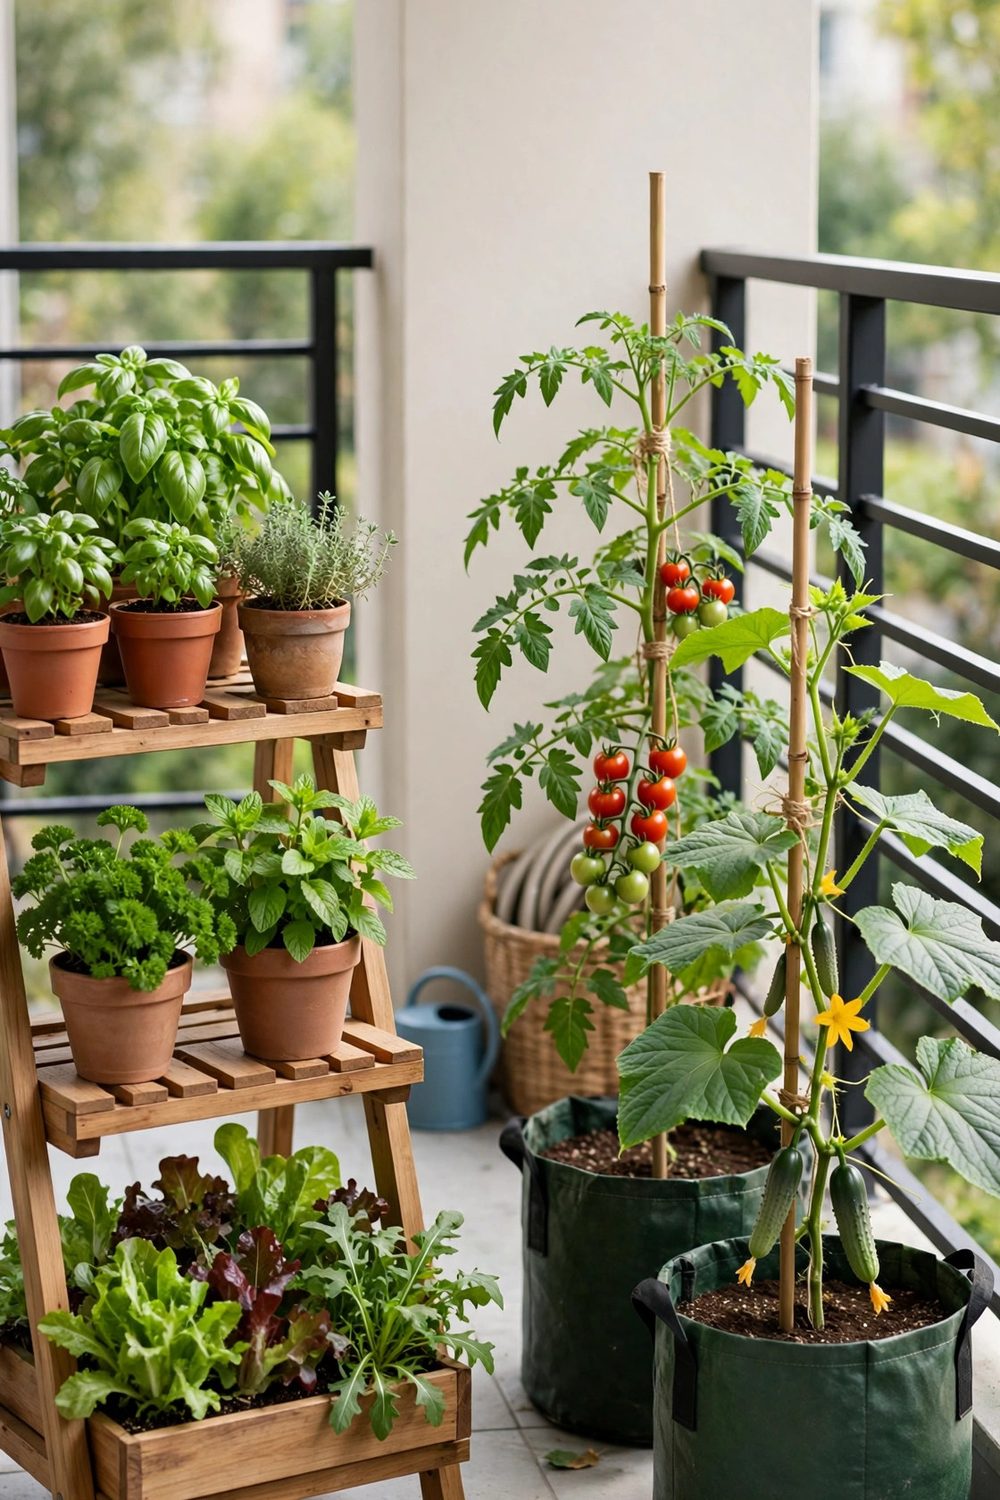
A tiered stand against the wall, plus heavy bags on the floor, is the most flexible mid-size layout. Herbs and salads sit on the stand, peppers and tomatoes sit on the floor in 5-gallon (about 19-litre) pots.
Keep the heaviest pots off the stand entirely. Wet mix is heavy, and a stand loaded past its rating is the one layout failure that can hurt someone below the balcony.
Sun order runs top to bottom on the stand: lettuce and basil high, kale low. Floor fruiting pots sit in front of the stand, where they take sun the stand would otherwise block.
This layout grows by one tier or one bag at a time. That slow growth suits renters, because every piece lifts out in one trip at moving time, with no fixings to repair.
More stand crops are listed in our container garden layout for a small space guide.
13. The Succession Layout: Three Beds in Rotation
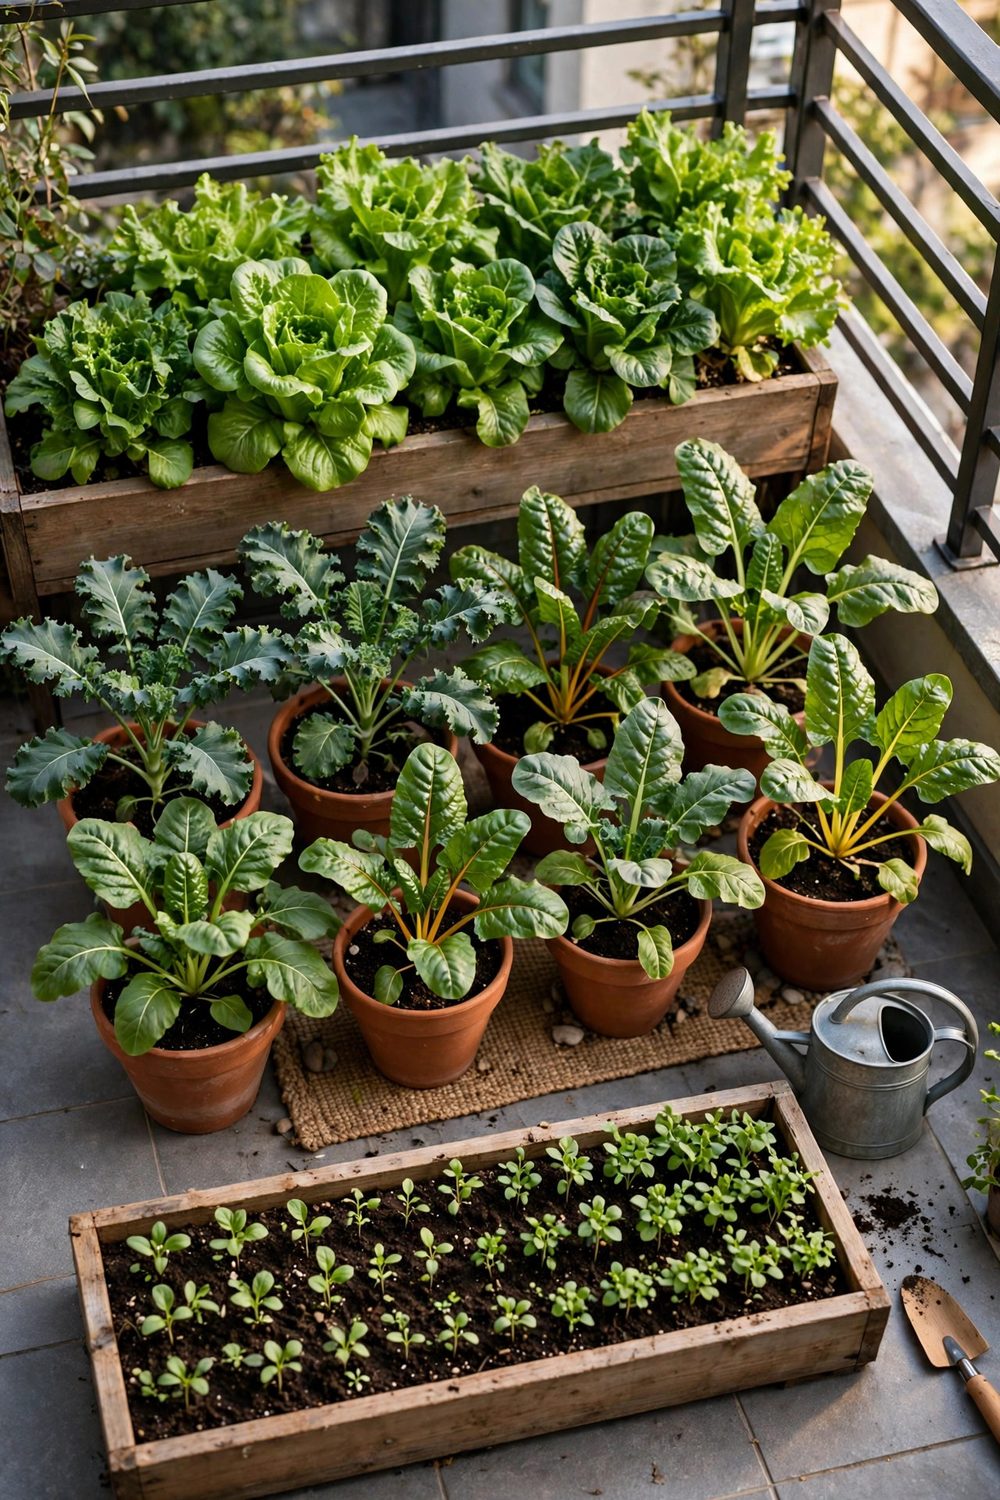
Divide any mid-size balcony into three equal pot groups, and run them as a rotation. Group one is sowing, group two is growing, and group three is cropping, all at the same time.
Every two weeks, the cropping group is cleared and resown, and the other groups move up a stage. Fast crops, radishes, lettuce, spring onions, and peas, run this rotation best of all.
Long crops, tomatoes and peppers, sit outside the rotation in fixed sunny spots. Mixing them into a two-week rotation wastes their long season, so the layout keeps two speeds apart.
Write sowing dates on tape on each pot, with the crop name. A rotation lives or dies on dates, and tape beats memory by the third sowing of the spring season.
14. The Watering-Group Layout: Thirsty Together, Dry Together
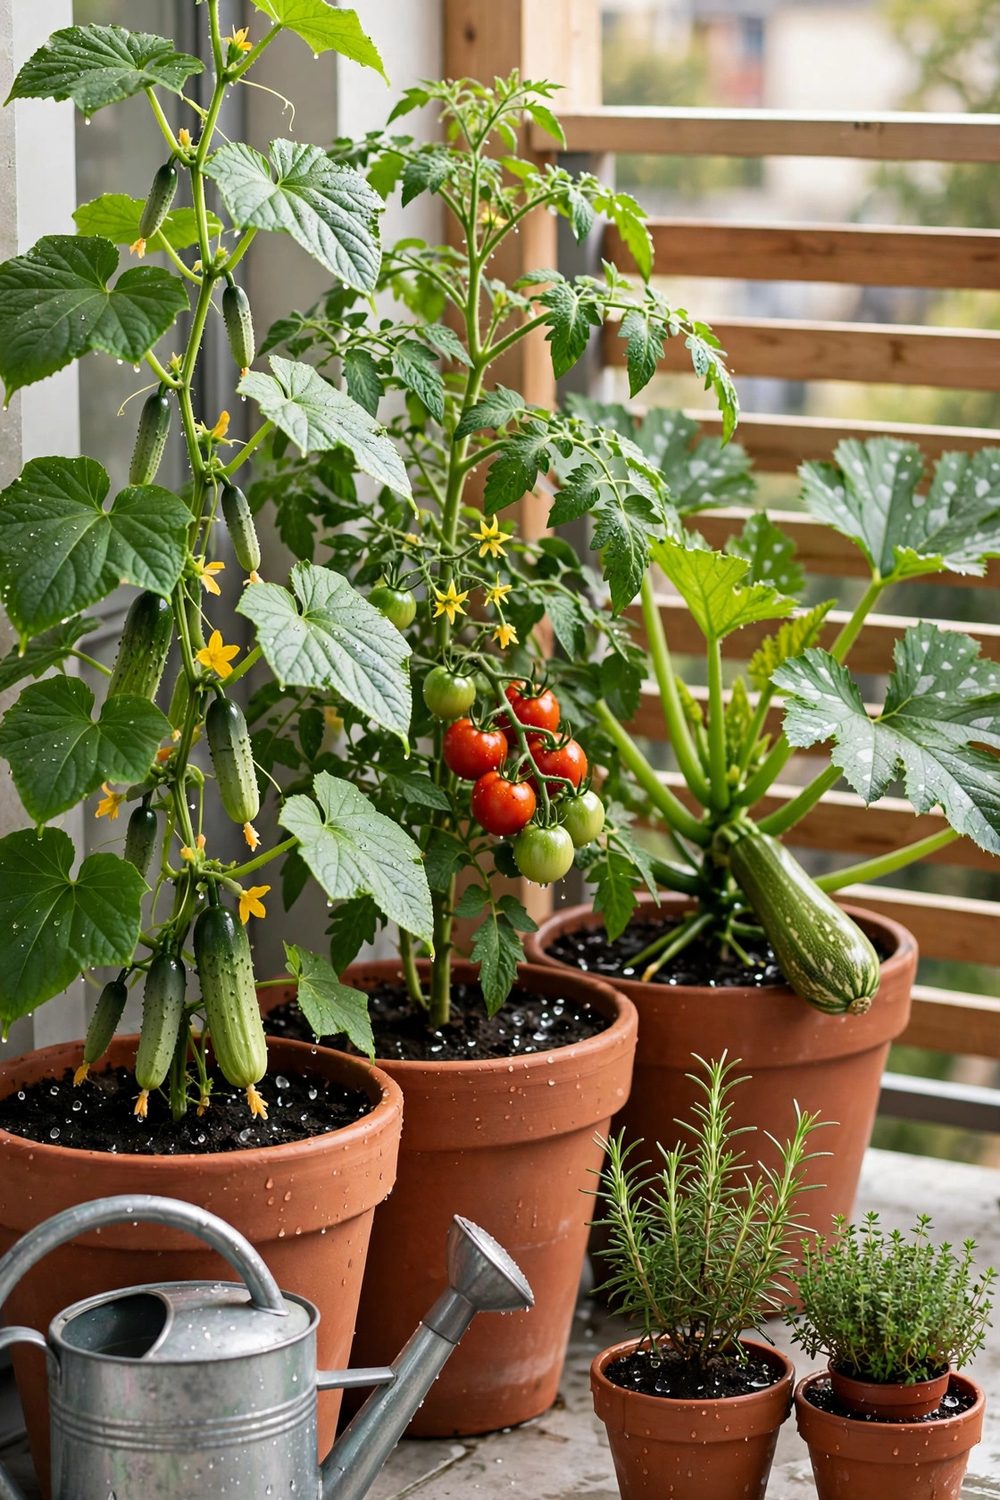
Group pots by thirst, not by crop name, and watering gets twice as fast. Heavy drinkers, tomatoes, cucumbers, and zucchini, stand together near the door, where the can reaches them first each morning.
Steady drinkers, peppers, beans, and kale, form the second group along the rail. Light drinkers, herbs such as rosemary and thyme in plain pots, sit at the far end and skip most rounds.
Each group gets its own watering rule: daily checks, every-other-day checks, weekly checks. Rules by group stop the two classic errors, drowned herbs and thirsty tomatoes, in one move.
Regroup once in midsummer, because thirst changes as plants size up.
A layout that moves with the season crops better than one fixed on the first day of spring, and the simple rules in our guide to how often to water vegetables in pots keep each group on track.
15. The Harvest-Path Layout: Door Clear, Everything in Reach
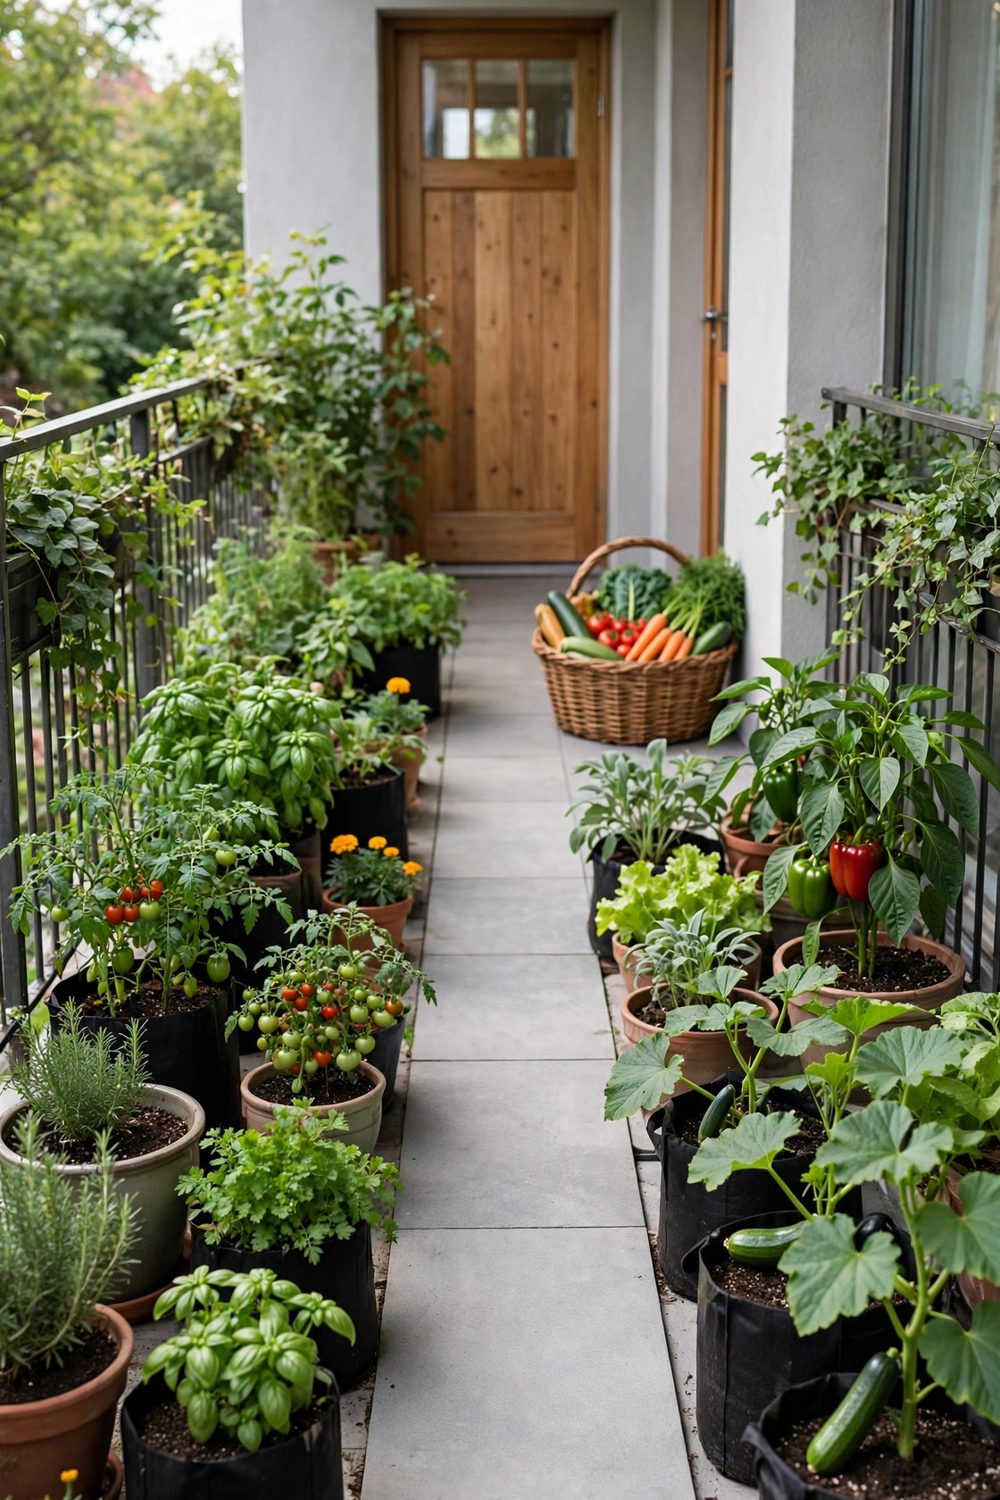
The last layout rule applies to every size: keep a clear path from door to rail. No pot sits where a foot lands, and every crop can be picked from the path without stepping over another pot.
Place daily-pick crops, beans, peas, lettuce, and herbs, along the path edges. Weekly crops, carrots and potatoes, sit at the far ends, where you visit less often and space matters less.
Harvest order follows the path: check climbers, pick salads, water the thirsty group, then leave. A fixed order takes five minutes, and nothing gets missed on a busy workday morning round.
Measure your balcony, pick the layout here that fits it, and adjust one row at a time. A plan built on sun order, spacing, and succession crops well at any size, from 3 feet upward.
Measure first, then plant: sun order, clear spacing, and a sowing rhythm matter more than the number of pots.
Used this way, balcony vegetable garden layout ideas by balcony size stop being theory and start feeding you each week. The best layout is the one you can water in five minutes without moving anything out of your way.
Pick the layout closest to your balcony size and run it for one full season before judging it.
Small changes, a pot moved for light or a trough resown on time, add up to a far bigger harvest by autumn.
Save this list to your container garden board for later, and sketch your own version this weekend.


