

How to Start a Balcony Vegetable Garden, Step by Step
A bare balcony and a head full of ideas rarely turn into a garden on their own. Knowing how to start a balcony vegetable garden step by step gives you an order of work. Do each job once, in sequence, and the garden takes shape.
This guide follows the real doing order from start to finish. You read your sun and wind first, then check the building rules, measure the space, and pick pots and mix. Planting comes near the end of the list, not at the start of it.
By the end of one weekend, your first pots can sit planted, watered in, and settled in their final spots. The work suits a complete beginner with no tools beyond a trowel and a can. Weekly care after setup takes about twenty minutes in total.
Start with a few pots rather than a full rail of plants on day one. Three to five pots teach you the whole routine without swamping your time, your water, or your floor space. You can add more pots next season with real confidence.
This post contains affiliate links. If you buy through them, we may earn a small commission at no extra cost to you. See our Affiliate Disclosure.
Time: One weekend, about 4 to 5 hours spread over two days · Difficulty: Beginner
What You Need
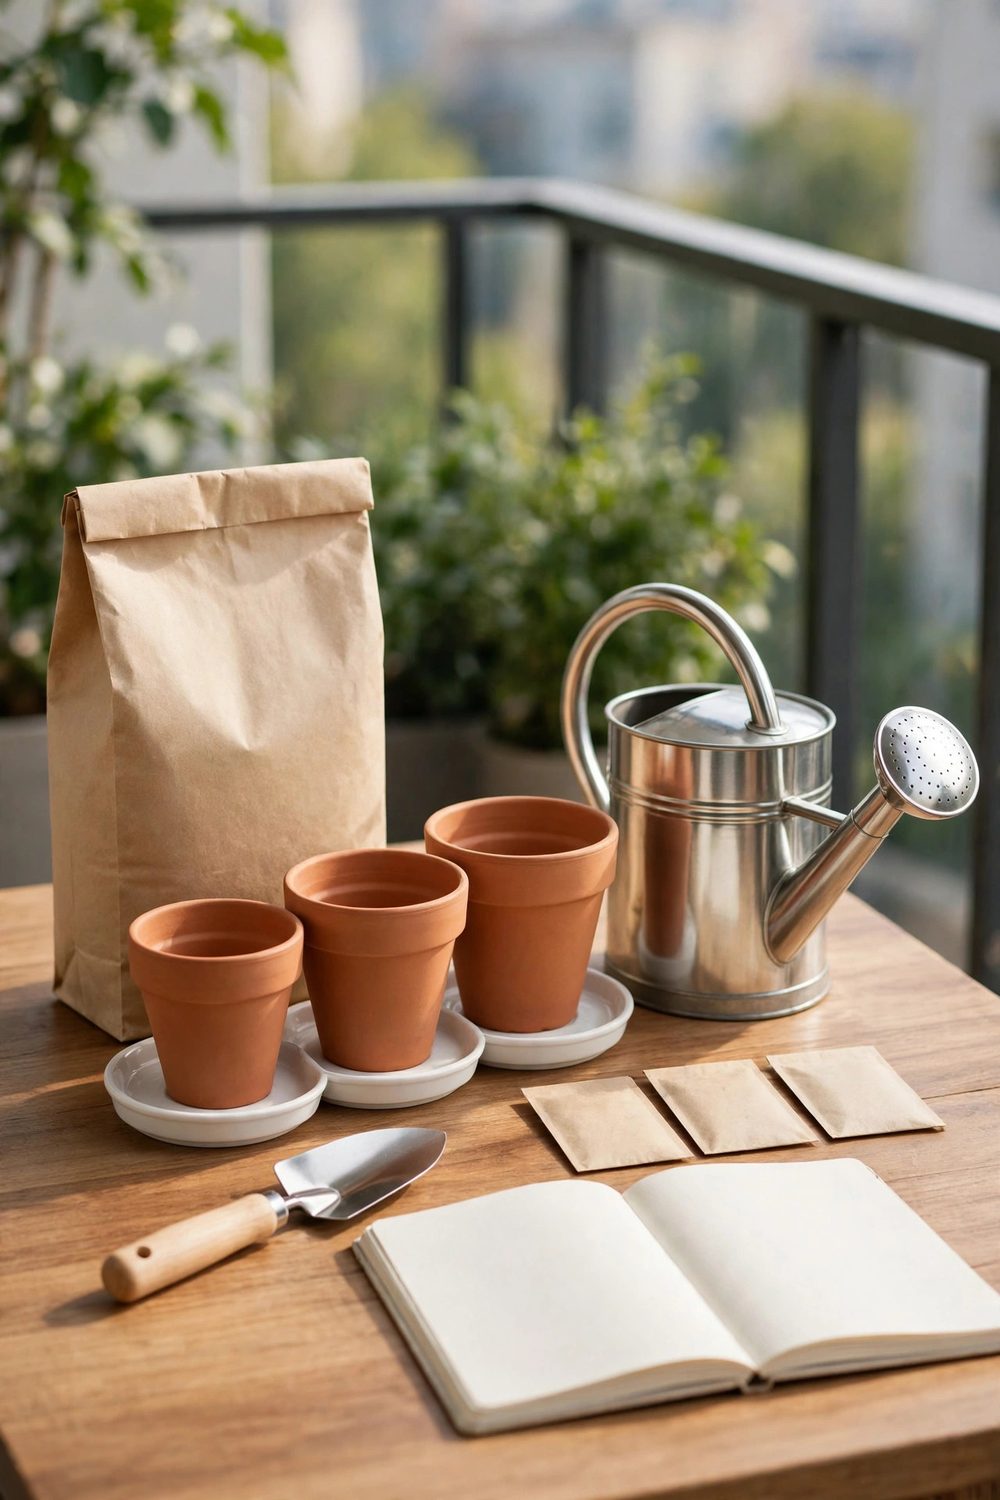
Gather the full kit before you open a bag of mix. One missing item in the middle of planting day costs more time than the planting itself.
The general method behind this setup also sits in our guide on how to start a container vegetable garden from scratch, if you want the wider picture first.
- Tape measure and notebook: for the balcony width and depth, sun hours, and rule notes, all written down in one place you can check later.
- Containers with drainage holes: three to five pots to start, including at least one 5 gallon (19 litre) pot for a tomato or pepper plant.
- Deep saucers: one under each pot, wide enough to catch a full watering without spilling over the rim onto the floor below the pot.
- Bought potting mix: one bag per large pot, made for containers and food crops, loose from the bag with no hard lumps or stones.
- Watering can with a rose head: the rose breaks the flow into a gentle shower that waters seedlings without washing mix or seed aside.
- Hand trowel: for filling pots, scooping mix, and opening planting holes at the right depth without tearing roots or scraping pot sides.
- Seed packets or starter plants: easy first crops only, with sowing dates and spacing checked on the packet before you pay for anything.
- Liquid feed for vegetables: a balanced feed used at the label rate once plants grow fast, flower, and start to set fruit.
- Plant labels and a marker: one label per pot with the crop name and sowing date, since young seedlings of many crops look alike.
Read Your Sun and Wind First
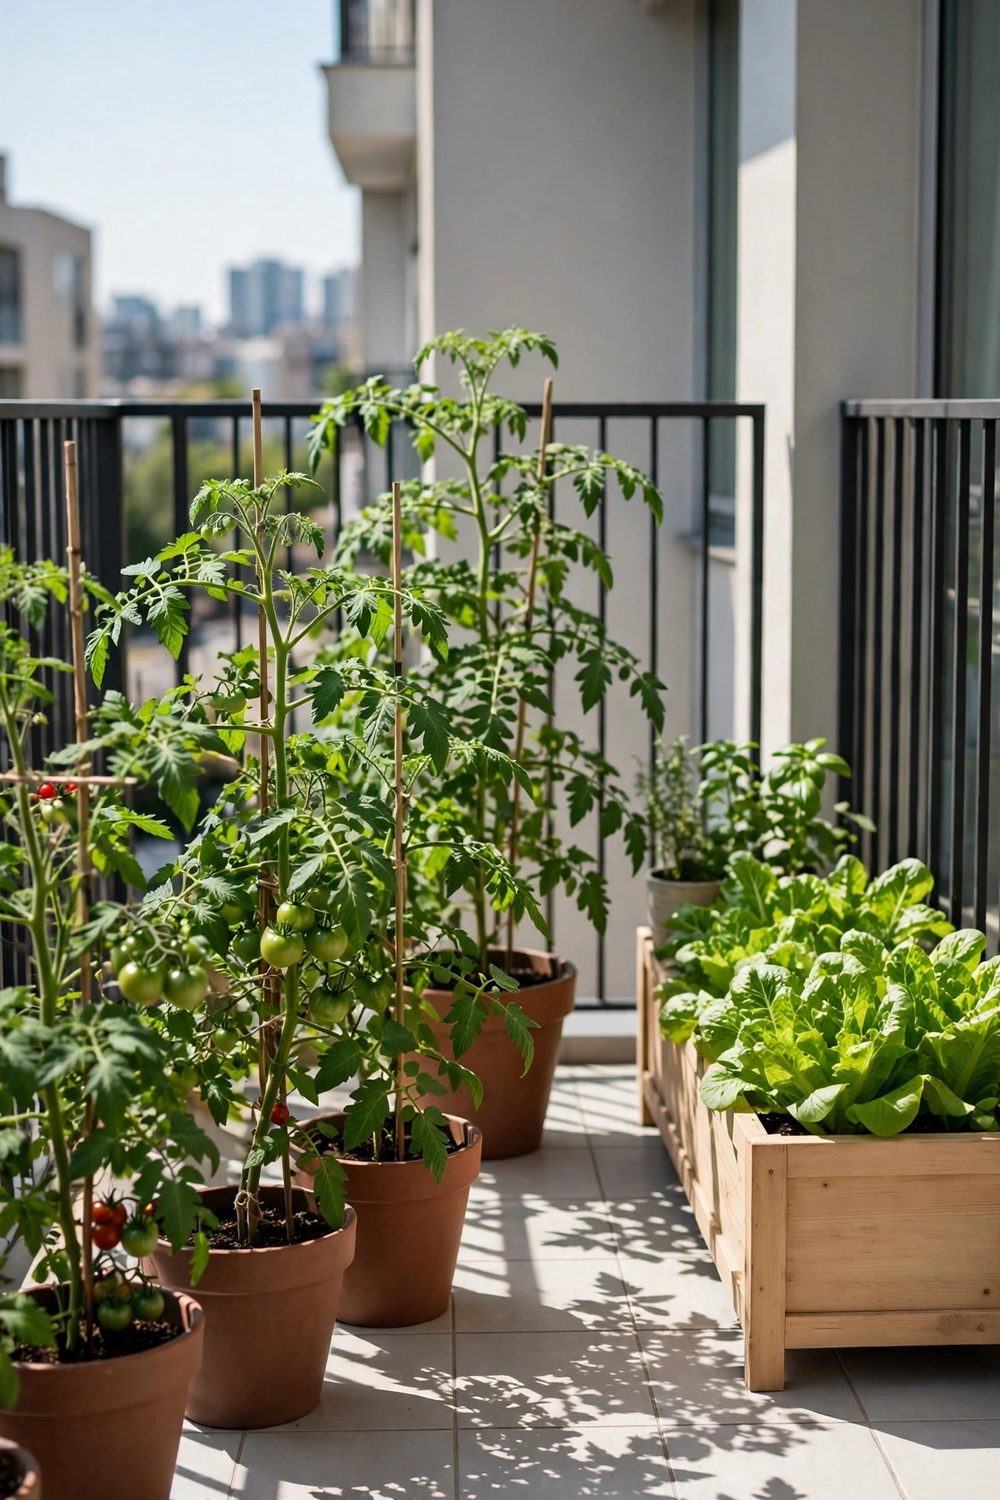
Spend one day noting when direct sun hits each part of the balcony. Fruiting crops such as tomatoes and peppers need 6 to 8 hours of direct sun to crop well.
Leafy greens and most herbs manage on 3 to 4 hours, so a corner that loses sun by midday still earns its keep. Write the hours in your notebook for each corner.
Note the wind while you watch the light. A high, open rail can dry small pots in hours and rock tall plants hard. Plan heavy pots for the calmest corner you have.
Check Landlord Rules and Rail and Floor Limits
Read your lease and any building rules before a single pot goes out. Some buildings limit pot weight, rail planters, or watering that drips onto the balcony below yours.
Ask the landlord or building manager in writing if the rules stay unclear. A short email now beats a complaint letter in the middle of summer, when plants are heavy and cropping.
Check the rail itself for rust, loose fixings, or wobble. Plan to keep heavy pots on the floor near the wall, not hanging from a rail of unknown strength.
Measure the Balcony Before You Buy Anything
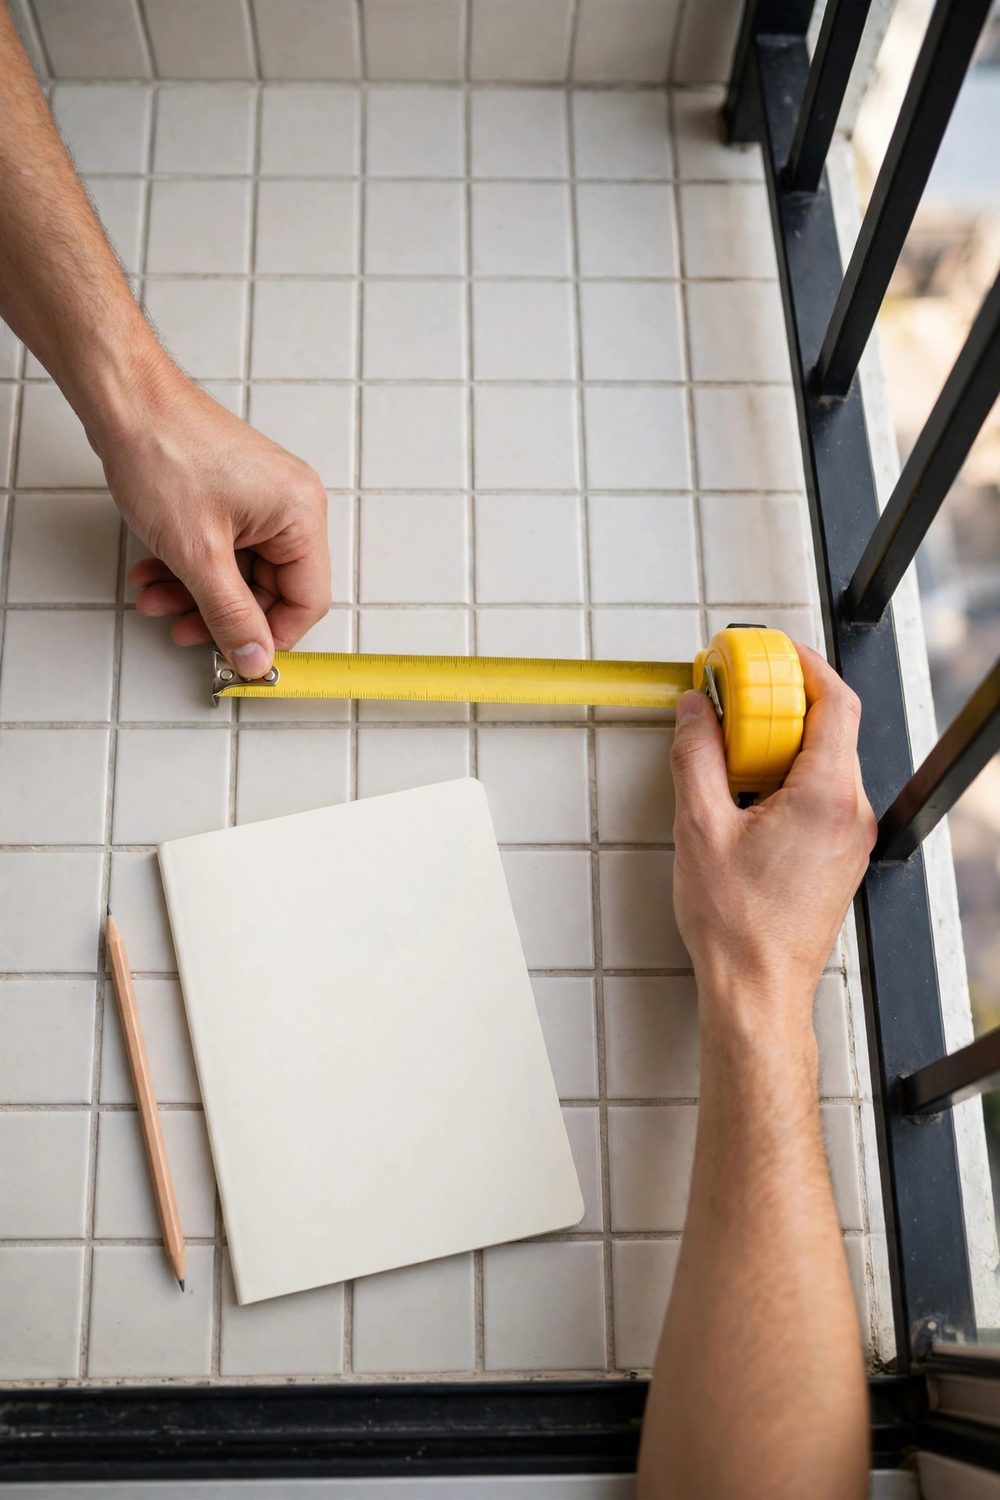
Measure the floor width, the depth from wall to rail, and the door swing. Sketch the space in your notebook and mark the sunny and shady corners from step one.
Leave a clear path from the door to the rail, wide enough to carry a full watering can without brushing past leaves. Wet mix is heavy, and tight gaps cause spills.
Our companion guide to an apartment balcony vegetable garden for beginners shows how a first layout fits a small floor. Compare your sketch with it before you shop.
Choose Containers With Room and Drainage
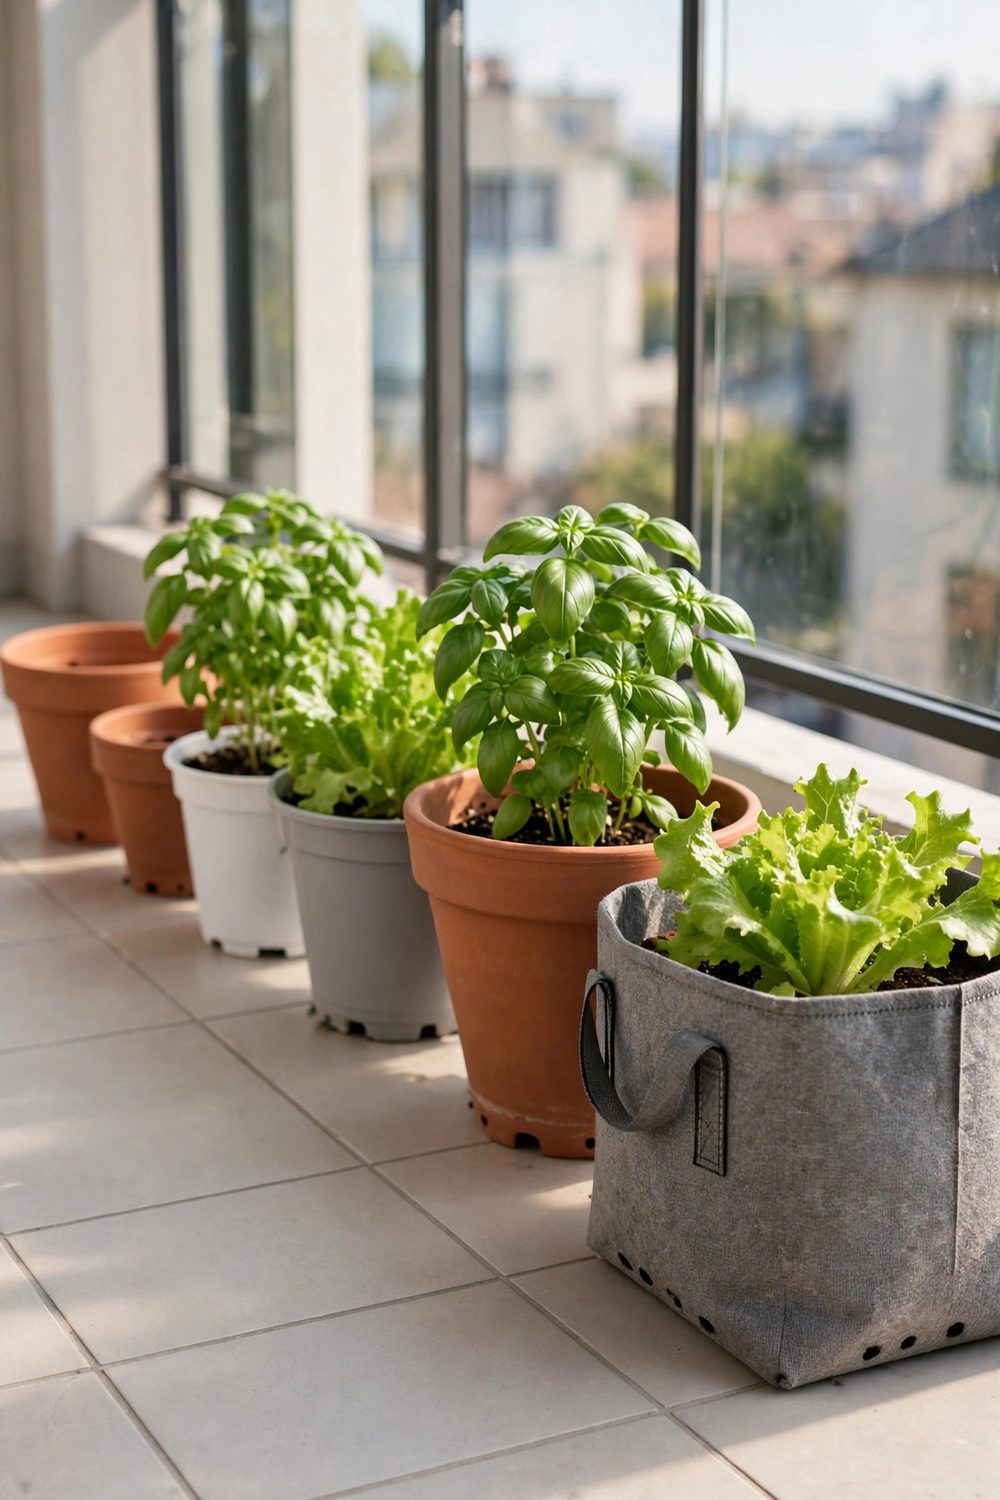
Match each pot to one crop and its root depth. A 5 gallon (19 litre) pot suits one tomato, pepper, or cucumber plant, with room for roots and stored water.
Herbs, radishes, and lettuce fit 10 to 12 inch (25 to 30 cm) pots. Every pot needs open drainage holes in the base, checked before you fill it with mix.
Our roundup of the best pots for growing vegetables on a balcony compares sizes and materials. Pick the size for the crop first, then pick the finish you like.
Choose Bought Potting Mix for Food Crops
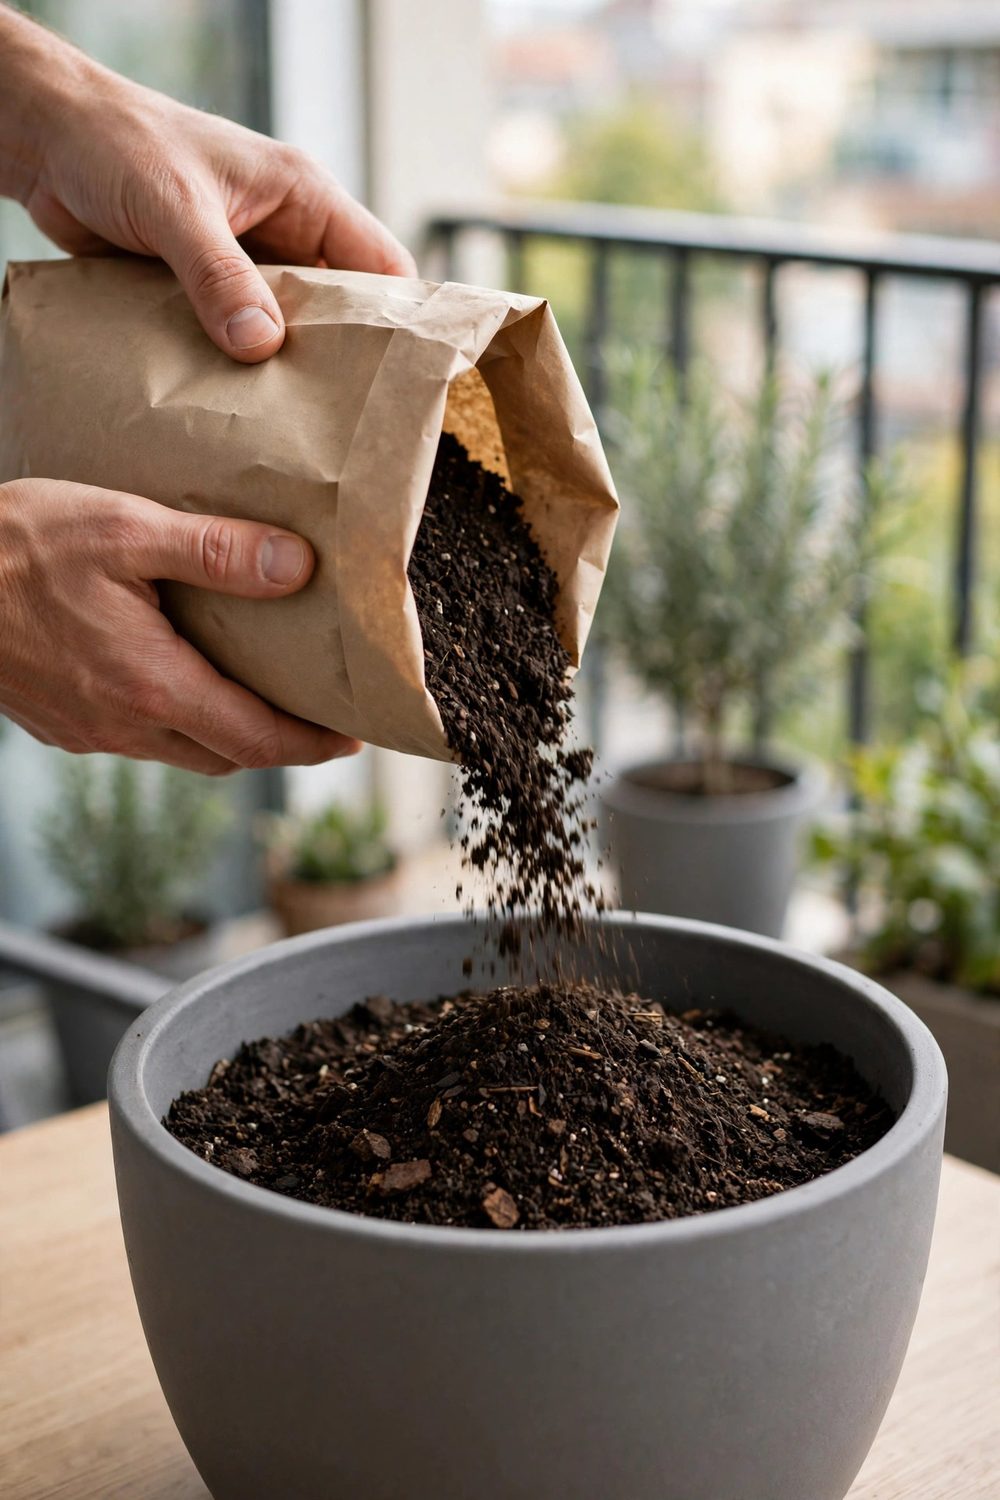
Buy potting mix made for containers, and use it fresh from the bag for food crops. Good mix drains freely, holds some water, and stays loose enough for roots to breathe.
Leave garden soil in the garden. In a pot it packs down hard, drains badly, and can carry weed seed and disease that young plants in a small space cannot outgrow.
One large bag fills roughly one 5 gallon pot once it settles. Buy a spare half bag for topping up pots after the first deep watering drops the level.
Shortlist Easy First Crops
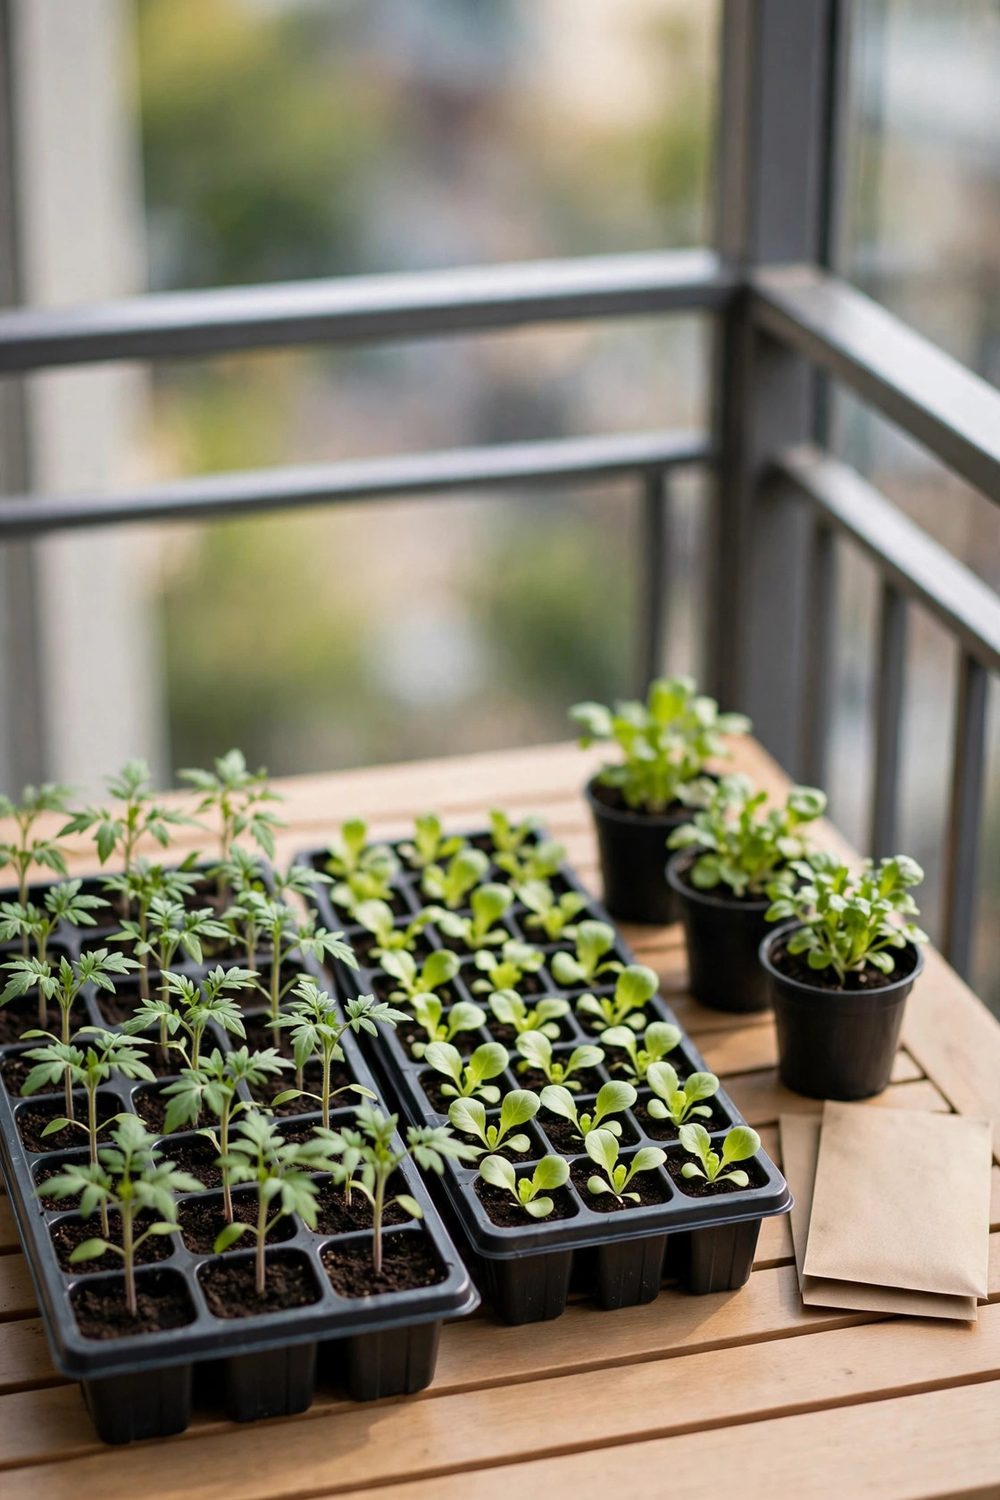
Pick three to five crops you like to eat and that fit your sun hours. Good first picks include lettuce, radishes, bush beans, peppers, kale, and one compact tomato.
Container types worth naming include tomato ‘Tiny Tim’ or ‘Patio Choice’, zucchini (courgette) ‘Astia’, cucumber ‘Spacemaster’, and kale ‘Lacinato’ for deep leafy pots.
Match each crop to the pot size from step four before you buy seed or plants. A short list you tend well beats a long list that overwhelms the balcony.
Set Up Drainage and Saucers
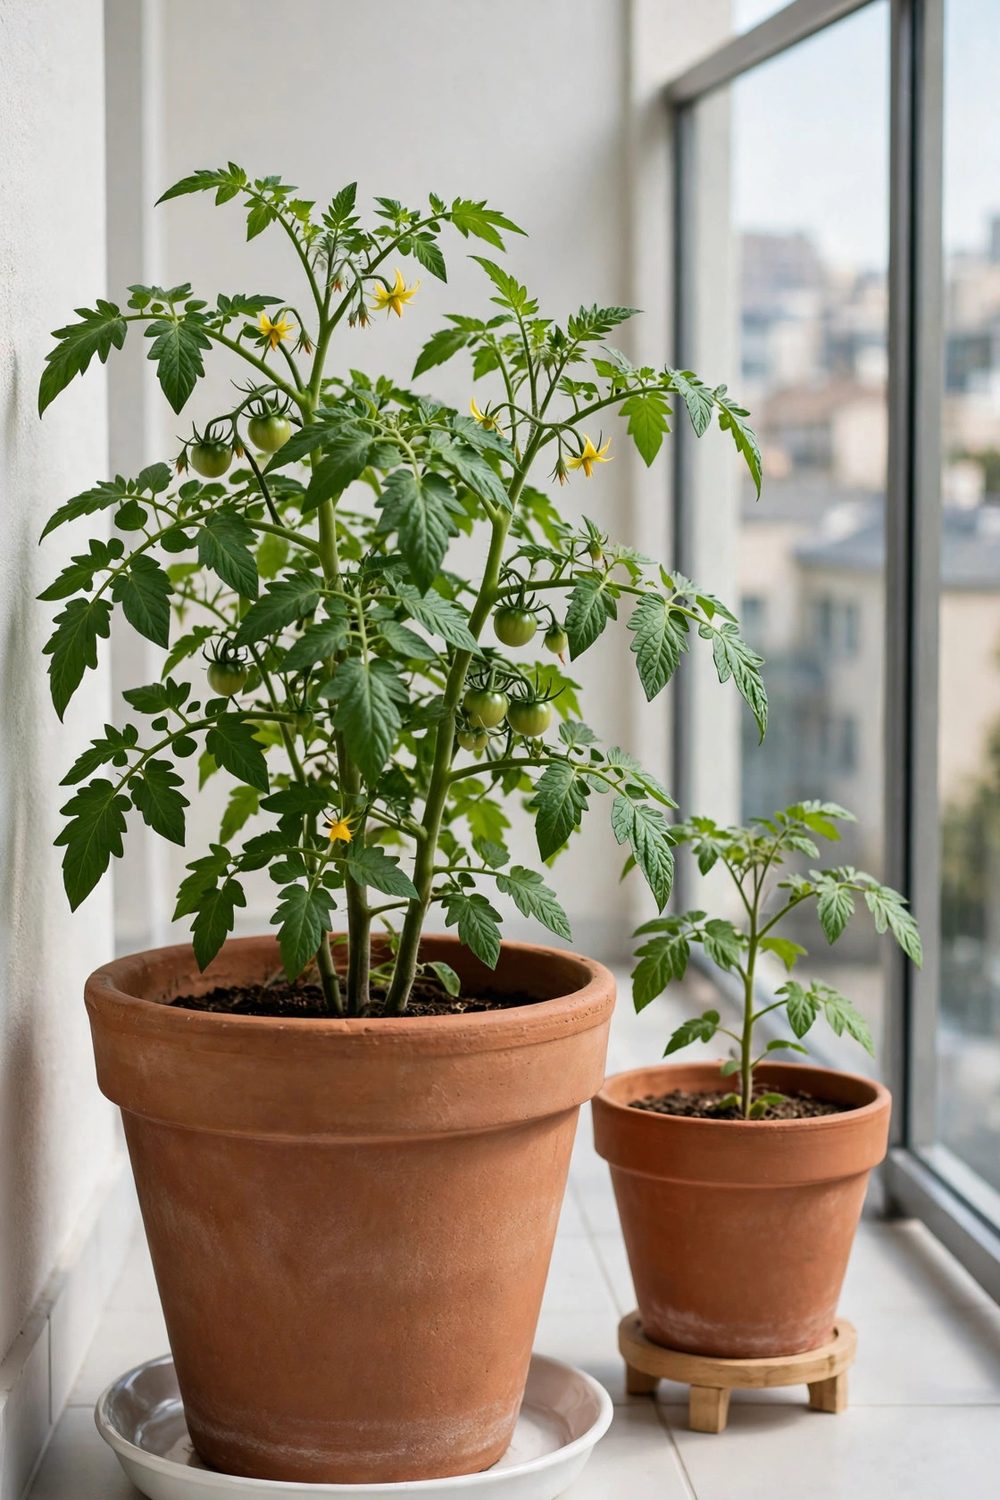
Set each pot on its saucer before you fill it, while it is still light enough to move without strain. Check that the pot sits level and the saucer rim clears the base.
Skip the old habit of filling the pot base with gravel or broken crocks. A layer of stones does not help drainage in a pot, and it steals root room from the crop.
Raise pots a fraction on pot feet if your floor pools after rain. Air under the base helps the mix dry evenly and keeps the floor under the pot cleaner.
Plant or Sow at the Right Depth
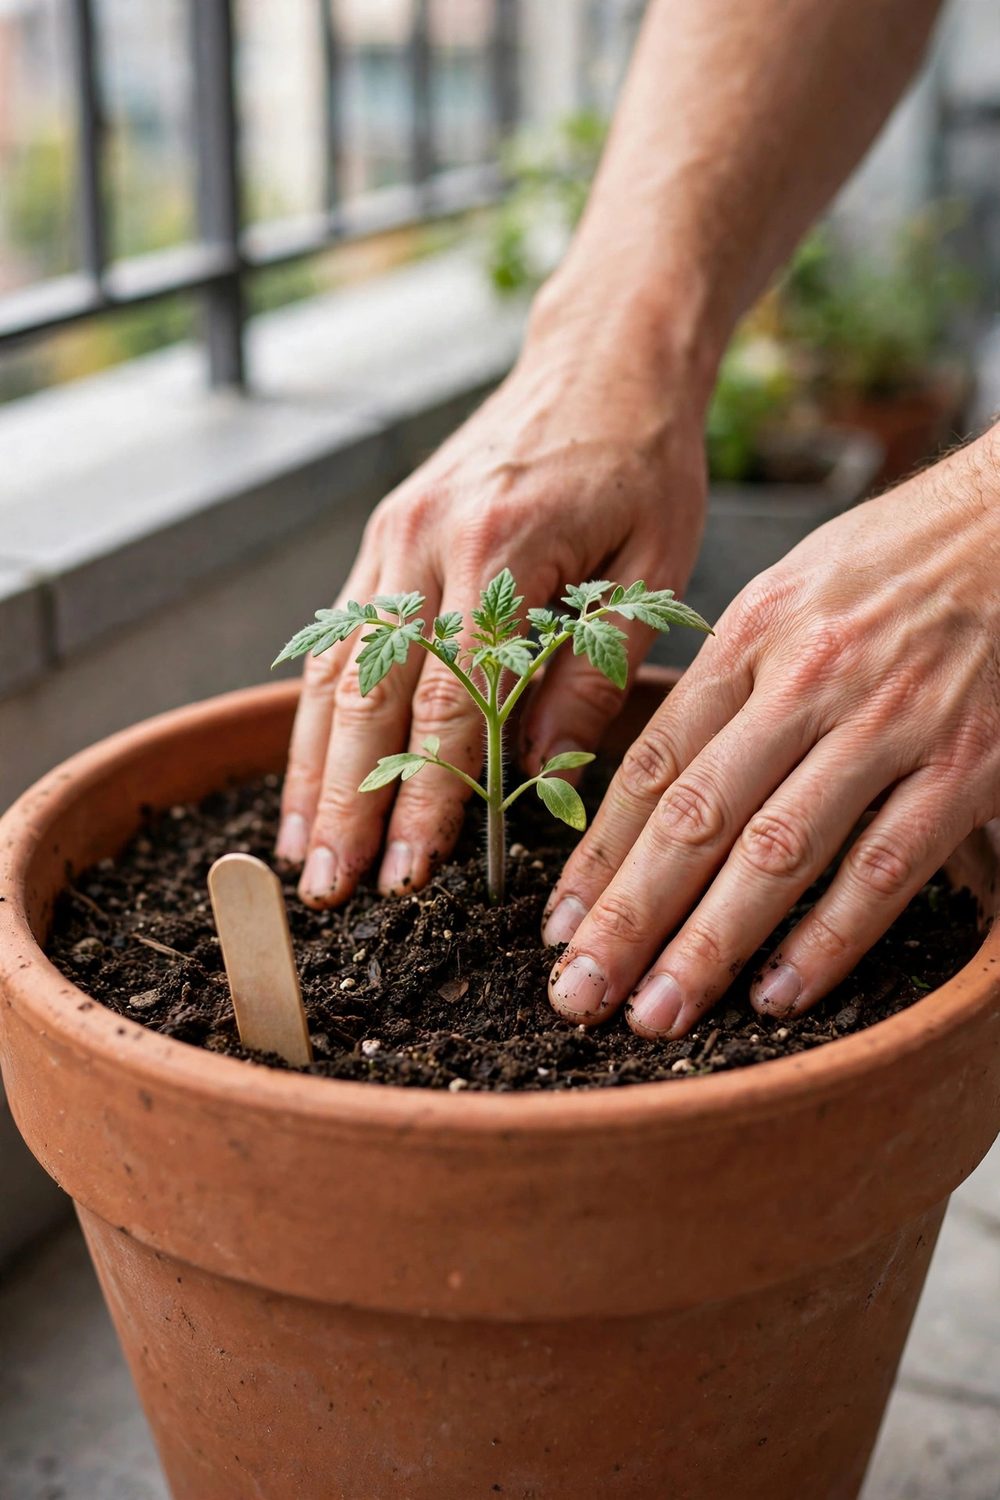
Fill each pot with mix to about 1 inch (2.5 cm) below the rim. That gap stops mix and water washing over the edge during the first deep watering.
Set starter plants at the same depth they grew in their nursery pots. Firm the mix gently around the roots with your fingers, then add a label with crop and date.
Pro Tip: Dampen the mix lightly before you plant. Dry mix can shed water at first, while damp mix settles around roots with far less sinking after watering.
Sow seed at the depth on the packet. Radish seed goes half an inch (1 cm) deep, and thin seedlings to packet spacing once they stand up well.
Water In Until It Runs From the Holes
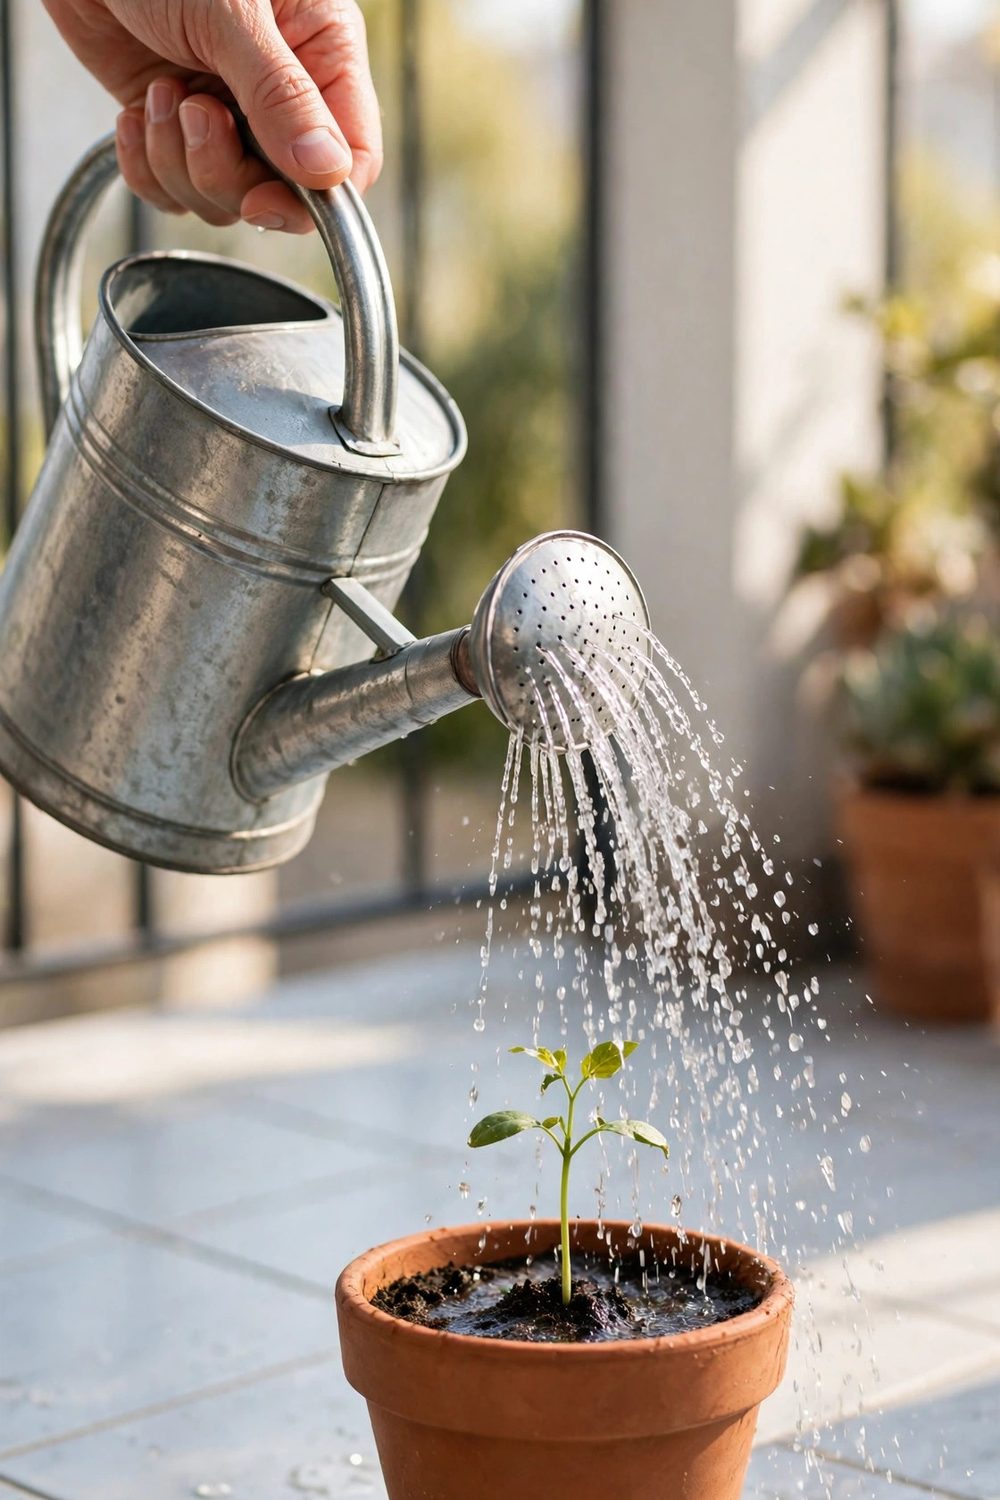
Water each new pot slowly until water runs out of the drainage holes into the saucer. This settles mix around the roots and clears dry air pockets that block drinking.
Empty each saucer after about 30 minutes if water still stands in it. Pots should drain freely after watering, never sit in a pool for hours at a time.
No outdoor tap is no barrier here. Our guide to how to water a balcony garden without a hose or outdoor tap covers the can and jug routine in full.
Set the Weekly Rhythm for Water, Feed and Checks
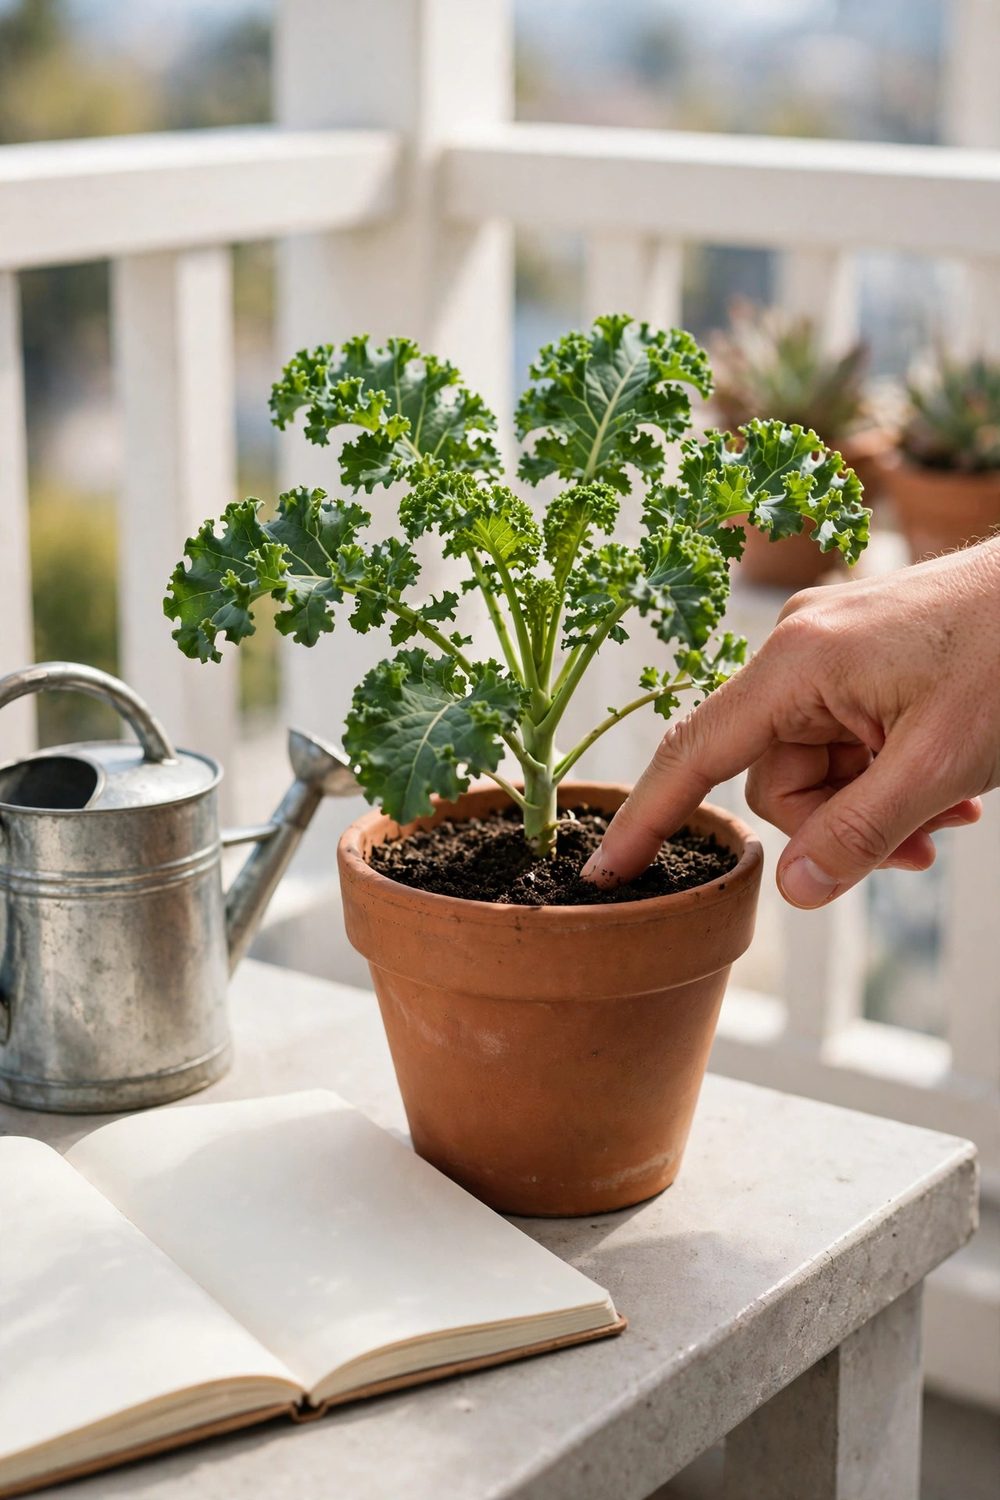
Test the mix with a finger before you water, down to about 2 inches (5 cm). Water deeply when the top feels dry, rather than splashing a little every day.
Feed fruiting crops at the label rate once growth speeds up and flowers open. Simple timing rules sit in our guide on how often to water vegetables in pots.
Once a week, walk the whole balcony with your notebook. Note water, feed, pest signs, and ripe crops, and pick leaves and fruit little and often to keep plants producing.
Troubleshooting
Most first season problems trace back to sun, water, or pot size. Match the symptom to the likely cause, change one thing, then watch the plant for a week.
Plants stall and grow slowly. Too little sun or a pot that is too small causes most stalls. Move the pot into more sun, or move the plant up a pot size. Extra feed cannot fix shade, so check light first.
Soil dries out every day. Small pots, wind, and heat strip water fast. Move up a pot size, water in the morning, and group pots so leaves shade each mix surface. A bigger pot holds more water for roots between rounds.
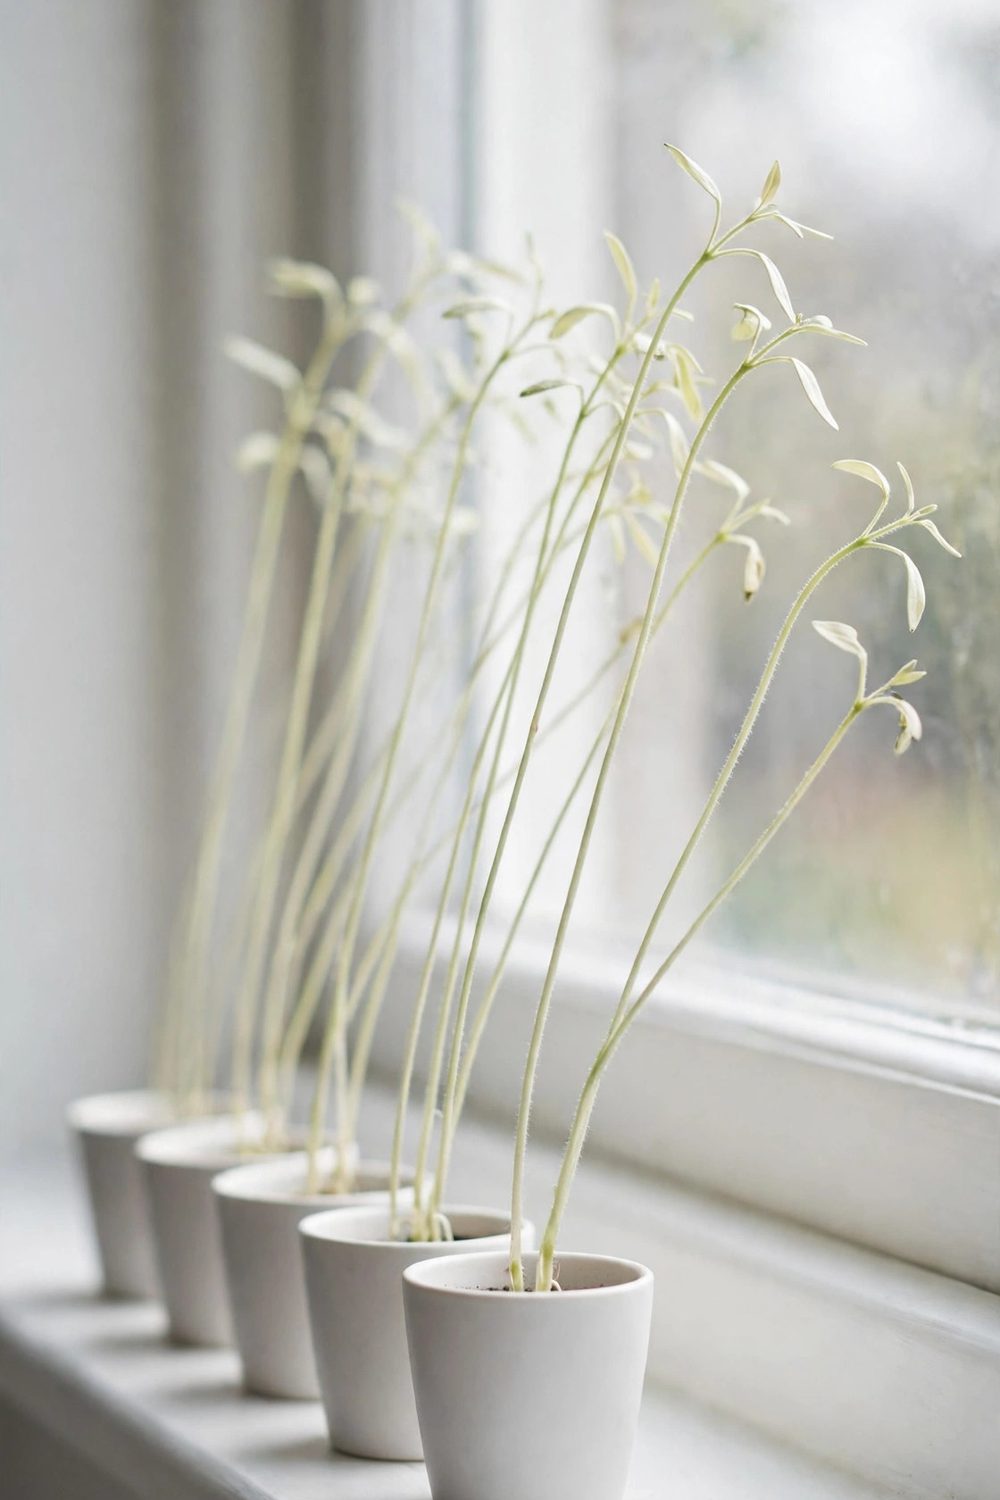
Seedlings grow pale and leggy. They are stretching toward light they cannot reach. Move them to your brightest spot, and sow the next batch outdoors once frost has passed. Stretched seedlings rarely thicken, so a fresh sowing often wins.
Water runs straight through dry mix. Very dry mix can shed water down the pot sides. Set the pot in a tray of water for twenty minutes so the mix soaks from below. Then water from the top as normal.
Frequently Asked Questions
How many pots should I start with?
Start with three to five pots in your first season. That number covers one fruiting crop, one leafy crop, and herbs, without turning watering into a daily chore you start to skip.
Add pots next season once you know your sun and your rhythm. A small garden tended well beats a big one that gets neglected in the busy weeks of summer.
When should I start planting?
Plant tender crops such as tomatoes, peppers, and zucchini after your last frost, when nights stay mild. The seed packet and plant label give the soundest local guide for your area.
Cool weather crops such as lettuce, radishes, peas, and kale can start earlier in spring. In mild winter areas, roughly USDA zones 8 to 10, they can also crop through winter.
Can I do this on a shady balcony?
Leafy crops grow on a balcony with 3 to 4 hours of direct sun. Lettuce, kale, spinach, and many herbs cope well at that level and stay sweet and tender.
Fruiting crops disappoint in deep shade, since tomatoes, peppers, and cucumbers need 6 or more hours to flower well. Give the brightest corner to one fruiting pot and fill shade with leaves.
How much does a starter setup cost?
Costs vary by pot material and plant size, so treat any figure as a rough guide only. Pots, one bag of mix per large pot, seed, and a can cover the core list.
Starter plants cost more than seed but save weeks of care. Many beginners mix both, buying tomato and pepper plants and sowing radishes, lettuce, and beans from seed packets.
What if my balcony faces north?
A north facing balcony in the northern hemisphere gets soft light and little direct sun. Lean on leafy greens, herbs such as mint and chives, and shade tolerant salad crops.
Place pots at the rail edge where light runs strongest, and use pale pots to bounce a little light back. Skip sun hungry fruiting crops until you can test one pot.
Quick Reference
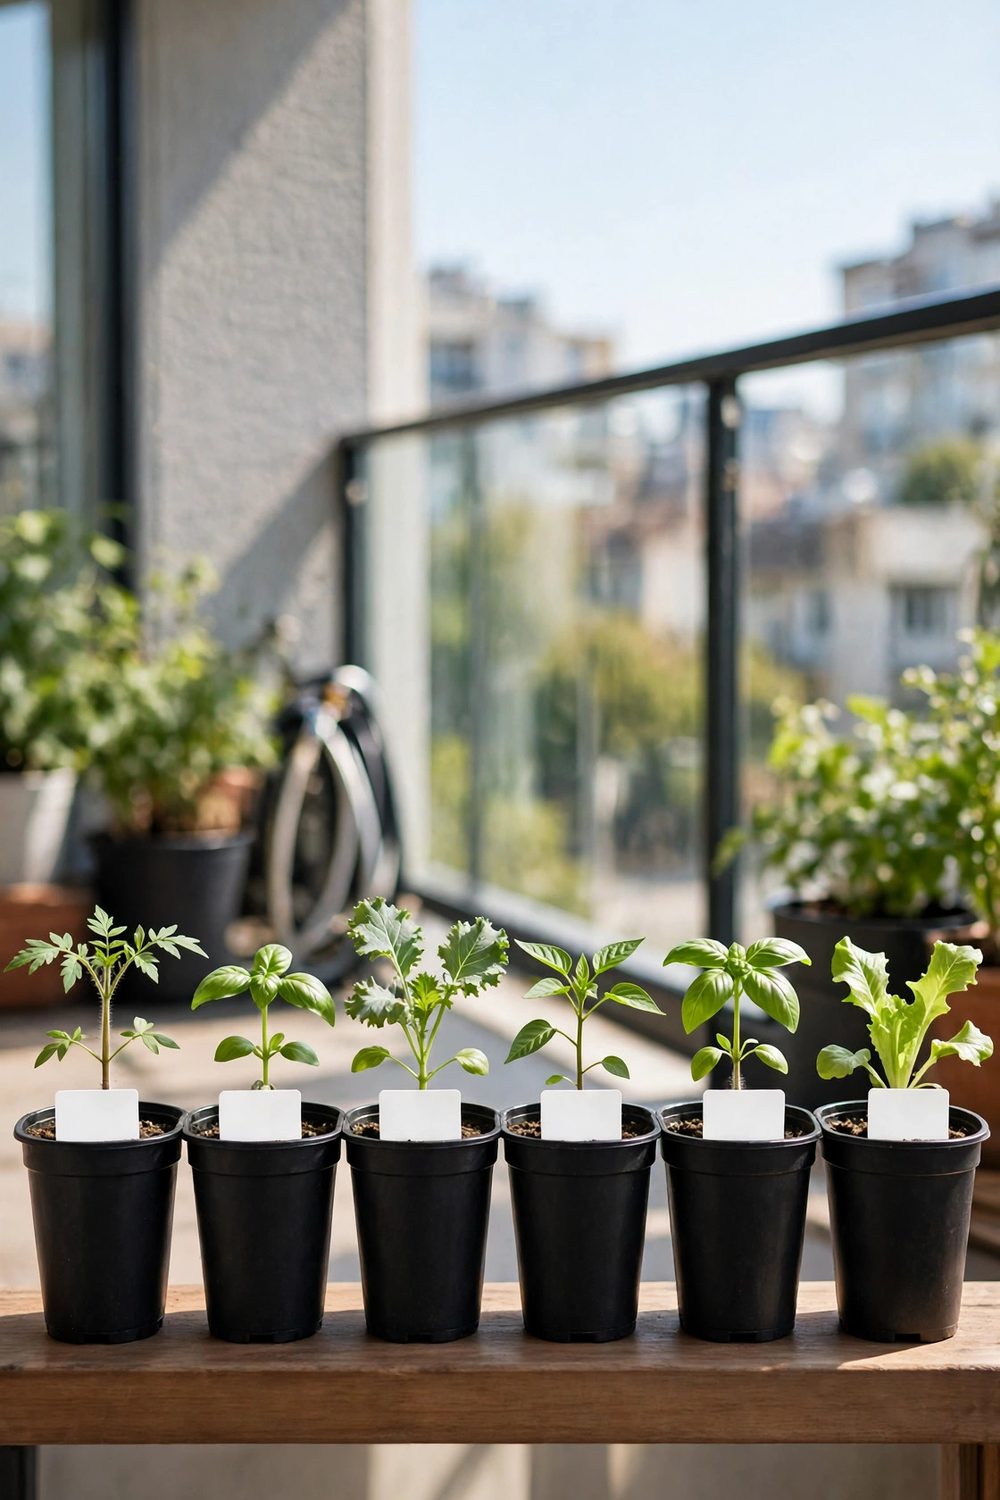
Keep these starter numbers in your notebook. They cover most first season choices without opening the full guide again.
- Sun: fruiting crops 6 to 8 hours of direct sun; leafy crops 3 to 4 hours.
- Workhorse pot: 5 gallons (19 litres) for one tomato, pepper, or cucumber plant.
- Small pots: 10 to 12 inches (25 to 30 cm) for herbs, lettuce, and radishes.
- Mix: bought potting mix for food crops; never garden soil in a pot.
- Sowing: radish seed half an inch (1 cm) deep; thin to packet spacing.
- First crops: lettuce, radishes, bush beans, peppers, compact tomatoes, kale, and herbs.
- Water check: finger test at 2 inches (5 cm); water until it drains.
You now hold the full order for how to start a balcony vegetable garden step by step: sun, rules, space, pots, mix, crops, drainage, planting, water, and rhythm.
Work through that order once this weekend and the rest of the season gets easier each week. Set up the first three pots, plant one fast crop and one fruiting crop, and note the results.
Save this guide to your container garden board for later. Add one new pot at a time once the first pots grow well and your weekly rhythm holds steady.


