

15 Tiered Plant Stand Vegetables for a Narrow Balcony
A narrow balcony fails in a familiar way: pots line up along the rail, the door stops opening fully, and watering turns into a shuffle. A tiered stand fixes the shape of the problem by stacking growing space upward instead.
These tiered plant stand vegetables for a narrow balcony are ordered the way a stand actually works. Light crops sit on the top tier, mid-size pots sit in the middle, and the heaviest bags stay on the ground beside the stand.
Check the stand rating before you buy, because wet mix weighs far more than dry mix. Measure your balcony width too, and leave a clear path to the door so daily watering stays quick and safe.
Start with one tier filled, not all three at once. A week of watering the top shelf teaches you how fast each level dries, and then the lower tiers are easy to plan with real numbers.
This post contains affiliate links. If you buy through them, we may earn a small commission at no extra cost to you. See our Affiliate Disclosure.
1. Put Loose-Leaf Lettuce on the Top Tier
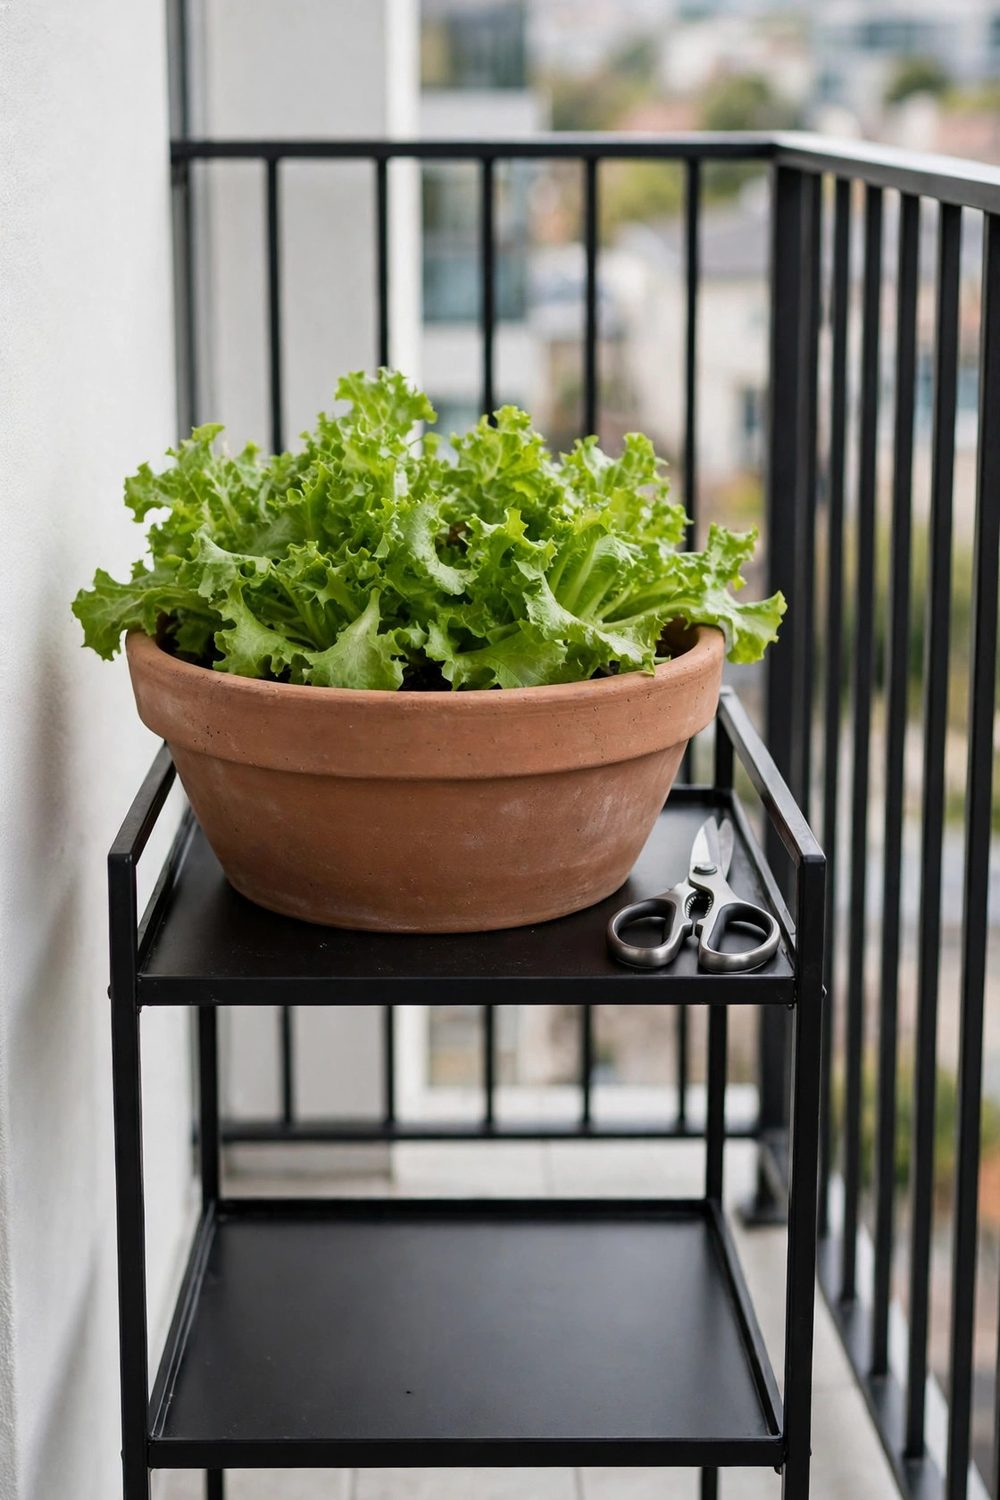
Top tiers catch the most light and the most wind, so a light crop belongs there. Fill a wide, shallow pot, at least 12 inches (30 cm) wide, with loose-leaf lettuce for the top shelf.
Lettuce roots stay in the top 6 inches (15 cm) of mix, so a shallow pot is fine and keeps top weight low. Sow seed thinly and mist daily until sprouts show above the mix.
Lettuce grows on 3 to 4 hours of sun, so the top tier still crops on a balcony that shades early. Snip outer leaves with scissors and leave the centre growing for the next picking.
Top pots dry fastest in wind, so check this one first each morning. A finger pushed into the mix tells you in seconds if the can needs filling at the kitchen sink.
2. Grow Radishes in a Shallow Top-Tier Trough
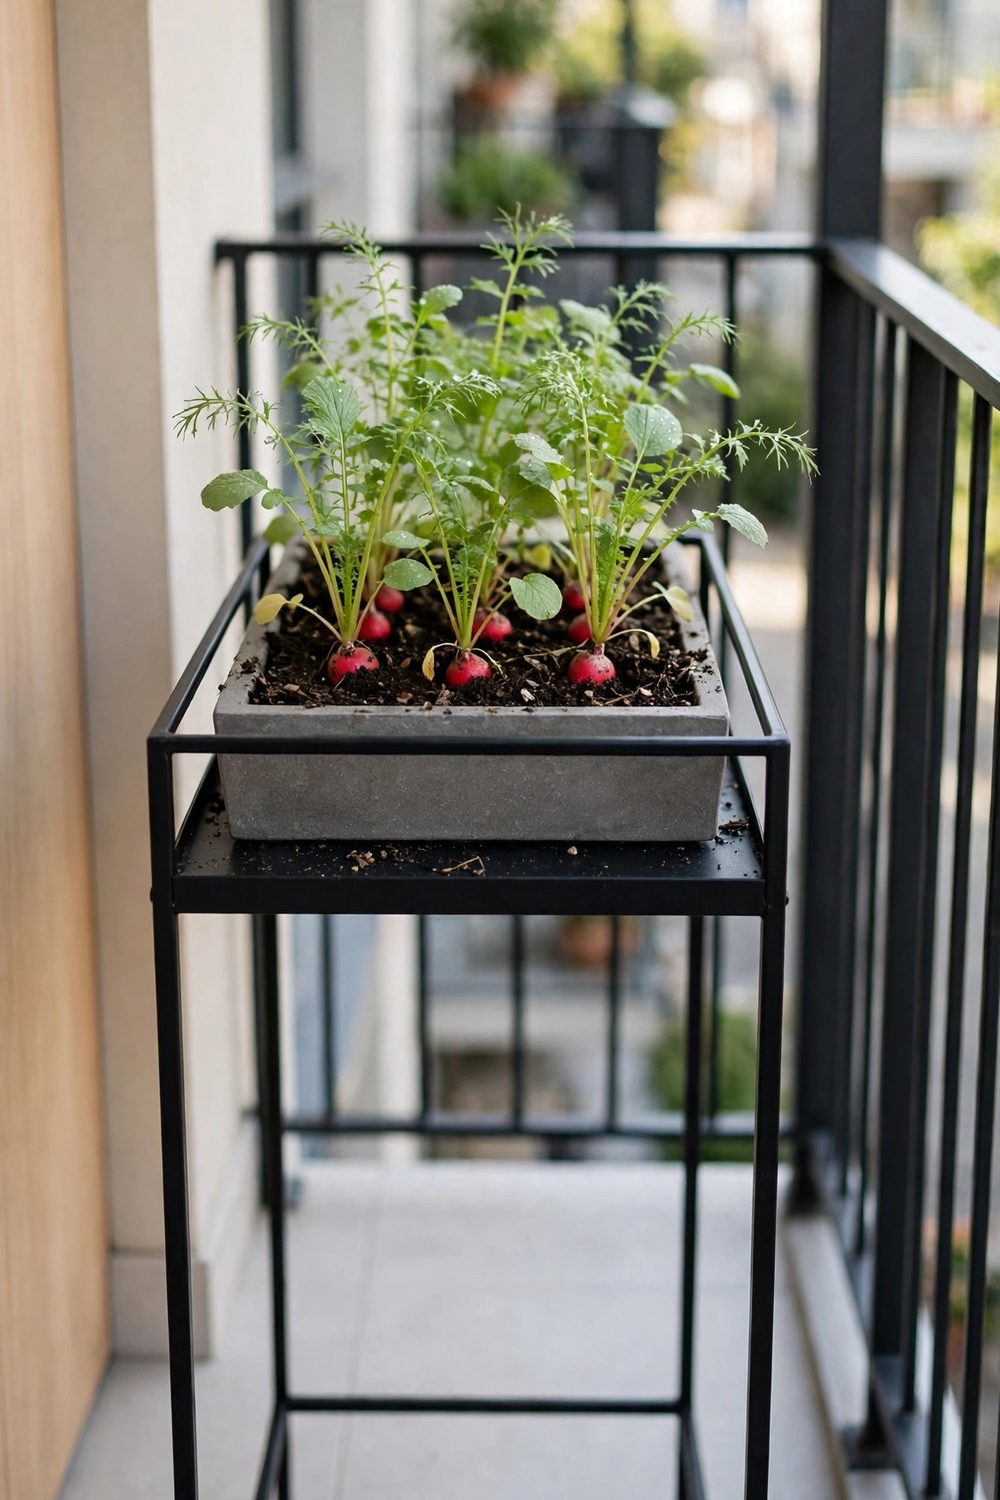
Radishes weigh almost nothing, which makes them a safe top-tier crop. Use a trough at least 6 inches (15 cm) deep and sow seed 1/2 inch (1 cm) deep, 1 inch (2.5 cm) apart.
Thin seedlings to 2 inches (5 cm) apart once they sprout. Crowded radishes grow leaves and no roots, however kindly you water them through the rest of the month.
Keep the mix damp and pull roots as soon as they size up. In spring, radishes can be ready roughly a month after sowing, which gives a new stand an early win.
Sow a second trough two weeks later on the same tier. While the first trough is being pulled, the second is sizing up, and the shelf never sits empty for long.
3. Add Spinach Beside the Lettuce in Spring and Autumn
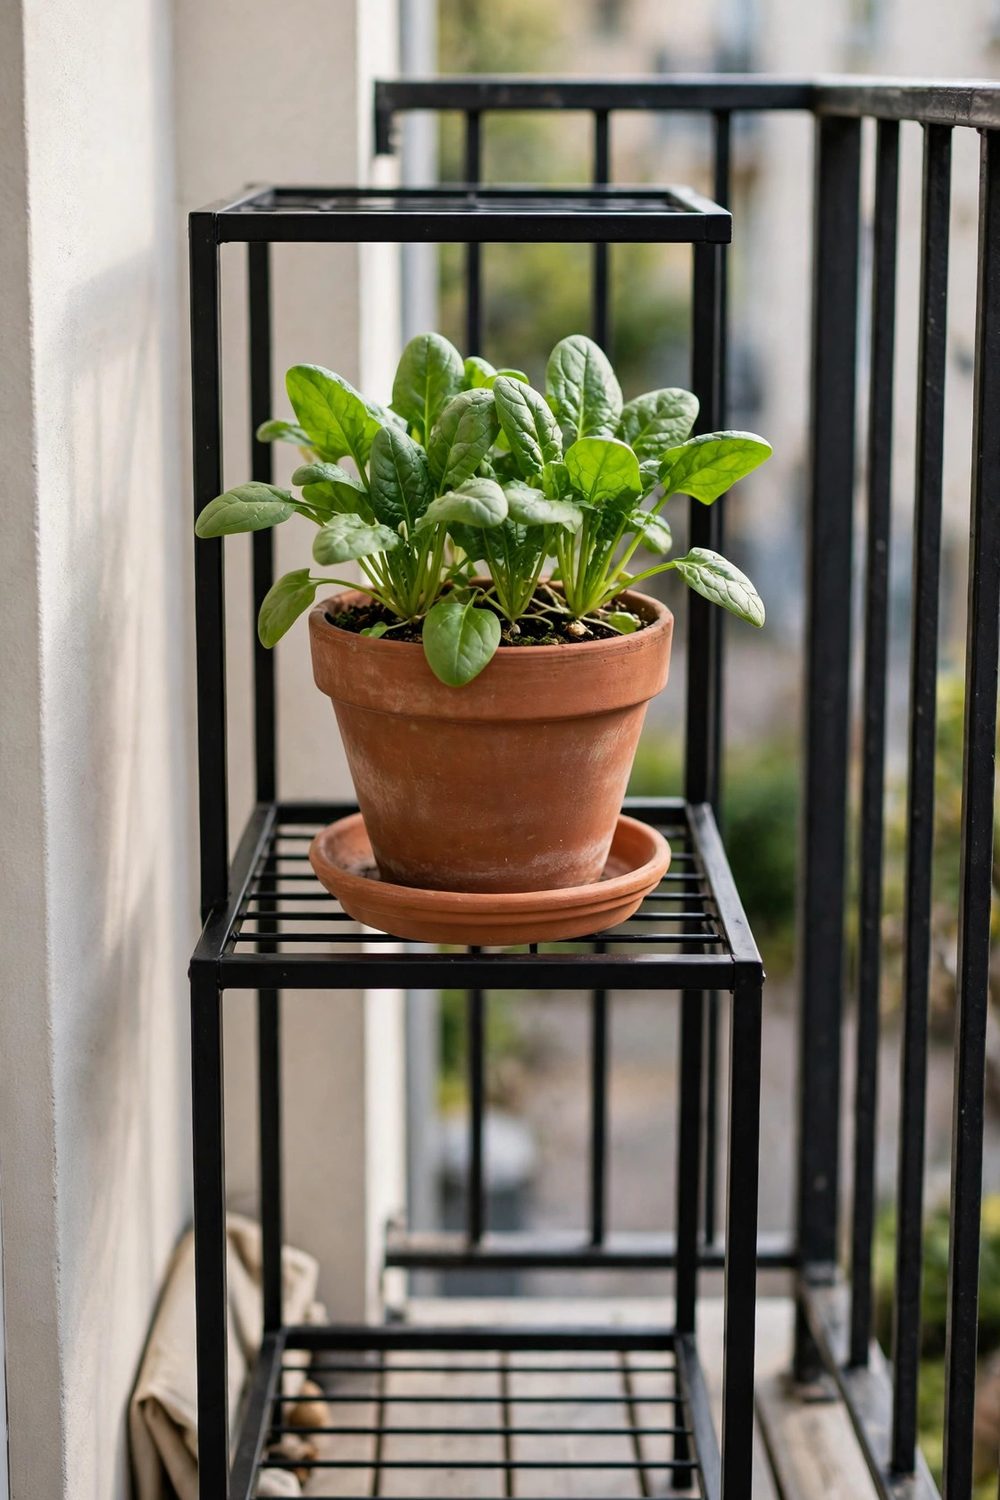
Spinach bolts in heat, so time it for the cooler ends of the season. Sow it in a 10-inch (25 cm) pot on the top or middle tier in early spring and again in late summer.
Scatter seed 1/2 inch (1 cm) deep and keep the mix damp until leaves show. Spinach grows well on 3 to 4 hours of sun and dislikes drying out at the root.
Pick outer leaves a few at a time and the plant keeps growing from the centre. Hot spells end the crop fast, so pull spent plants and reuse the pot for basil.
A small saucer under the pot catches the morning drip. On a narrow balcony, that drip lands on the tier below, so saucers on every level keep leaves clean underneath.
4. Tuck Spring Onions Into a Narrow Top-Tier Pot
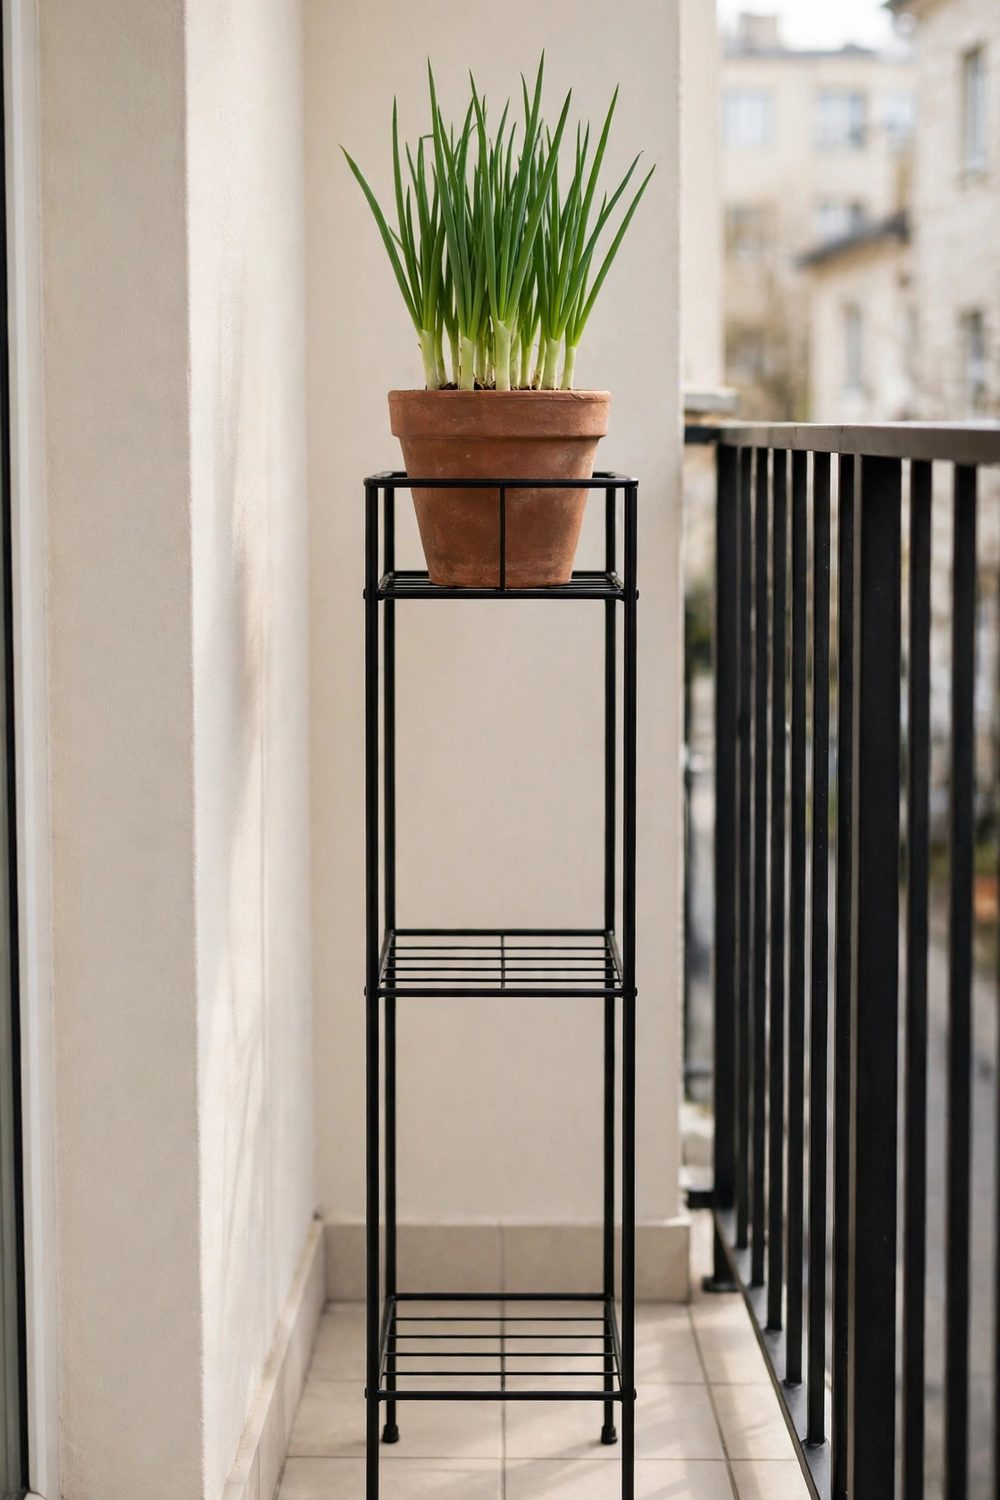
Spring onions need almost no width, so they fit the gaps a stand leaves behind. Sow them in a narrow pot, about 6 inches (15 cm) wide, along the back of the top tier.
Sow seed 1/4 inch (0.5 cm) deep and water with a can fitted with a rose head. Fine seed washes out under a hard pour from a jug, so go gently at first.
Onions grow on 4 to 6 hours of sun and ask for little feeding. Pull stems at pencil thickness and the rest keep sizing up in the same small pot.
Resow a pinch every three weeks for a steady supply. The pot weighs so little that you can lift it down to the kitchen door at harvest time in seconds.
5. Set Basil on the Sunny Middle Tier
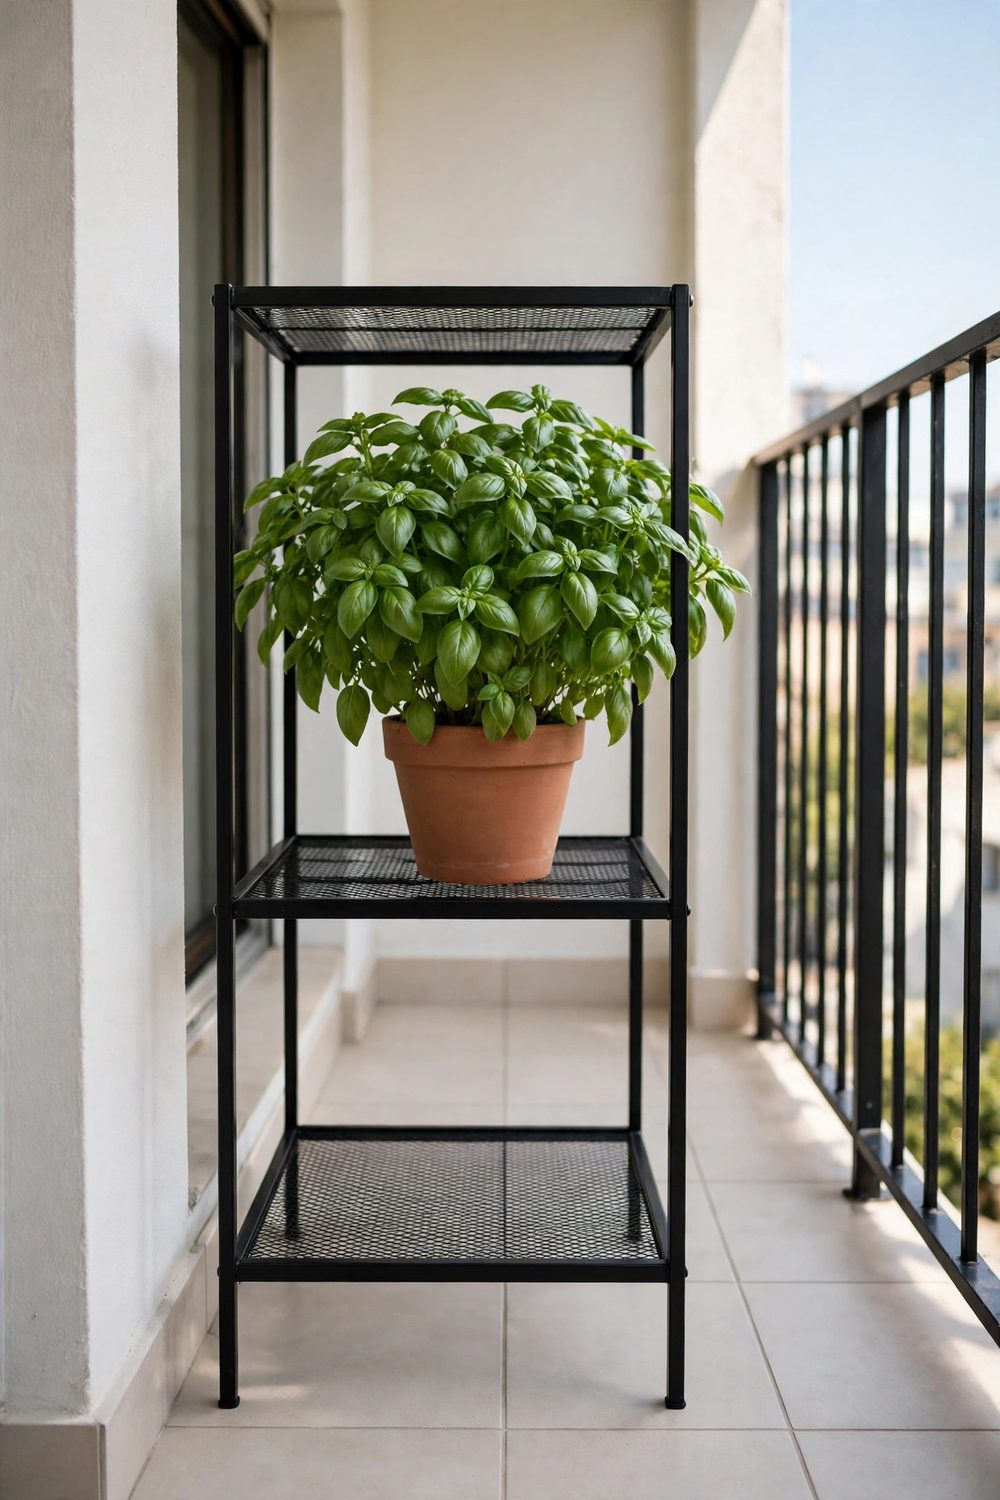
Basil wants warmth and sun but burns less on a middle tier than on a windy top shelf. Plant one basil per 10-inch (25 cm) pot and place it where sun reaches at midday.
Pinch the tips weekly so the plant branches instead of racing to flower. Each pinch gives you leaves for dinner and a bushier plant for the weeks ahead of summer.
Water at the base, because wet basil leaves mark and sulk in still air. Morning watering, done while the kettle boils, keeps the routine short on a work day.
Basil hates cold nights, so sow or plant it only after your last frost. In mild-winter areas it still stops in winter, and spring sowing starts the cycle again.
6. Pair Parsley and Chives on the Middle Tier
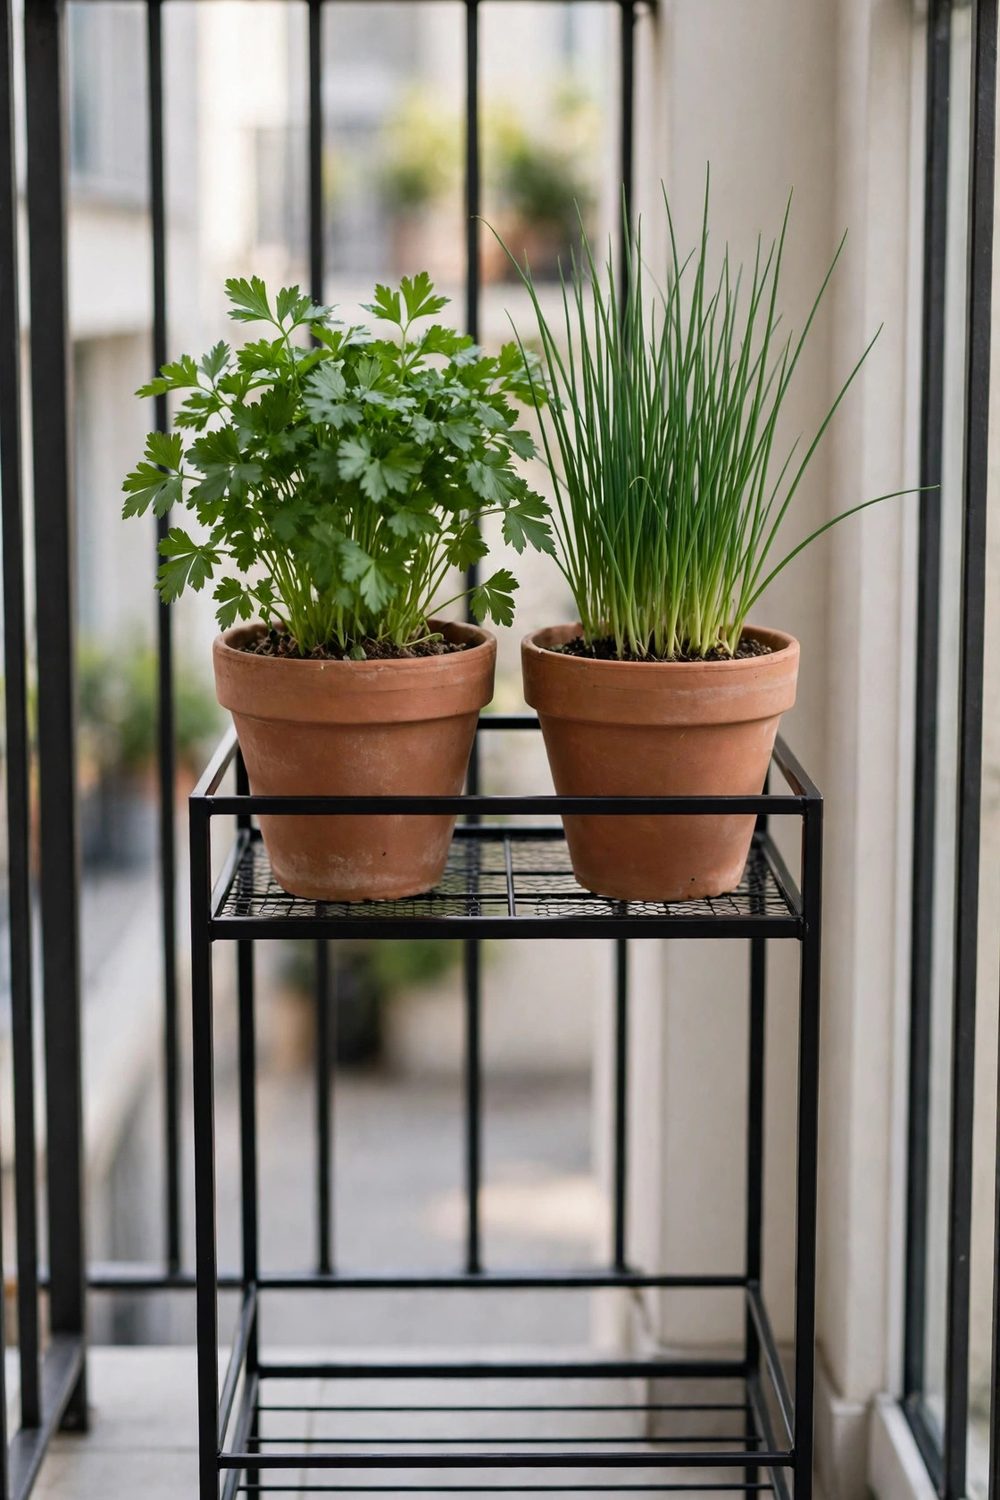
Parsley and chives forgive shade and missed waterings, so they suit a middle tier that the top shelf shades at noon. Give each herb its own 8-inch (20 cm) pot for root room.
Chives grow upright and narrow, while parsley fills out into a soft mound. Together they cover the shelf edge and leave the centre free for the watering can to reach.
Cut chives with scissors, a handful at a time, and they regrow within weeks. Parsley is slower, so pick outer stems and leave the centre crown to keep producing.
Both herbs come back year after year in mild areas. A spring feed and a tidy of dead leaves in March sets the pots up for another full season of picking.
7. Train Dwarf Peas Up a Mini Trellis on the Middle Tier
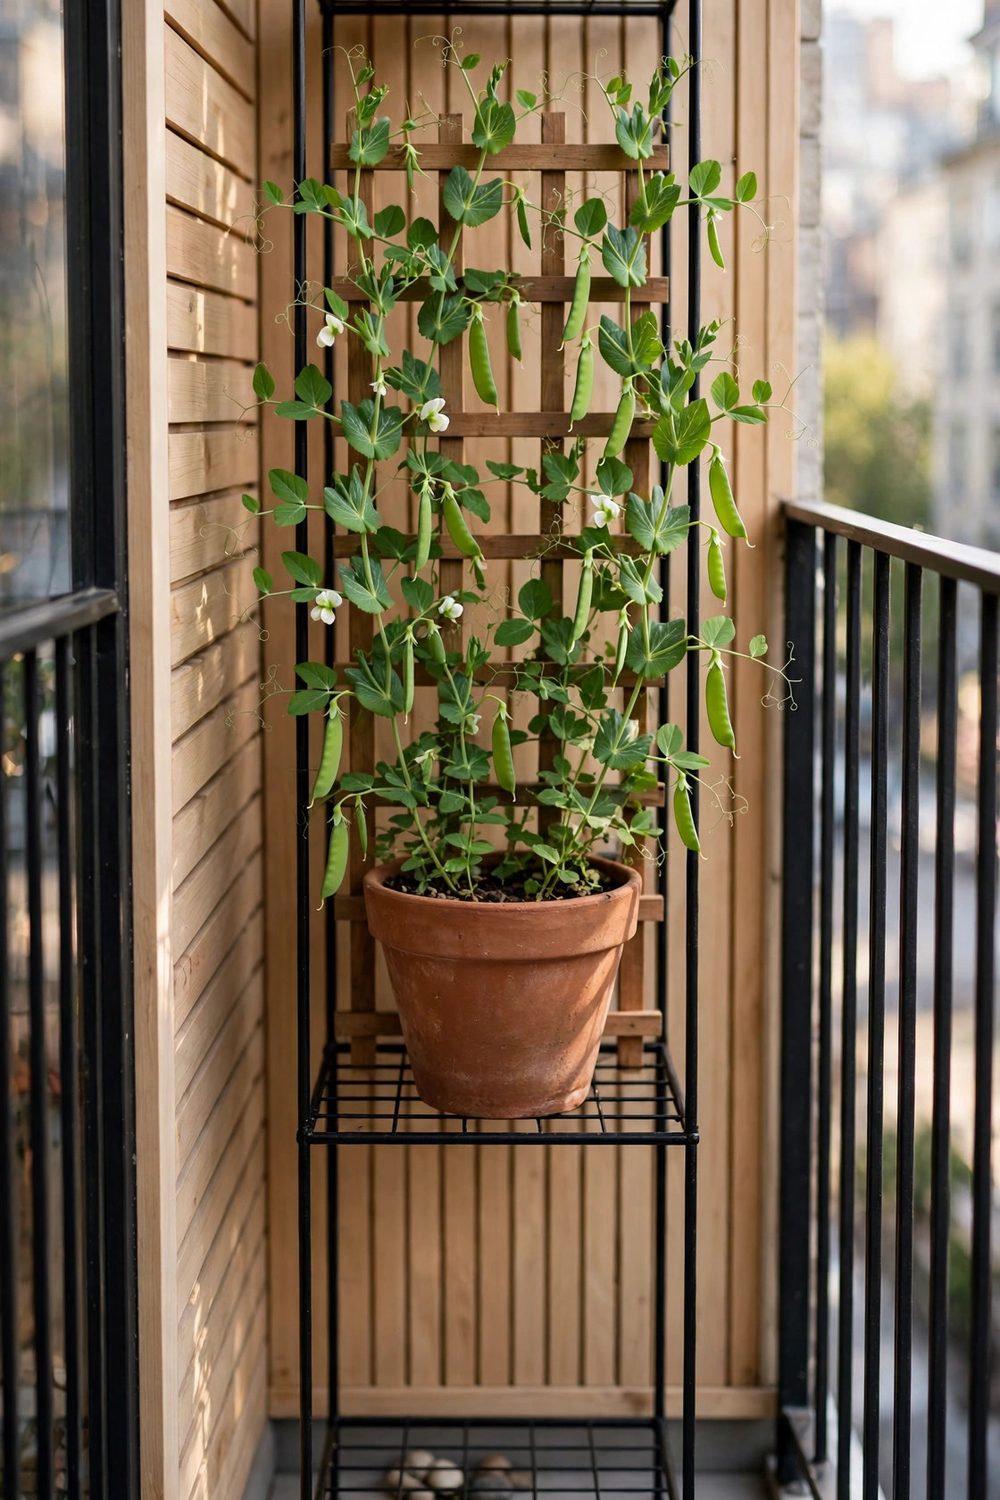
Peas on a stand need a short support, not a tall frame. Fix a small trellis, about 24 inches (60 cm) tall, to the back of the middle tier and sow dwarf peas at its base.
Sow ‘Sugar Snap’ type seed of a dwarf variety 1 inch (2.5 cm) deep and 2 inches (5 cm) apart in a pot at least 8 inches (20 cm) deep. Start in cool spring weather.
Guide the first tendrils onto the trellis, and the plants climb alone after that. Water at the base to keep mildew down, since air moves slowly between tiers on still days.
Pick pods often to keep flowers coming. When heat ends the peas, the same pot and trellis can hold a dwarf cucumber for the summer months that follow. Layouts for very small floors, like a tiny 3-foot balcony garden, use this same stacking logic.
8. Grow Short Carrots in a Deep Middle-Tier Pot
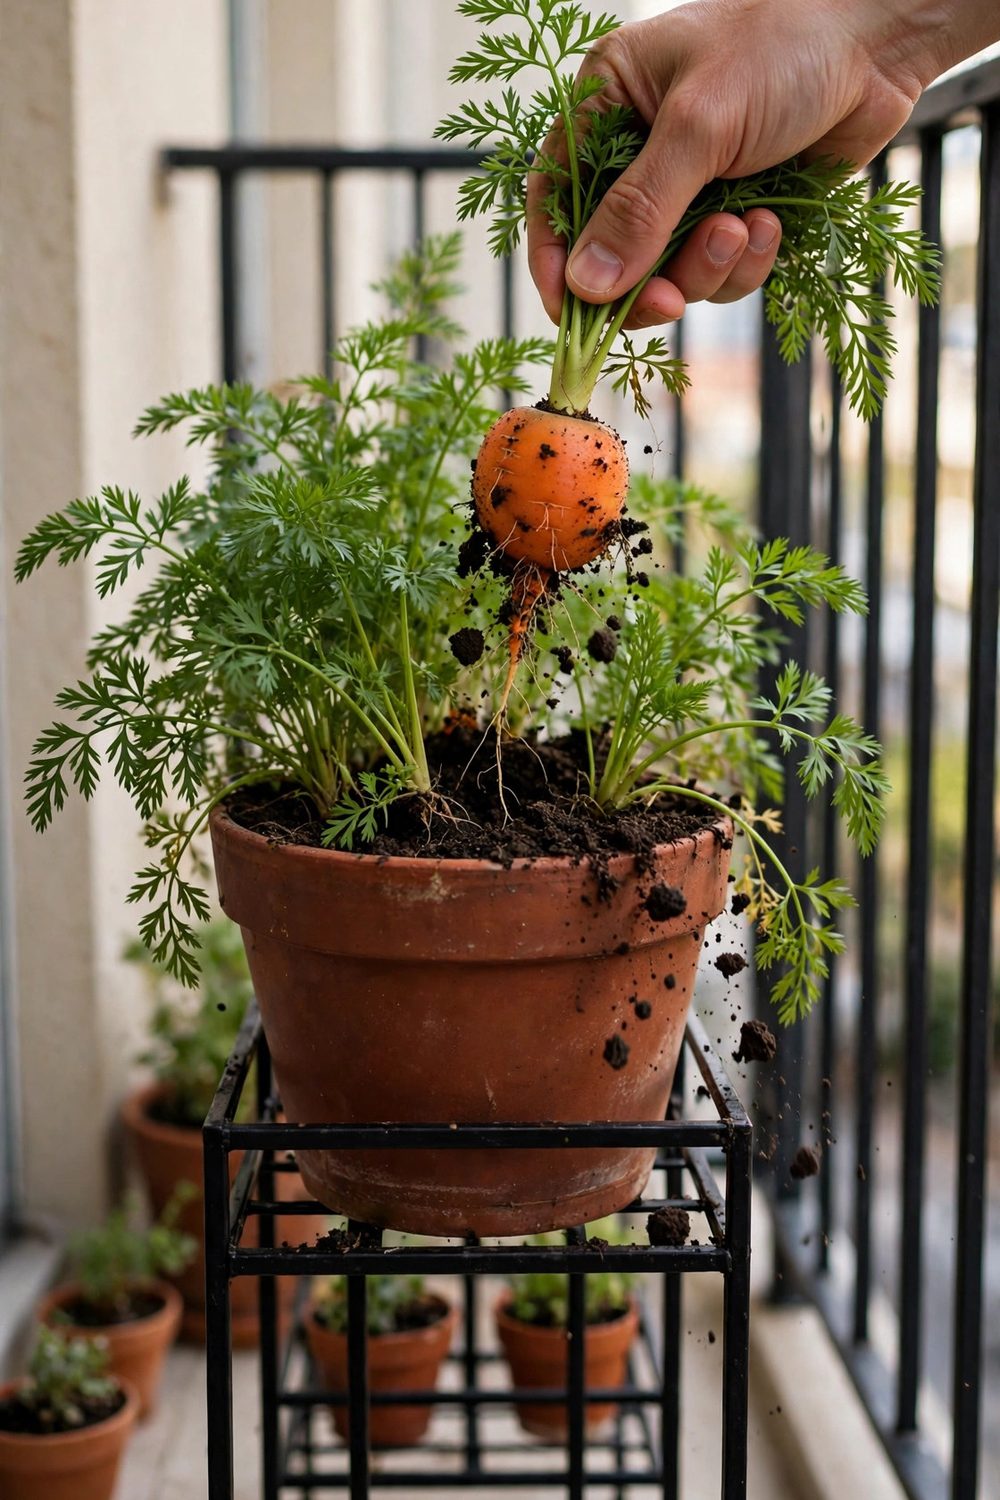
The middle tier can carry one deep pot if the stand is sturdy. Choose a pot at least 12 inches (30 cm) deep and fill it with loose, stone-free mix for short carrots.
Sow ‘Little Finger’ or ‘Parisian Market’ seed 1/4 inch (0.5 cm) deep, scattered thinly. Carrot seed is slow, taking 2 to 3 weeks to show, so keep the surface damp throughout.
A small board laid over the pot holds moisture in while seed sprouts. Lift it daily to check, and remove it for good once green rows appear across the surface.
Thin seedlings to 2 inches (5 cm) apart so roots can swell. Check the stand rating again here, because a deep pot of wet mix is the heaviest item on any tier.
9. Keep Dwarf Kale on the Lower Middle Tier
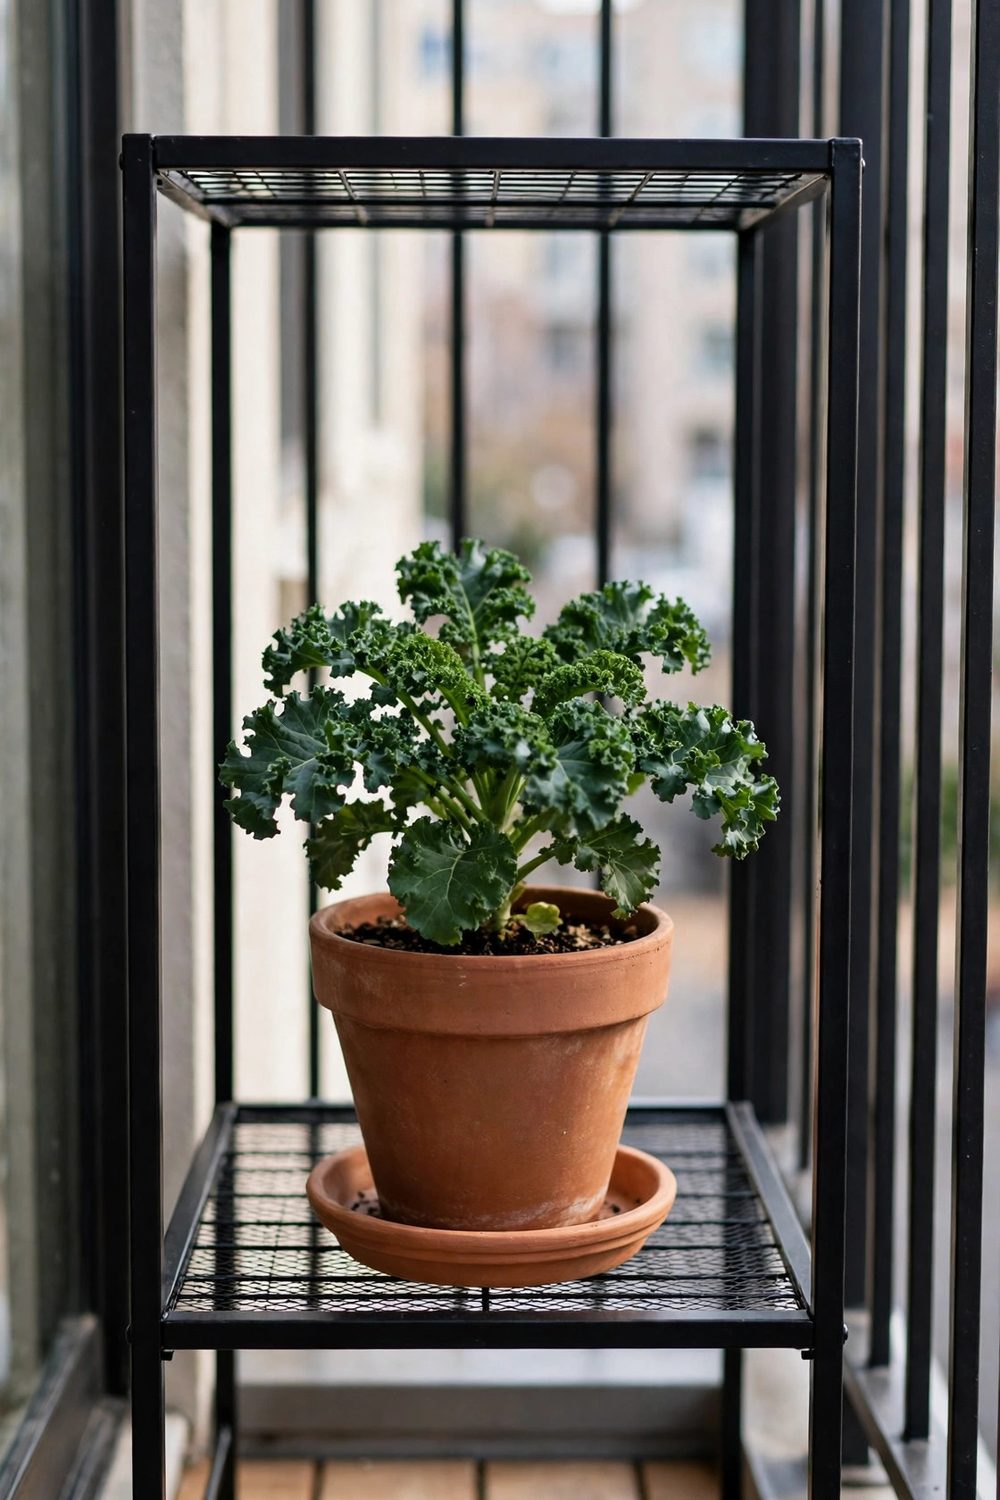
Dwarf kale types stay compact and upright, so one plant fits a 12-inch (30 cm) pot on the lower tier. ‘Lacinato’ also works if you pick it young and often to hold its size.
Kale settles for about 4 hours of sun, which suits a shaded lower shelf. Water when the top inch (2.5 cm) dries, and feed every two weeks to keep leaves coming steadily.
Pick outer leaves and leave the centre crown alone. Always keep five or six leaves on the plant, and it crops for months from one sowing in spring.
Lower tiers stay cooler and damper, so empty saucers after rain. Roots sitting in standing water rot quietly while leaves wilt, which can look like thirst at first glance.
10. Place a Dwarf Pepper on the Bottom Tier
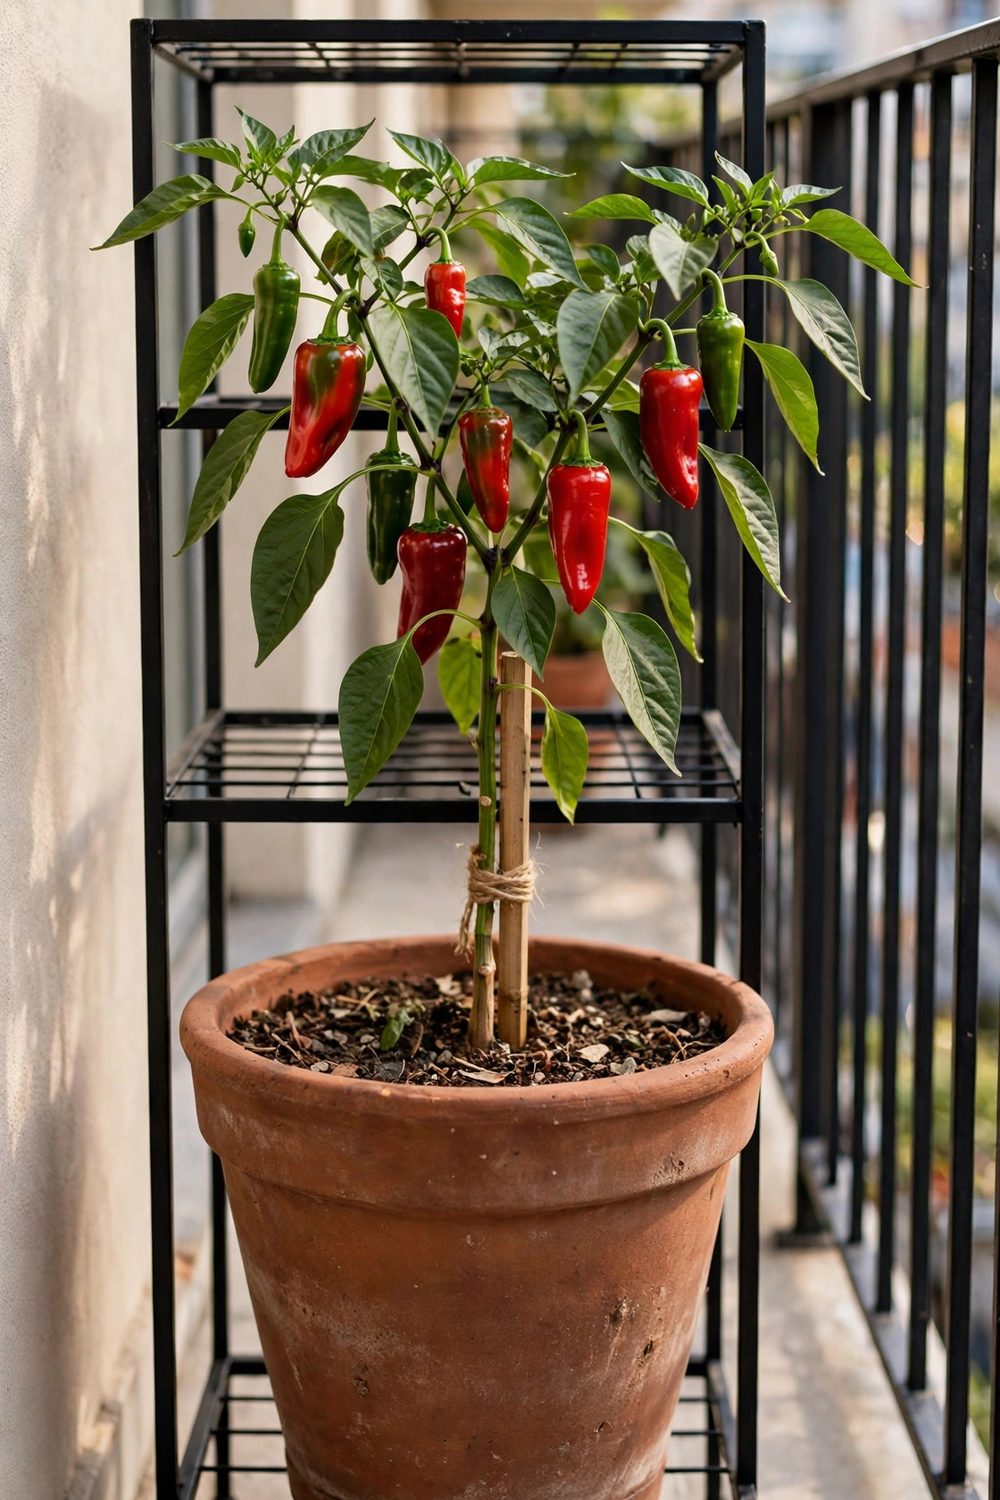
The bottom tier holds weight best, so give it a pepper in a 5-gallon (about 19-litre) pot. One plant per pot is the rule, because two sharing a pot both crop poorly.
Peppers want 6 to 8 hours of sun, so slide the stand so the bottom tier still catches direct light. A compact chilli or small bell type ripens best in this spot.
Push a short stake in at planting time, before roots spread. Branches loaded with fruit snap in gusts, and a loose tie now saves the plant later in the season.
Water evenly and feed every two weeks once fruit sets. The bottom tier dries slowest, so finger-test before watering rather than soaking it on the same round as the top.
11. Grow a ‘Tiny Tim’ Tomato on the Bottom Tier
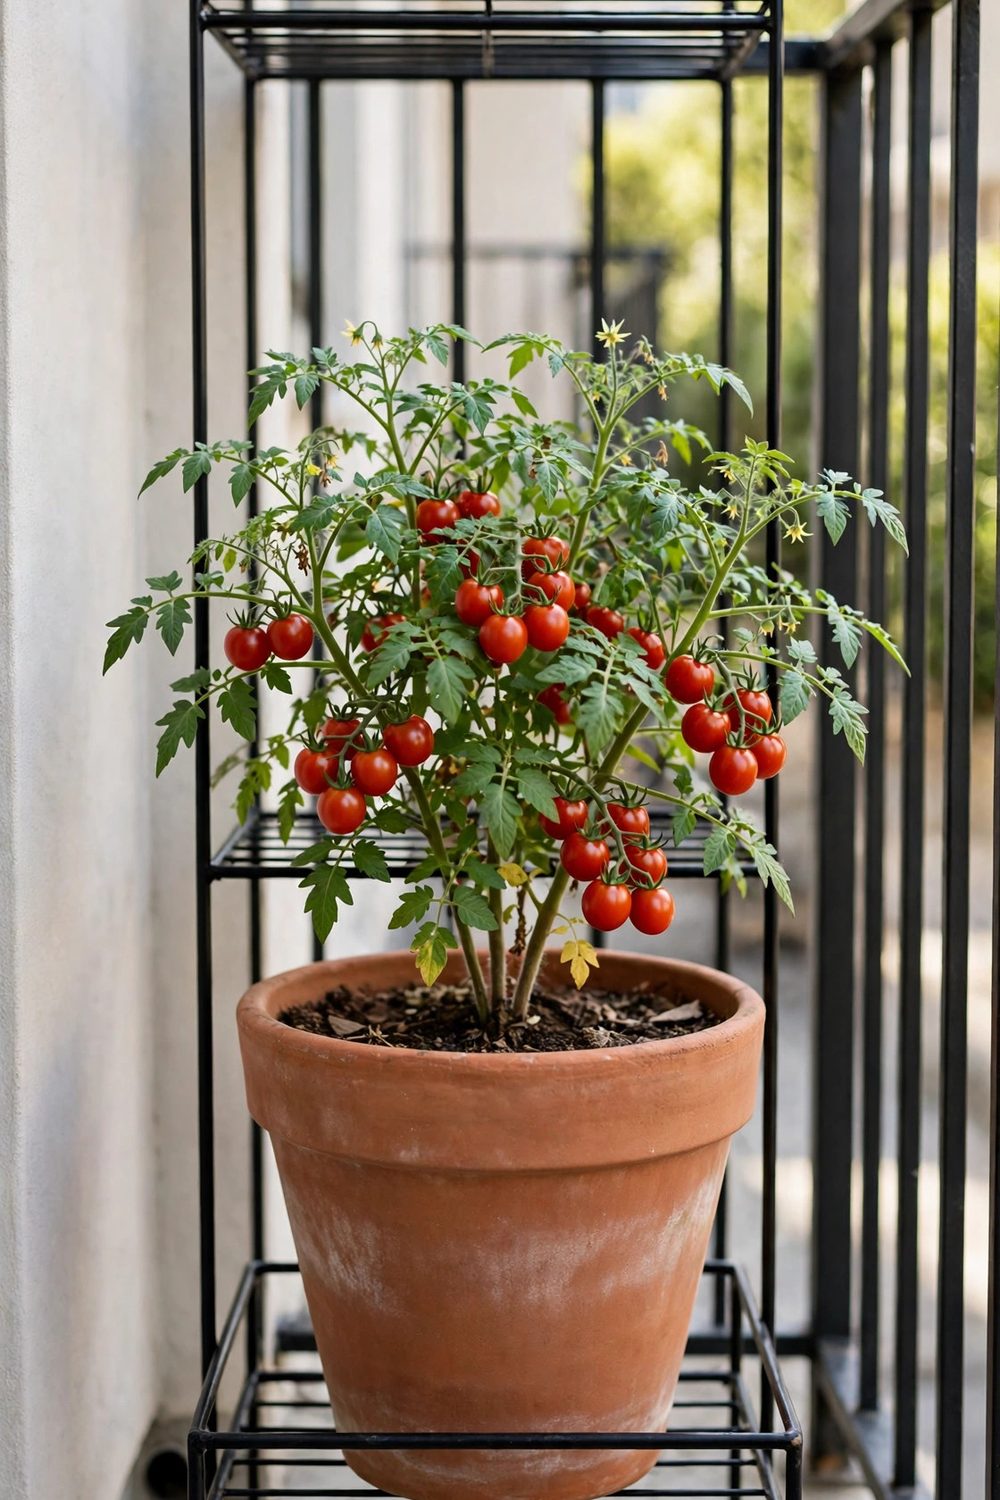
‘Tiny Tim’ was bred for pots and stays under knee height, which makes it the one tomato that suits a stand. Set one plant in a 5-gallon (about 19-litre) pot on the bottom tier.
Give it the sunniest end of the stand, with 6 or more hours of light. Its small fruit ripens early, so a spring planting crops while larger types are still flowering.
Water deeply when the top inch (2.5 cm) dries, and feed every two weeks once flowers open. Cherry types drink fast in heat, so check this pot daily in July.
Pick fruit as it colours, a few at a time, straight from the chair beside the stand. Regular picking keeps new trusses forming until the first cold nights of autumn.
12. Stand Bush Beans on the Ground Beside the Stand
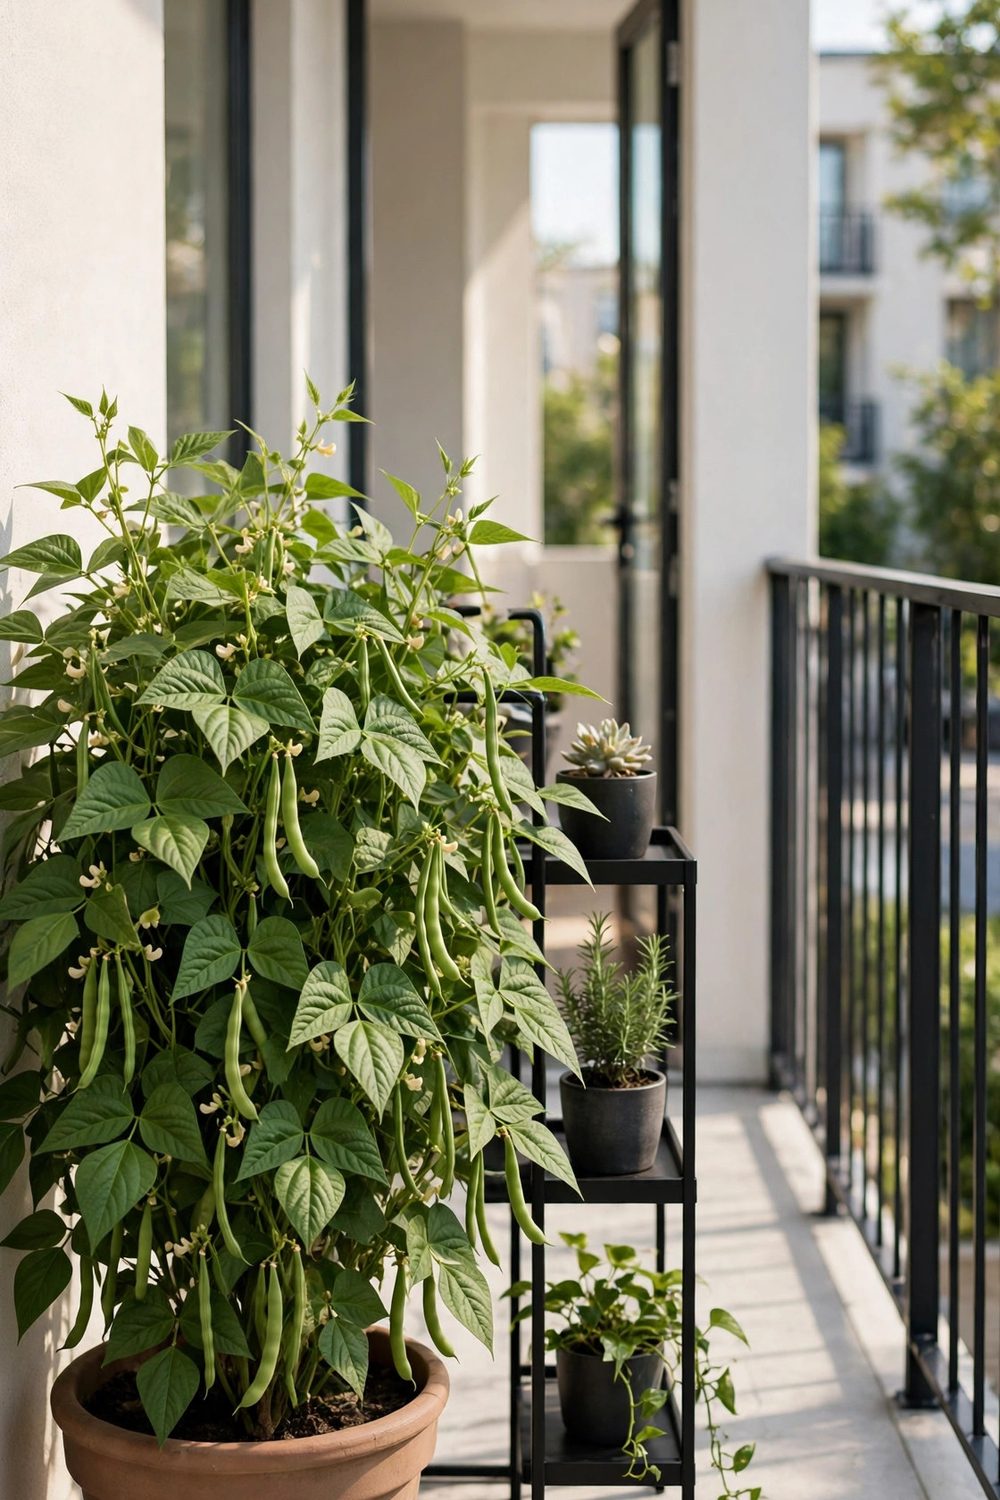
Some crops are too wide for any tier, and bush beans are one of them. Stand a 5-gallon (about 19-litre) bag or pot on the ground beside the stand, in full sun.
Sow ‘Provider’ or ‘Contender’ seed 1 inch (2.5 cm) deep and 3 inches (8 cm) apart, only after your last frost. Beans sulk and rot in cold mix, so patience pays here.
Beans need little feeding in fresh mix, since their roots hold nitrogen. Steady water matters more, above all while flowers and young pods are forming in early summer.
Pick pods every two days once they start coming. Ground pots beside the stand frame the whole setup, and the path to the door stays clear between them.
13. Grow Swiss Chard in a Ground Pot at the Shady End
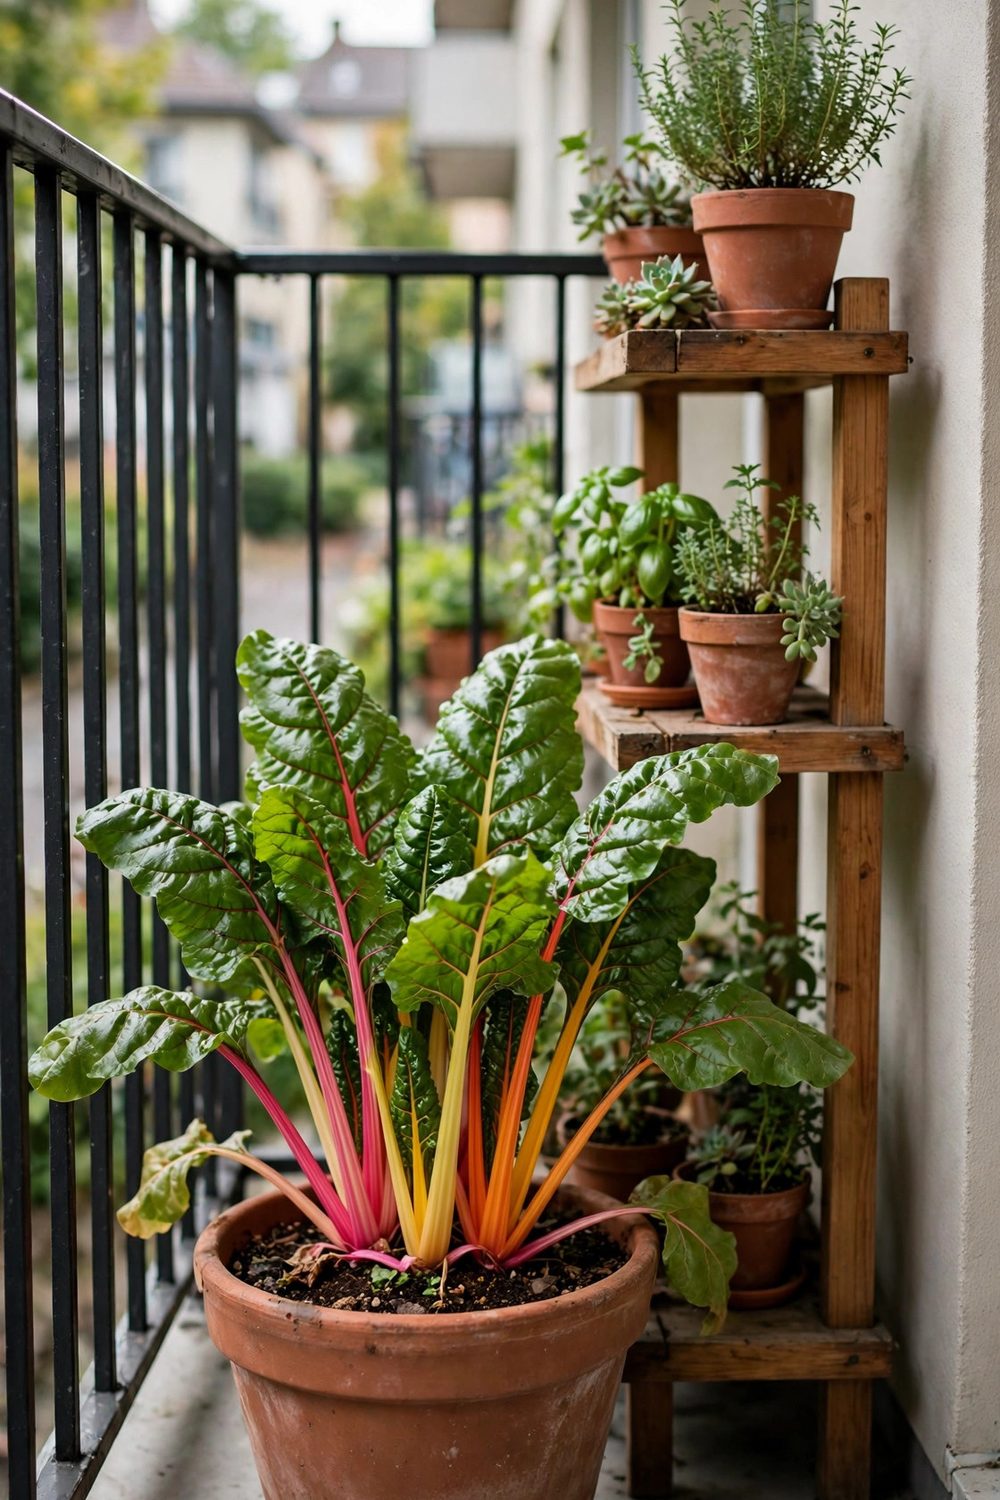
Chard copes with shade better than most leafy crops, so place its ground pot at the end the stand shades. Set two or three plants in a 5-gallon (about 19-litre) pot, spaced 6 inches (15 cm) apart.
Chard grows on 4 to 6 hours of sun and keeps cropping when picked right. Cut outer stems at the base and leave the centre to regrow for the next round.
Water when the top inch (2.5 cm) dries and feed monthly. Bright-stemmed types look good at the front edge, where you see them each time you step outside.
A ground pot this size also steadies the stand zone in wind. Grouping heavy pots at the base keeps the whole corner calm on gusty nights on upper floors. More small-space counts are in our guide to how many vegetable plants per pot.
14. Let a Bush Cucumber Climb the Rail Next to the Stand
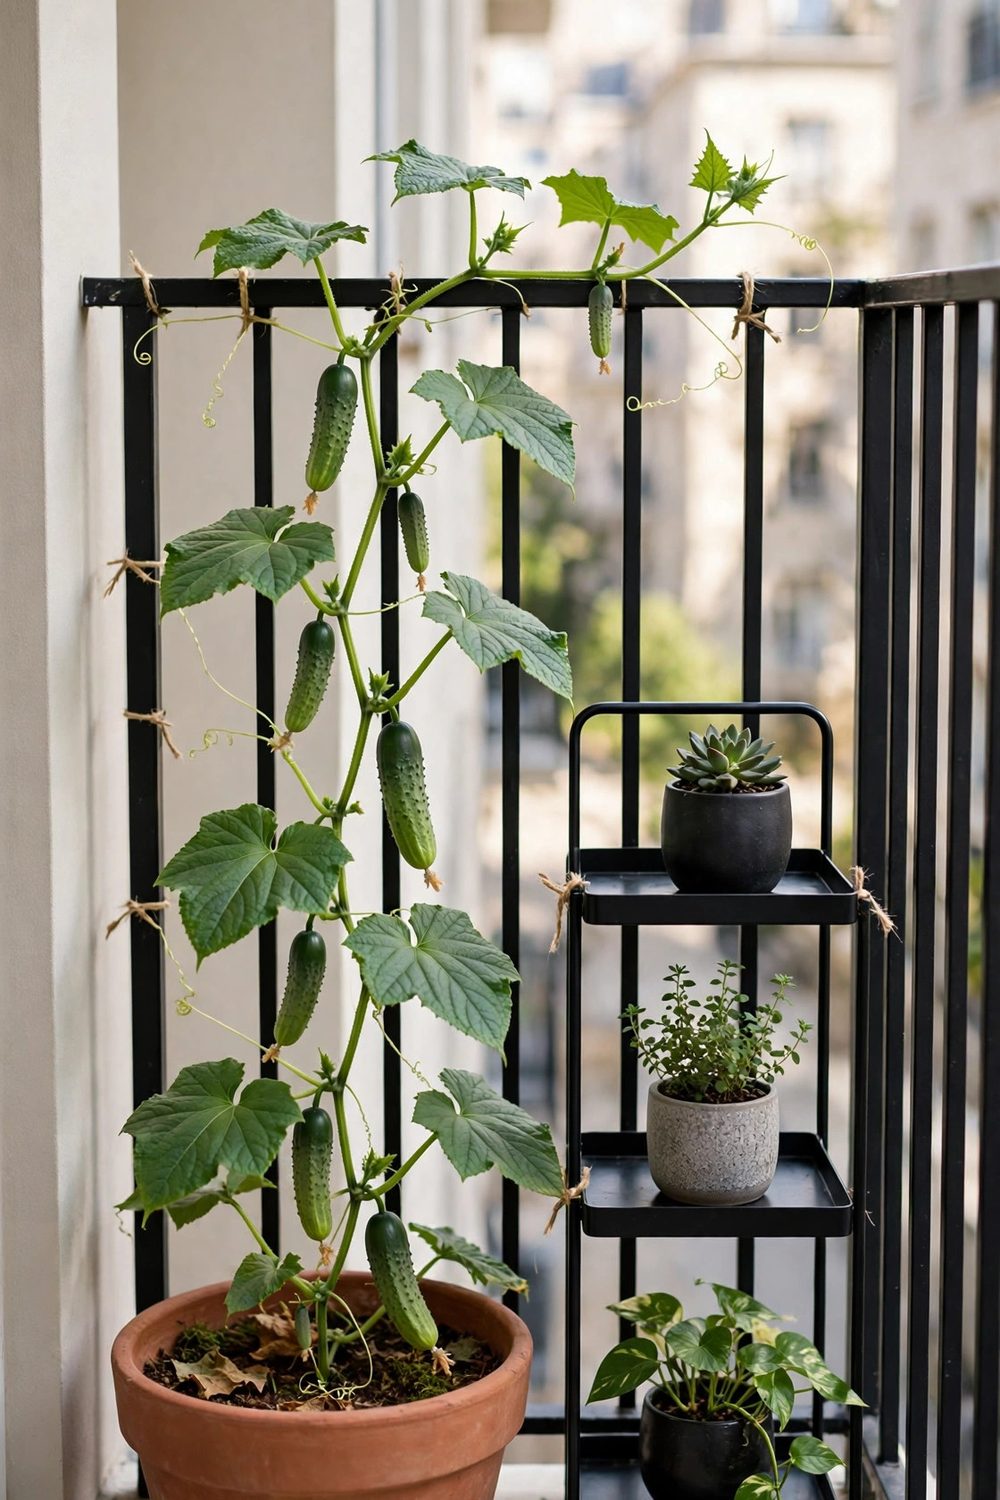
Use the rail beside the stand as free vertical space. Plant one ‘Spacemaster’ cucumber in a 5-gallon (about 19-litre) pot on the ground and tie its stems to the rail as they grow.
Spacemaster grows shorter vines than standard cucumbers, so it stays in bounds. Soft ties, checked weekly, hold stems without cutting into them as they thicken through summer.
Cucumbers need steady water, so this pot dries on the same round as the top tier. Water deeply each morning in hot weather and mulch the surface to slow drying.
Pick fruit at 6 to 8 inches (15 to 20 cm), young and often. Look under the big leaves twice a week, because cucumbers hide well and oversize fruit sneaks up fast.
15. Finish With One Zucchini Bag at the Sunny Ground Corner
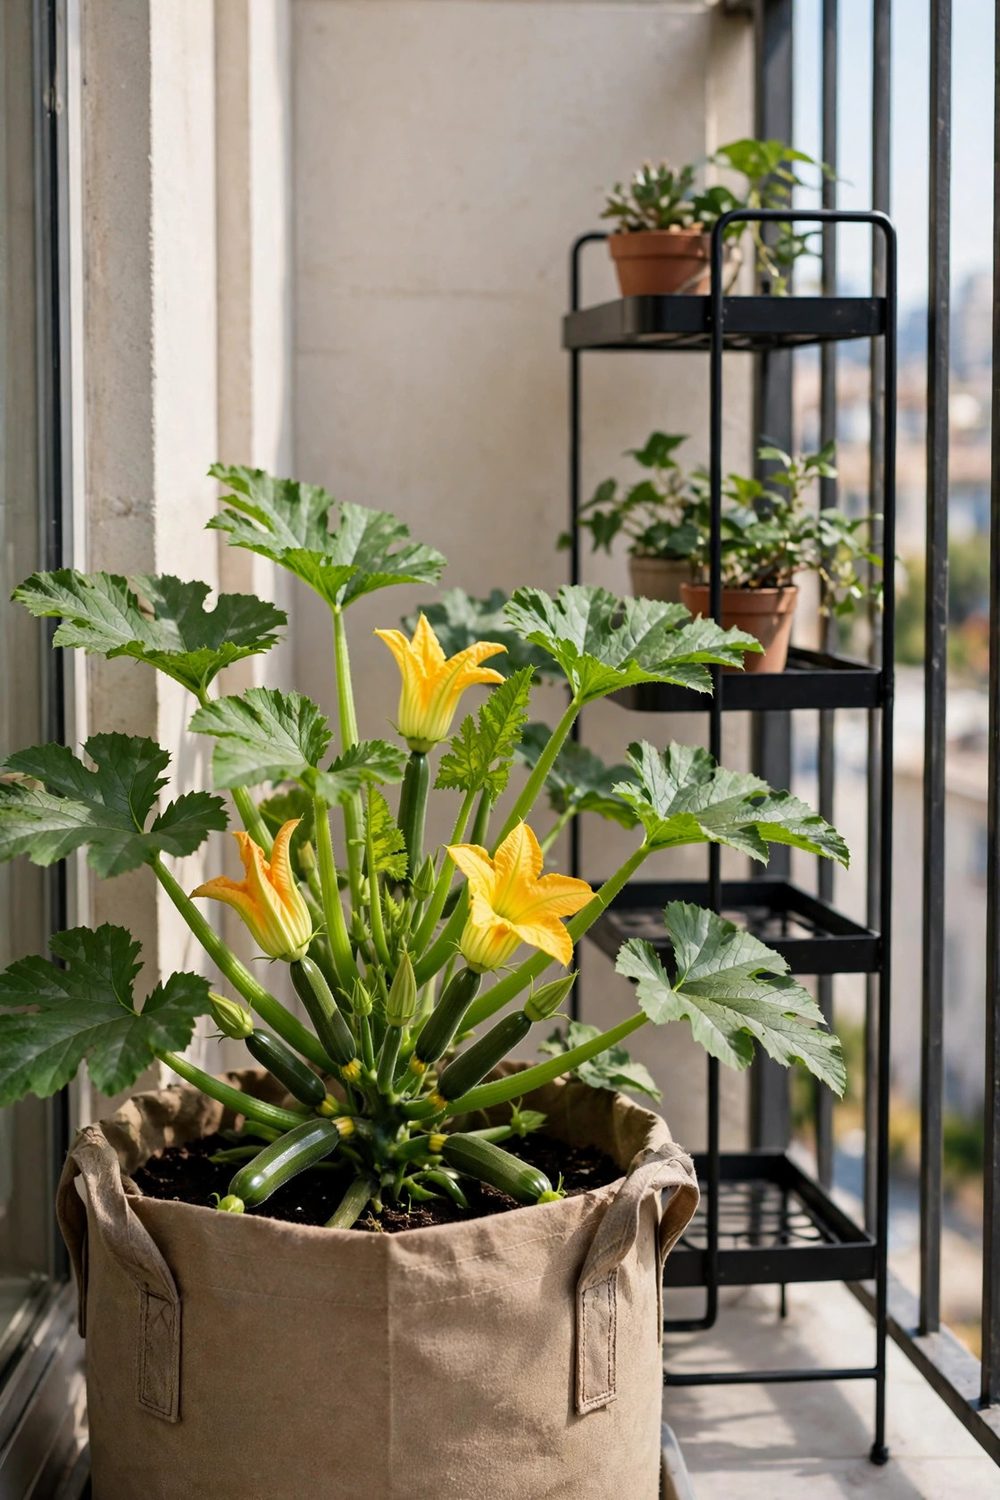
Every stand setup needs one big ground crop to anchor it, and zucchini fills that role well. Plant one ‘Astia’ zucchini (courgette) in a 10-gallon (about 38-litre) bag at the sunny corner.
Astia was bred for containers and stays more compact than garden types. It needs 6 or more hours of sun, steady water, and a weekly feed once flowers start opening.
Pick fruits at about 6 inches (15 cm) long, before they thicken. A bag at ground level is easy to harvest from a chair, with no lifting and no stretching over tiers.
Stand the bag on a tray so drainage never reaches the slab. With tiers above and heavy crops below, the full stand works as one unit.
Full floor plans by size are in our balcony layouts by balcony size guide, and more stacking ideas sit with these container garden layouts for a small space.
Build the stand in layers: light and leafy on top, steady herbs in the middle, heavy fruiting pots at the base.
That order respects weight, light, and your own reach at watering time each day, and it is how tiered plant stand vegetables for a narrow balcony earn their small floor space.
Start with one tier, learn how fast it dries, then fill the rest over a few weeks.
A narrow balcony grows a surprising amount of food this way, without blocking the door or crowding the one chair that matters on a sunny evening after work.
Save this list to your container garden board for later, and add pots only as the routine feels easy.


